I've been itching to try this.
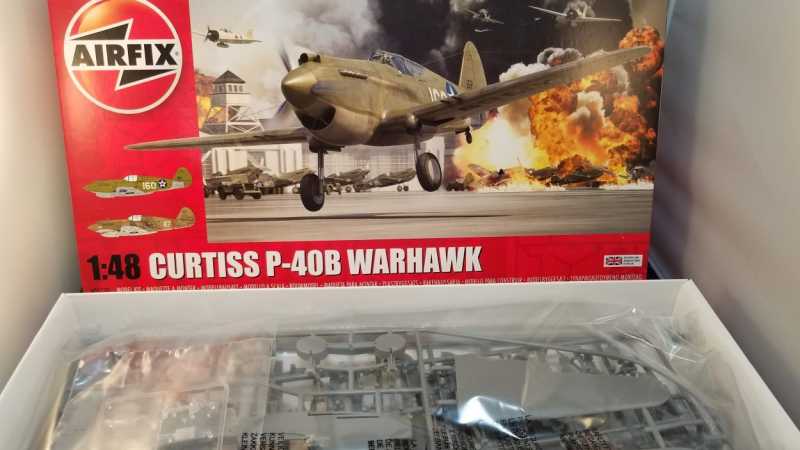
So I grabbed an Airfix P40 from HobbyLobby pretty cheap. Think I've spent more in oils than the kit.
While I build this I can't get this out of my head.
Which, I think I have the markings for...
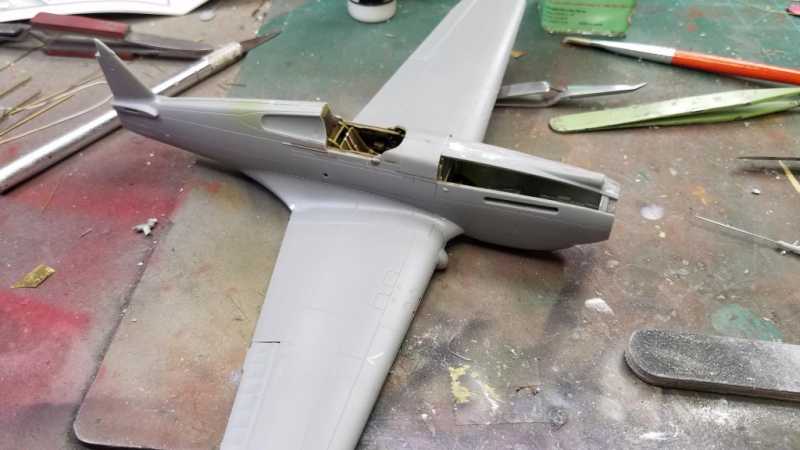
So I put the cockpit together pretty quickly. Stole some navy seat belts, anyone call me out i'm charging double on next months dues...hyeah


So I started playing with the oils to see how they looked. I had intended to use the metallic for a NMF one day so I thought I'd try out some techniques on some internal and not so internal parts. Started with Abteilung 502
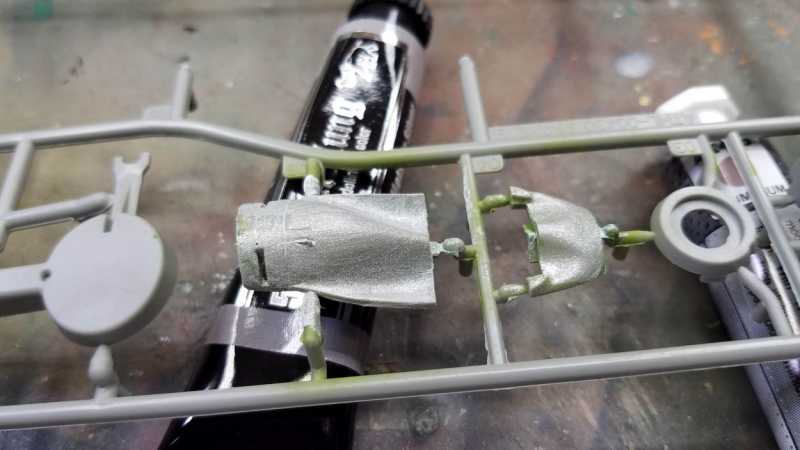
Maybe I got the wrong one but..as you can see, the pigments are just too big. I tried blending it with their white, no go. Even used their fast dry thinner to say I'm doing it right.
Then I tried the AK Aluminum AK455
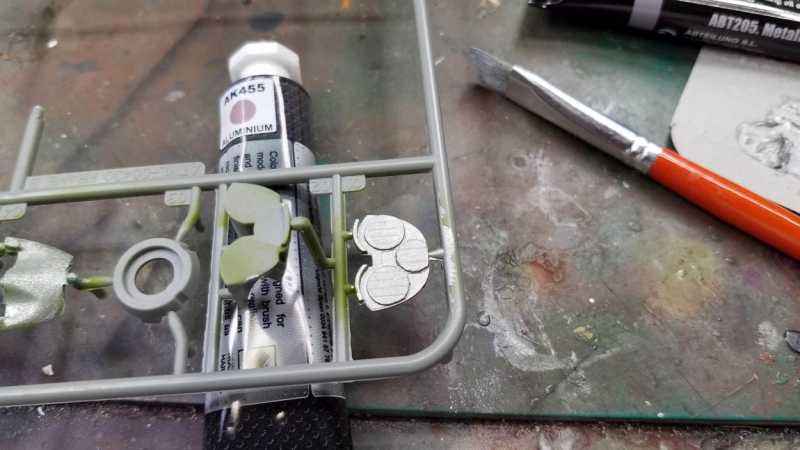
As you can see it's much better, much finer pigments and totally usable for what I want to do.
Then I wanted to press my luck.
I stopped by the Uschi booth at Chattanooga and discussed the powders they have. I had tested on another kit a while back and it just rolled off. They asked if it was a painted surface, it was. They suggested doing to bare plastic. So I stripped the part I'm playing with, cleaned it up well and dipped a Q-Tip in the powder and started rubbin'.
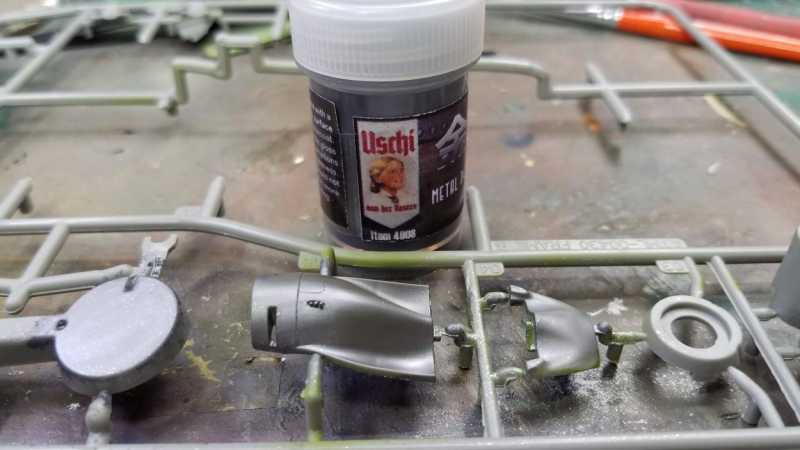
As you can see, REALLY nice, just too dark for aluminum IMHO.
Oh, and really digging how this is going together so far. Let's see how I can screw it up. :Hiay
So I grabbed an Airfix P40 from HobbyLobby pretty cheap. Think I've spent more in oils than the kit.
While I build this I can't get this out of my head.
Which, I think I have the markings for...
So I put the cockpit together pretty quickly. Stole some navy seat belts, anyone call me out i'm charging double on next months dues...
hyeah
So I started playing with the oils to see how they looked. I had intended to use the metallic for a NMF one day so I thought I'd try out some techniques on some internal and not so internal parts. Started with Abteilung 502
Maybe I got the wrong one but..as you can see, the pigments are just too big. I tried blending it with their white, no go. Even used their fast dry thinner to say I'm doing it right.
Then I tried the AK Aluminum AK455
As you can see it's much better, much finer pigments and totally usable for what I want to do.
Then I wanted to press my luck.
I stopped by the Uschi booth at Chattanooga and discussed the powders they have. I had tested on another kit a while back and it just rolled off. They asked if it was a painted surface, it was. They suggested doing to bare plastic. So I stripped the part I'm playing with, cleaned it up well and dipped a Q-Tip in the powder and started rubbin'.
As you can see, REALLY nice, just too dark for aluminum IMHO.
Oh, and really digging how this is going together so far. Let's see how I can screw it up. :Hiay
Last edited: