Tankbuilder
Active member
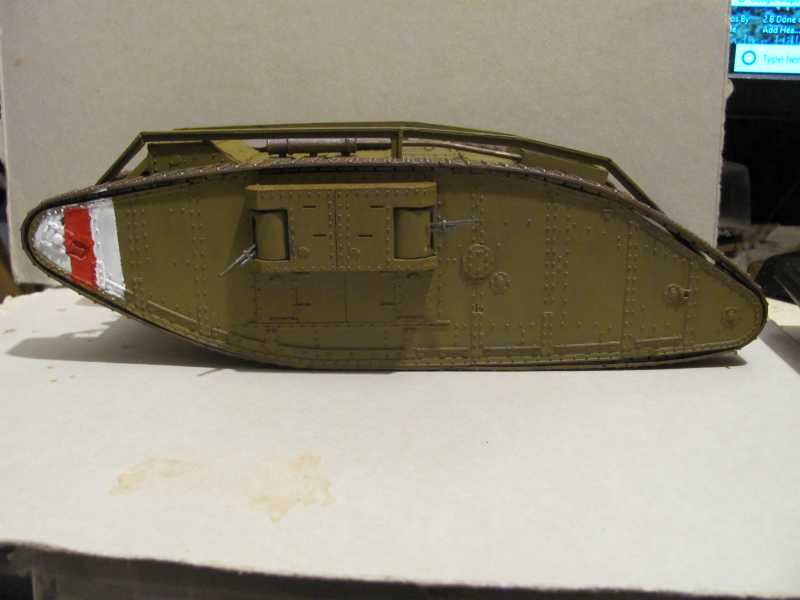
Here's my entry for this campaign.
Dates can be seen in IMG_5055
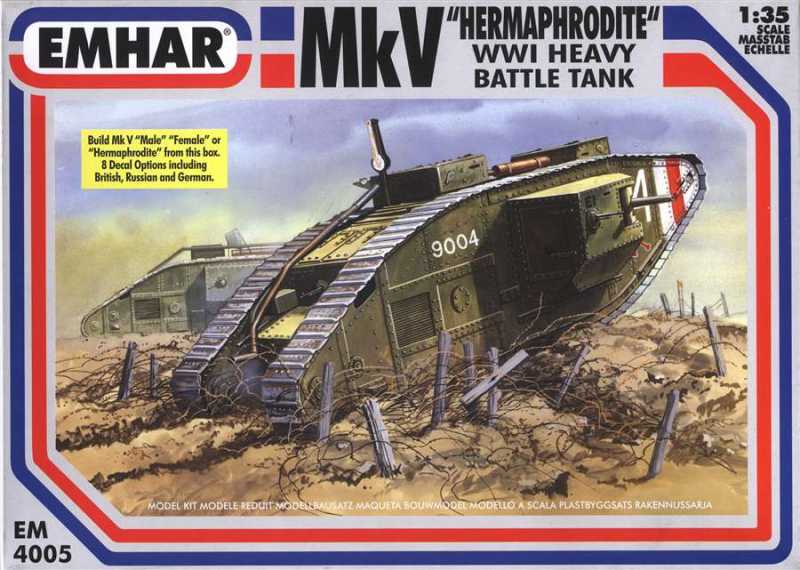
Box art.
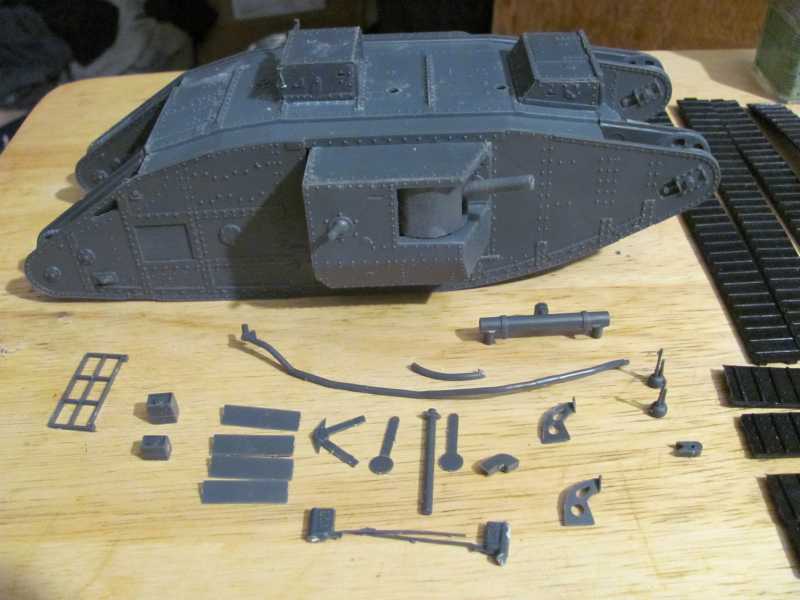
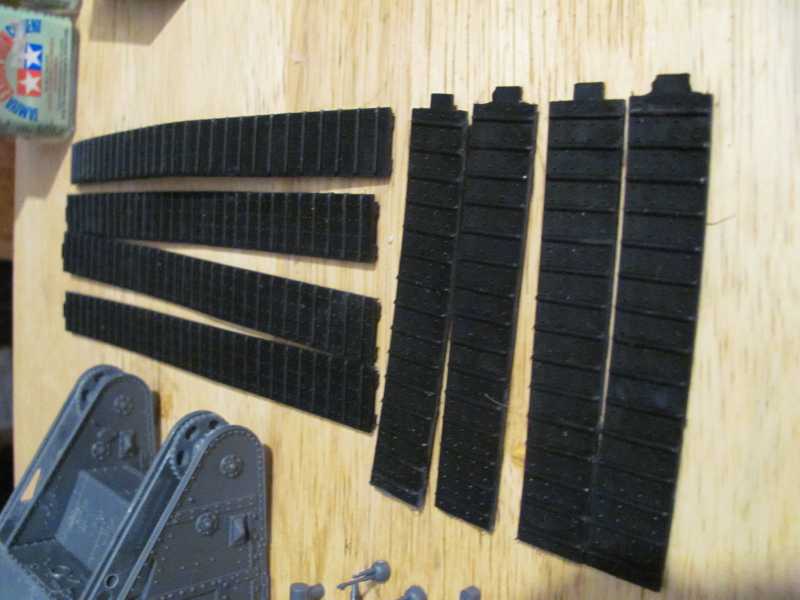
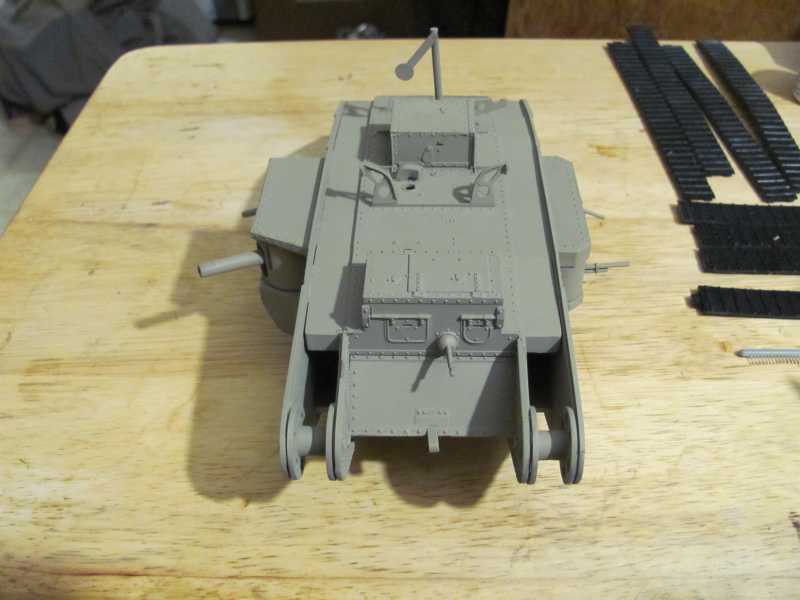
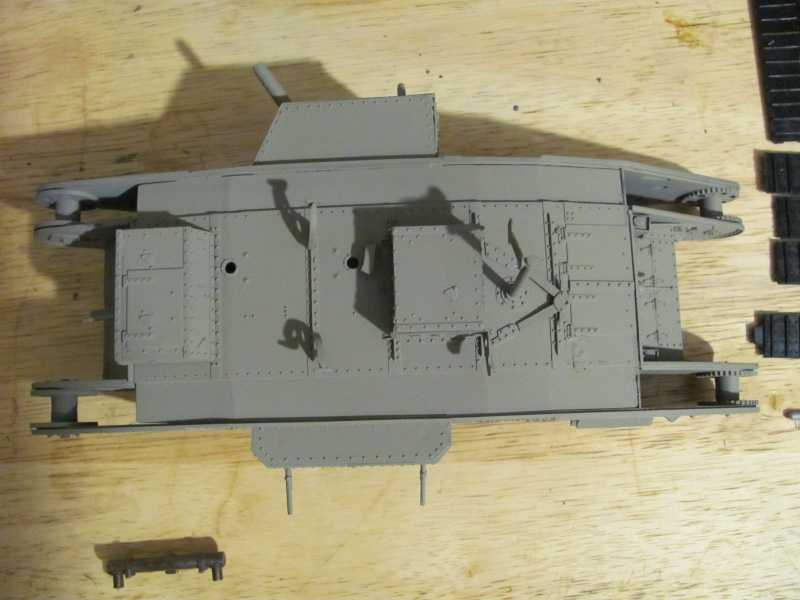
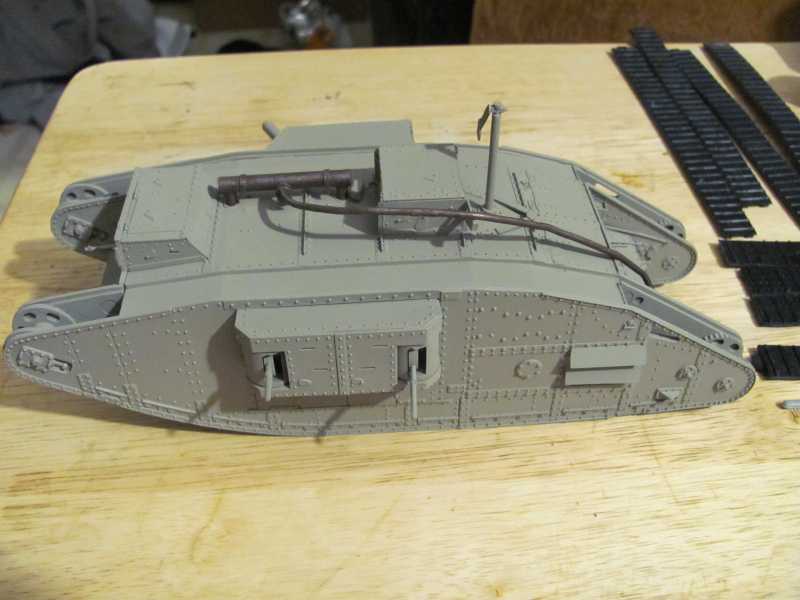
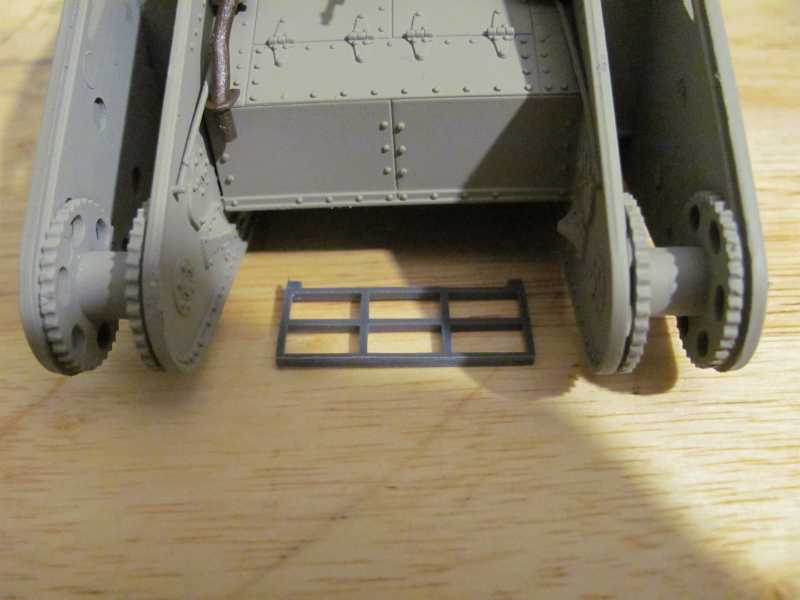
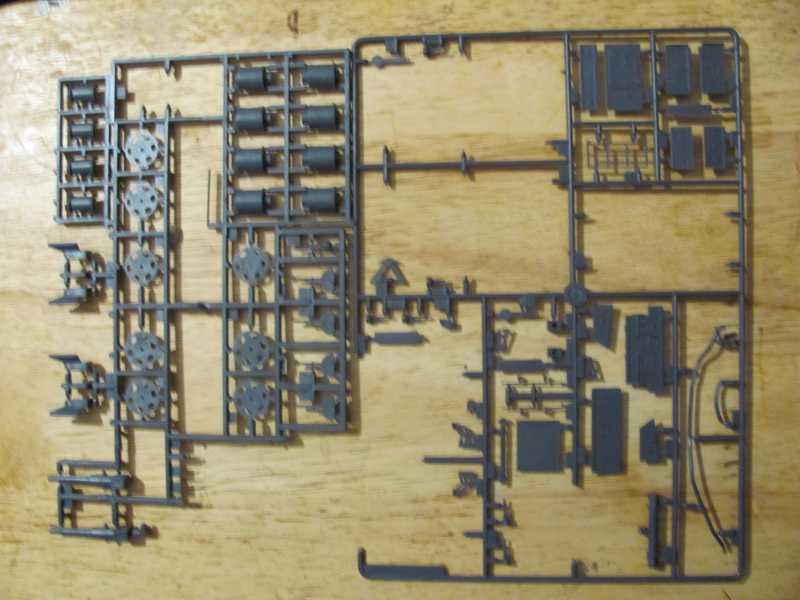
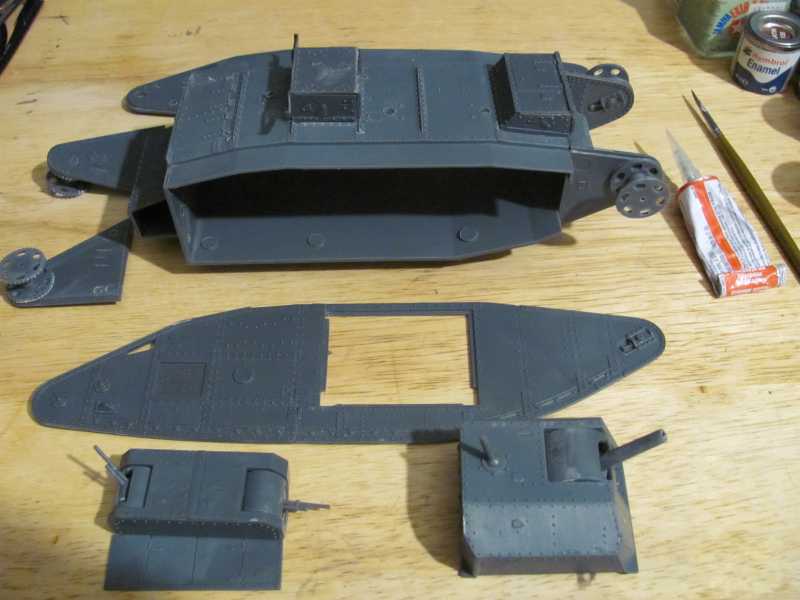
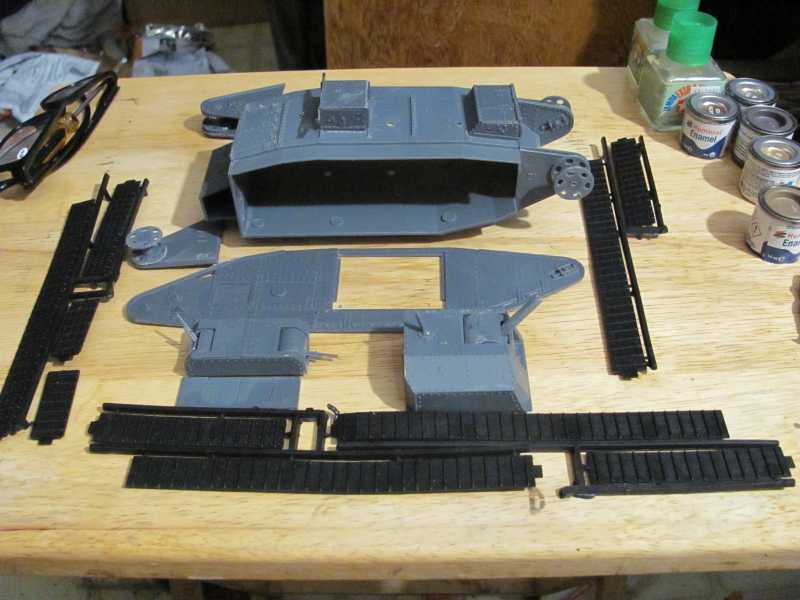
Kit
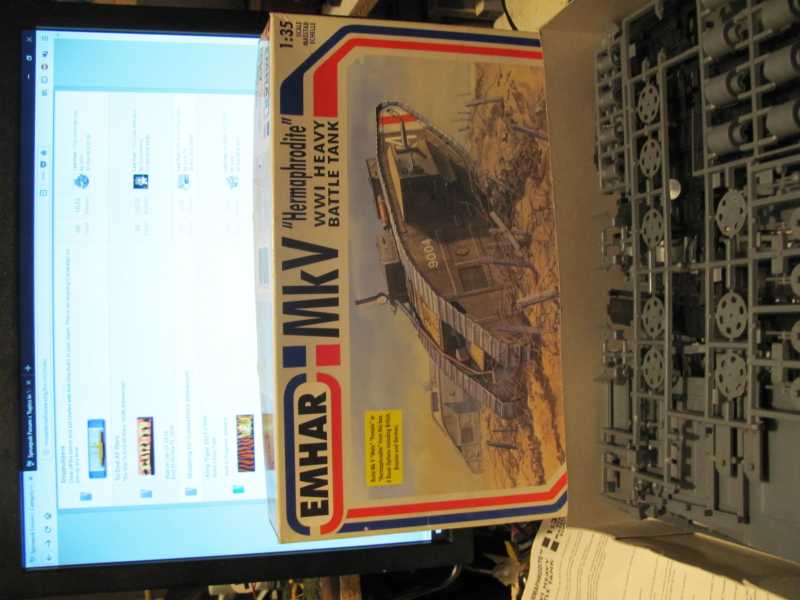
Dates

Good thing this is a simple kit.
Cheers
Dates can be seen in IMG_5055
Box art.
Kit
Dates
Good thing this is a simple kit.
Cheers


")