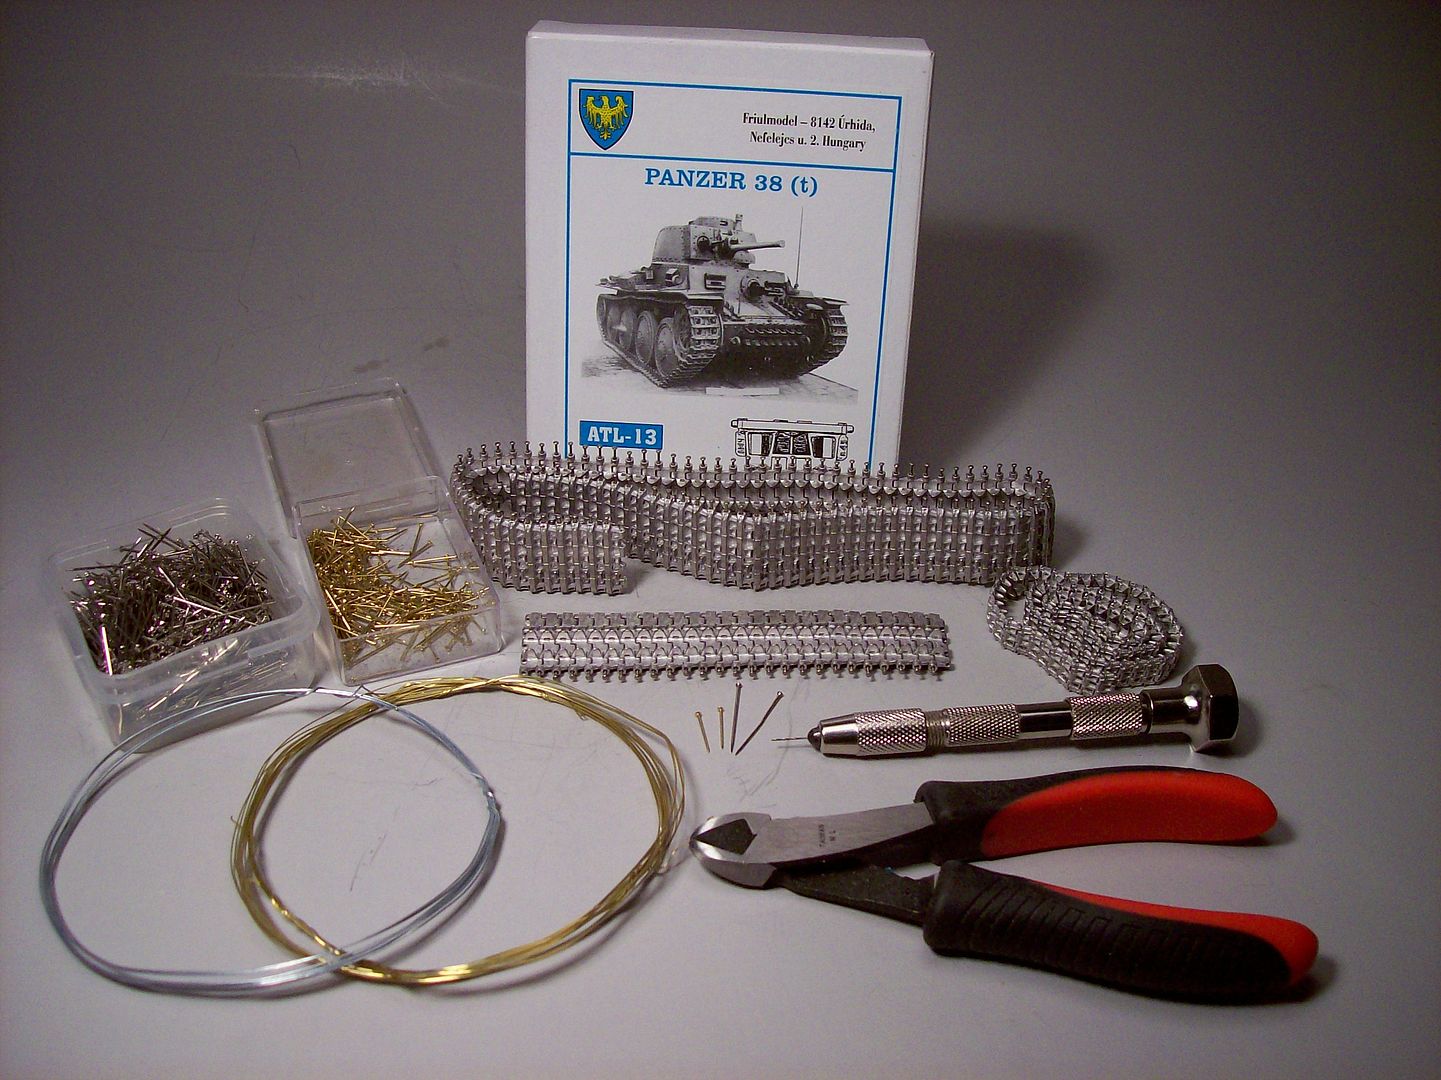
• Modelers Alliance has updated the forum software on our website. We have migrated all post, content and user accounts but we could not migrate the passwords.
    This requires that you manually reset your password.
    Please click here, http://modelersalliance.org/forums/login to go to logon page and use the "Forgot your Password" option.

Friulmodel Track Assembly

Tony lee

Master at Arms
The Tools:
100_0778.jpg


What's in the box:
100_0949-1.jpg

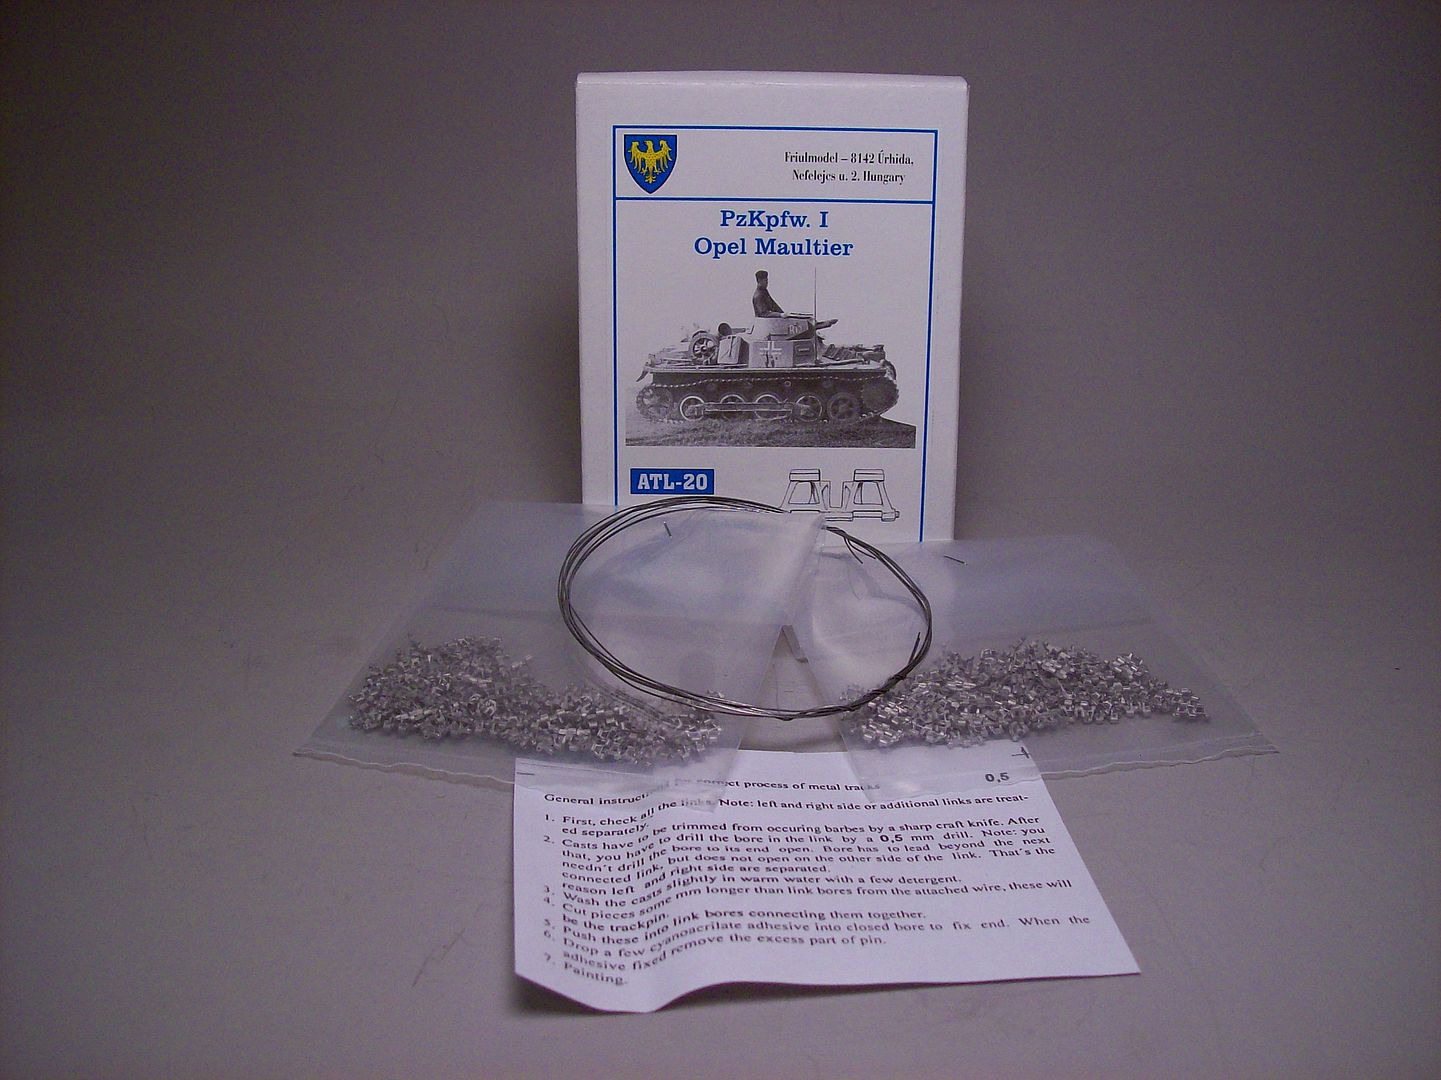
There are two packs of links because, BUT NOT ALWAYS, there are left and right sides so DON'T go and dump both bags into one big pile.

OK Here We Go:
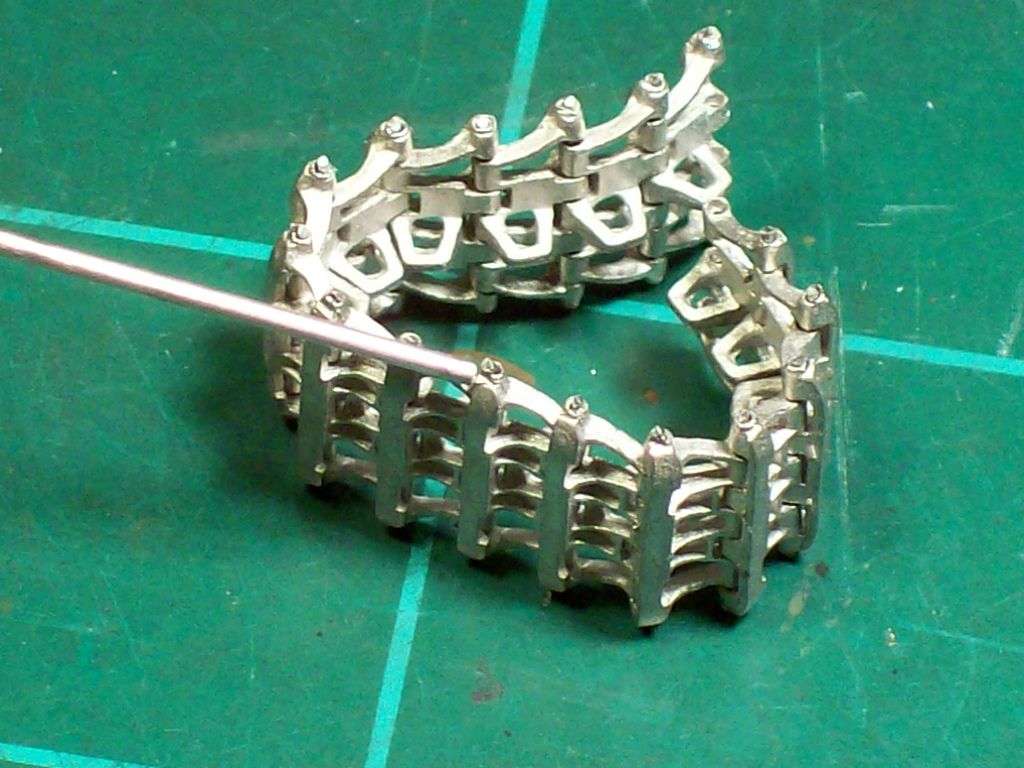
Most everyone uses the supplied wire or brass rod to put the links together but I use dress or sequin pins on the larger tracks and the wire for the smaller tracks.
100_0960.jpg

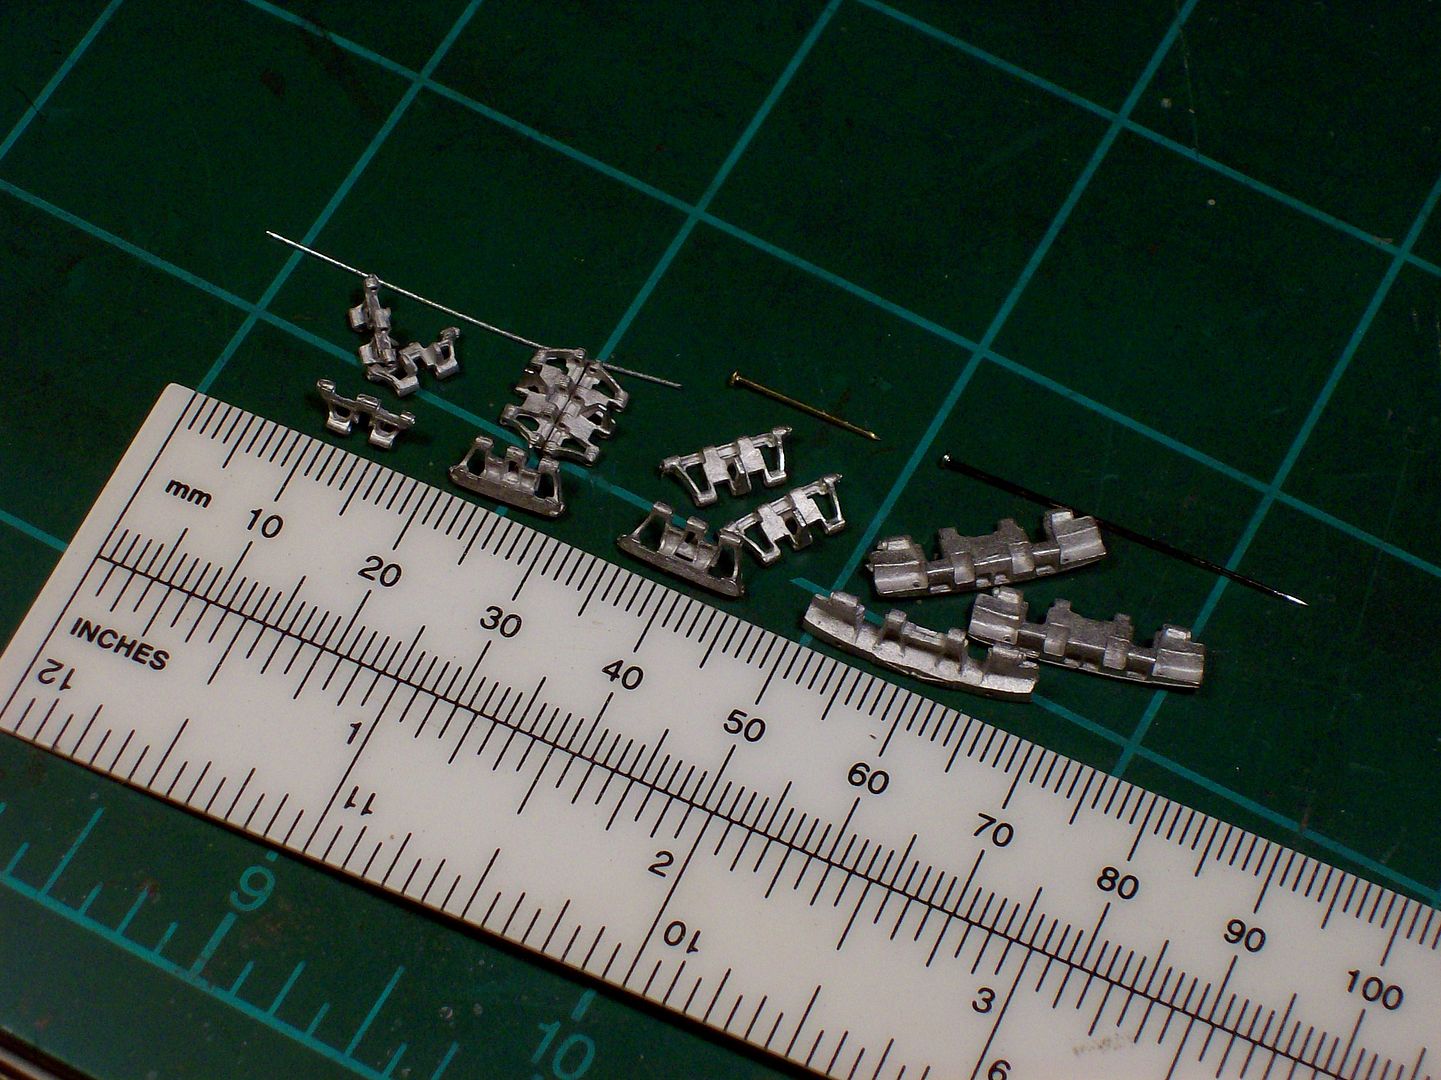
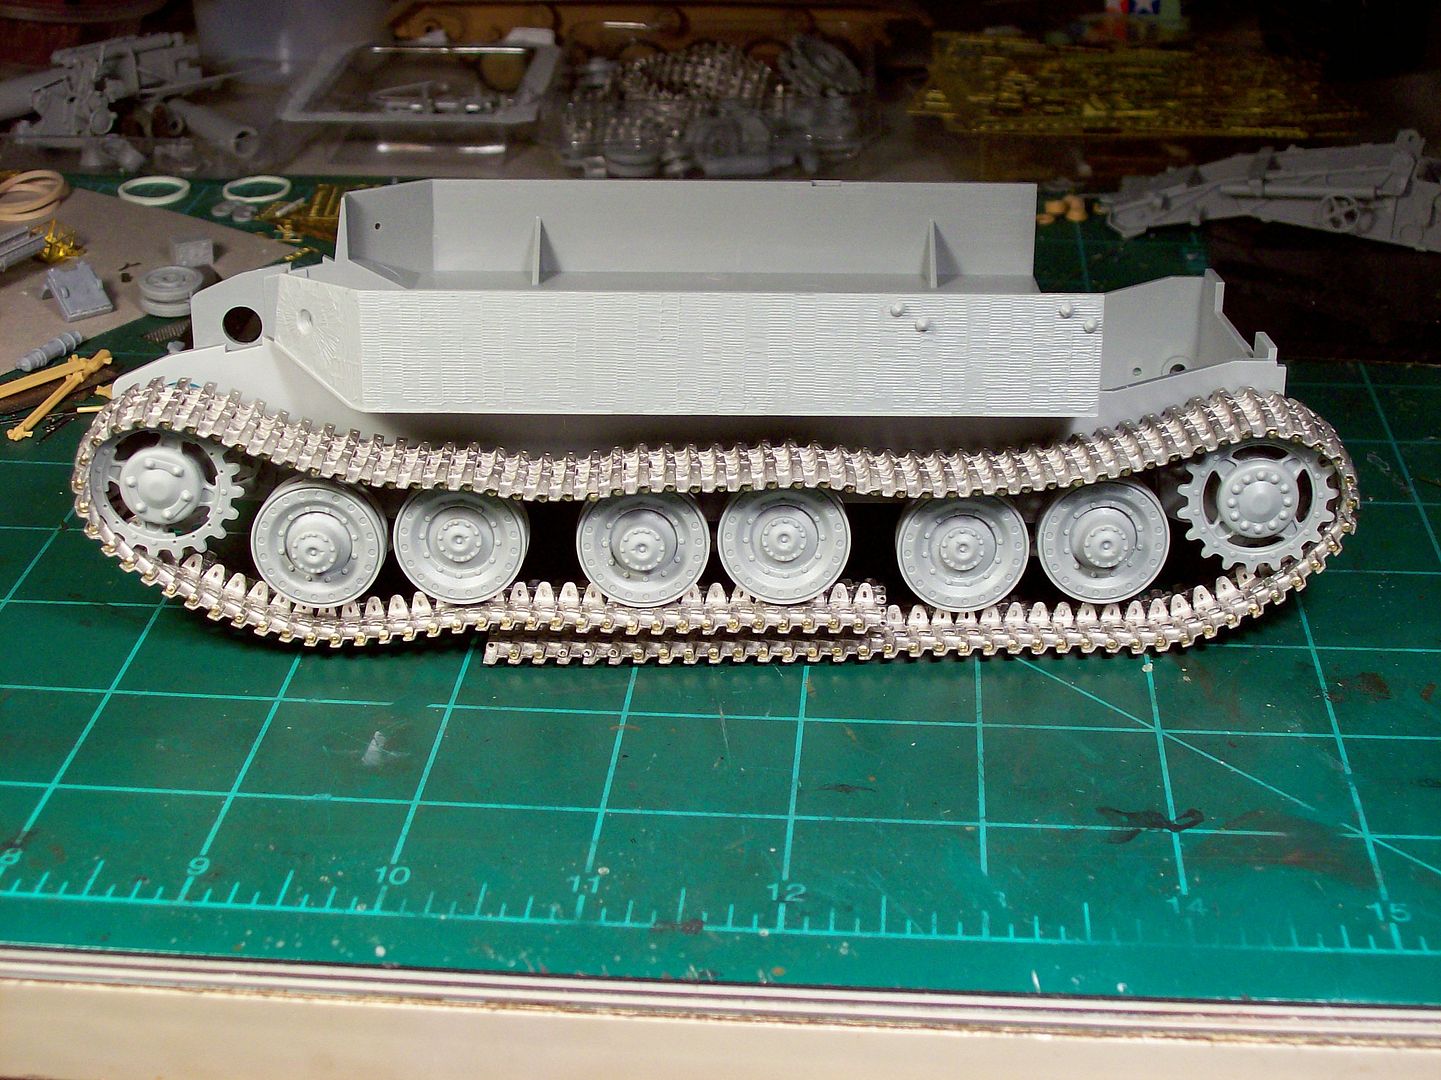
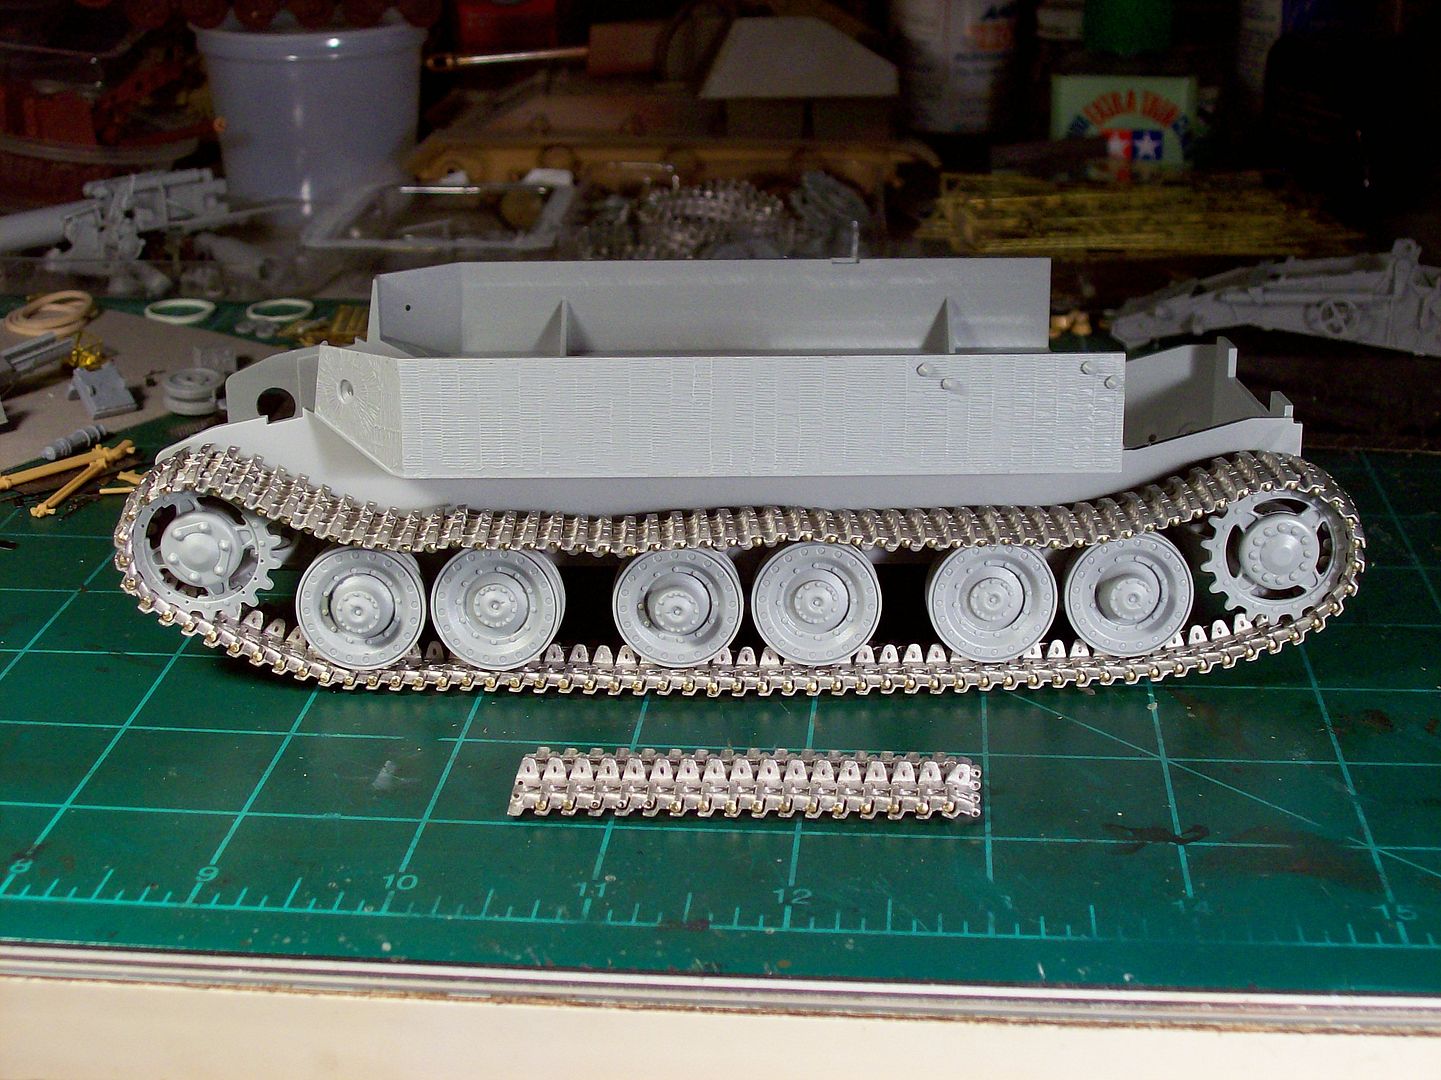
Left to right: Pz 1 and Pz 2 i'll use the wire. Pz 3&4 and larger like the Elefants shown here i'll use the pins.

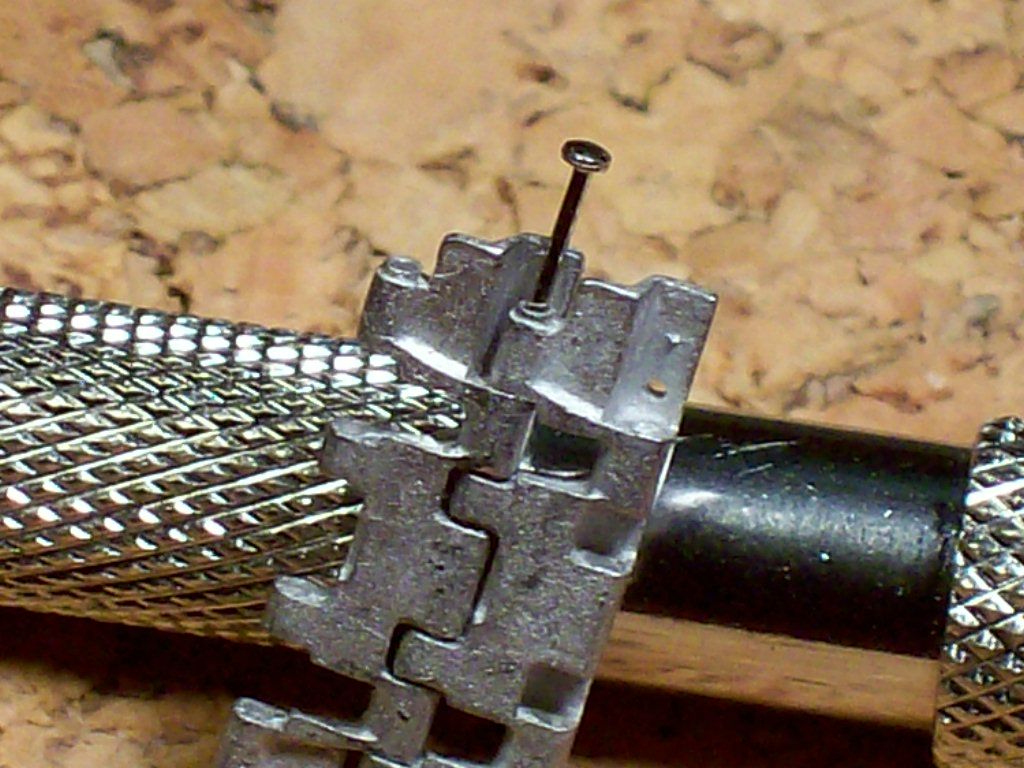
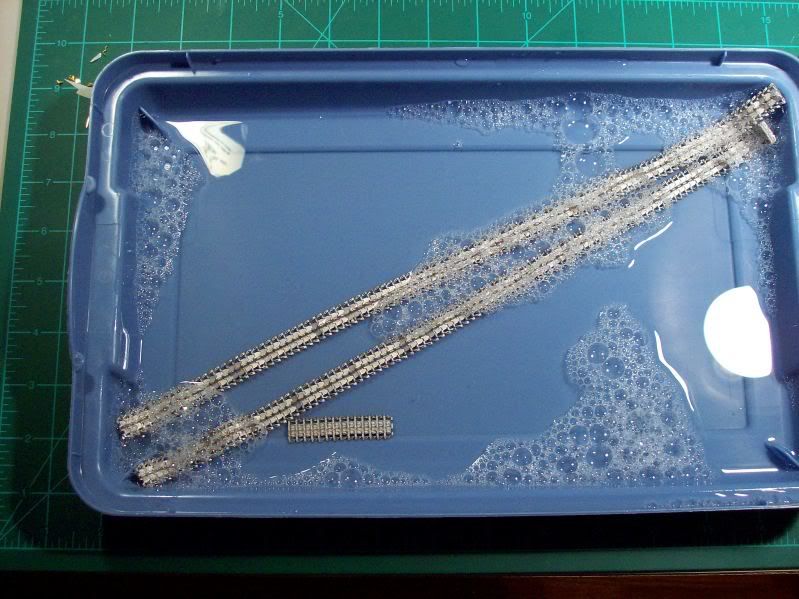
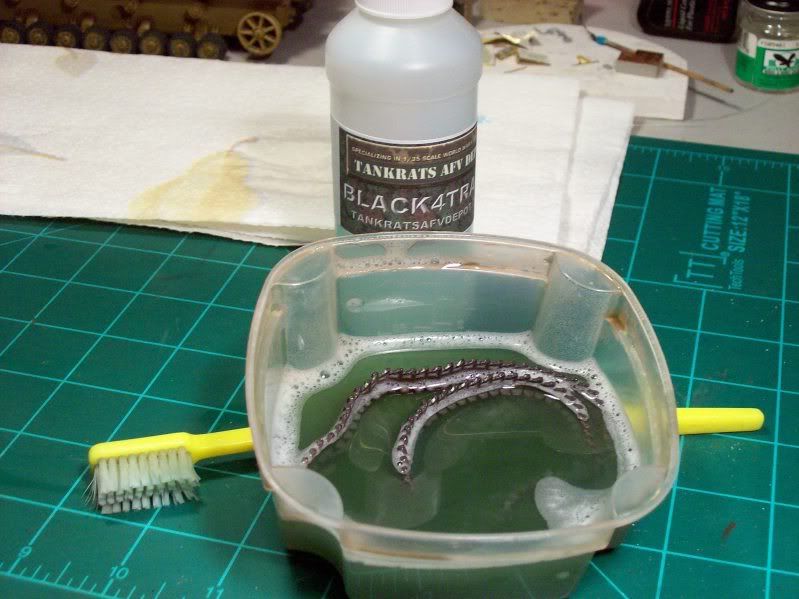
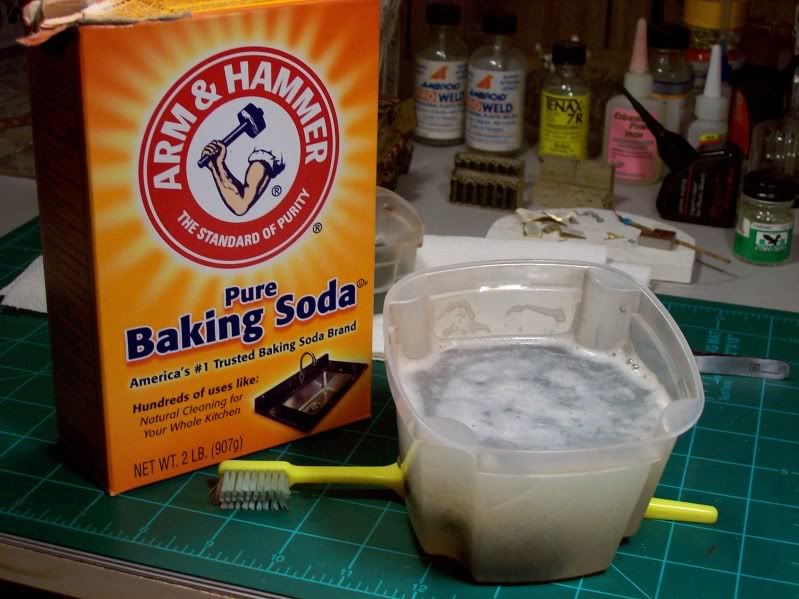
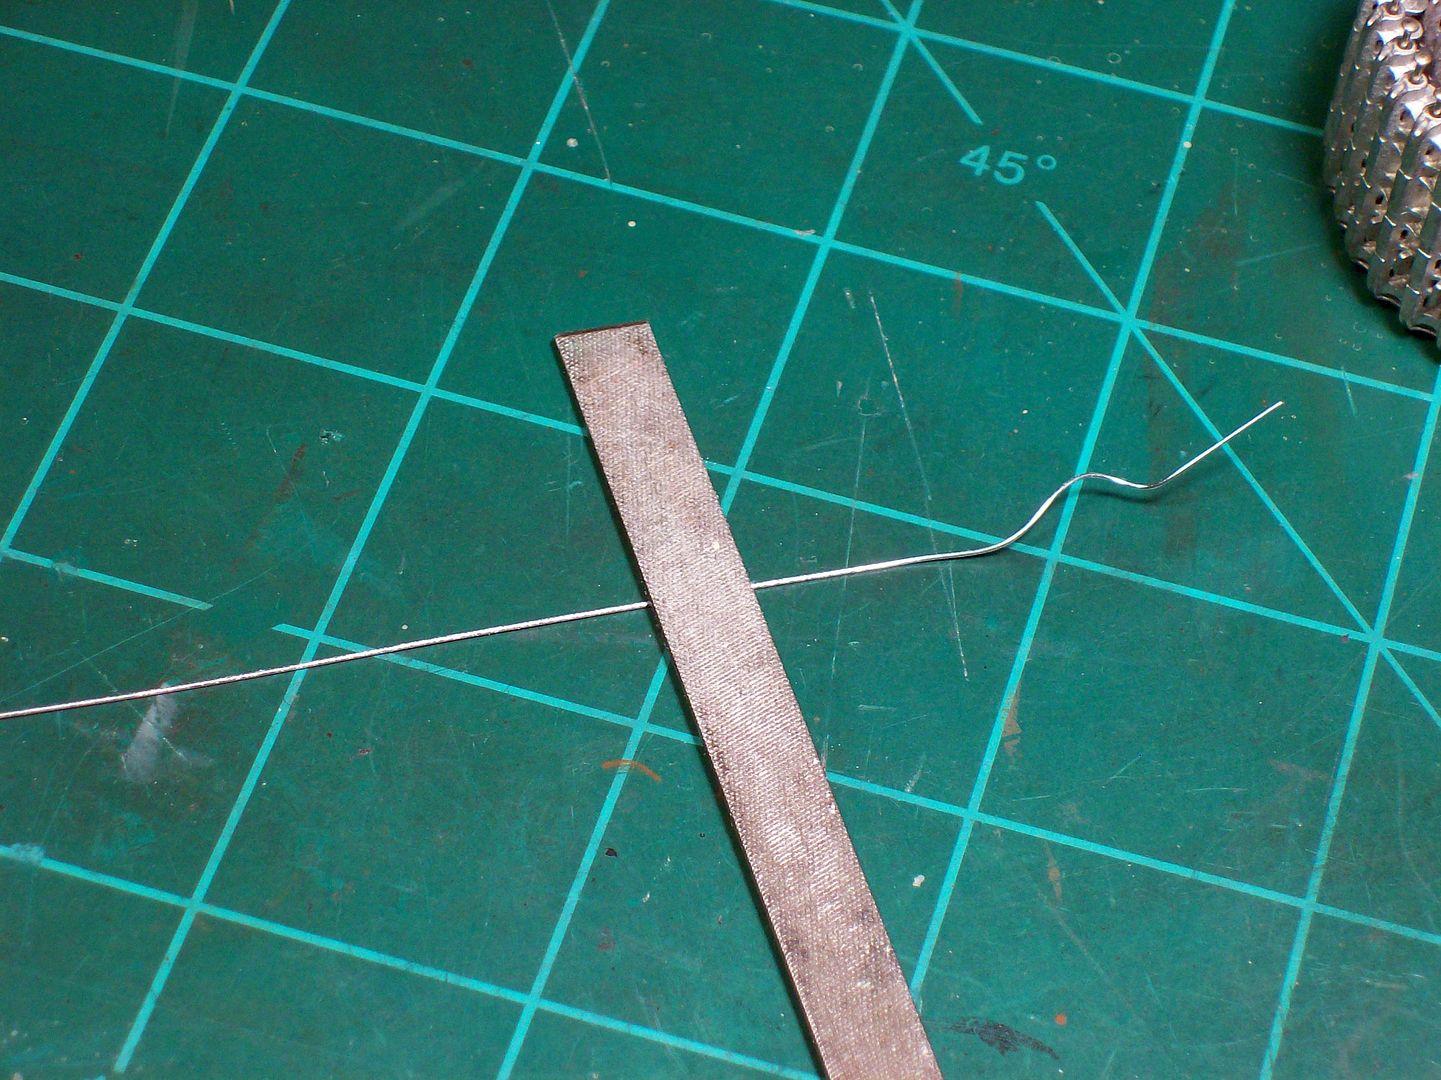
I usually get a lap tray,open one of the link packs and put the links in a container. Cut the wire into manageable lengths and roll the kinks out like so with an old ignition points file.
100_0952-1.jpg

or cut the dress pins to length. Gather the tools i'll need along with my opt-visor and then flop down in my recliner in front of the TV.

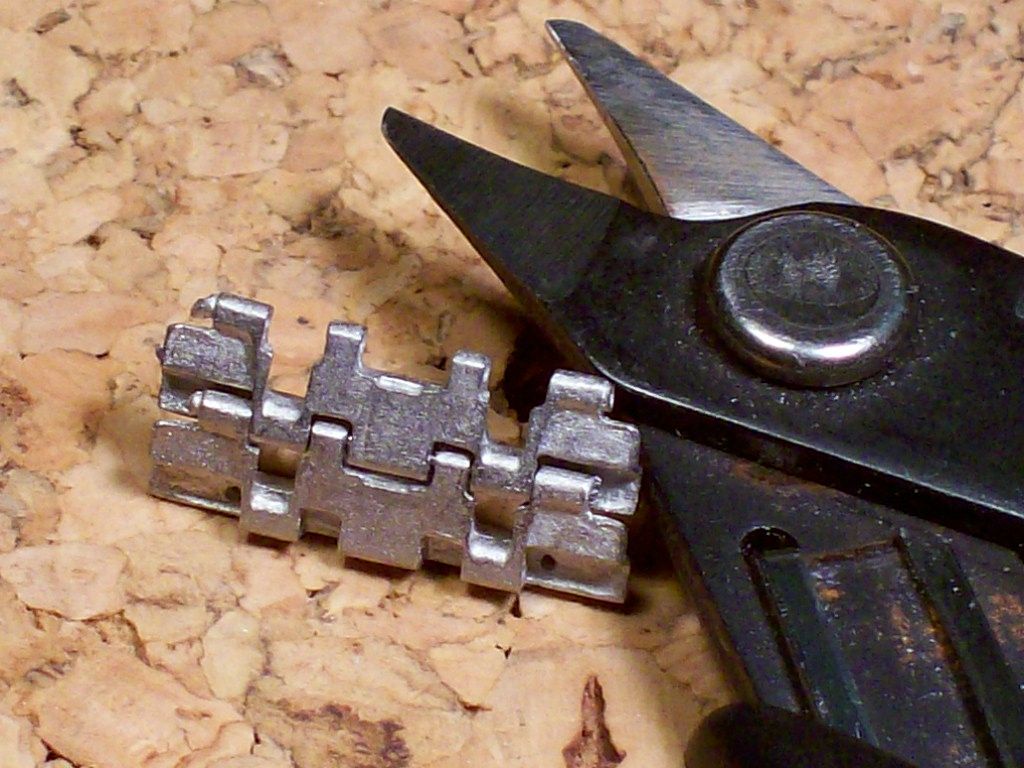
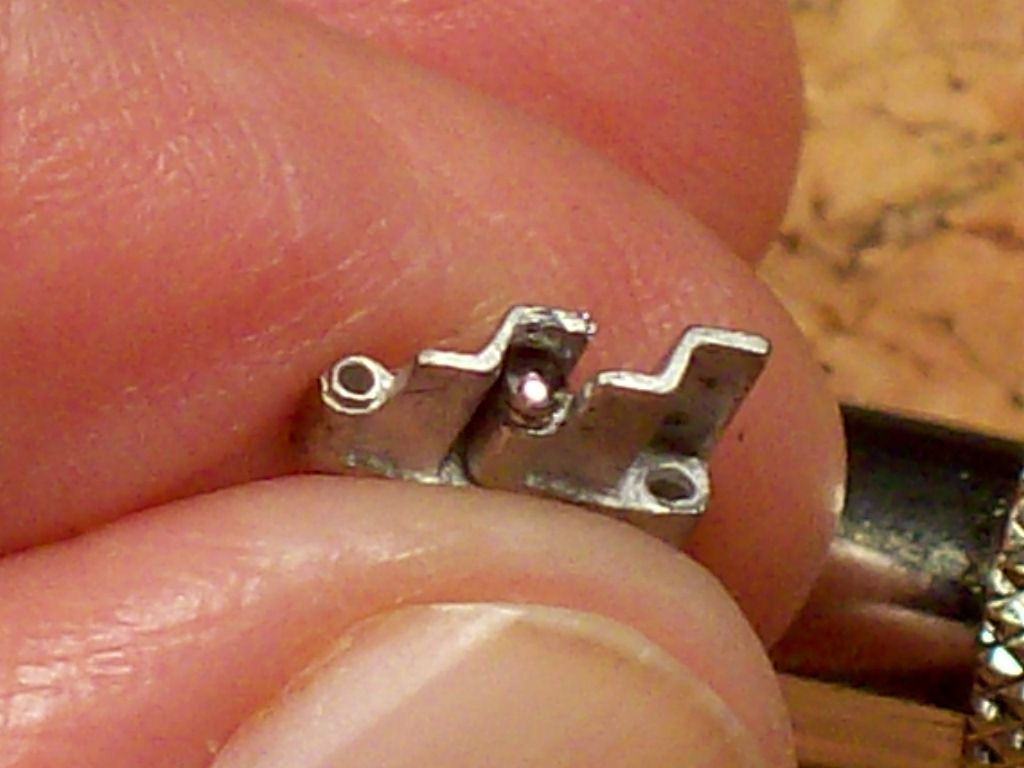
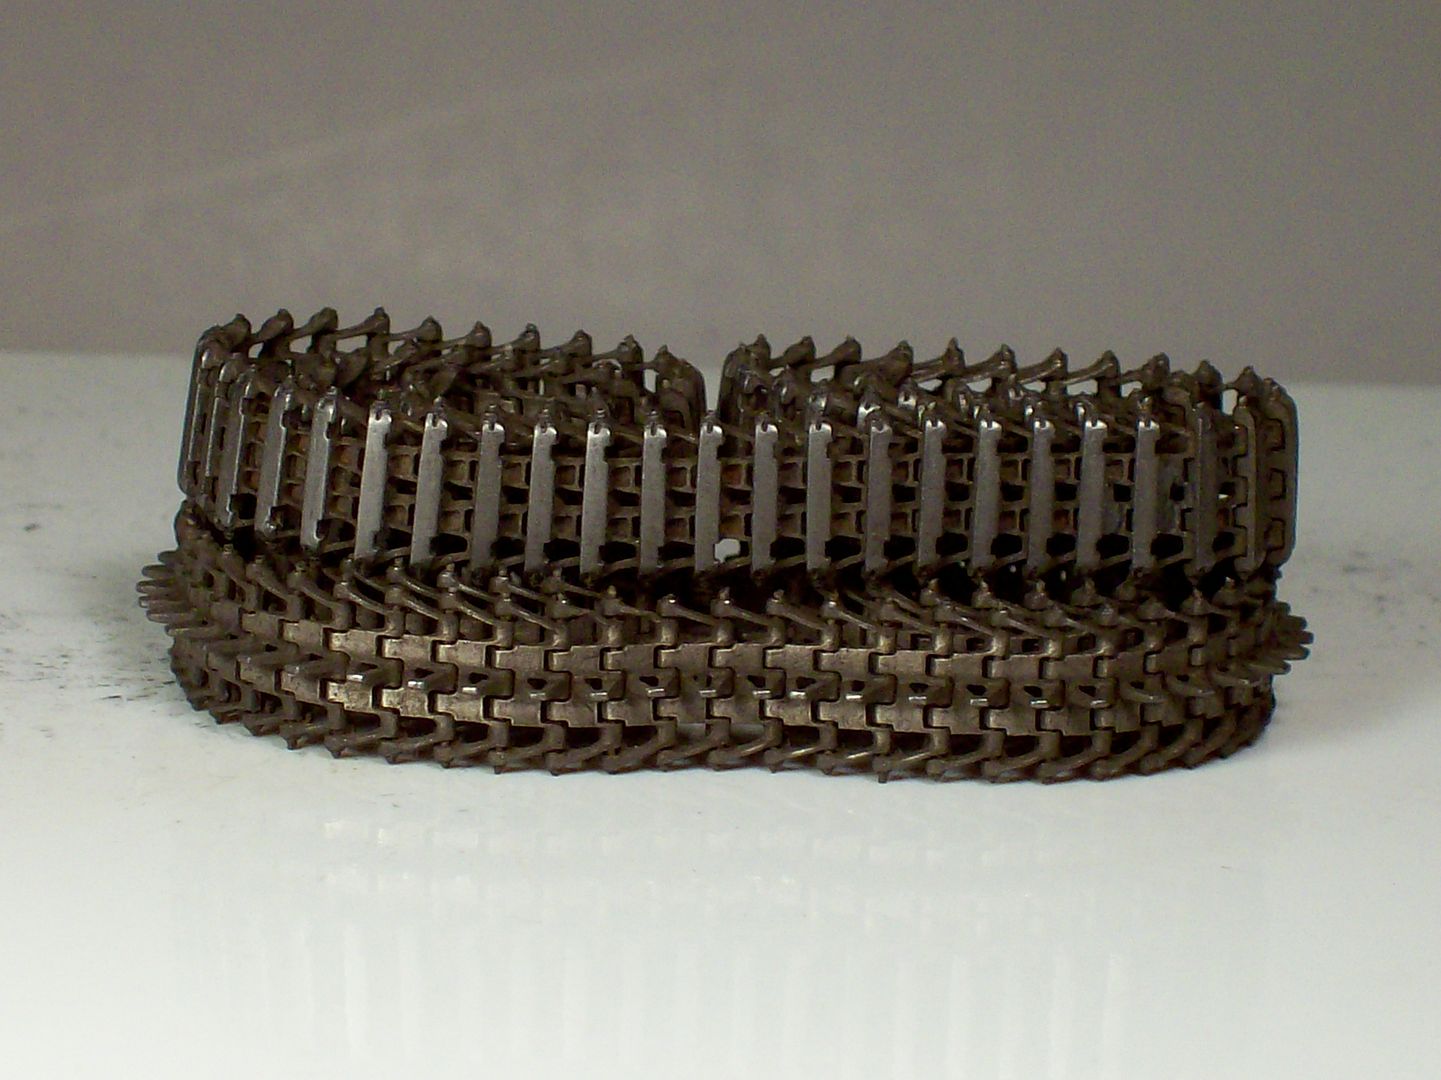
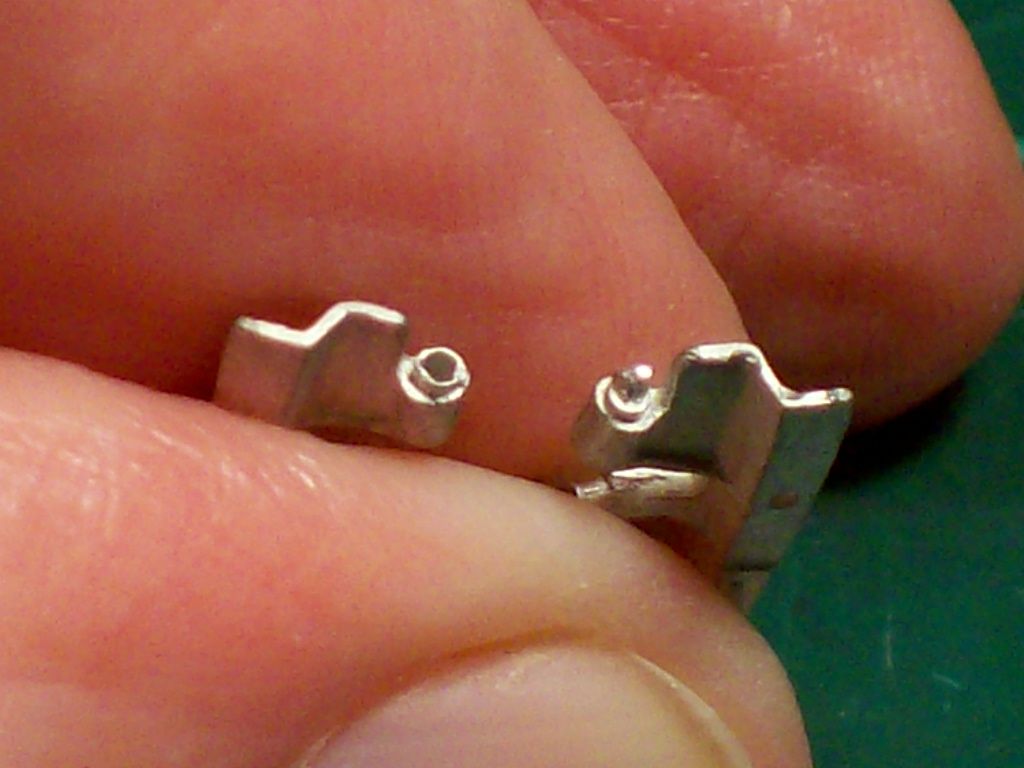
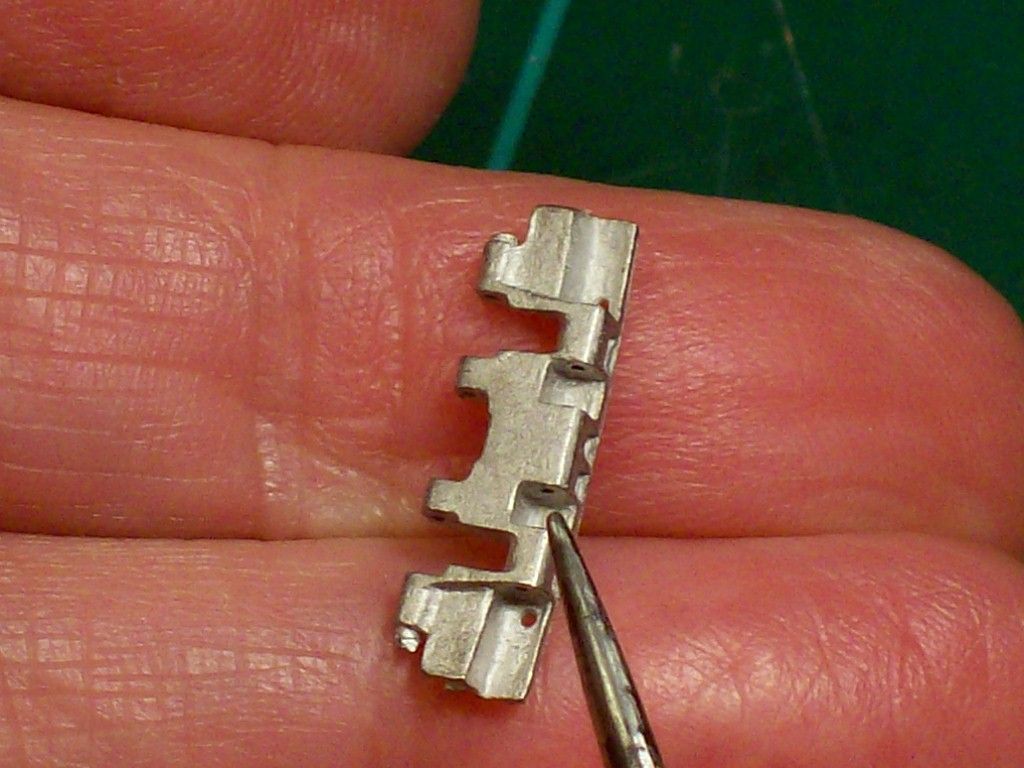
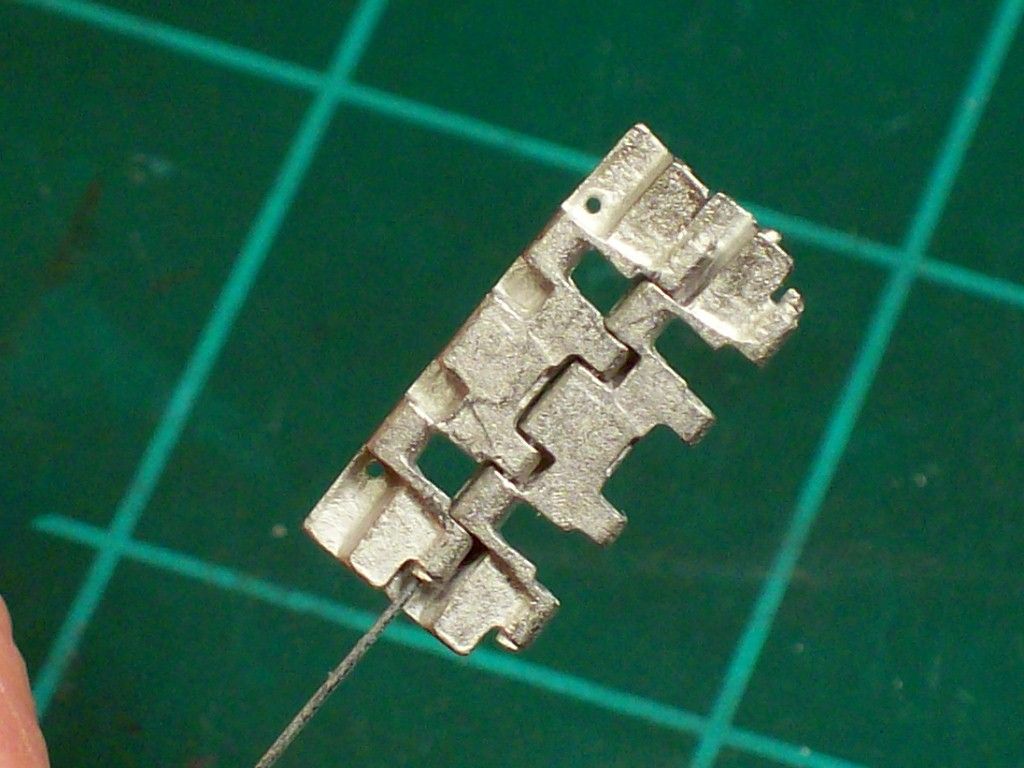
If you look at the links you'll notice one end has a hole for the wire and the other end has link pin detail cast into it. BTW that pin head detail is placed to the outside when mounting the tracks. Now you see why you need to keep the links separate and not in one pile.
100_0950-1.jpg

What you need to do now is set your drill bit depth so if you run across a link that the wire hole is blocked you can drill it without going all the way through destroying that cast link pin head.
100_0951-1.jpg

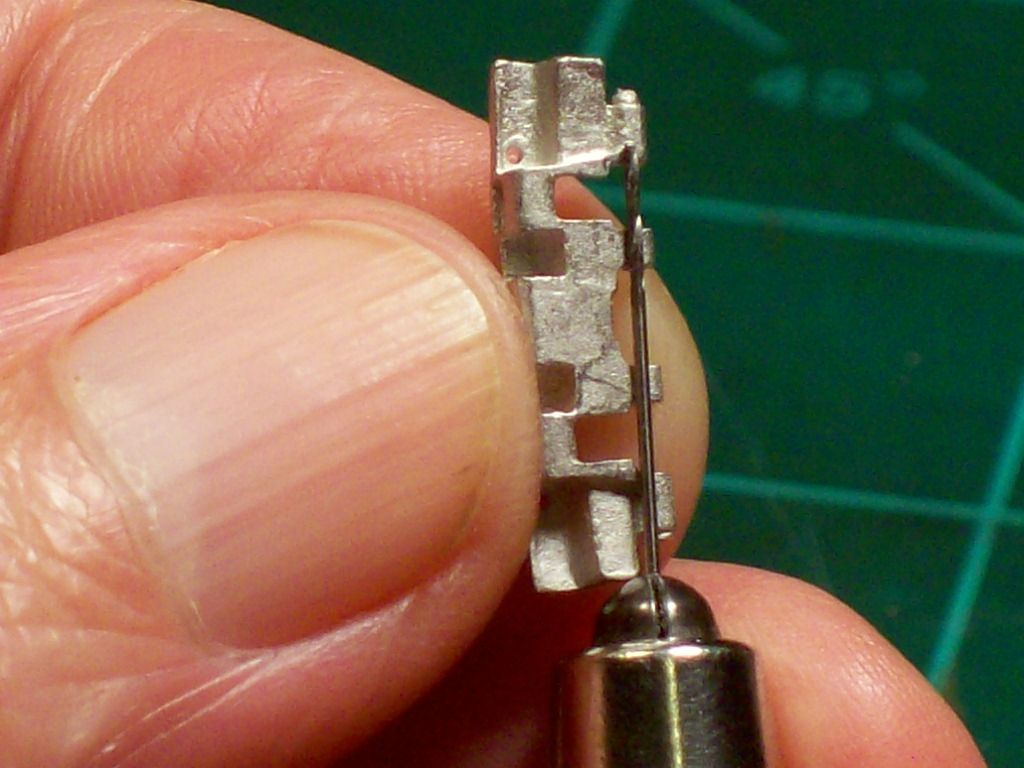
You do have a pin vise???? If not get one,makes life easier.

Lets cut this off here and start a new chapter
Tony
 
Chapter #2

This picture shows the hinge bosses or knuckles that form the link hinge. Sometimes you'll need to clean-up some flash around the edges in order for the links to fit square so check this area before you run the pin through.
100_0953-1.jpg

The casting material used is pretty soft so if a link is bent out of shape you can use you fingers to bend it back into alignment.

OK everything look good to go so I inserted the wire till it bottomed out against the cast pin end.
100_0954-1.jpg

NOTE: I wouldn't advise you having a finger tip over the end because you can push through and spear the meat that's in the way. Talk about sore the next day. :eek:hmy:

With the wire seated it's time to nip it off and do the same thing again and again and again and again.
100_0955-1.jpg

I use a pair of old PE shears since the wire is so soft to clip it off.

I used the wire above for instructional purposes but like I said I use dress or sequin pins for the large tracks. I find that sewing shops are the best place to find a large assortment of these pins but they are where you find them.
I ran out of the length I needs and these pin were a little long so I measured the depth needed,made a mark on the edge of the bench mat and cut the pins to the length I needed. You'll need a pair of side cutter for this job because they are hard steel.
100_0956.jpg

I wanted to keep the button end so I trimmed off the pointed end otherwise I would just insert and clip off what ever was sticking out like the wire.
100_0957.jpg

Neat huh?

The dress pins are usually pretty tight and don't fall out like the wire so if you do use the wire you might need to put a very small dab of glue over the wire end to hold it in place.
100_0959.jpg

It's recommended to use the thick CA but I just use my Testers Master Modelers glue in the black bottle for the job.
If you blacken the tracks you'll need to paint over the shiny spots where the glue is,no big deal but if you paint them like some do it don't matter.

Lets end this chapter right here
Tony :)
 
Cool stuff Tony. The only thing I do differently than you with the wire is bottom it out then pull the wire back a hair before cutting. When pushed back the wire is just below the rim. Then apply thick CA. I'm going to look for some pins though and try those. Thanks for the cool tutorial.
James
 
Chapter #3

Now that you've got the tracks all together we're ready to do a preliminary fitting.
Some folks count links,I don't,I just put all the links together because i'll more than likely use them anyway.
I drape the track over the wheels and sprocket with the extra over-lap on the bottom. Adjust for my sag and pull out the pin where I think the joint should be.
100_0961.jpg


Then I remove them and join the track ends together. Since I leave the idler or sprocket loose I reinstall the track and see how close my eyeball gauge was.
100_0962.jpg

Now folks you've got to admit that ain't a bad guess. I can adjust for sag at the final fitting after checking the pictures of the real thing.

There you have it,even a caveman can do it :laugh:

Hope this SBS is useful to somebody someday, I enjoyed doing it for you. :hmmm
I Love My Friuls
Tony lee :Hiay

PS: I don't know what kind of metal is used to make these tracks,most likely lead so wash your hands well before you eat of suck your thumb. (y)
 
That was a sbs just in time! :) just starting on the tracks for my Pz III.
Started with the wire but when i saw this i changed them for the needles, worked out much better!
Thanks for the sbs Tony
 
Lets put some color on these now:

There's a few different products on the market used to blacken your metal tracks and some even just paint them. I never had much luck with the paint because I never seem to get it to cover well between the links so I always use the chemical products like Blacken It or Black4Tracks.
AK Interactive is marketing a new product now but I haven't tried it yet. Also they say Birchwood Casey gun bluing products work OK too.

For this SBS I used Black4Tracks but I use Blacken It just as often.
The first thing is to give them a good scrubbing with (I prefer Dawn) dish washing liquid. Use an old tooth brush to get down into those nooks and crannies.
100_0277.jpg

Then rinse them off real good (Hot water) and let dry or use a hair drier to speed things along.

Place the tracks in a container and pour in enough solution to cover them.
100_0278.jpg

The metal will start to darken pretty fast so agitate them to shake out any air bubbles that might be trapped in the details.
I remove the track from solution after they take on a little color and go over them with the tooth brush and they place them back in solution agitating them now and then until i'm satisfied with the color.

You can now rinse them with water to wash away the blackening solution. My very first track set fell apart after awhile because something ate the pins up. Since then I soak mine in baking soda (1/2 teaspoon in a glass of water)to neutralize what ever it was that ate up the pins.
100_0279.jpg

Again I tooth brush once and return them to the soda water for good measure for a little longer then rinse in water and let dry.

The end result:
100_0280.jpg


We can't just leave them like that if you want them to look used now can we?
You need to apply TWO oil washes,ONE medium mix of Burnt Sienna and ONE medium mix of Raw Umber.
The Burnt Sienna gives them a rusty base color so wash the tracks with this first, be sure to get plenty down in the details.
Let them dry either air or hair drier and then so they don't look so rusty we'll apply the Raw Umber oil wash to take some of the red away. Let them dry
100_0282.jpg


All that's left to do is sand the cleats off lightly or you use graphite or AK Interactive Dark Steel pigment so they look like they've been on the road.
100_1217.jpg


Be sure to read the warnings and follow the directions provided no matter what product you use.

Happy Tanking
Tony lee
 
thank you again Tony- after seeing Paddy's 1/12 PE motorcycle chain this looks easy, but i am sure this is not so- this is expensive stuff. great work! :laugh:
 
Back
Top