• Modelers Alliance has updated the forum software on our website. We have migrated all post, content and user accounts but we could not migrate the passwords.
    This requires that you manually reset your password.
    Please click here, http://modelersalliance.org/forums/login to go to logon page and use the "Forgot your Password" option.

Adventures in 3D Printing. Panzers and Fantasy

I have bought scads of 1/700 Airplanes from Shapeways. It seems they use the extrusion 3D printing method because they are rife with irritating, tiny layers. If I understand correctly, your new printer doesn't make the "layers"? I'm not sure I asked that properly. :bm:
Please color something with a sharpie and take a close-up picture, perhaps?
All printers print in layers. The better resin printers work in thinner and thinner layers. Also the layer thicknesses can be adjusted on many of the resin printers. I suspect Shapeways doesn't run items at the finest settings as they are doing production and time is money. Thinner layers will take longer to print of course.
 
The extrusion printers lay down a layer extruded from a spool of print filiment. The resin one like mine uses a liquid resin and an LED screen which uses UV to print that layer. Each layer built up and only what needs to be printed is exposed. Then when done the resin is washed off and then you cure it. I'm new to this so maybe the explanation is too simplistic.
James
 
Okay so just finished my 4th print and it is no good. Having said that I did learn stuff so it was a success. As I cant find a lot of files that I can use I have been wondering about making my own files. Now the problem is I cant draw a straight line on graph paper with a ruler. Sad but true. So researched and found a program online that is free called Tinkercad. I watched a number of you tube videos and read a tutorial. I need a box for the back of my Pz III from the 24th PD. So I measured as beast I could. It took umpteen tries but I made a box. Bouyed by that success I made a lid. A few tries and done. I then sliced the drawing in Chitubox and this morning made 2 boxes. So I learned something new.....check, tried it,,,,check, and then printed it. Alas I think a .1mm side may be too flimsy. So now to redraw if I can remember how and try a .2mm wide sides. In the meantime here is my attempt Oh and it seems I can not measure either as I'm a couple of mm off but oh well. Oh and the lid actually fits tight so YAY :)
DSC09125.JPG
DSC09126.JPG
DSC09127.JPG
DSC09128.JPG

The box is sitting on the rear deck of the pz III.
James
 
Last print of the day and happy. MG 34 accessories. 3 barrels, not thrilled, a bunch of ammo canisters in and out of their caddies. Some empty caddies and some belts of ammo. Picture sucks but looking with the phone magnifier each round looks good. A couple of mounts that are very nice.
And thats it for today.
DSC09129.JPG
DSC09130.JPG
DSC09131.JPG
DSC09132.JPG
DSC09133.JPG

James
 
I would suggest 0.4mm on the box sides. The larger/longer the side the more material it needs in order to keep it's shape. Remember the resin will tend to be a bit soft until it is fully cured, and if it isn't thick enough it will sag under it's own weight and can also get pulled out of square with the "popping' process when the printer pulls the print up for the next layer.
 
Lookee! An original product! Bravo young Mister!:vgood: Was the texture on the bottom of the box intentional or a happy accident?
 
I have bought scads of 1/700 Airplanes from Shapeways. It seems they use the extrusion 3D printing method because they are rife with irritating, tiny layers. If I understand correctly, your new printer doesn't make the "layers"? I'm not sure I asked that properly. :bm:
Please color something with a sharpie and take a close-up picture, perhaps?
I'm with you. I have the 1/700 Korean War Bonhomme Richard and would love to fill the deck with F9F Panthers.
 
I'm with you. I have the 1/700 Korean War Bonhomme Richard and would love to fill the deck with F9F Panthers.
 
I'm with you. I have the 1/700 Korean War Bonhomme Richard and would love to fill the deck with F9F Panthers.
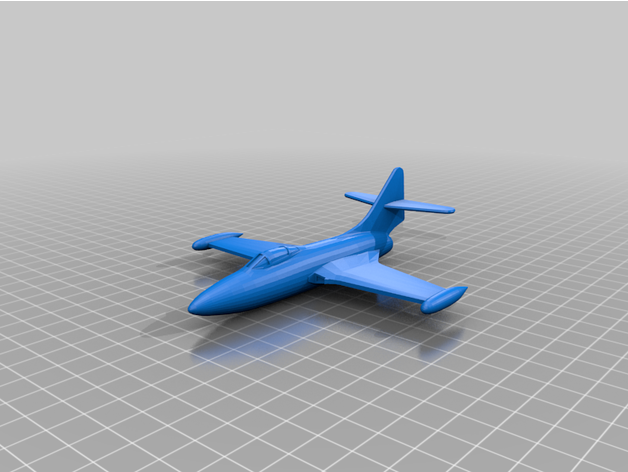
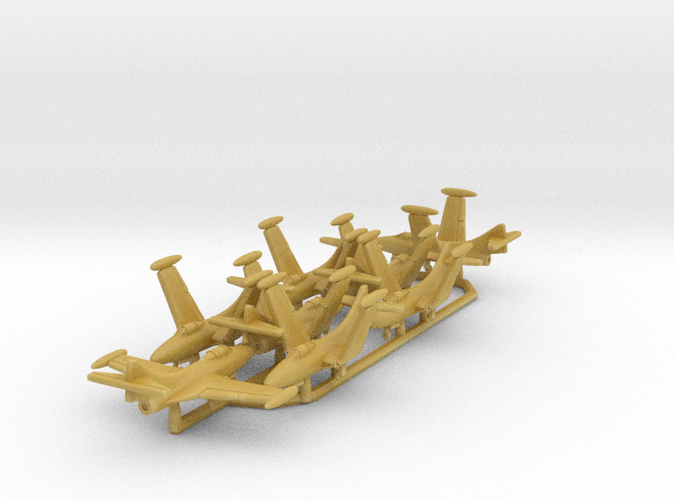
Don't forget your HOS-3 Helo and AD-1's for the pinwheel docking! I bought Panthers from Shapeways. Generally the ones with scale landing gear just snap right off.
These might work, but you only get one to fly around!
 
The future is NOW! Once you get a little practice with Tinker Cad, you'll be surprised at what you can do. If you run into problems with total file size, brake the project down into smaller sections giving each one a separate file. Another really handy tip is that you can import .stl and .svg files into Tinker Cad. You can then rescale or chop the .stl files up to use just parts of them. The .svg files can be handy for making shapes that are too difficult in Tinker or - my favorite - adding 3D text and graphics to an existing design.

This title plate for my 1/9 scale Hasegawa Clerget 9B engine model was made by taking two .svg files (one for the basic shape and one for the text, rim and rivets) and stacking them together in Tinker Cad.

082-Finished-Engine-and-Base-14.jpg


I used the exact same basic design to create this engine data plate. I took the basic design and chopped it using a pair of "negative space" cones (dimensioned to fit the contours of the engine case), then re-scale (re-sized) the now curved data plate.

010b Engine-Data-Plate-005.jpg


Here's a general shot of the rear of the engine. Almost all of these details were designed using Tinker Cad and printed on my desktop 3D printer (Anycubic Photon).

079-Finished-Engine-and-Base-11.jpg
080-Finished-Engine-and-Base-12.jpg


With some practice, you'll start wondering how you ever built models without your printer.
 
The future is NOW! Once you get a little practice with Tinker Cad, you'll be surprised at what you can do. If you run into problems with total file size, brake the project down into smaller sections giving each one a separate file. Another really handy tip is that you can import .stl and .svg files into Tinker Cad. You can then rescale or chop the .stl files up to use just parts of them. The .svg files can be handy for making shapes that are too difficult in Tinker or - my favorite - adding 3D text and graphics to an existing design.

This title plate for my 1/9 scale Hasegawa Clerget 9B engine model was made by taking two .svg files (one for the basic shape and one for the text, rim and rivets) and stacking them together in Tinker Cad.

View attachment 137670

I used the exact same basic design to create this engine data plate. I took the basic design and chopped it using a pair of "negative space" cones (dimensioned to fit the contours of the engine case), then re-scale (re-sized) the now curved data plate.

View attachment 137672

Here's a general shot of the rear of the engine. Almost all of these details were designed using Tinker Cad and printed on my desktop 3D printer (Anycubic Photon).

View attachment 137673View attachment 137674

With some practice, you'll start wondering how you ever built models without your printer.
Awesome thanks. I didnt know about the bringing in svg files but something to play with. Still trying to figure tinker cad out as I cant seem to do some of the stuff the videos show as being easy.
James
 
Awesome thanks. I didnt know about the bringing in svg files but something to play with. Still trying to figure tinker cad out as I cant seem to do some of the stuff the videos show as being easy.
James
I'll be happy to try to lend a hand if you have any particular questions. Tinker CAD is sort of "CAD for cavemen," but every time I think I've reached its limit and tell myself to finish up my Fusion 360 lessons, I seem to be able to squeeze a little more out of TC.

The .svg "trick" is really useful, though. If you can source a B&W 2D .jpg image of the profile or shape you need, you can convert that .jpg into a .svg using anyone of a number of free file-converter sites on the ol' interweb. Once you import the .svg into your working TC file, it's automatically converted by TC into a .stl making the 2D profile into 3D. You can then resize that and manipulate just like any other 3D shape.

For creating the 2D .jpg, you can use any simple drawing or graphics program. I use MS PowerPoint a lot for this since it also offers text, etc. However, you can also just hand-draw the profile, color it black, and scan it using most paper printers. Once you scan and save it as an image, it'll be a .jpg, and you can take it from there.

Of course, the 2D profile or shape doesn't have to have anything to do with text, logos, or other such graphics. You can stack the profile shapes for a complicated girder or other structural shape just as easily.
 
Back
Top