• Modelers Alliance has updated the forum software on our website. We have migrated all post, content and user accounts but we could not migrate the passwords.
    This requires that you manually reset your password.
    Please click here, http://modelersalliance.org/forums/login to go to logon page and use the "Forgot your Password" option.

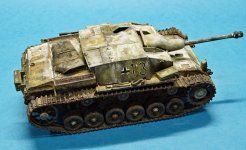
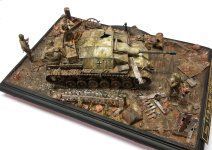
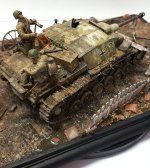
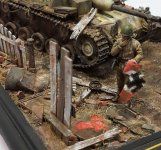
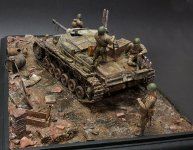
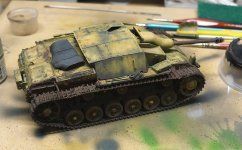
'UPGUNNED' STUG 3C PRUSSIA 1945 1/35 completed.

Brokeneagle

Master at Arms
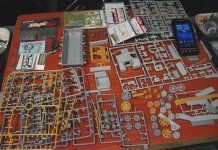
This little dio started as just a cross-kit of a number of early Dragon Stug 3 kits that had turned into spare left overs but enough to mix'n graft into an early Stug 3C in East Prussia in about March 1945. It was loosely based on the photo below, which is quite well known, Dragon basing a later kit on this unique subject.
sbrez.jpg

ref 2.jpg

ww2-east-prussia-konigsburg-koenigsburg-1945-009.jpg

I originally posted this kit build years ago but had it deleted,.......anyway once I came back to it I felt a better base would fix it

My initial idea was to have a dead horse on the side of the road with some German prisoners walking by but the original layout just didn't work.
DSC00100.JPG
So I gave the tank a birthday with some updated paint washes and weathering and re-imagined the layout.
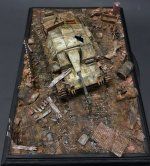
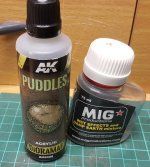
This was just the initial steps......the 2 images below show the raw ground work(sand and gravel etc) applied over a wet AK Dry Ground and Mig pigments to give the ground work a good color base for further colors. This is also before the tank has been updated with some new washes and paint etc...
20220725_174701.jpg

20220725_174640_001.jpg

I then proceeded to add more pigments and detail from the spares box as well as some nice fine debris using AK Dry Sea Grass and Plus Model leaves.. I applied the wet effects for the areas that are still wet and finished off the deeper puddles with AK Puddles.
Back with an update soon....
 
Last edited:
Thanks MP, this goes through a transformation at this point with the initial ground work providing a good texture and color base.
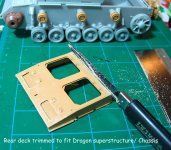
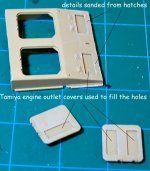
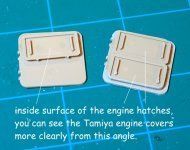
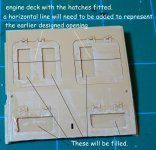
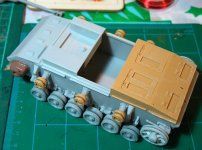
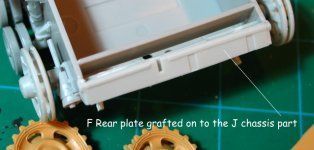
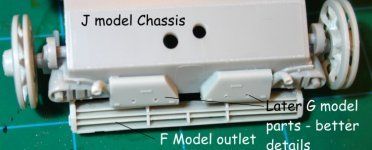
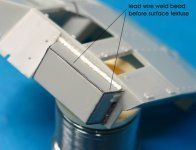
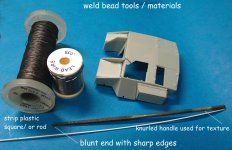
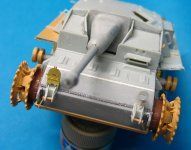
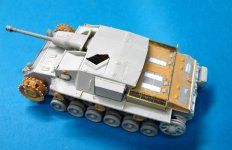
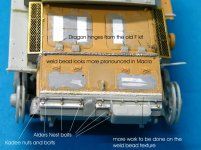
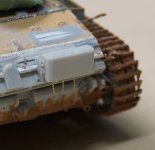
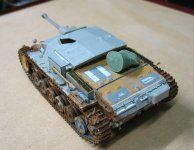
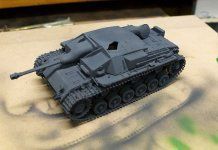
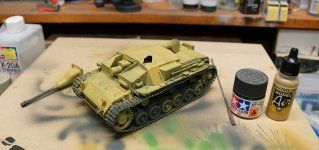
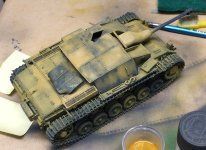
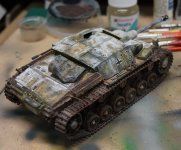
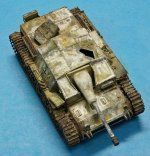
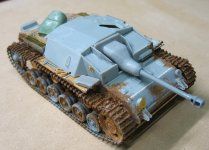
This was the tank during the build with a lot of X-kitting and a bit of scratch building.
IMG_1580.jpg

IMG_1575.jpgIMG_1578.jpgIMG_1579.jpg
IMG_1635.JPGIMG_1621.JPGIMG_1622.JPGIMG_1623.JPGIMG_1627.JPGIMG_1628.JPGIMG_1629.JPGIMG_1630.JPGIMG_1634.JPG
IMG_1625.JPG

1.JPG3.JPG4.JPG8.JPG9.JPG11b.JPGDSC00097.JPG
DSC00098.JPG

IMG_1814.jpgIMG_1816.jpgDSC00208.JPGDSC00210.JPGDSC00215.JPGDSC00258.jpgDSC00287.JPGDSC00288.JPGDSC00681.JPGDSC00683.JPG

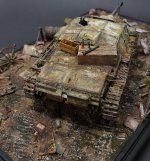
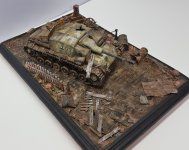
So I have now basically completed the tank and base but still need to add a few polished sections to the exposed track tops, plus a German helmet or 2 on the ground. You can see the changed German yellow and the reduced winter cammo.......the old tank color was way to dead and needed a kick!
20220725_174701.jpg

20220807_210313.jpg

20220807_210335.jpg20220807_211543.jpg
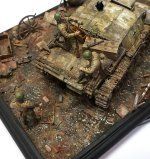
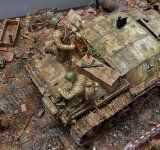
The damaged fence posts have the odd nail in them and I have added the bottles with labels, expended shells and cammo netting behind the fighting compartment and some loose strands on the barrel.
20220807_211654.jpg

20220807_210820.jpg

20220807_210413.jpg20220807_210436.jpg20220807_210908.jpg20220807_211554.jpg
20220807_210925.jpg

20220807_211439.jpg

20220807_211714.jpg

This looks as though it all just falls together but the color choices, pigment layers and highlights all have to be carefully thought out so that it balances across the scene and the colors aren't just inundated with browns. I needed the white fence and the red & grey rubble to act as contrasting elements.
20220807_215503.jpg
As a final step, I added the wet effects and puddles around the scene, making sure I retained a contrast between dry and wet. The scene is set during spring with the muddy road starting to dry out. This is set in a rural town in East Prussia so the dry sea grass scattered around worked well with that countryside/ small town setting.
20220807_214204.jpg
The next step is the Russian soldiers for which I am using the Gen 3 late war set from Dragon. These figures are well detailed but difficult to assemble in some areas because the instruction guide numbers are jumbled for the sections of clothing(which come all seperated with Gen 3 for better detail).
I am going to attempt to paint these figures in a completely new way for me. I usually paint my figures using the method I learnt from Bob Letterman and Verlinden but I thought it might be time to try the acrylic method that people seem to be getting nice results with.
Their up next......
 
Last edited:
I finally finished my figures for the Stug3 C dio I posted here about a month ago. God how I hate painting figures........anyway all done. I added the helmets, spent shells and worked on contrasting the red brick a little more to give it more color balance.
Photos are a mix of white and black backdrops to give a better idea of the color as it changes a bit.
Back to the subs.........
20220908_165307w.jpg
1662688662589.png

20220908_165140 web.jpg

20220908_165329w.jpg20220908_165753w.jpg20220908_165807w.jpg20220908_165346w.jpg20220908_165824_001w.jpg20220908_170021_001w.jpg20220908_165548w.jpg20220908_165711w.jpg20220908_165734w.jpg20220908_165434w.jpg
 
Last edited:
You may hate painting figures, but you have some seriously mad skill for doing them! Wow, this is one of the most incredible, realistic looking diorama I've seen in a good many years!
Thanks Duke, love the feedback. I think this is my best dio over the last 3-4 years. I really enjoyed the weathering on this one and tried some experimentation with ideas, so it was very creative for me. :dude: :) .
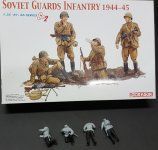
The figures were painted totally differently to how I normally do them with oils - I tried acrylics with the balck and white underlay. It worked-out OK but I think it that method would work better on resin figures that have more depth in the details such as uniform folds etc.
 
Back
Top