• Modelers Alliance has updated the forum software on our website. We have migrated all post, content and user accounts but we could not migrate the passwords.
    This requires that you manually reset your password.
    Please click here, http://modelersalliance.org/forums/login to go to logon page and use the "Forgot your Password" option.

Sherman PTO

iambrb

Well-known member
Howdy! So I have been slowly acquiring bits and pieces for some months now, and am going to start a 'joint' build. That is, I thought it would be neat to build a Pair of Sherman kits, one representing the Pacific Theater (PTO) , and also one representing the European Theater (ETO).

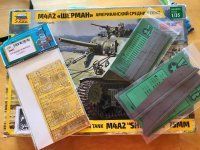
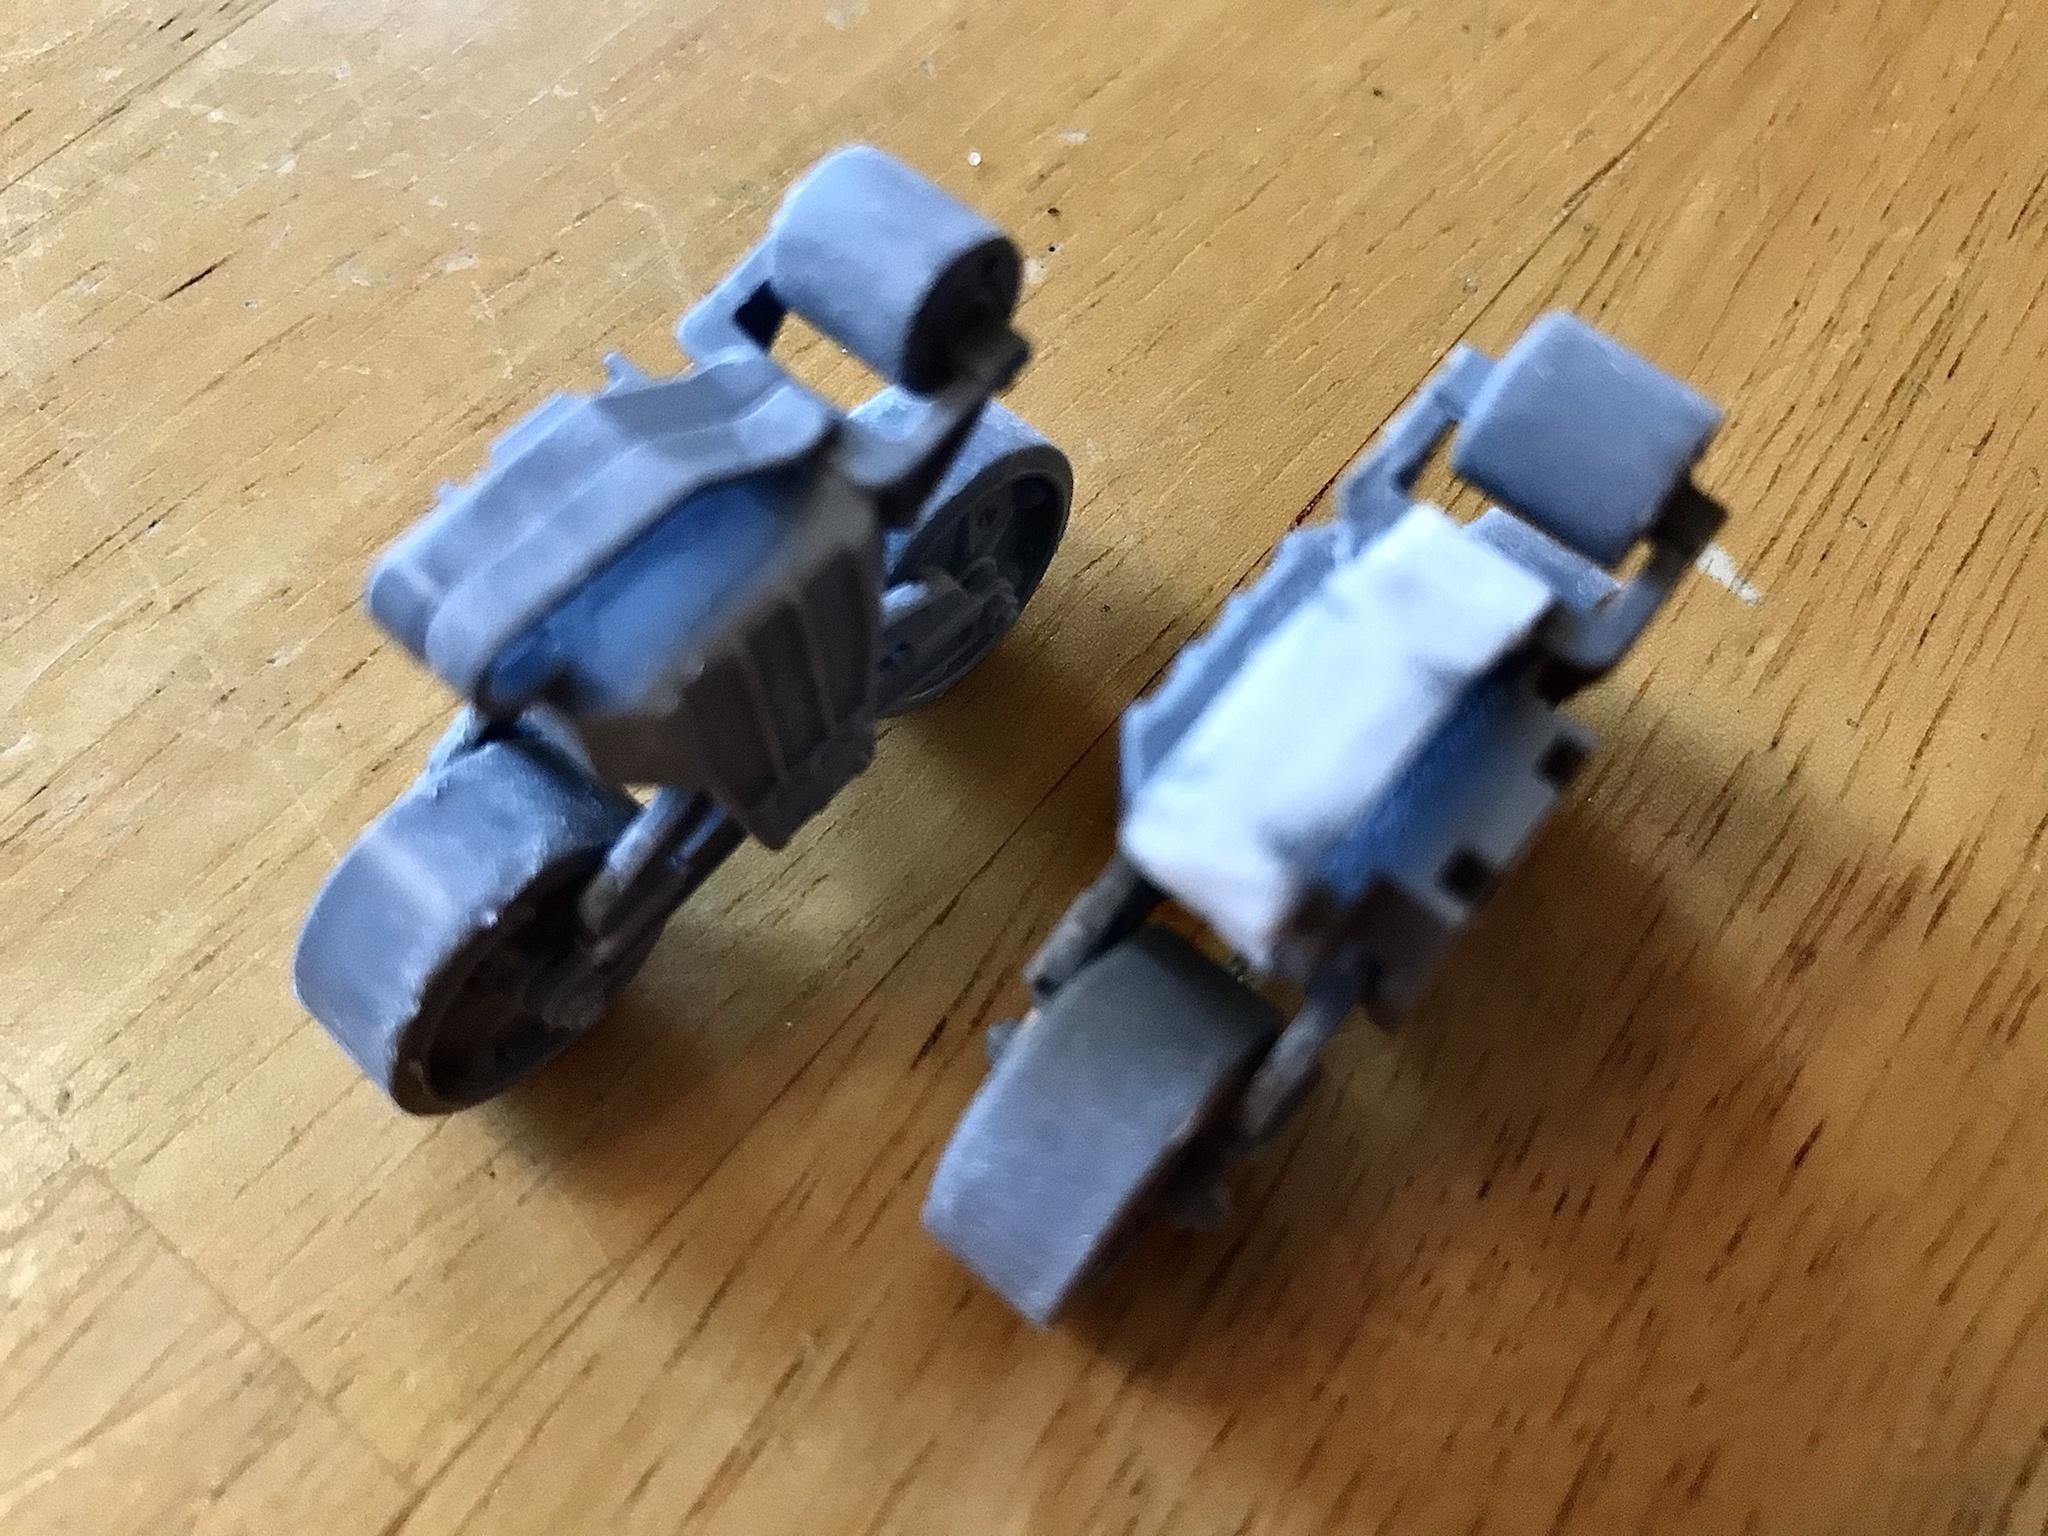
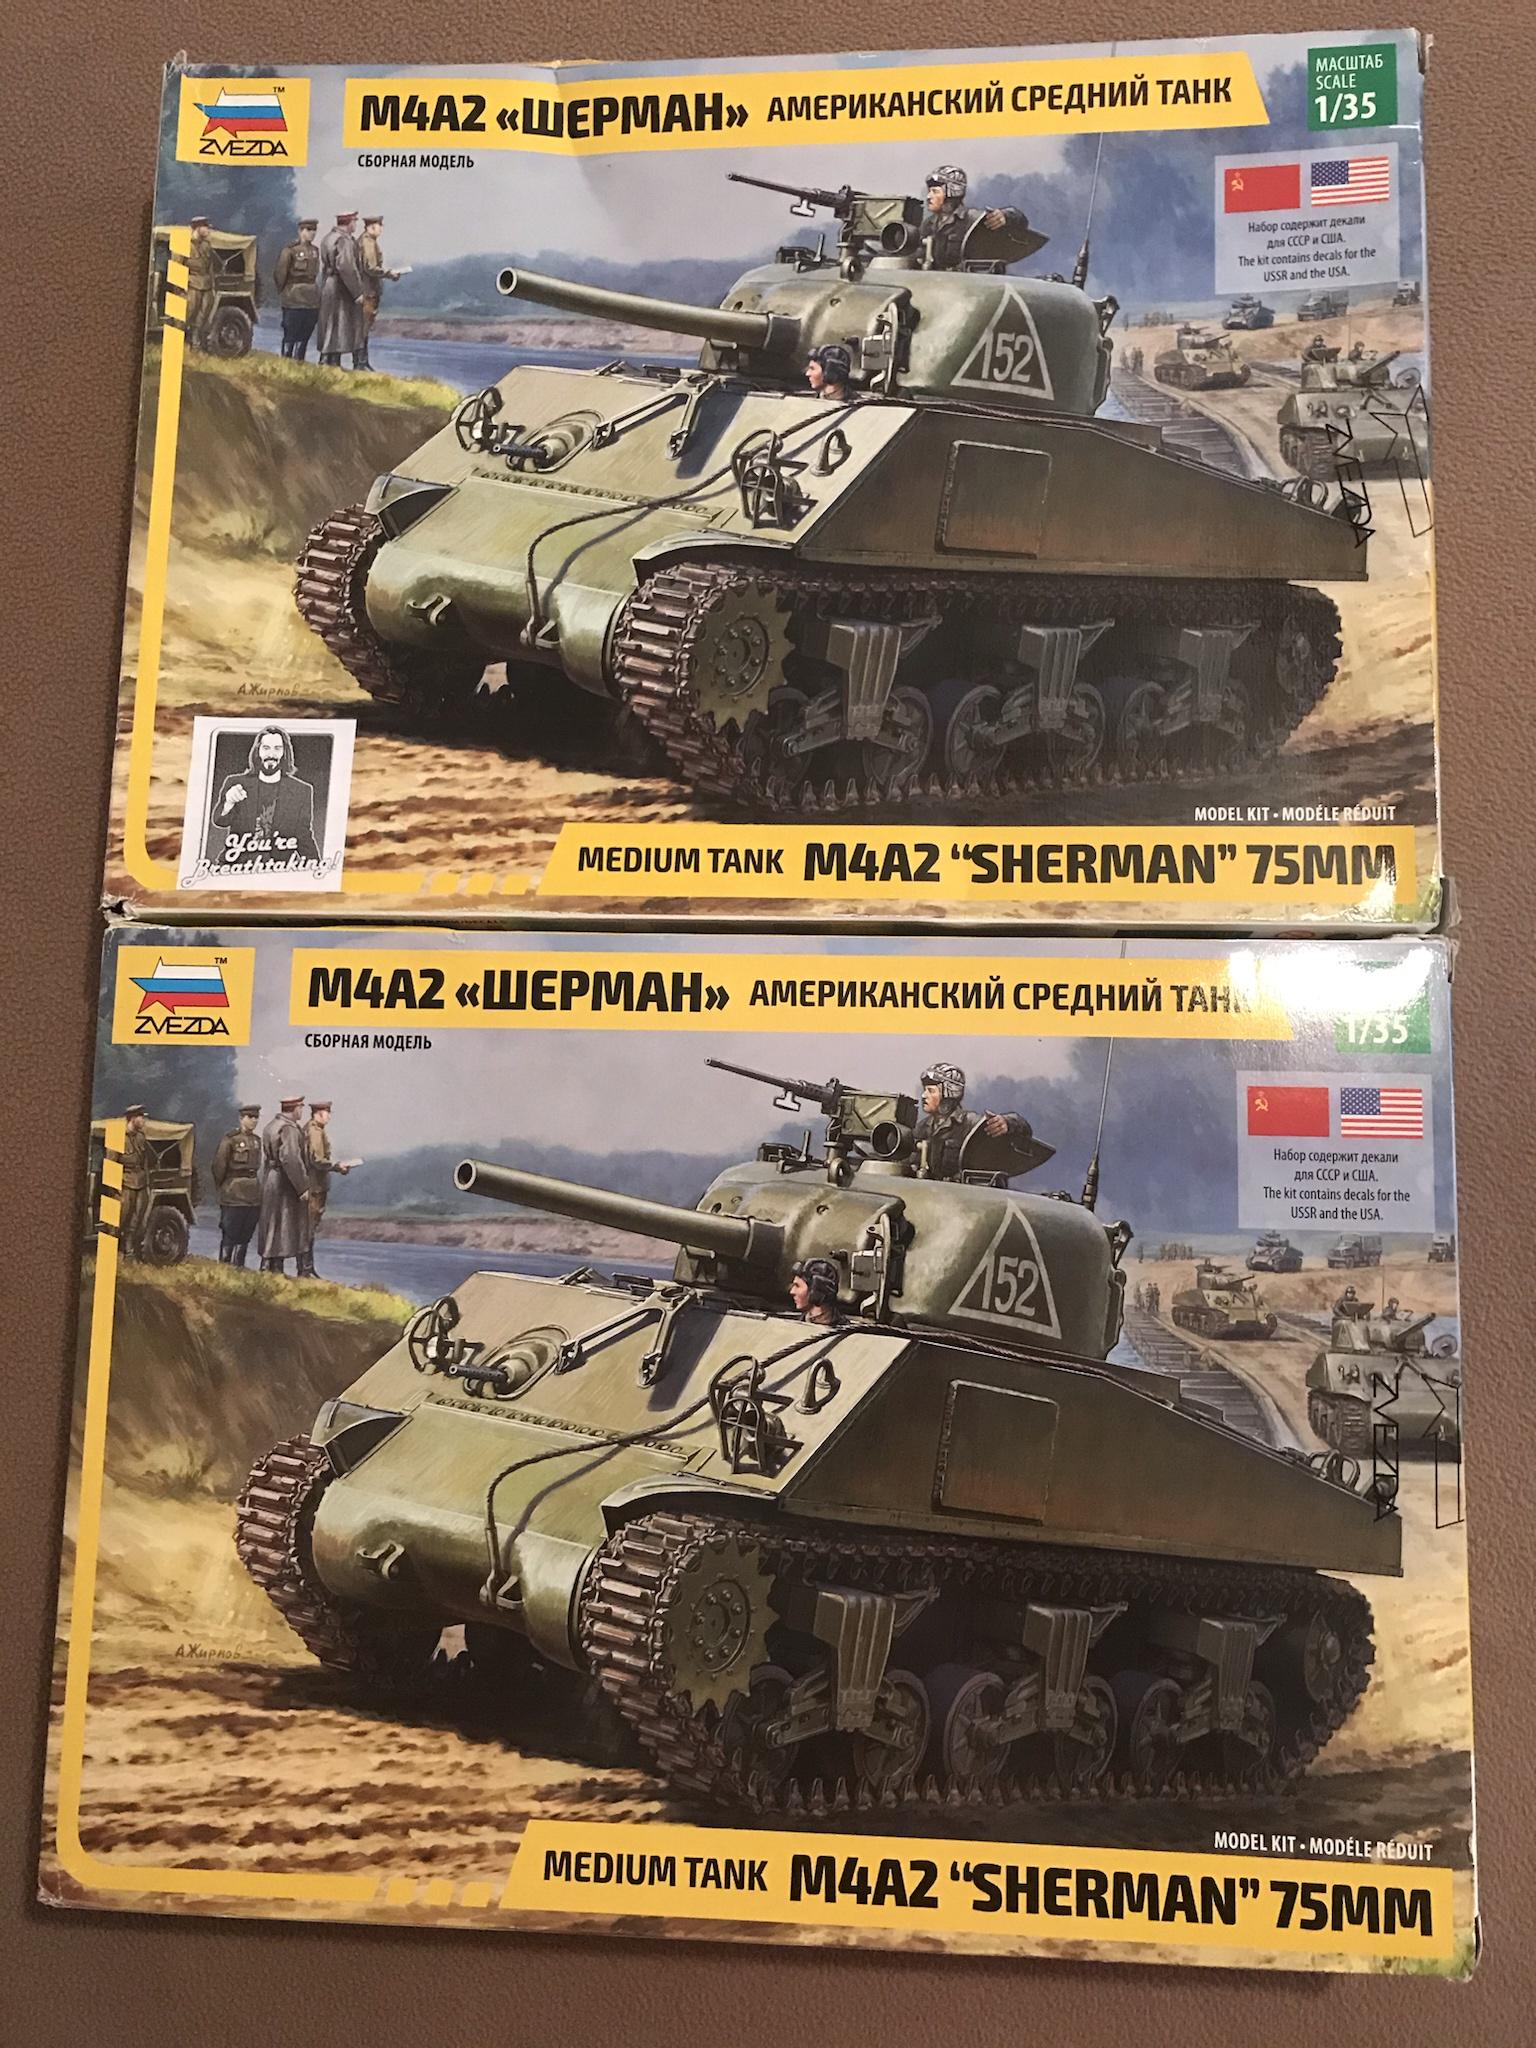
So the kit for this particular build is the new Zvezda M4A2 kit that I recently reviewed. I have added to some sets of resin from the excellent maker VALUE GEAR. This is is the Wood Side Armor and Bogie Armor. I have also pictured a set of Eduard Photoetch for the odd 'armor' they placed around the hatches (really for the Italeri kit. Shhh....). Also not pictured but I am going to use are a set of the correct "chevron" rubber band tracks from an older kit, and a set of Star Decals set, another fave and in constant use on most kits that I build.

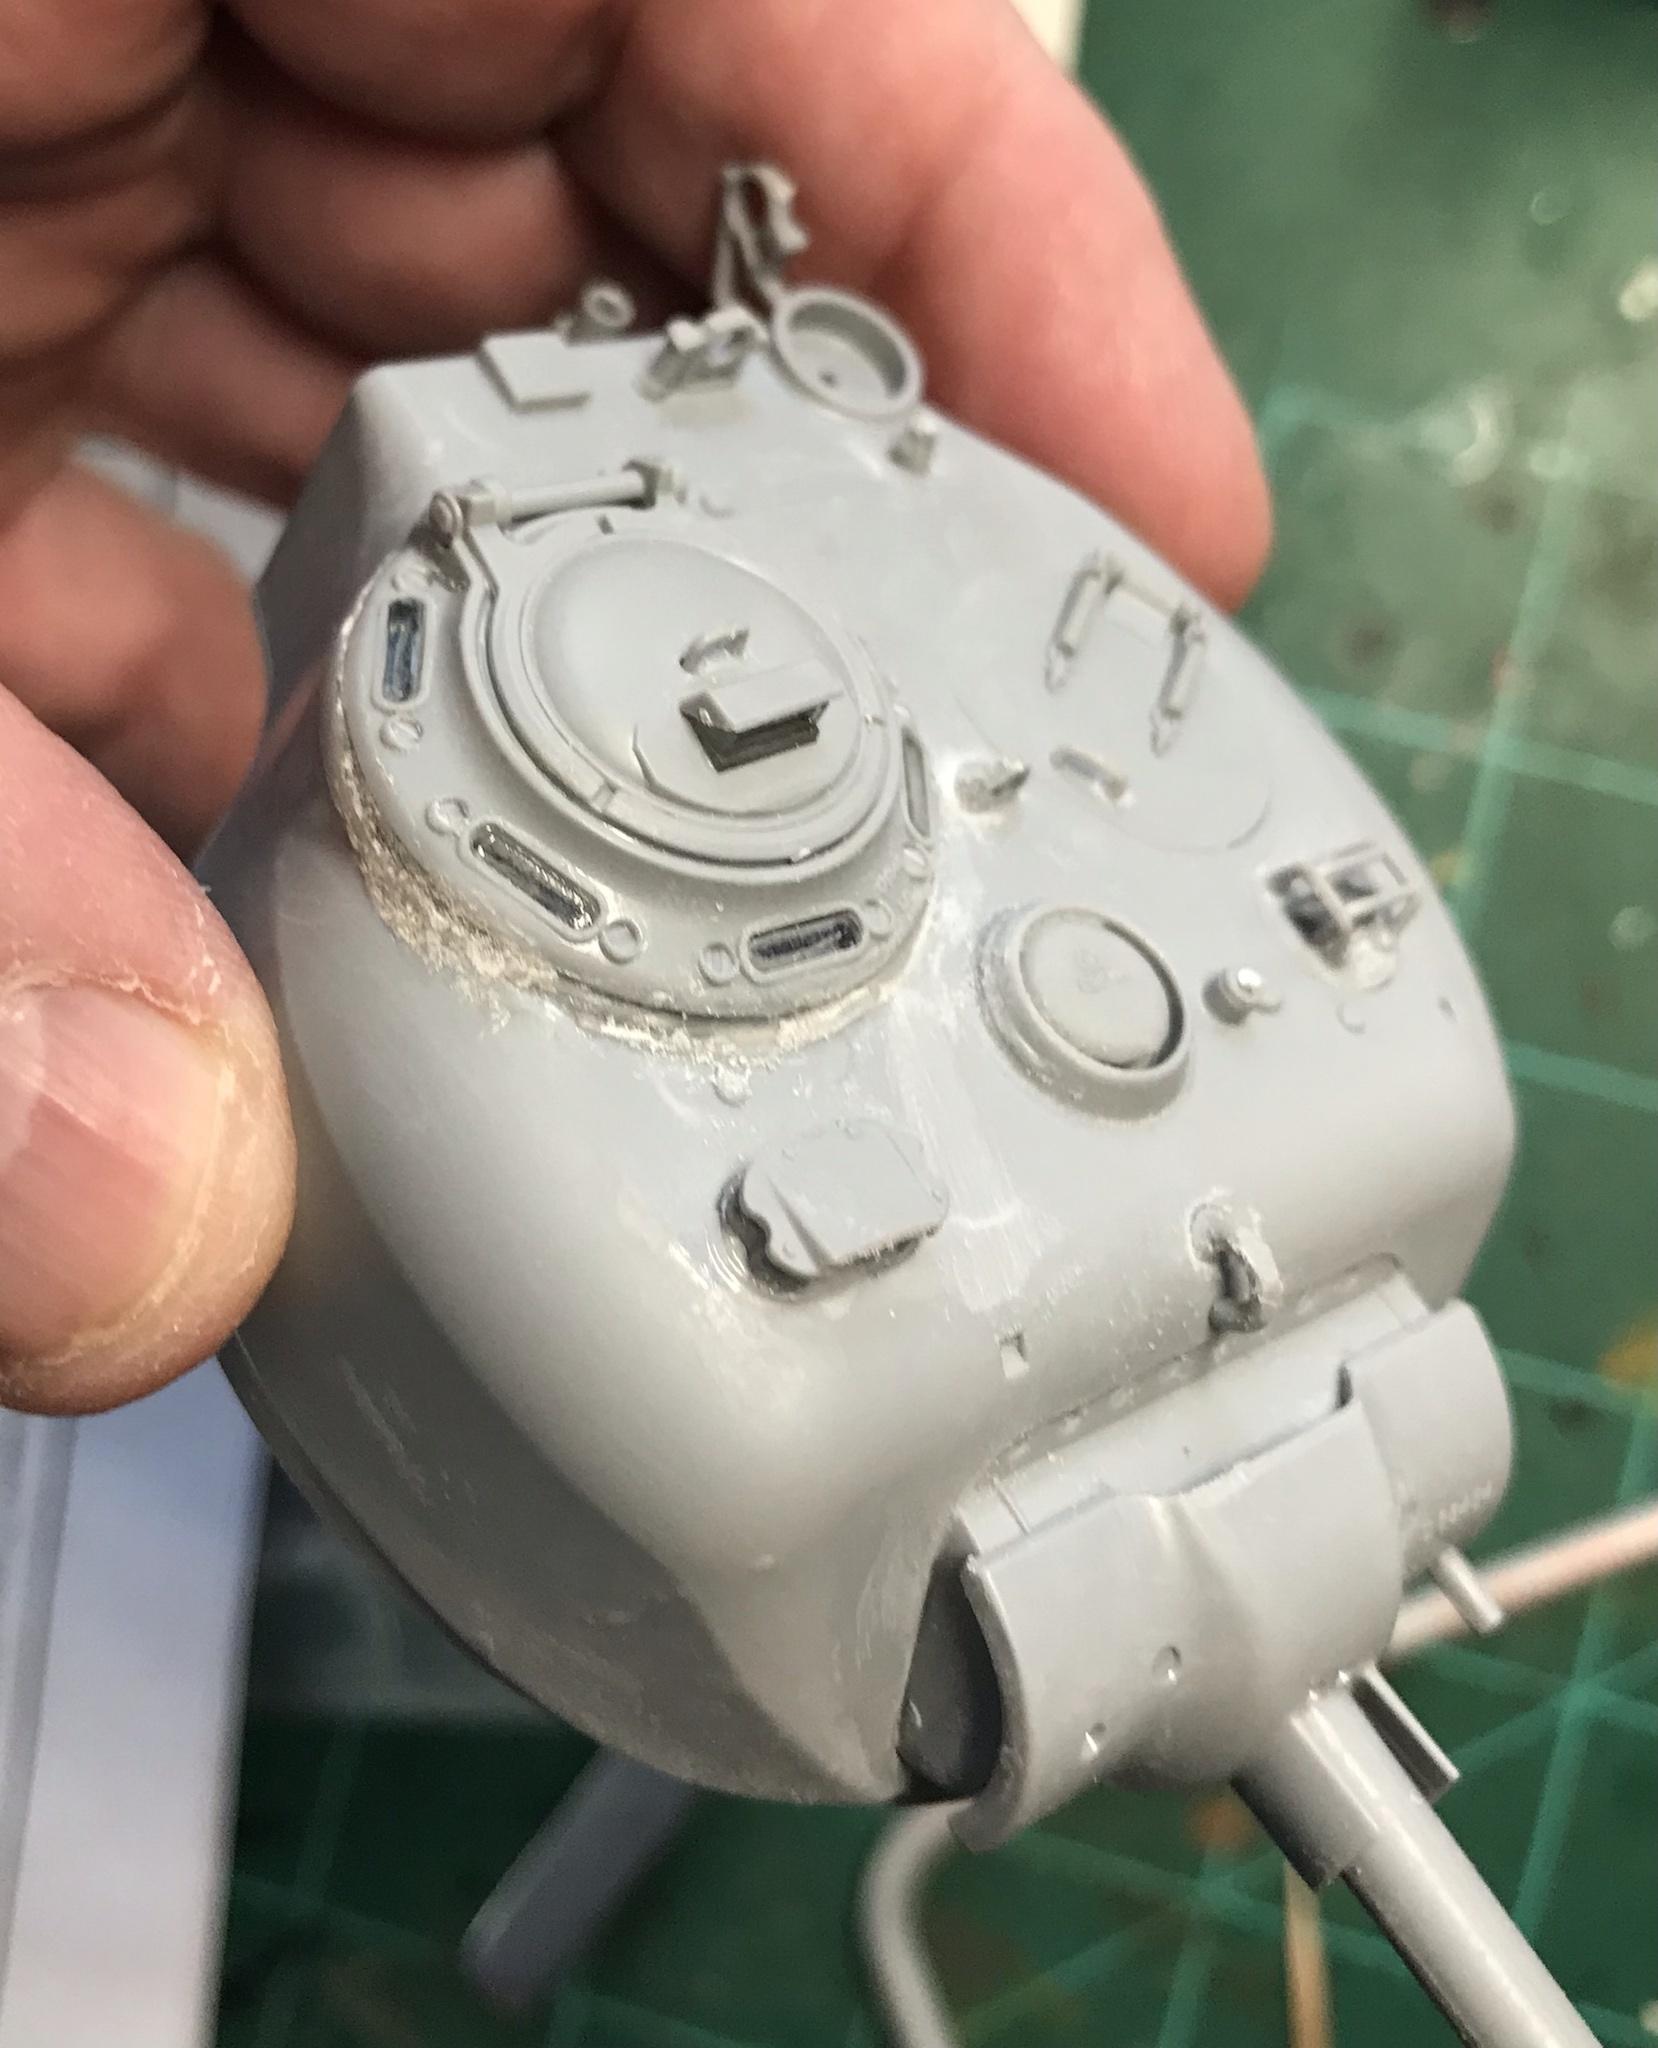
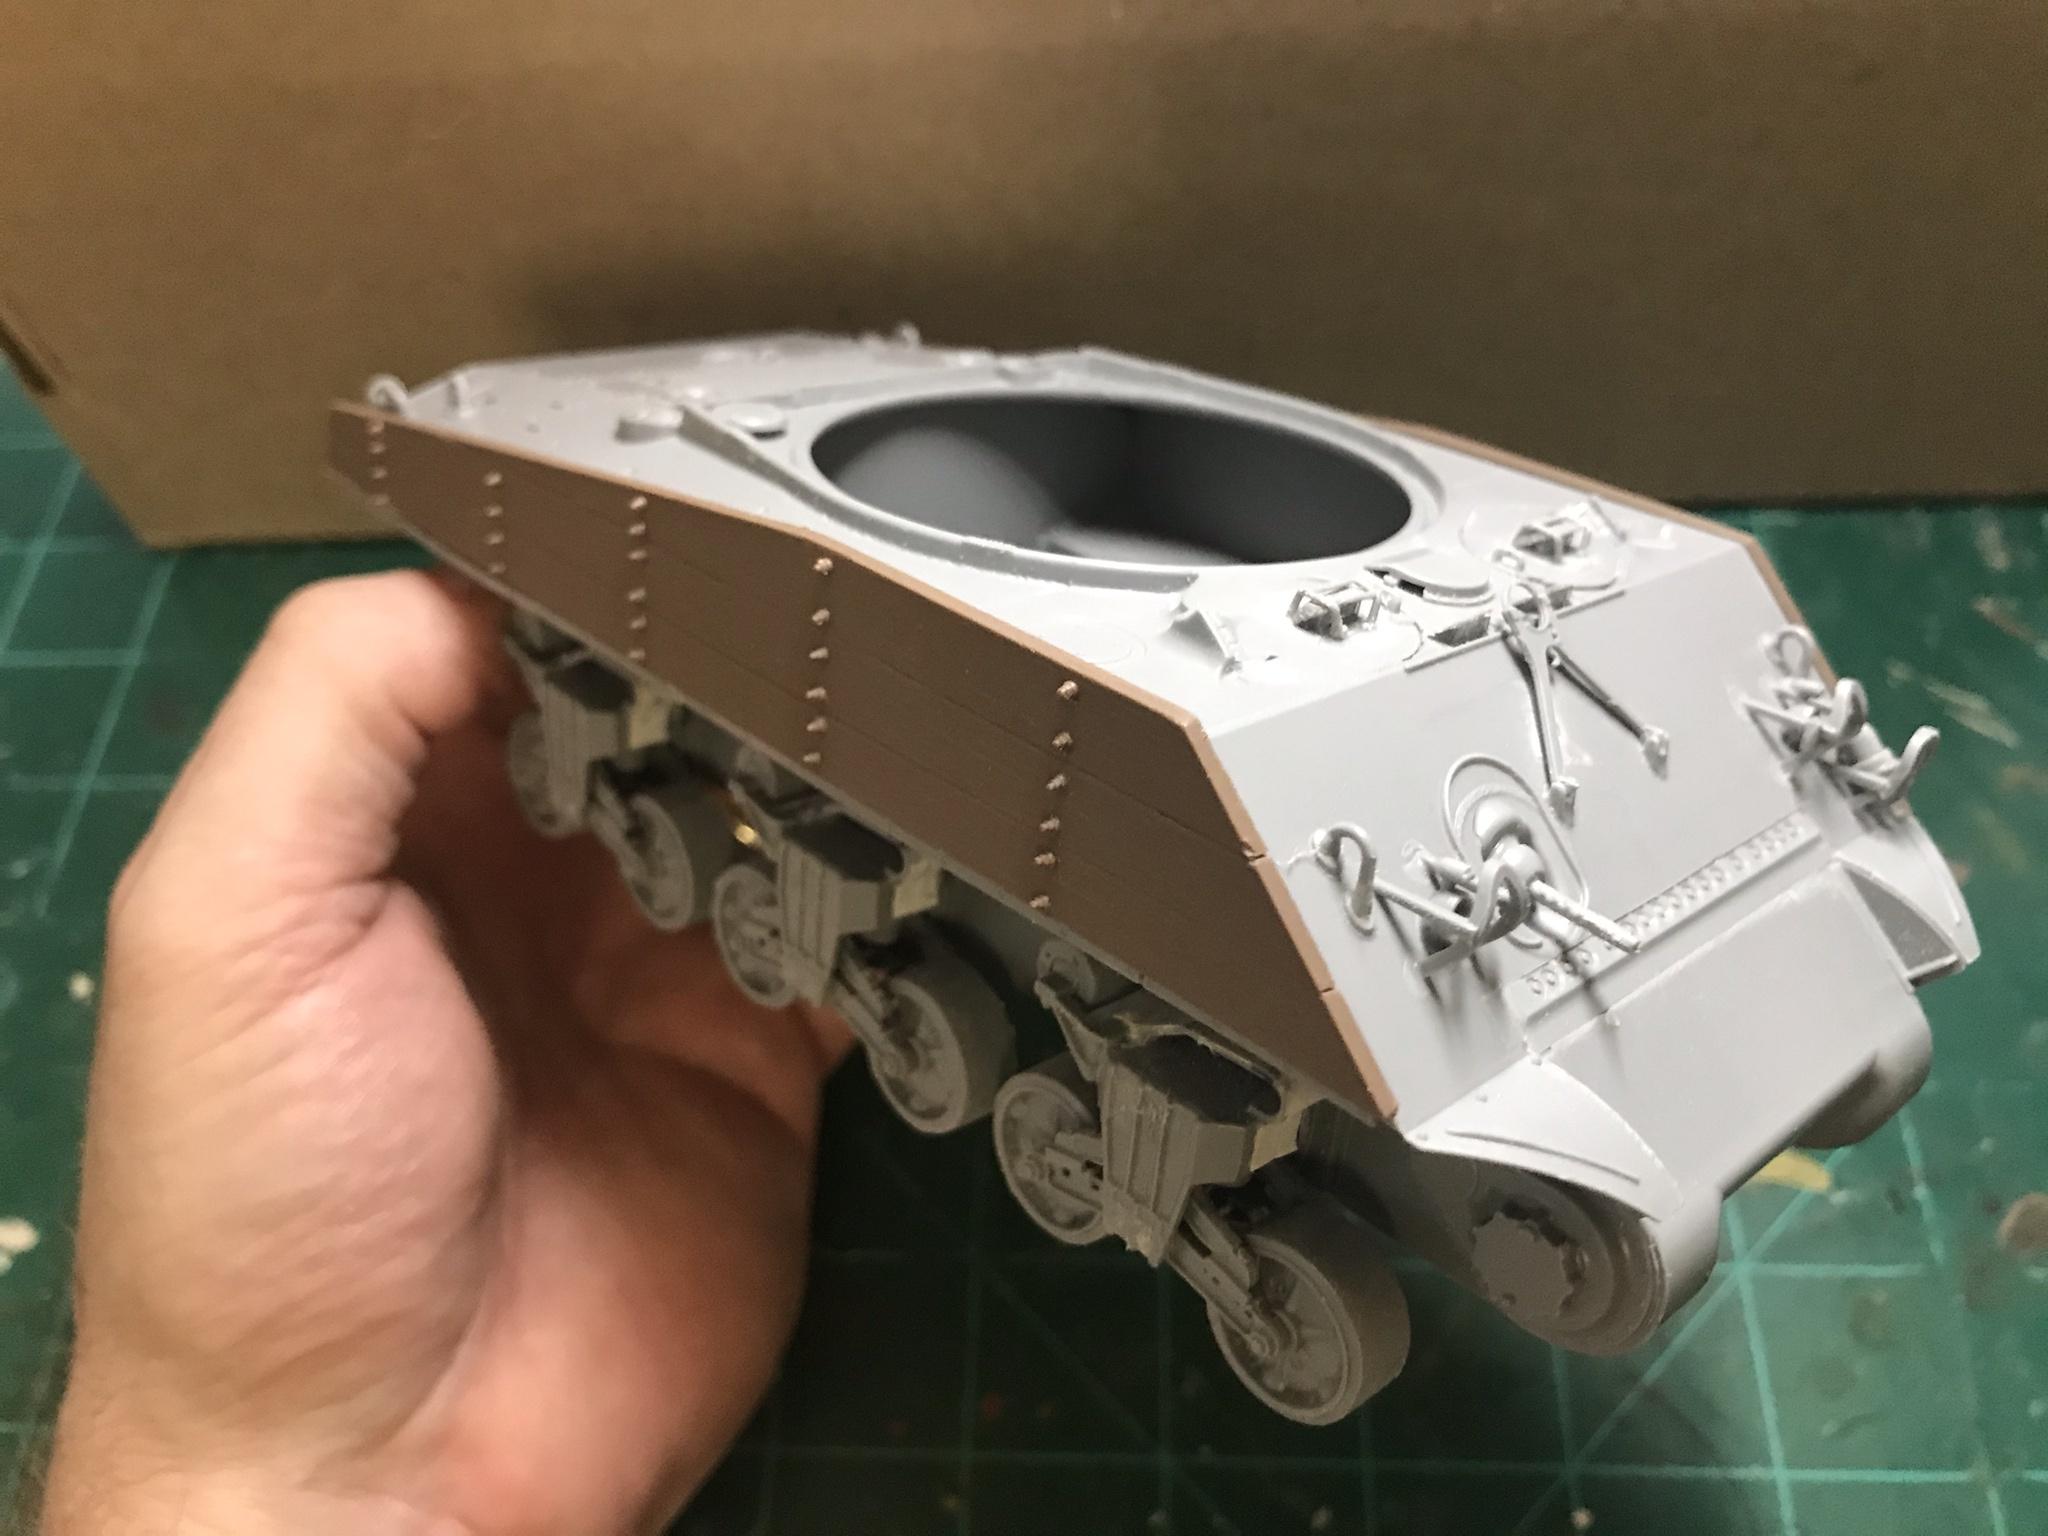
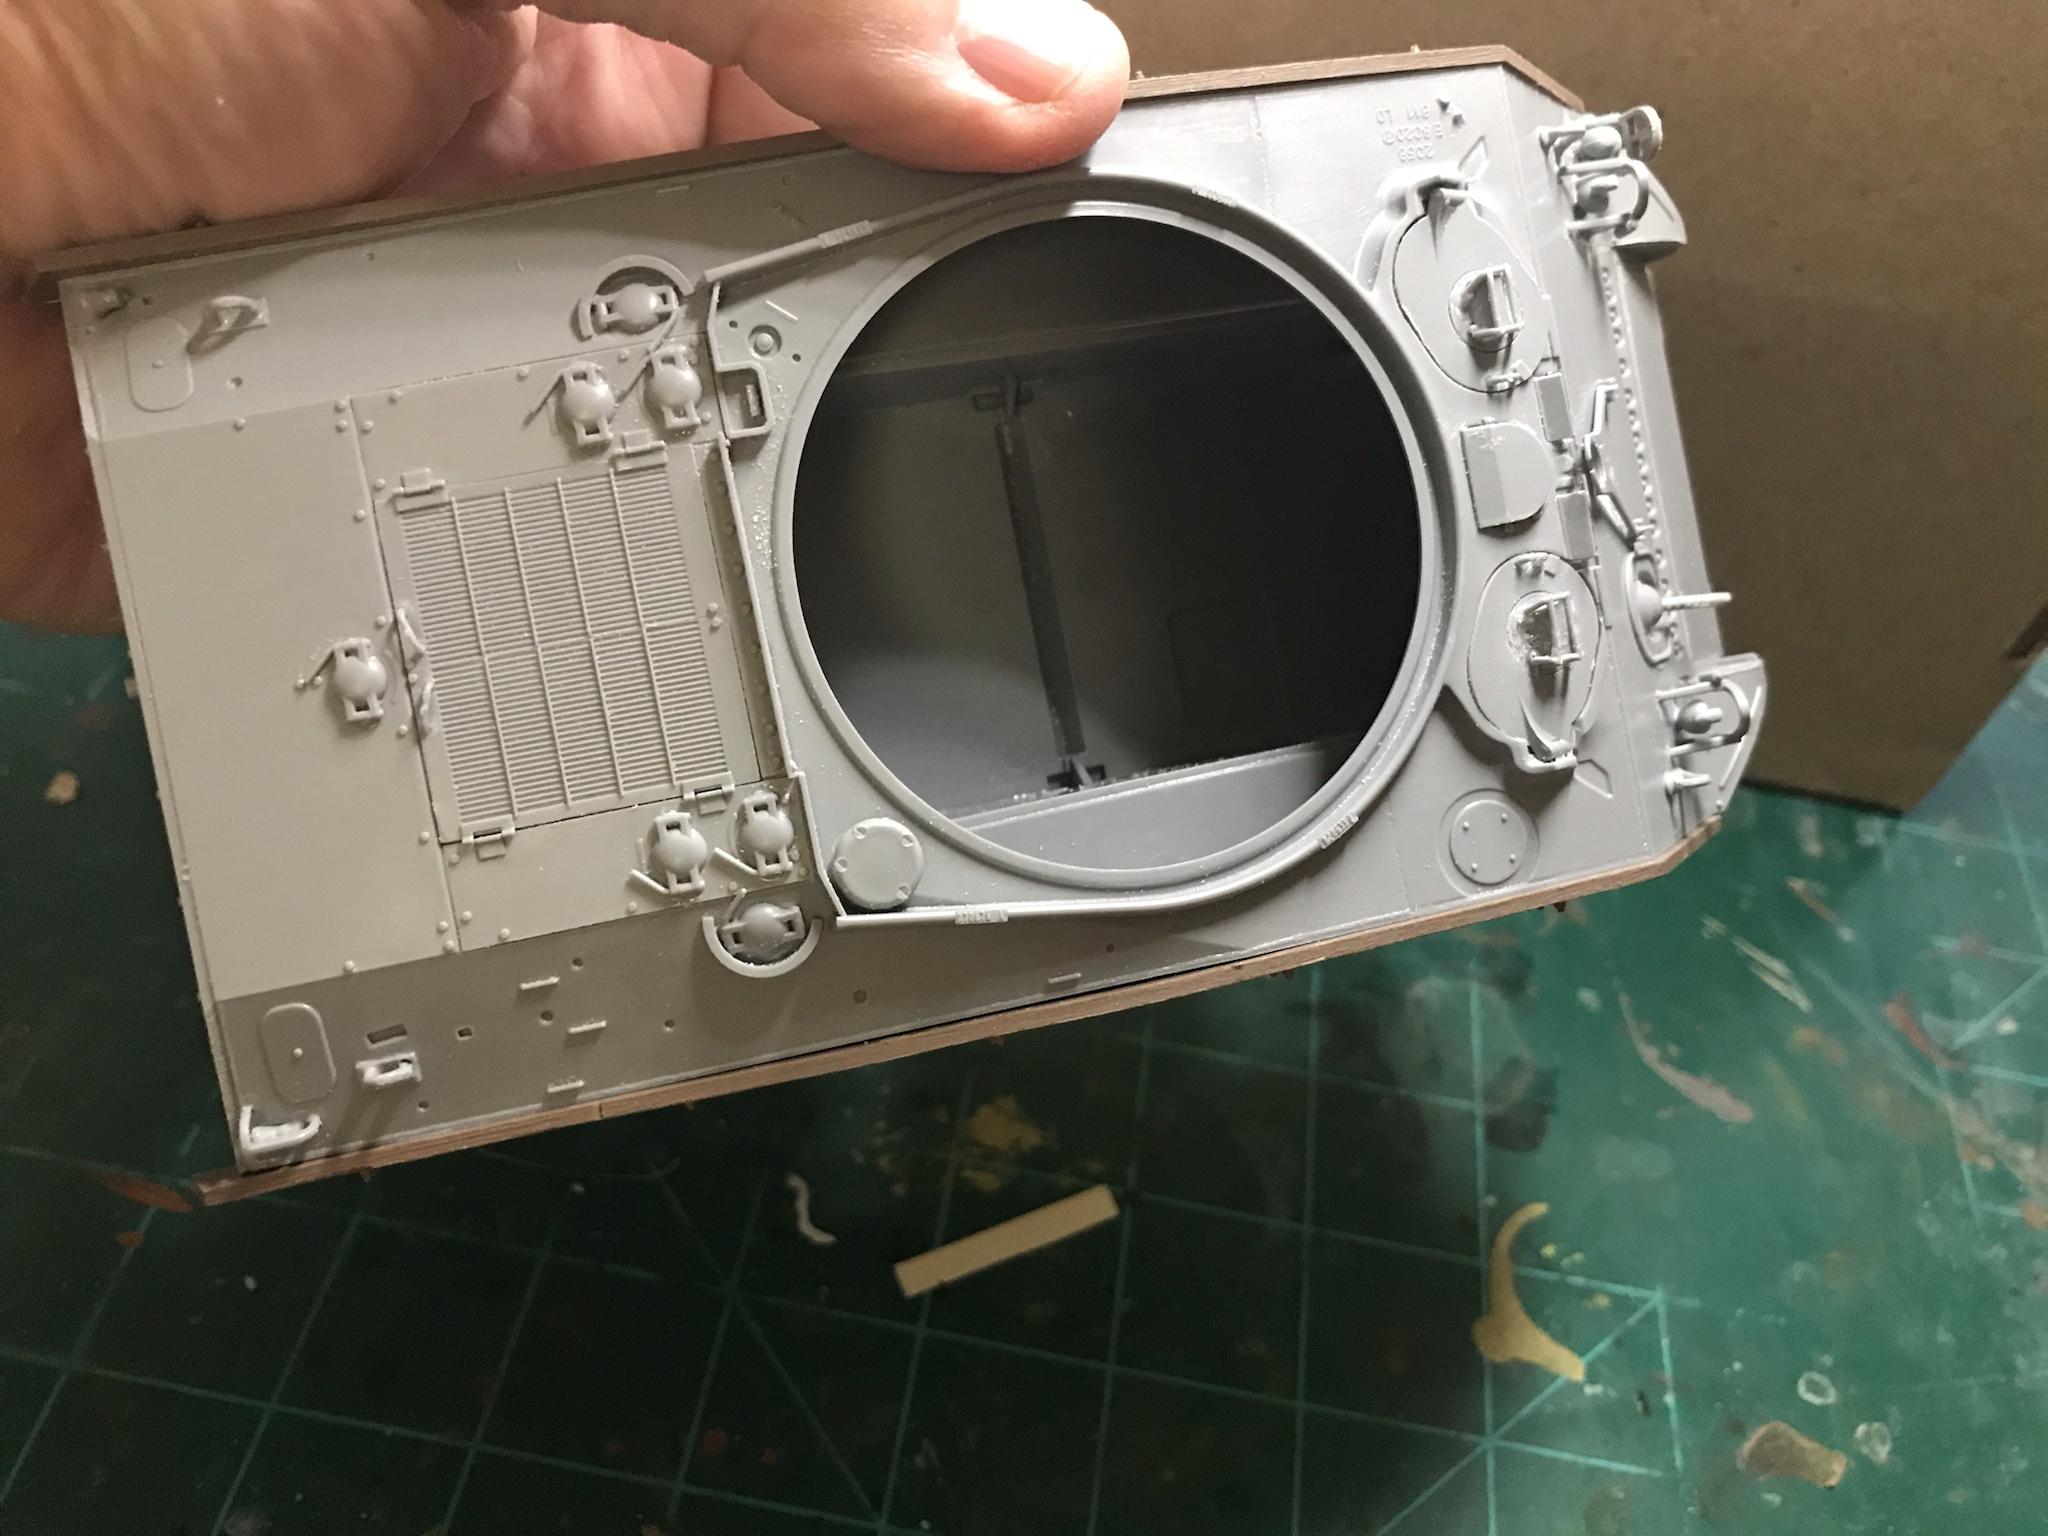
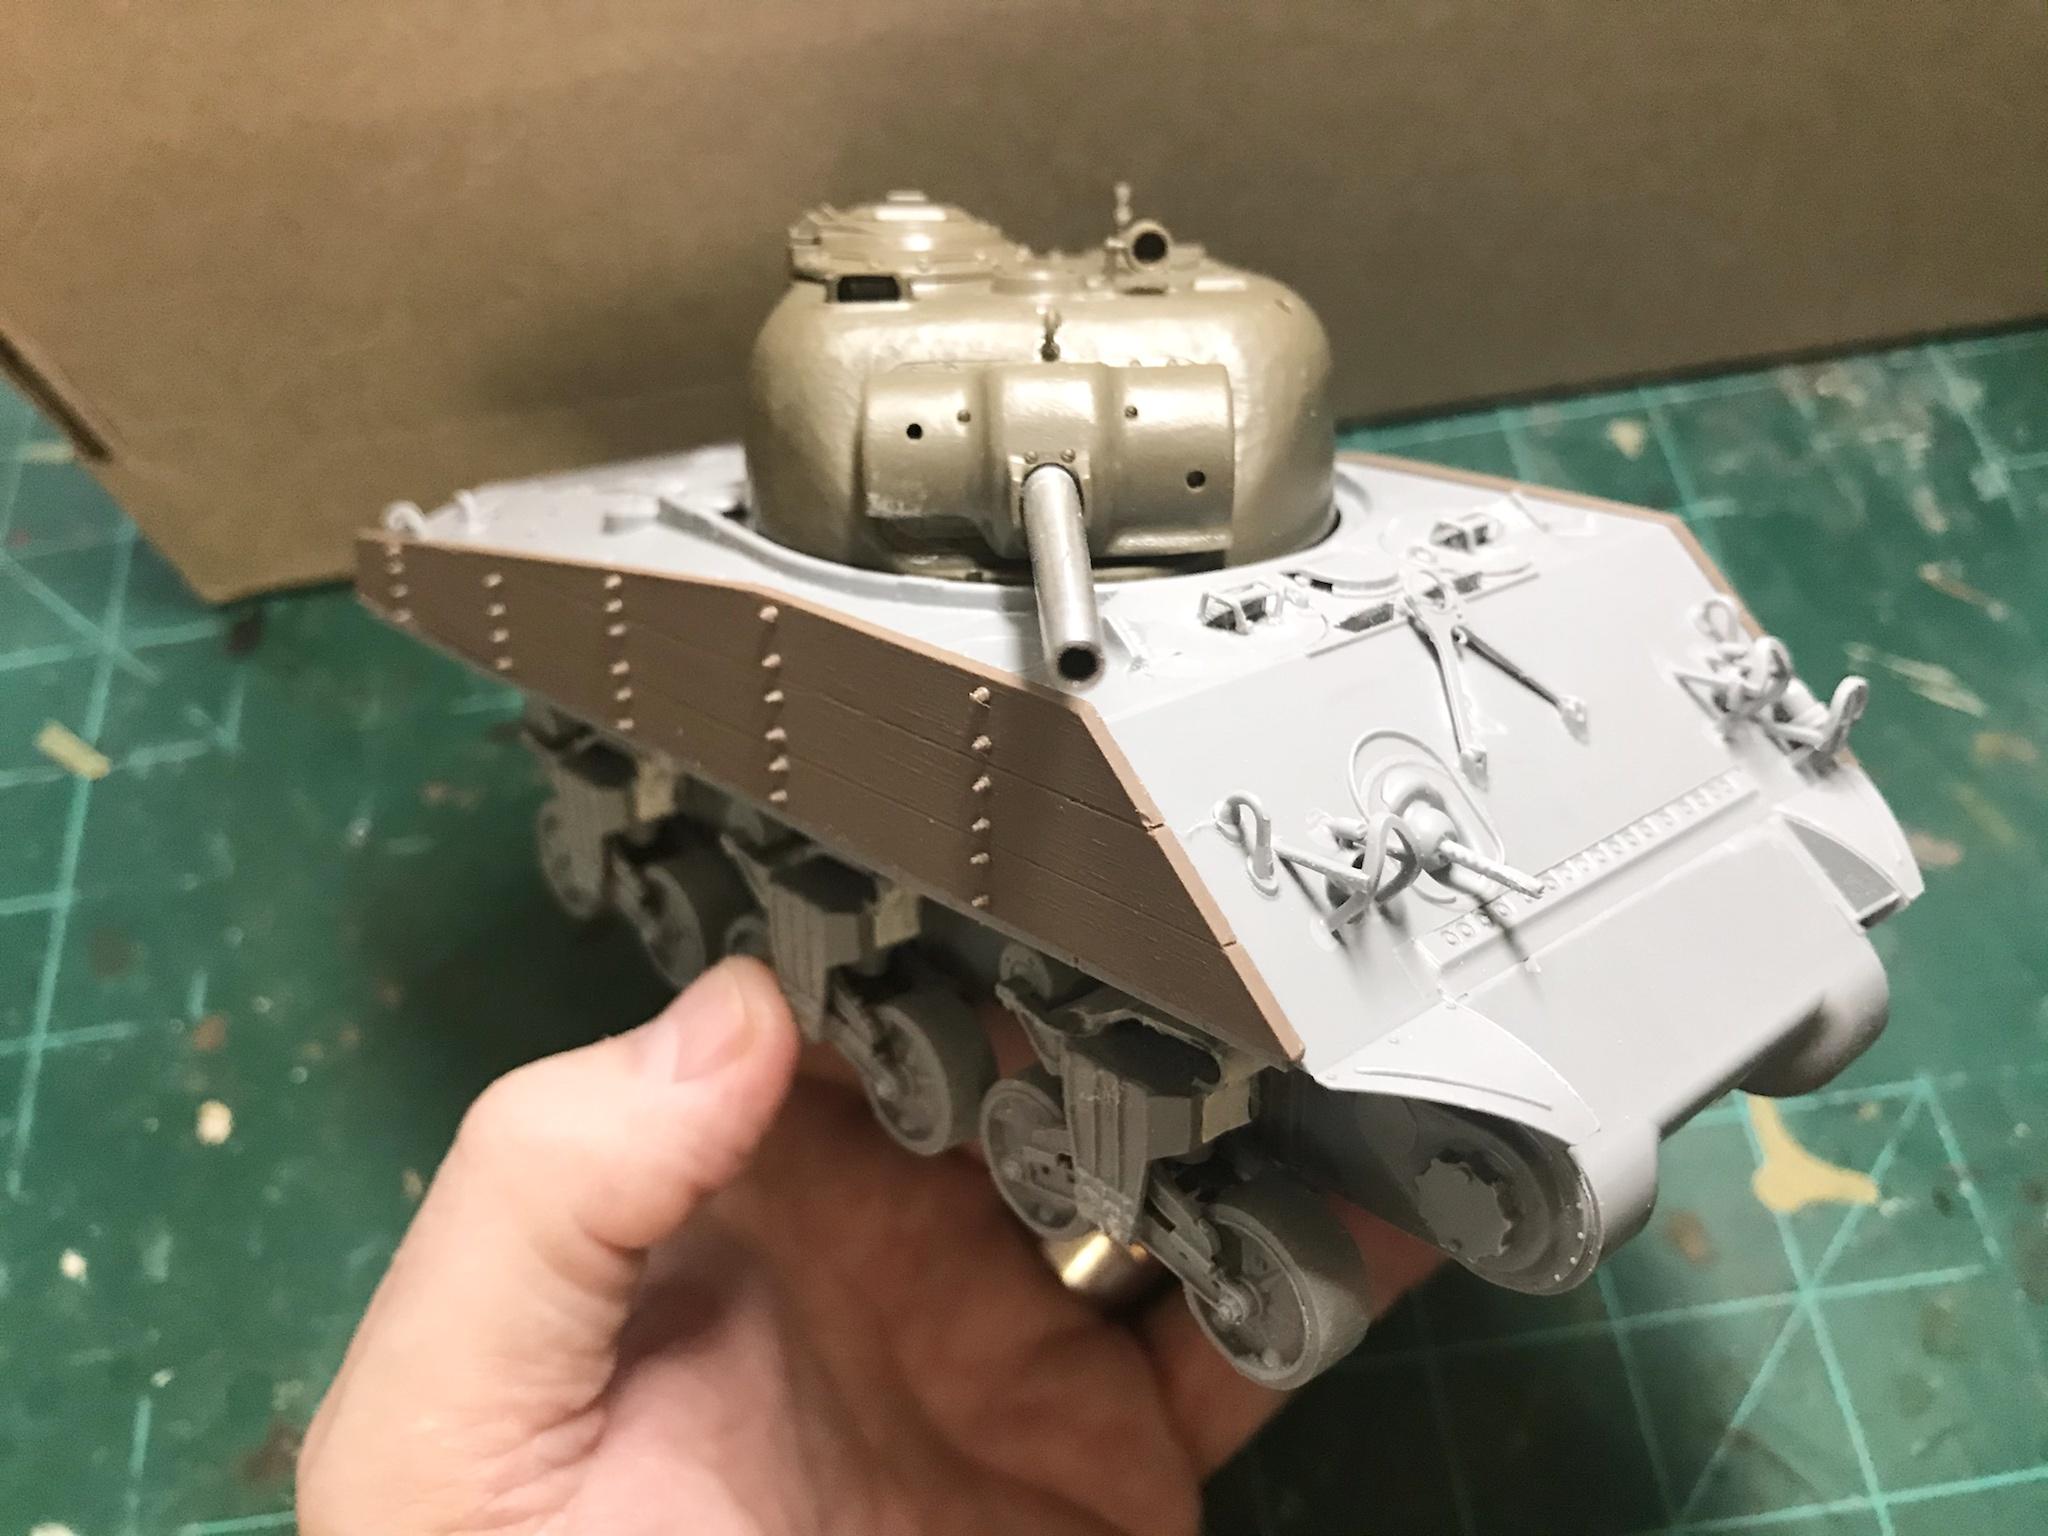
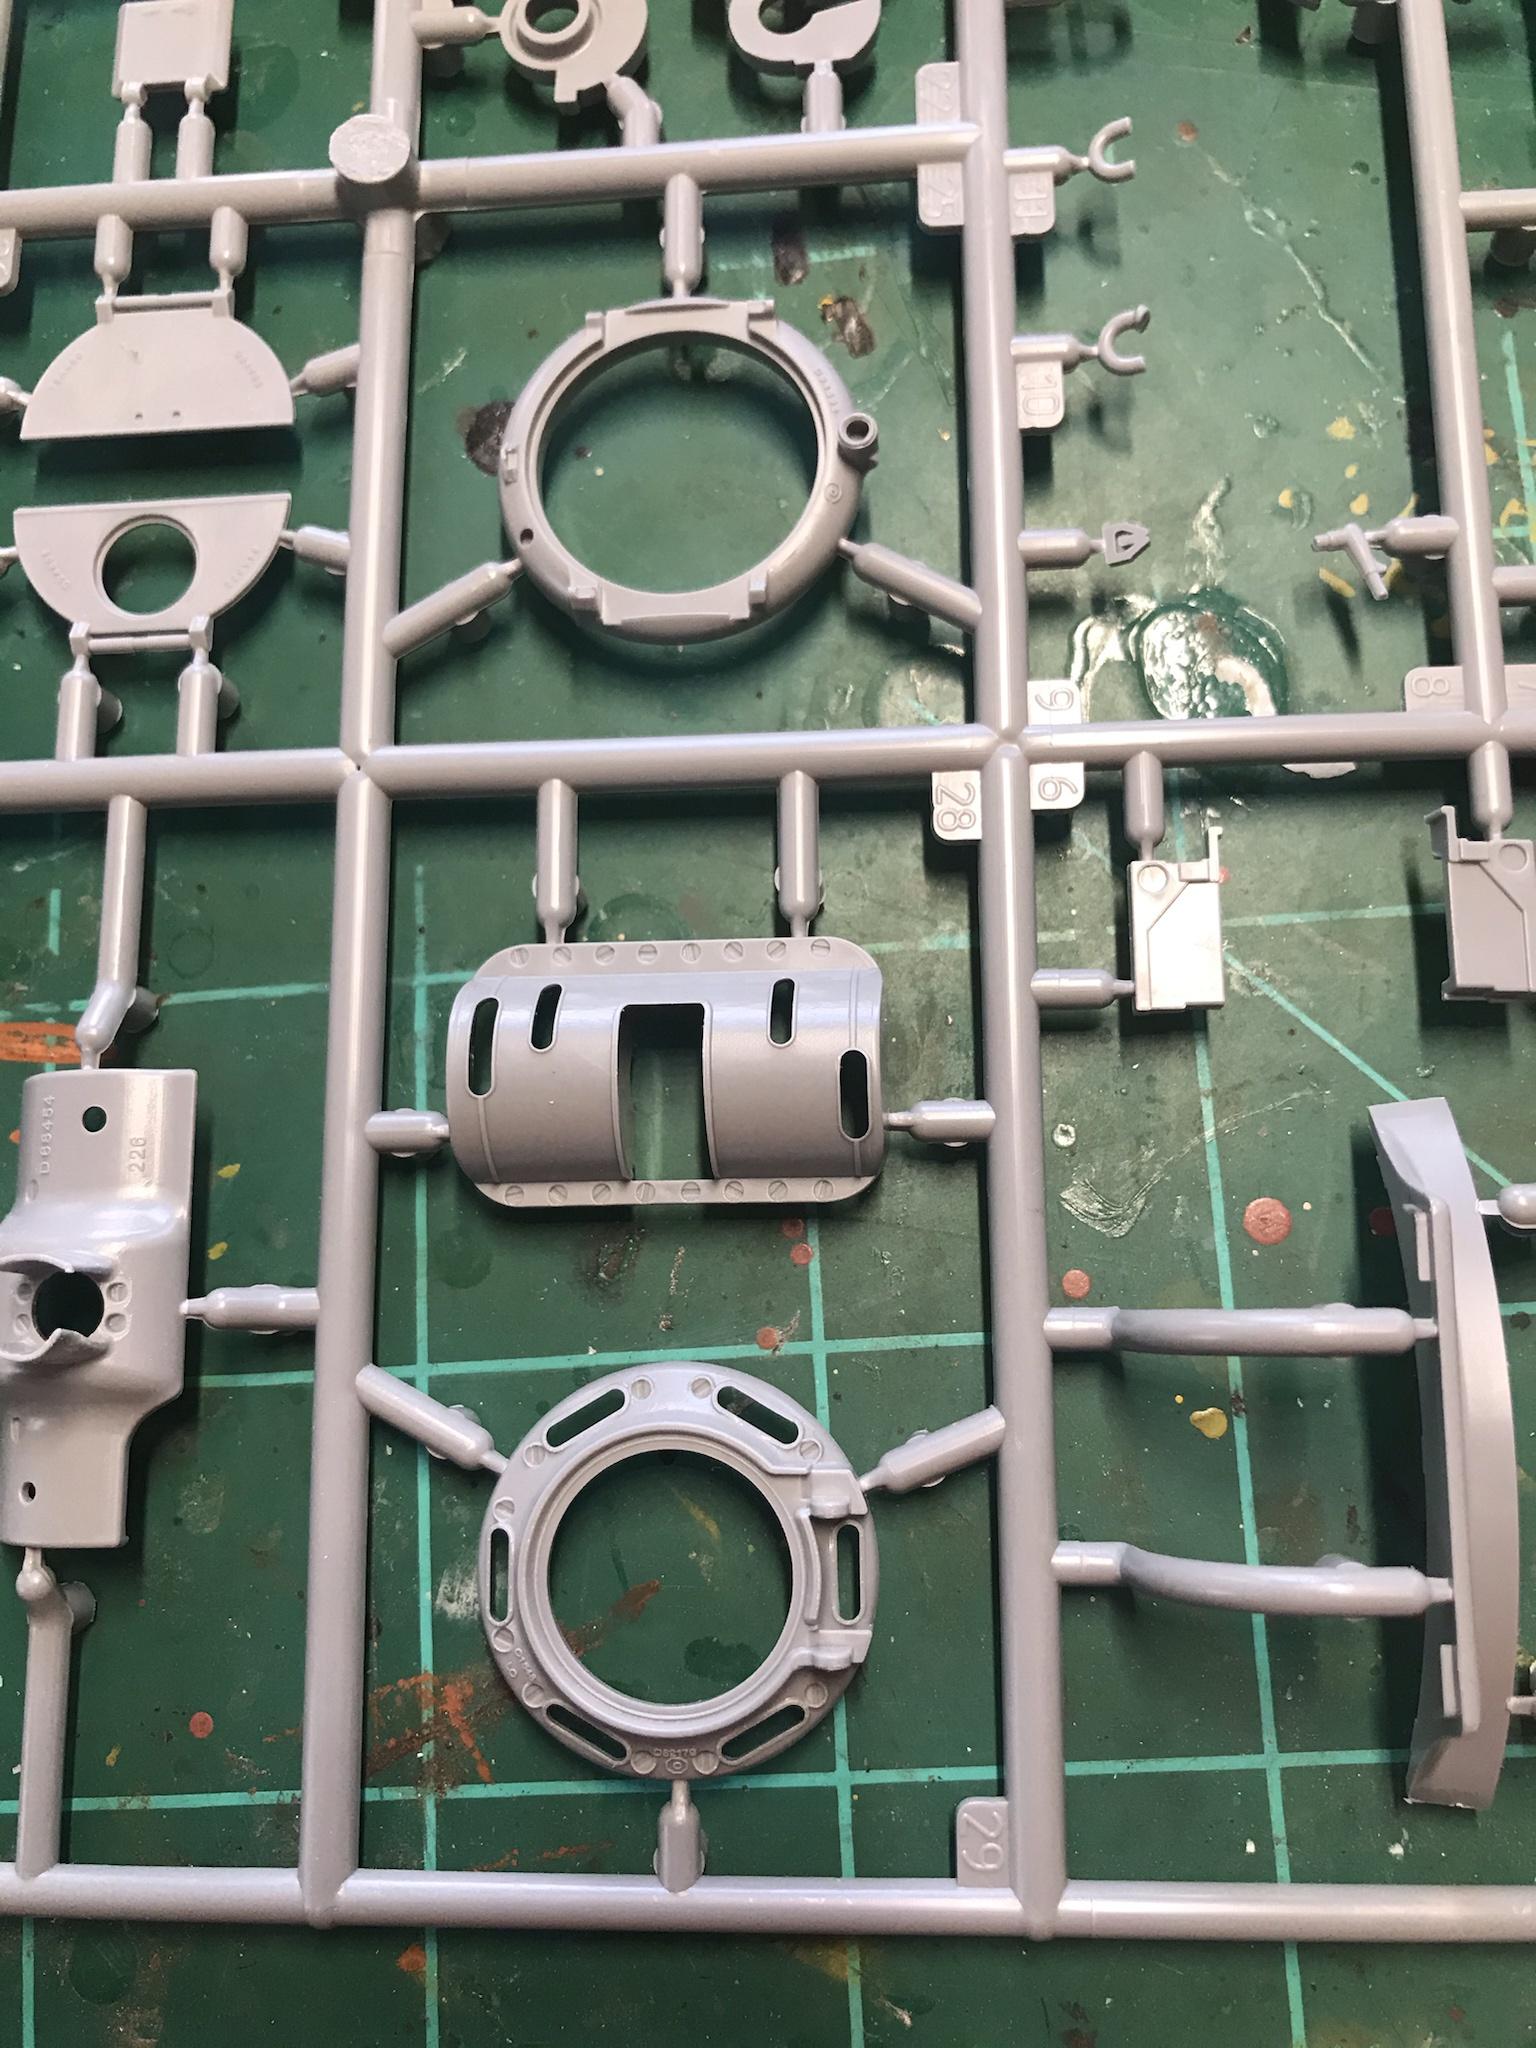
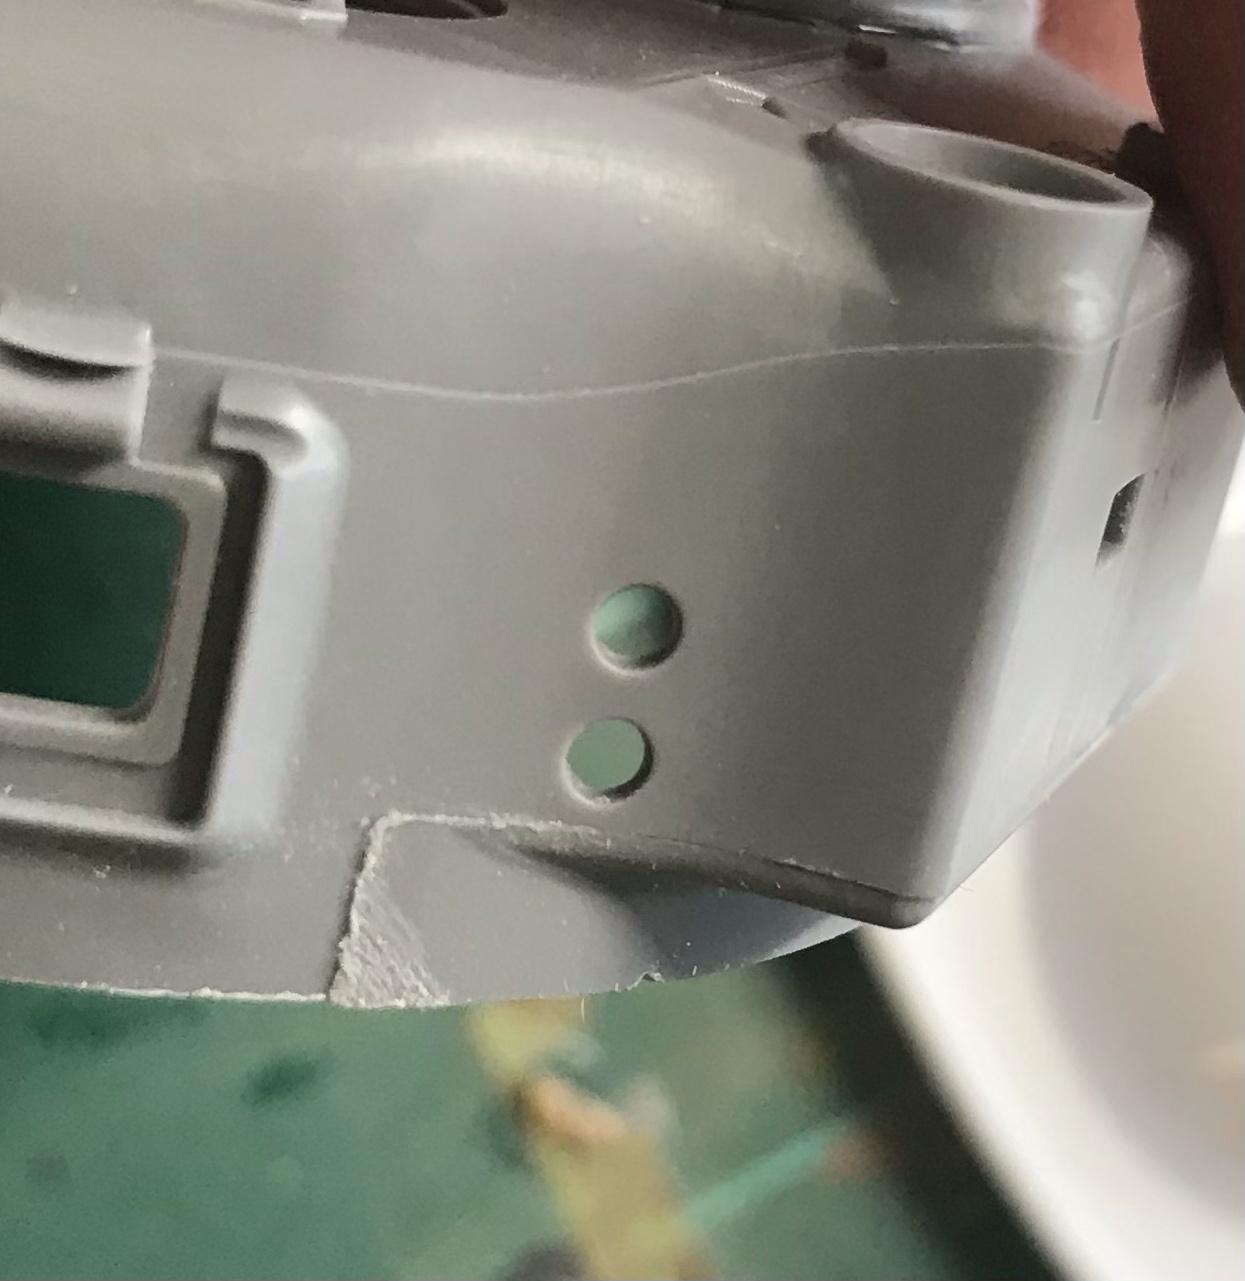
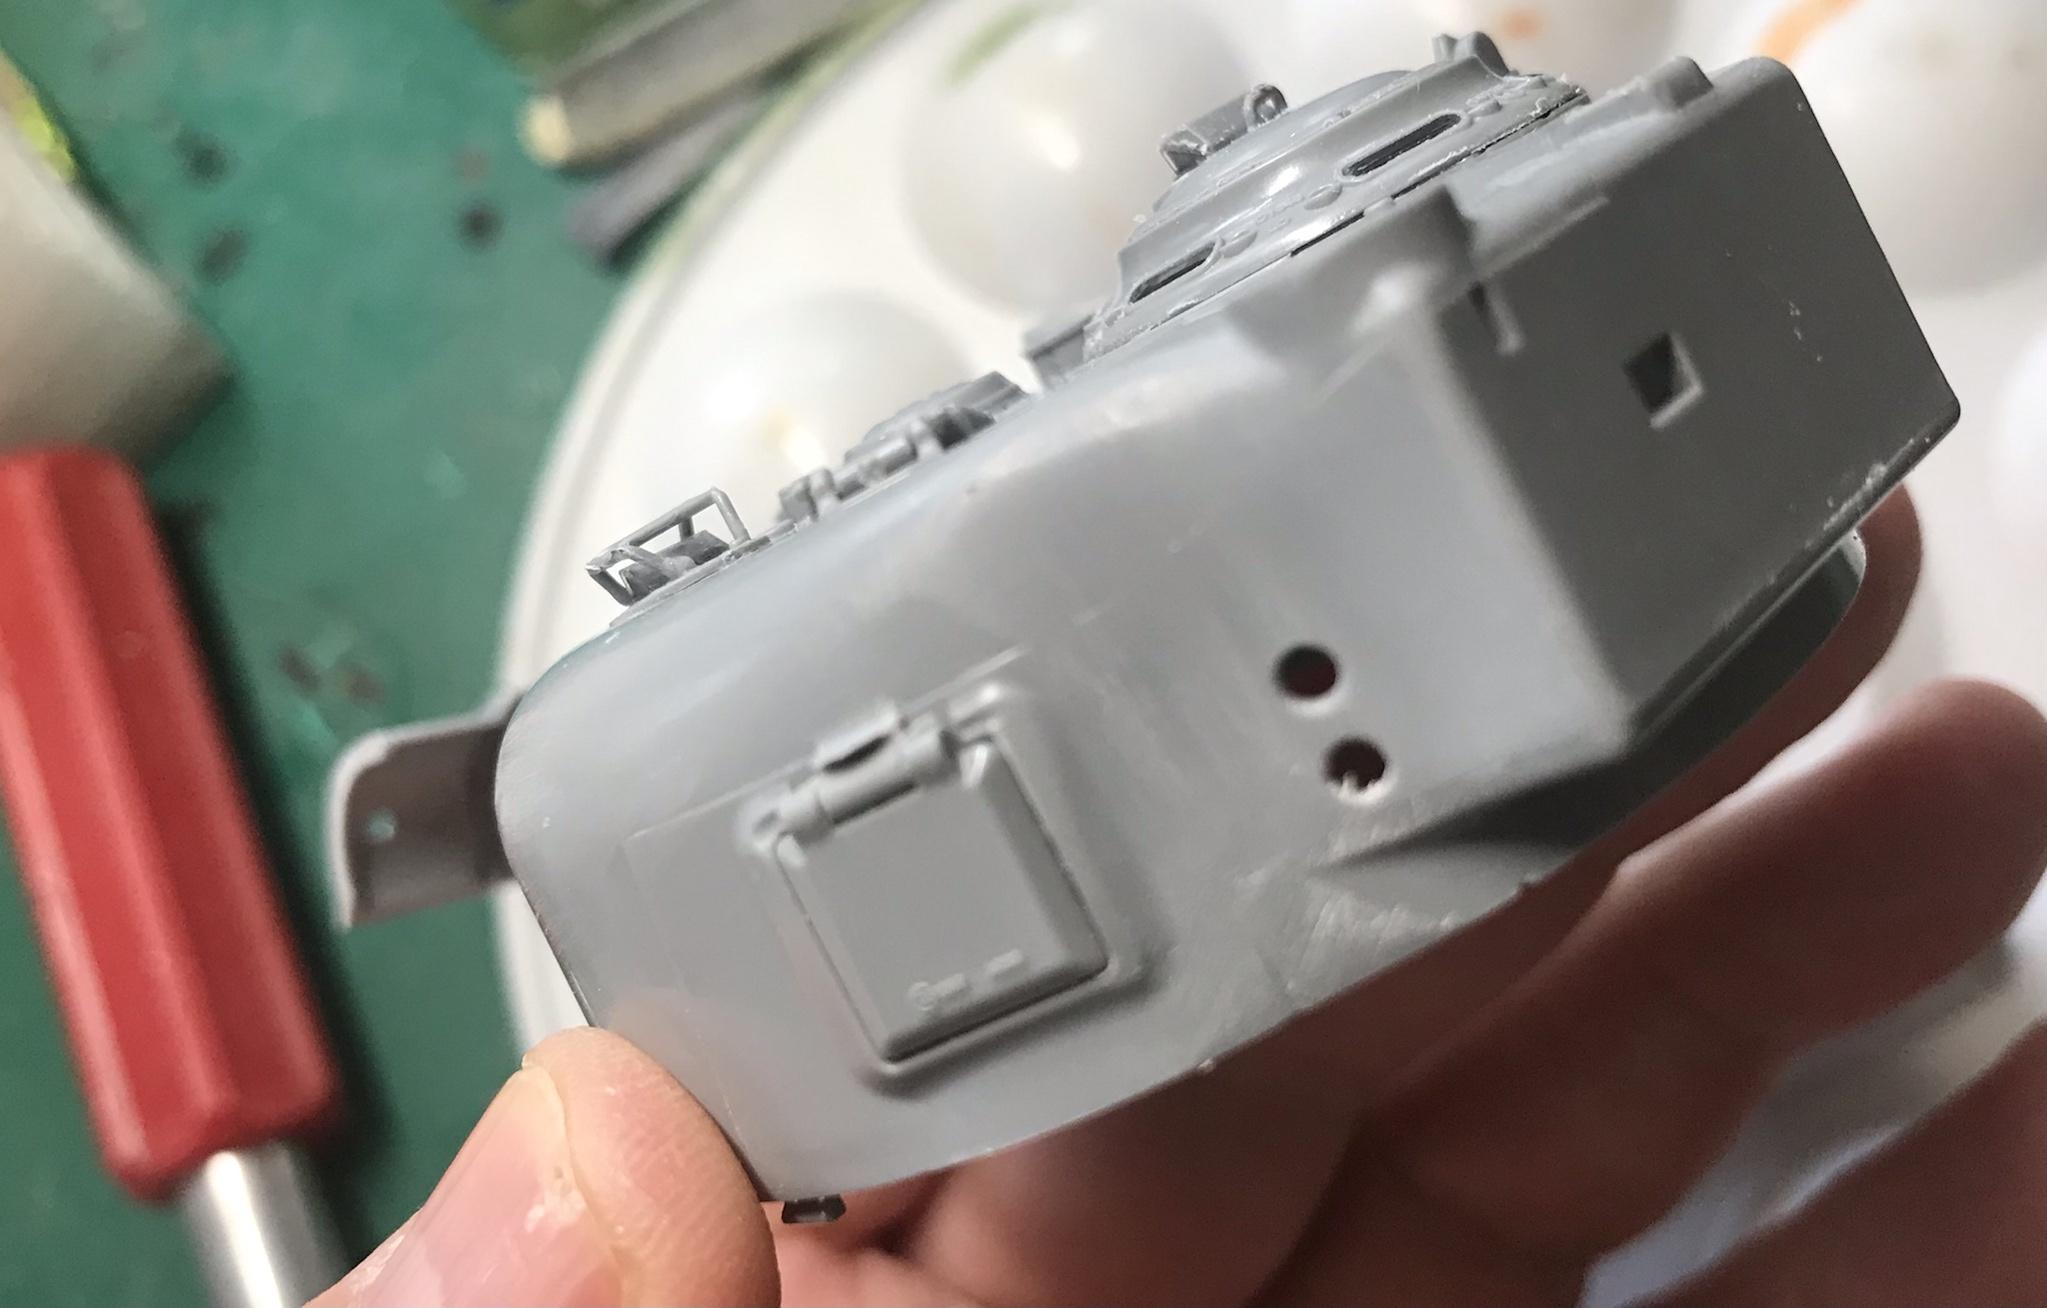
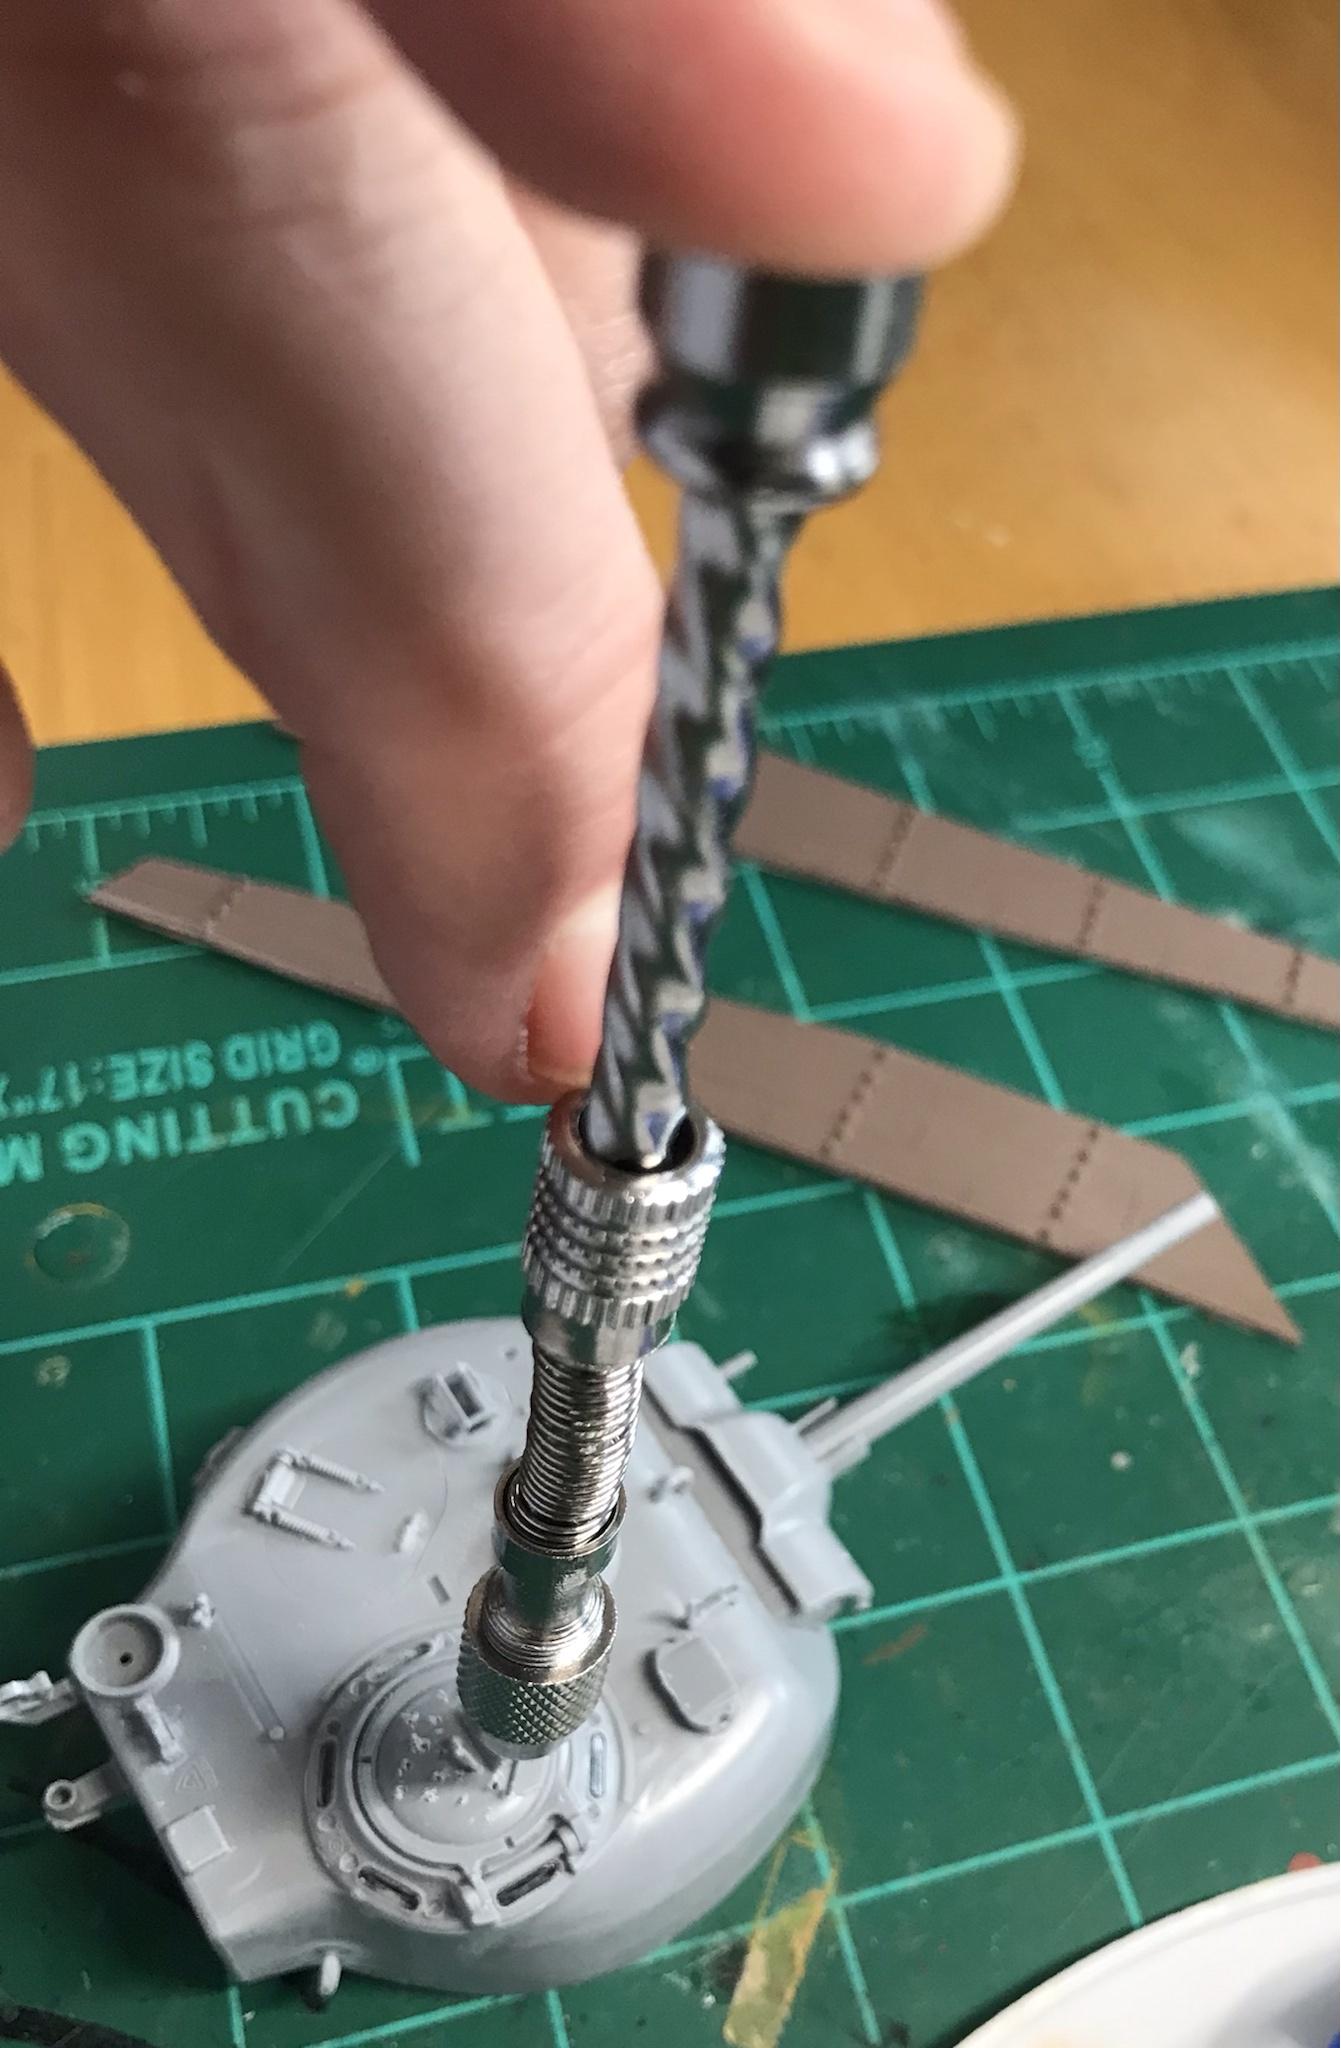
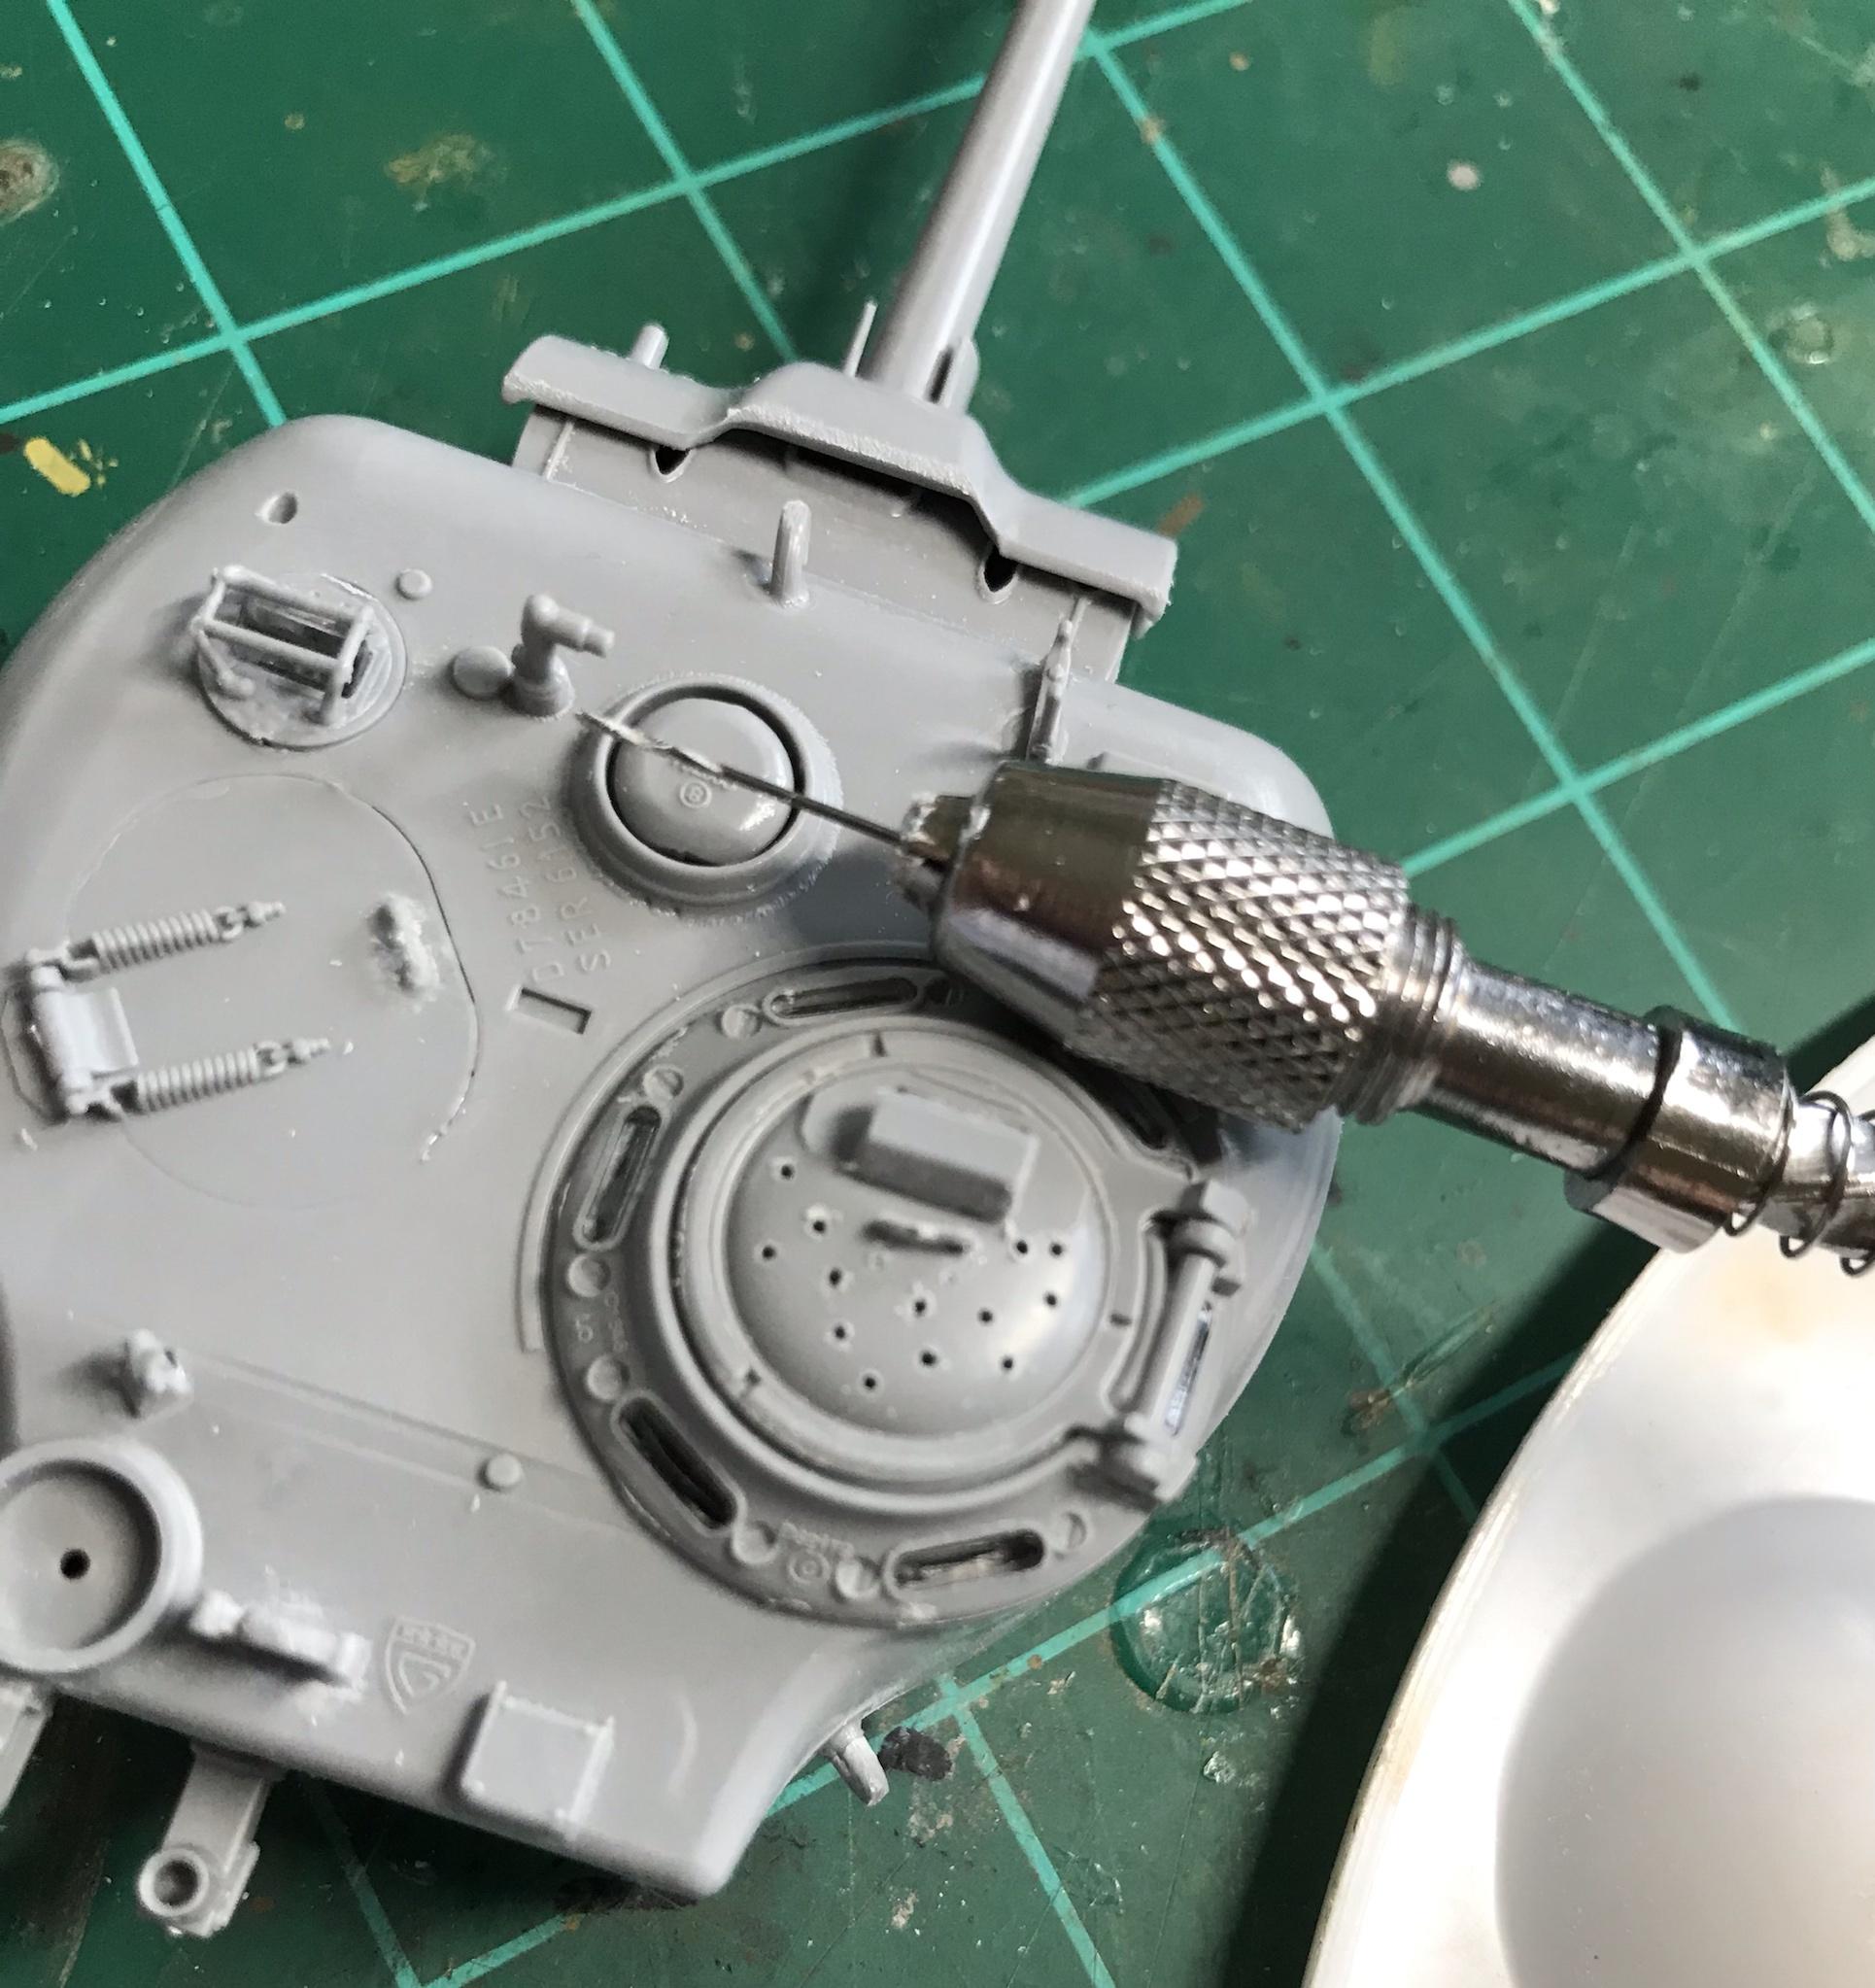
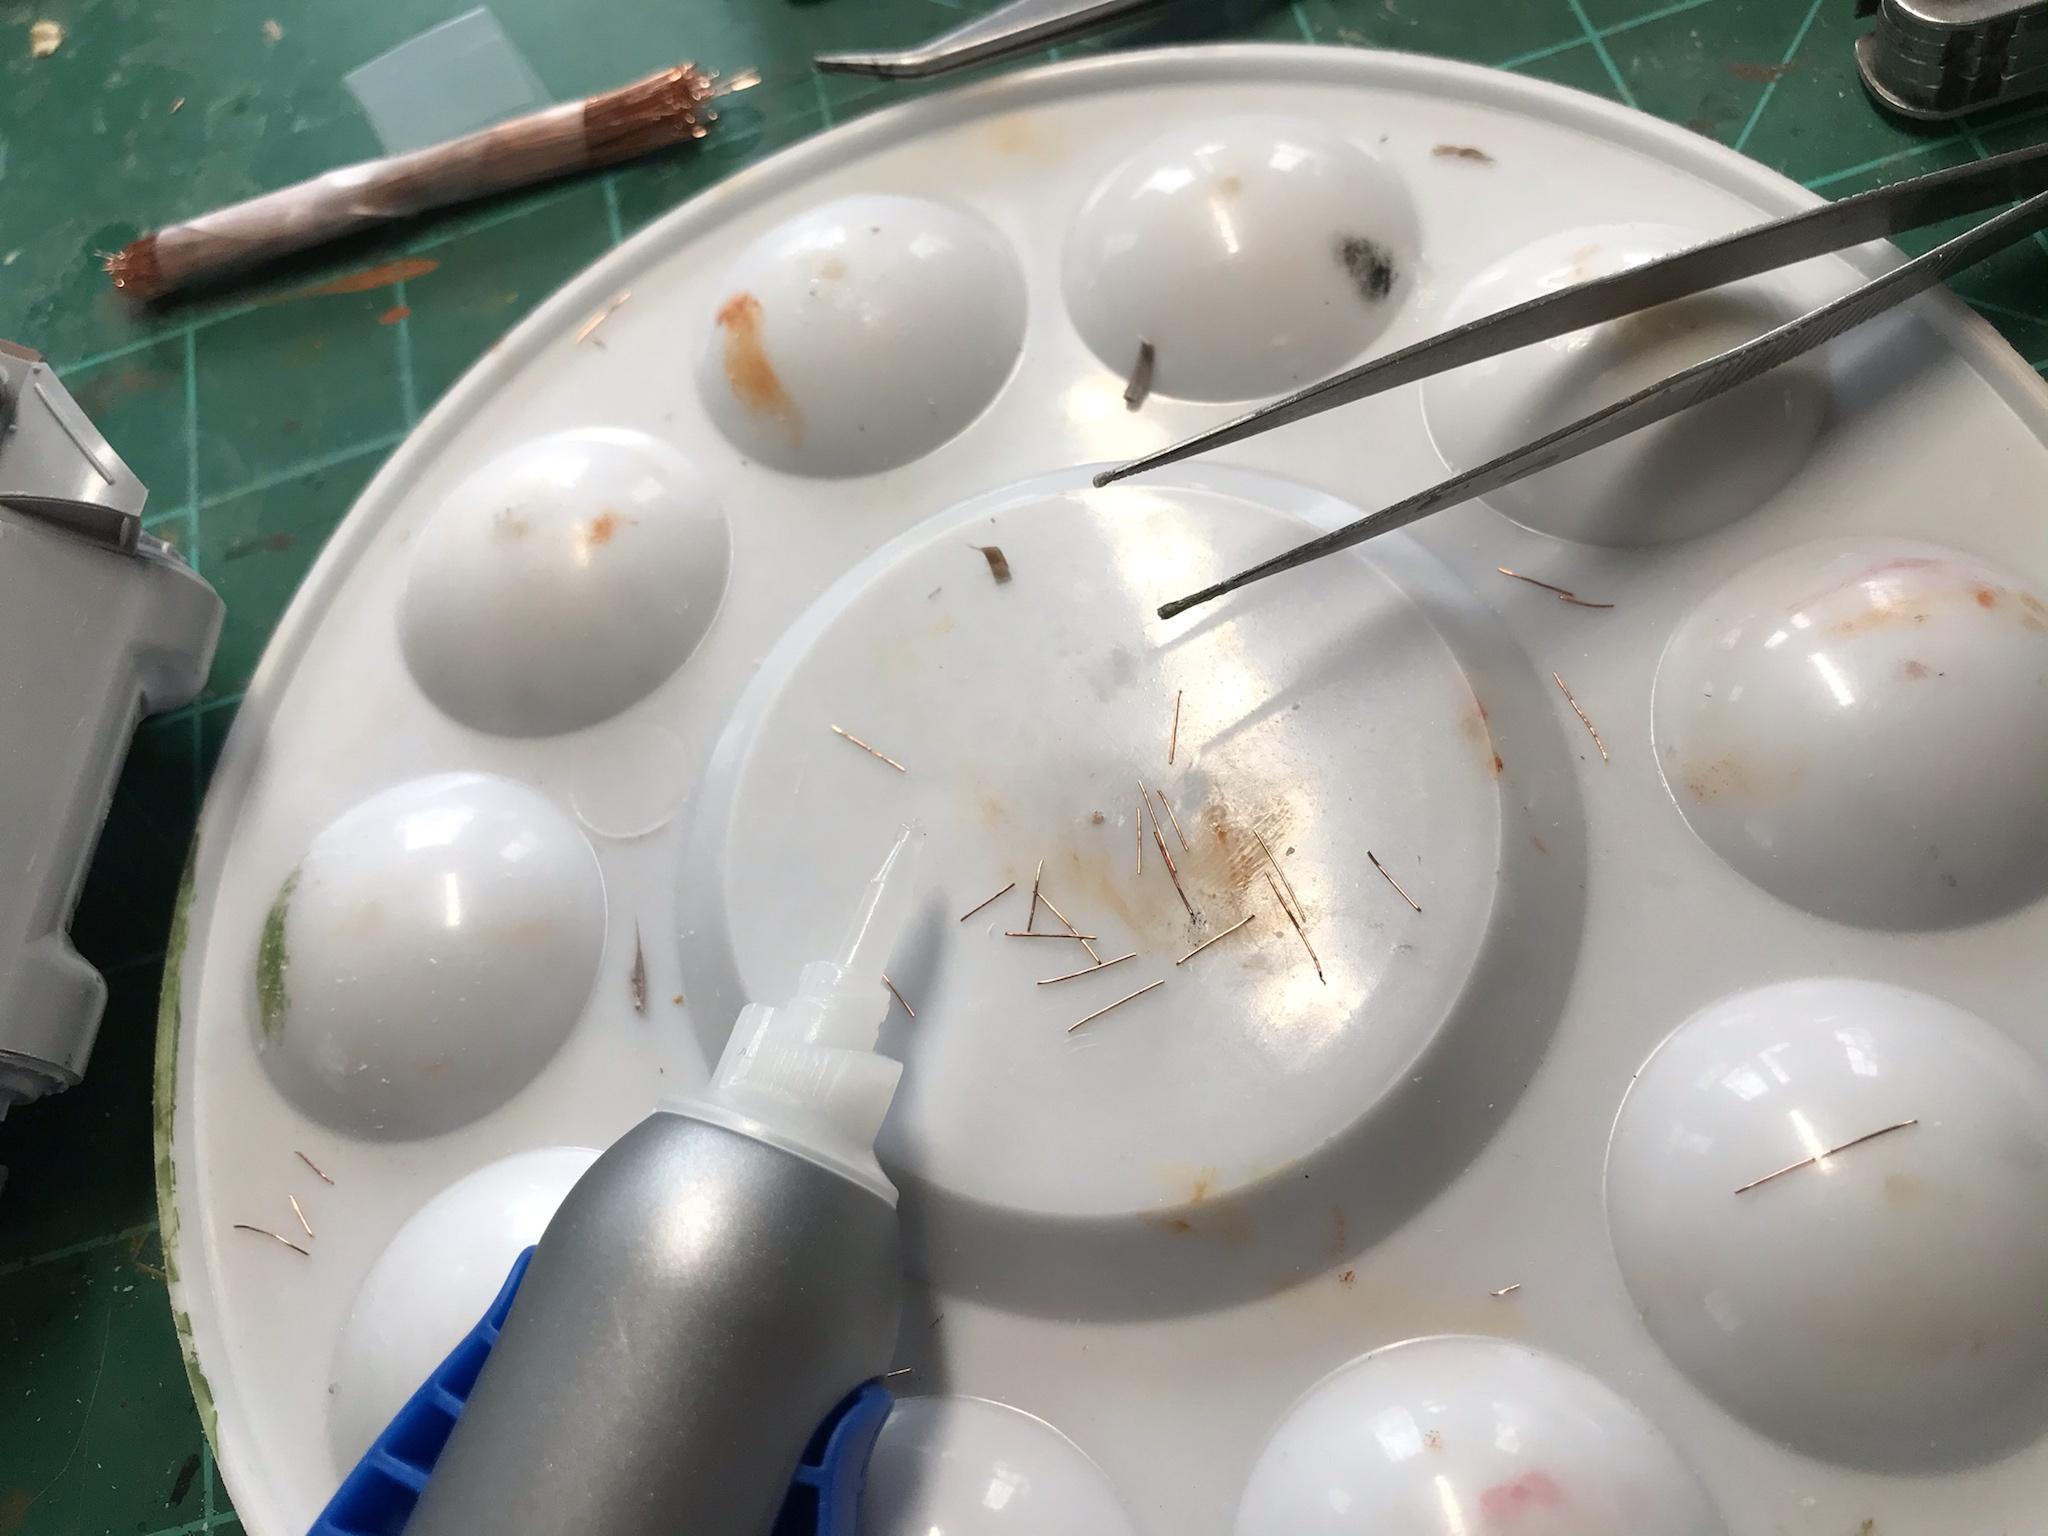
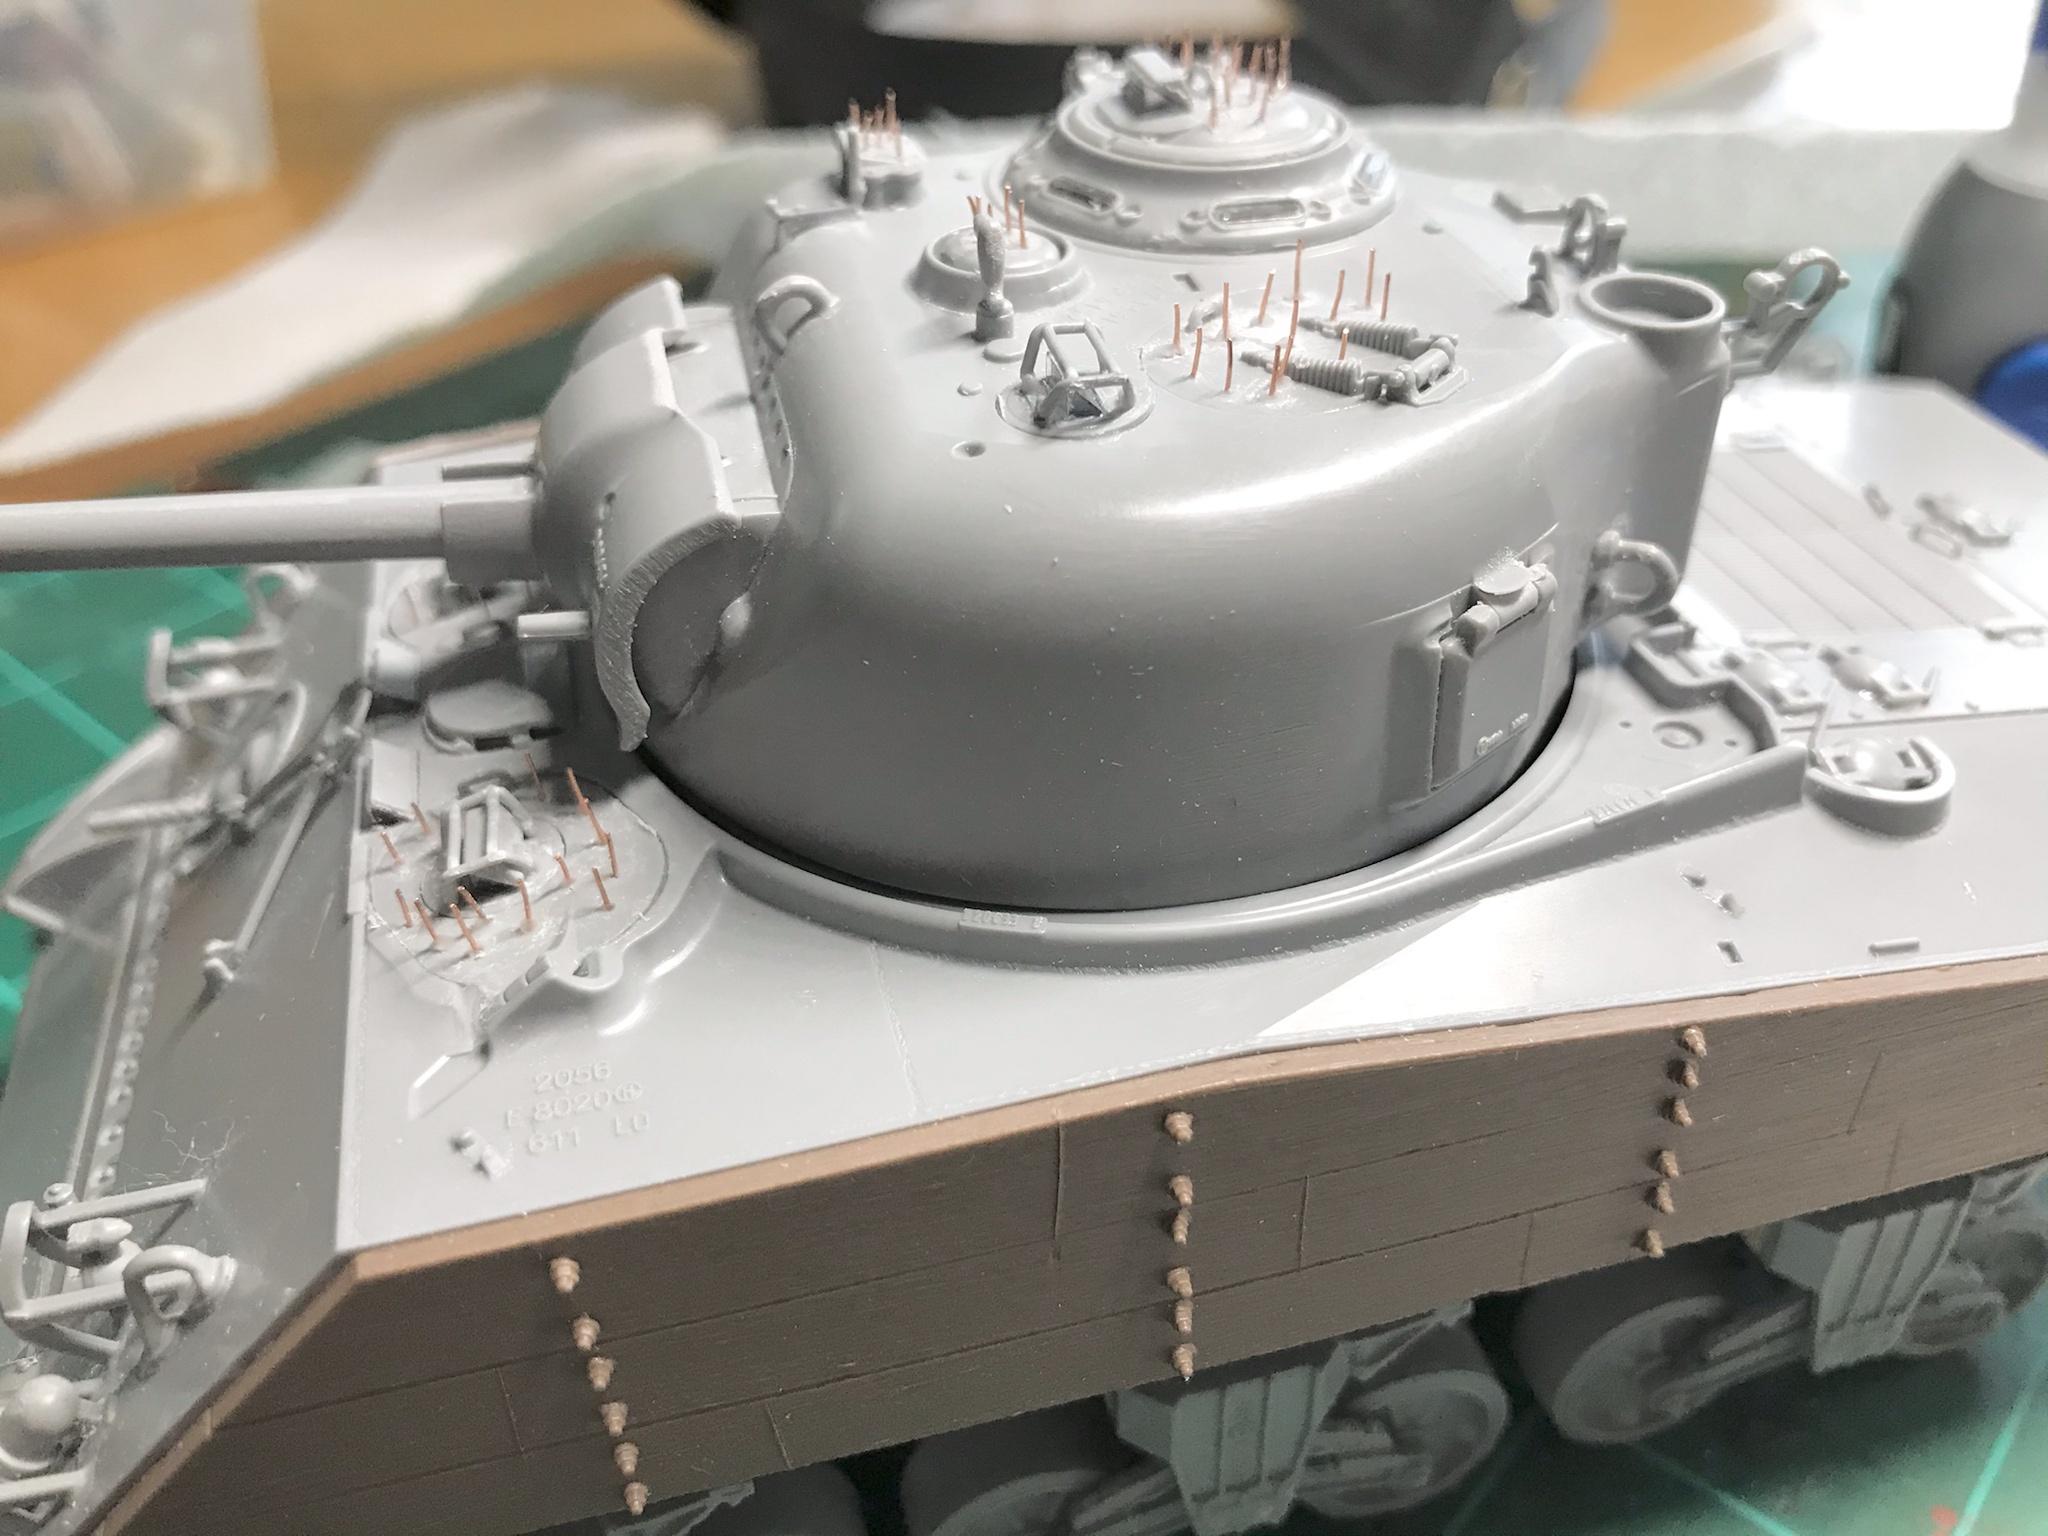
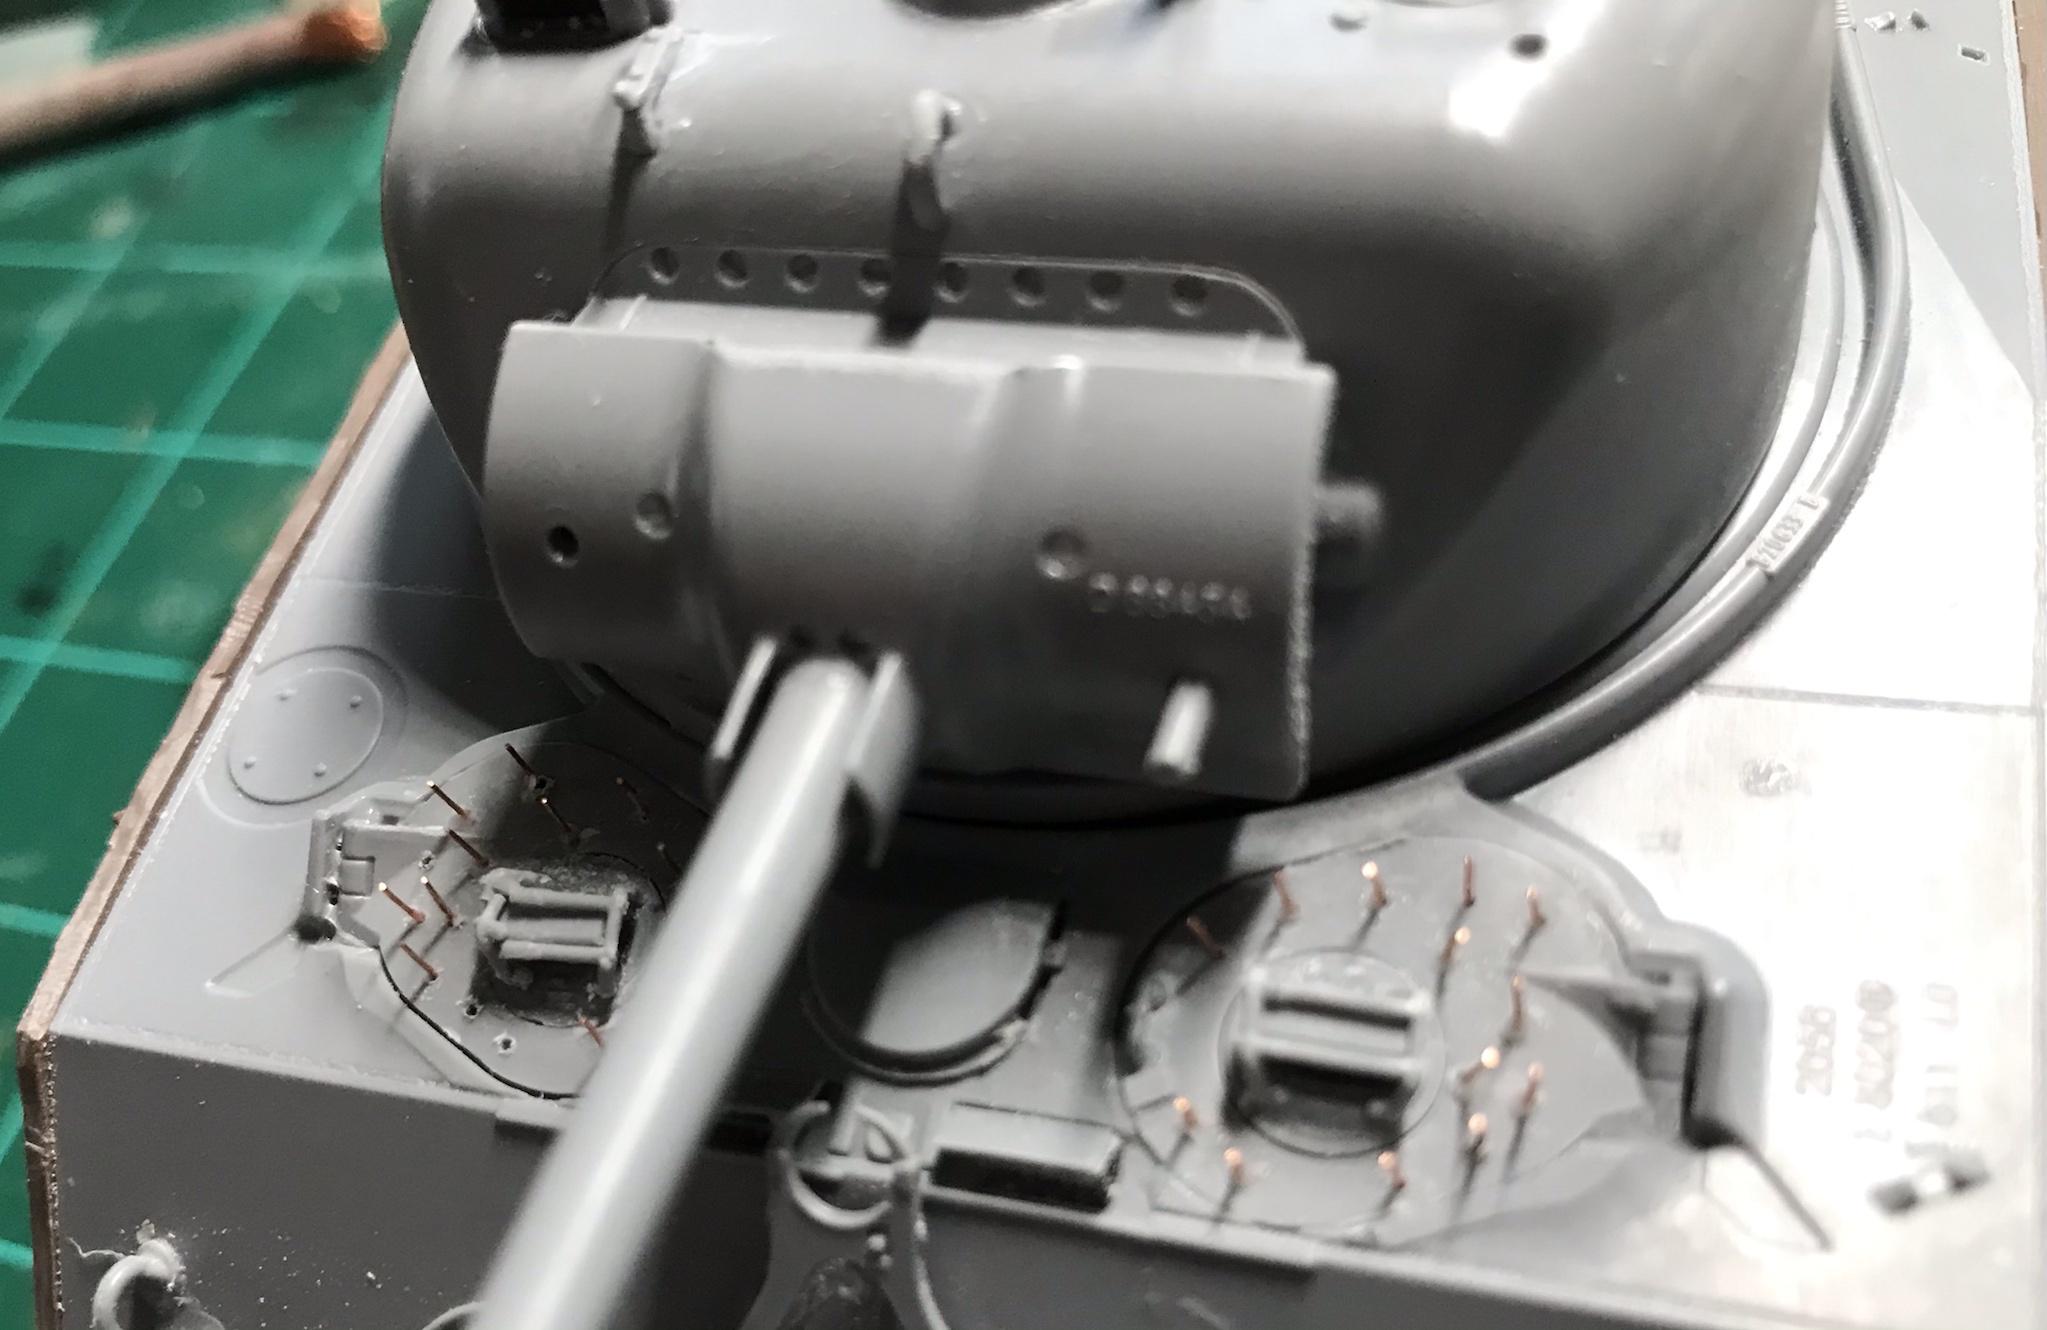
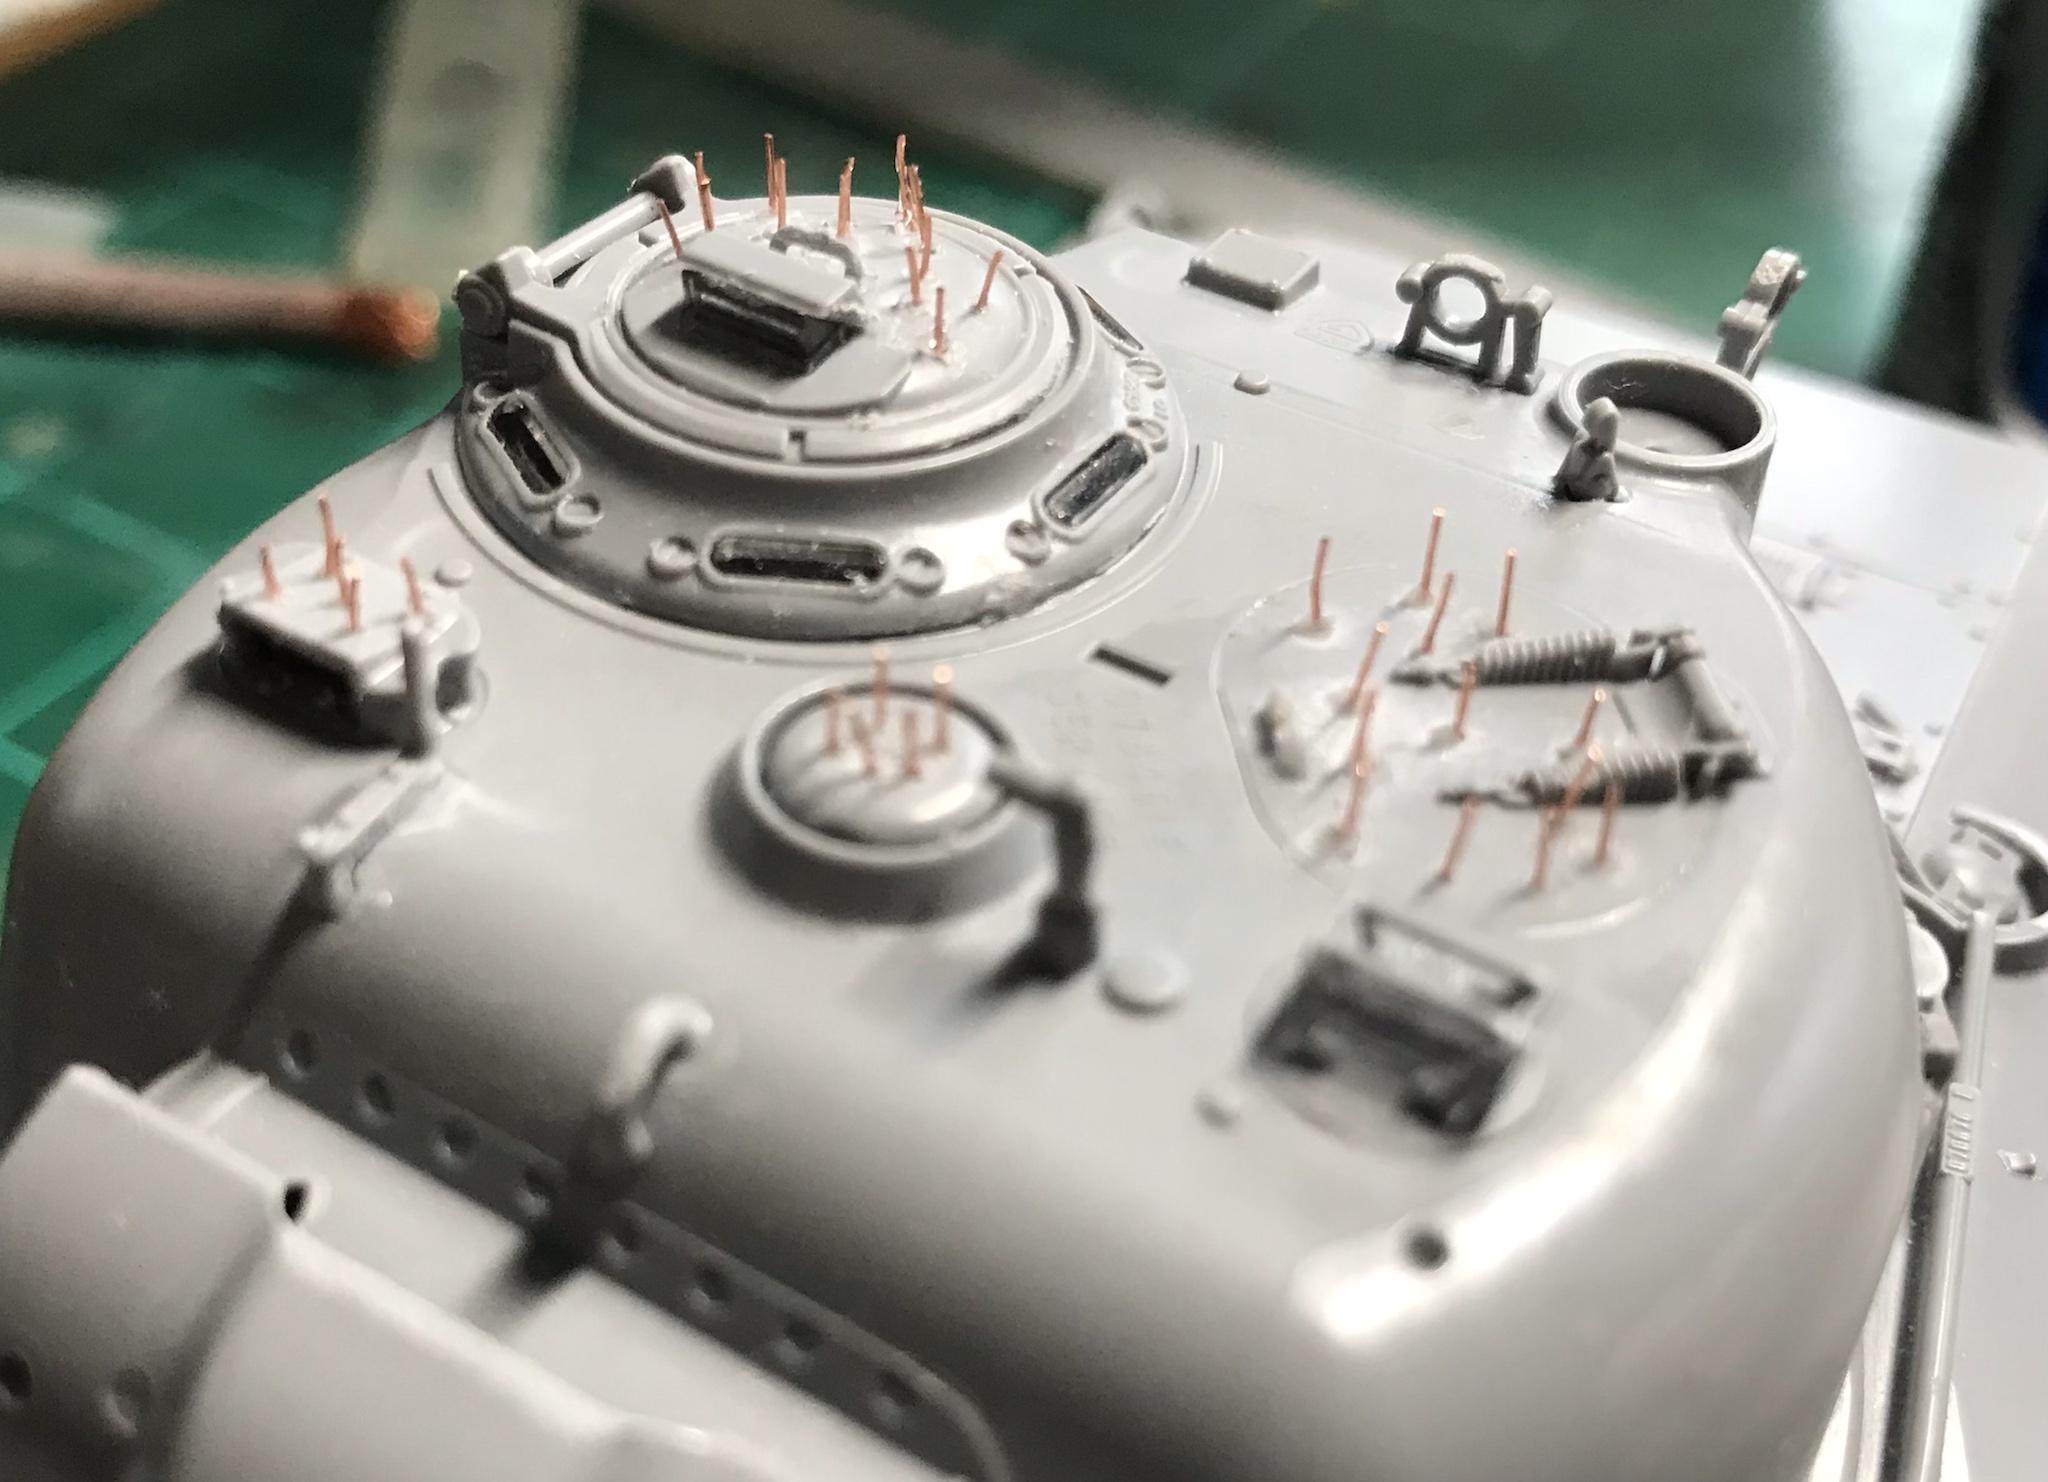
I have to confess and say that I totally "beansed it up" on this at the start, so I will show pics of what I goofed on, and it's (hopeful) repair. Here is the kit at start before I started on it. More to follow:
 

Attachments

  • ZZ2.jpg
    ZZ2.jpg
    182 KB · Views: 14
Well unlike the Tamiya, this one got off to a bad start, & I have to say, it's all my fault.

MISTAKE #1 - Do proper research! In my video, I mentioned that the tracks are not correct for a Pacific build, and that it was perfectly reasonable to have those 'other' type tracks on it. Turns out the same is with the Cupola!
n2U4voe.jpg

Turns out, the instructions ONLY call for the earlier 'split' typ hatch, even though the kit includes the later cupola with vision blocks, even has nice separate blocks in clear, really nicer than the older Tamiya. But goofball me, I was blindly following the directions and as I had CA'd the cuploa in there, i had to Dremel it out.

MISTAKE #2 - I also managed to gouge the turret, so I installed the correct Cupola, added some gel-type CA, and did some sanding. I was not doing a good job paying attention., and the commanders hatch is oriented incorrectly - ARRGH!!!
ktqYoSq.jpg

As you can see, it looked like crap anyway. So how am I gonna fix this mess? Well it ain't the kit's fault I goofed up (I mean it could have had the option mentioned in the instructions, but again it's my fault for not doing the research) I am not going to throw in the towel, no, I want a Pacific Sherman - I have plans for this! So today I ordered a 2nd kit!

I'll keep plugging away on the hull and other items while I wait for my expensive correction to arrive, but let this be a PSA to all you much-better-than-i-am builders out there!
 
I have elected to order another kit. As such, I will simply build up the Hull while await the new kit's arrival.

This kit does not use the 'bath tub' style lower as you see with the Tamiya. Getting the lower started takes three hands, but once you get it goingt, it builds up simply and easily, and quite square too:
J83GNui.jpg


Was over at MP's man-cave with the good Mr. Rains and so spent more time talking and hanging out, but did get the running gear mostly complete. It is IMHO a bit unnecessarily complicated. bit it comes out nice, complete with neat wheel detail as you can see:
CANTCGd.jpg


Only thing is, the upper part of the suspension has a nasty seam, so I cut some very this styrene & glued over, then sanded a touch, I'm sure it'll be fine when properly weathered (sorry about the poor pic quality in this one)
VzWngtp.jpg


So that was really all at this point. It is actually building up into a very nice kit, and looking forward to more build time as we get closer to Ho-Ho- Day!
 
That's Sgt Raines if you're going to be formal....
Enjoyed the day guys. I was actually productive. :vgood:
 
OK so work had continued. Got the upper & lower hull complete. Whoever dee-signed thru fir of the upper & lower hull used to work for Dragon...it's terrible! I FINALLY got it after quite a bit of work, and whist I was at it, I tacked the wooden hull armor on from Value gear.

WRZ4gZ4.jpg


Their method for fitting the suspension is actually quite good and getting them level was easy-peasy

wCzKPGM.jpg


JsPBfo6.jpg


And because i am waiting on the new kit to arrive so I can build up a turret for it, I decided to use the Turret for the Tamiya ETO build I also have going,. just to give it some personality

iXu9fuA.jpg


So this is where she shits with just a few hours work one X-mas eve. See y'all later!
 
Sorry I didn't see this earlier. The commander's cupola hatch does rotate but the cupola doesn't. As long as the periscope orientation matches photos, you are fine.
1608990618785.png


If you are using CA for your builds, you SHOULD have a polystyrene plastic safe CA Debonder at hand always for these muck-ups.
1608991222211.png


Not having that, freeze the turret (at least overnight) to make the glue extra brittle, and jabbing a wooden toothpick (flat chisel side) into the joint between the cupola and turret roof will pop it off. After that, clean off the parts and reattach in the correct orientation.

Regards,
 
OK at last count i had seriously goofed this up. The kit comes with parts for the Cupola as Saul shows above, but it is not included in the instructions! the cupola in the instruction (and kit) is the lend-lease type that Russia received. these were a simple ring with a hatch that splits in the middle. here are both of the cupolas on the sprue:

3PQIR19.jpg


I installed this and later did such a poor job removing it I decided it was best to simply order a second kit, and as you can see, it arrived!

Y5GsU6A.jpg


Not the fault of the kit, totally me for not doing proper research! The turret went together really well. Overall it is a good kit, light years ahead of Zvezda's previous offerings! Although, as you can see in these next two shots, there are a lot of really obvious seams on both sides of the turret, at the upper radius of the turret:

pGalv0h.jpg

M6t5efJ.jpg


These were handled with one of the "brown/Fine" sanding sticks I had on hand, but the bit under the turret rear is a separate piece, and wow did it produce a HUGE seam both sides that required work:

EH3dupn.jpg


However, once that was sanded down, the little turret actually came out quite nice.

Ez2Rkx1.jpg


177ioPp.jpg


So she's back up and running, have something really neat planned for this next weekend's work session!
 
OK so in looking at a TON of pics and thinking it over, I dee-cide what I want is to add the 10-penny nails/ spikes as done by some crews:

DuutNrI.jpg


8ARVl3I.jpg


OK, so how to get there? Well, I used my handy-candy little hand drill ann micro-bits i Bought on flea-bay for less than $10 US total:

xuptXsV.jpg


Looks like a salt-shaker!

hLhxzWP.jpg


I took a short section of multi-strand wire, and cutting away the casing kept the lengths in little bundles. That along with my cutters got them to the right length. Hold them with tweezers, dab them into se gel CA< and in the holes they go:

atMOQcf.jpg


Holy Porcupine Batman, that tanks has spikes!

QfqfSaP.jpg

Fo0zrox.jpg

R0PD516.jpg


I also added the resin wood armor from Value gear. Looks really great! I also have wood bogey armor a well. Now I just need some warm weather or someone with a heated man-cave, and I can finally get some paint on this puppy!
 
Back
Top