• Modelers Alliance has updated the forum software on our website. We have migrated all post, content and user accounts but we could not migrate the passwords.
    This requires that you manually reset your password.
    Please click here, http://modelersalliance.org/forums/login to go to logon page and use the "Forgot your Password" option.

Hasegawa 1/48 P-40E

jeaton01

Well-known member
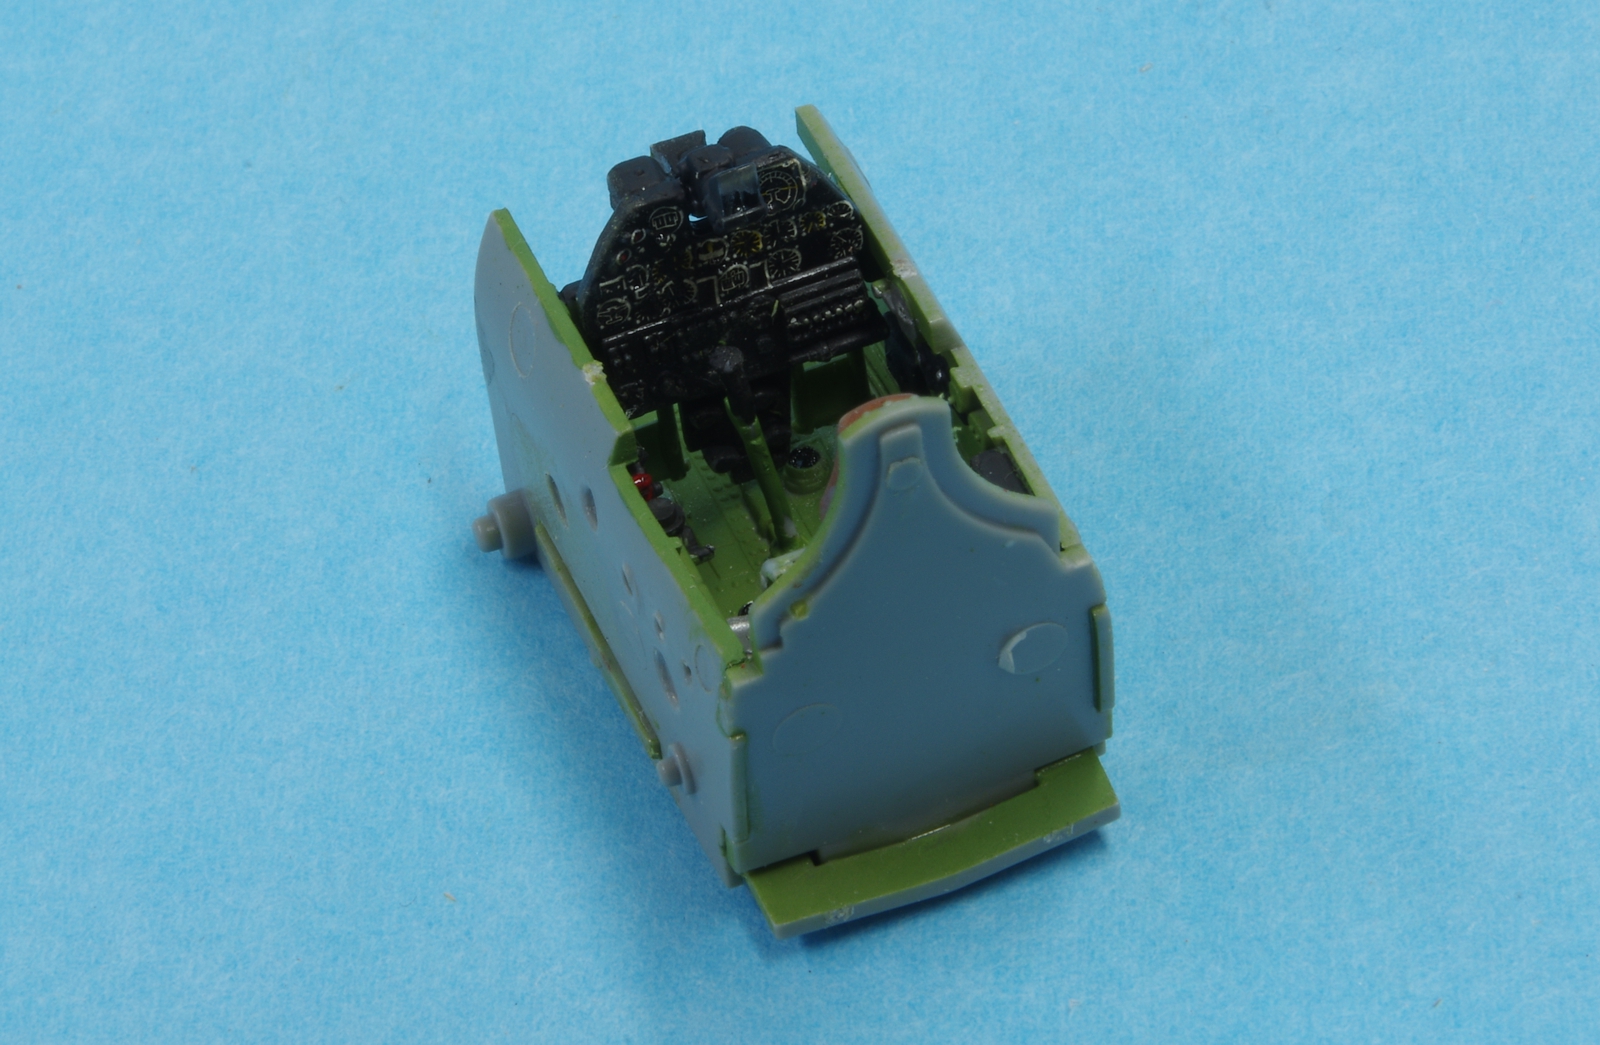
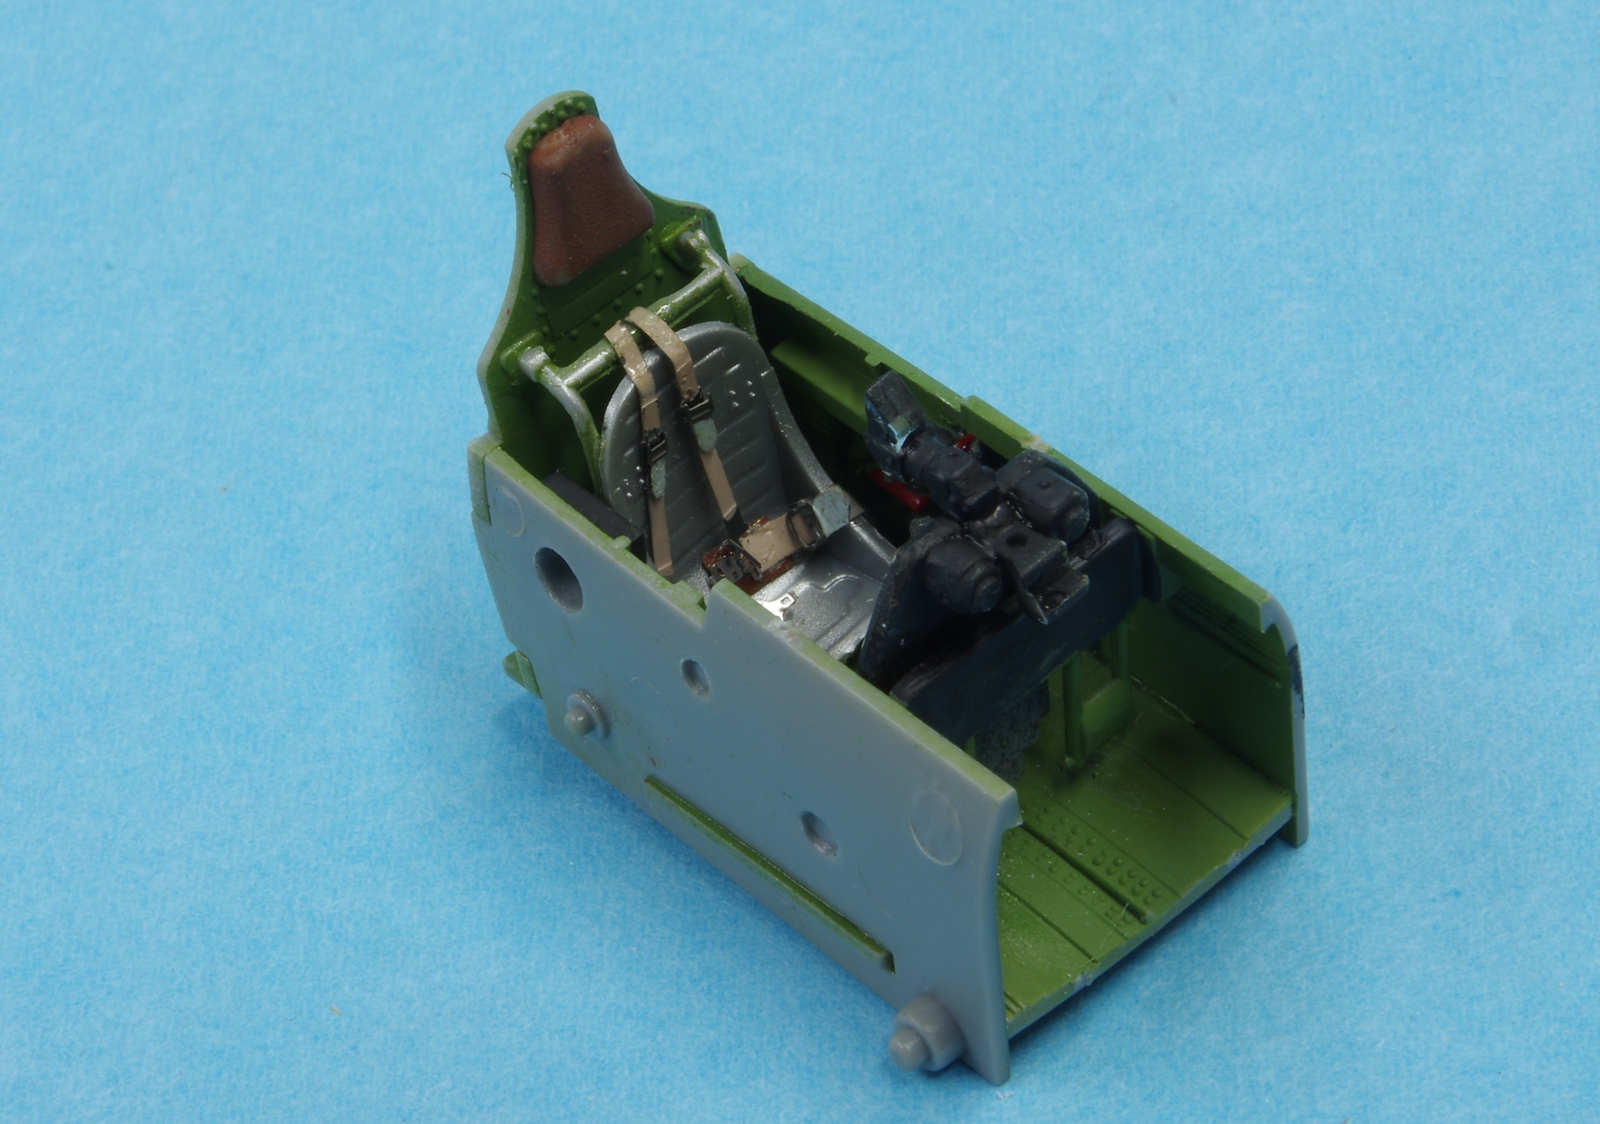
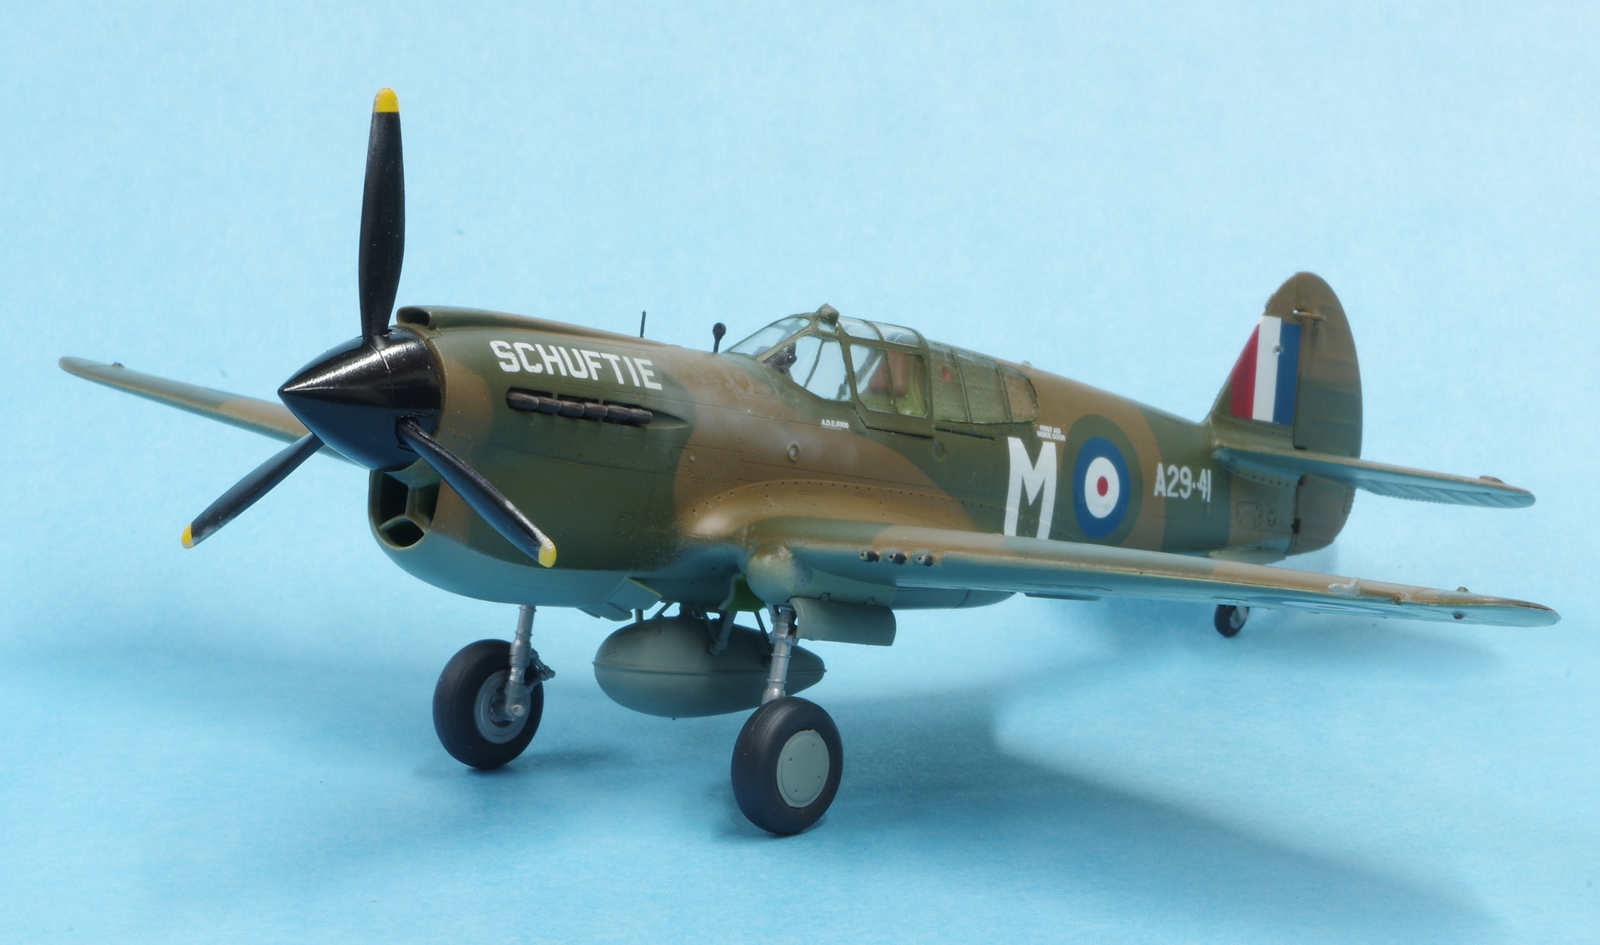
Seems like the only way I could allow enough time for paint to dry on the P-40N was to start another Hasegawa P-40. I even tried working on the B-26 but after a little painting I had to wait on that one too, so here we go. It's pretty much exactly like the last one, and after two days all the inserts are in and cleaned up and work has started on the interior. There was just about the same work on clean up for the inserts but different, plastic even in a Hasegawa kit I guess is not exactly the same as to how things shrink, perhaps. This has the short tail and the aft cockpit inserts are different, left and right instead of one part in the N kit and that made it easier to get those aligned with no external mismatch, I shifted the mismatch to the center seam.

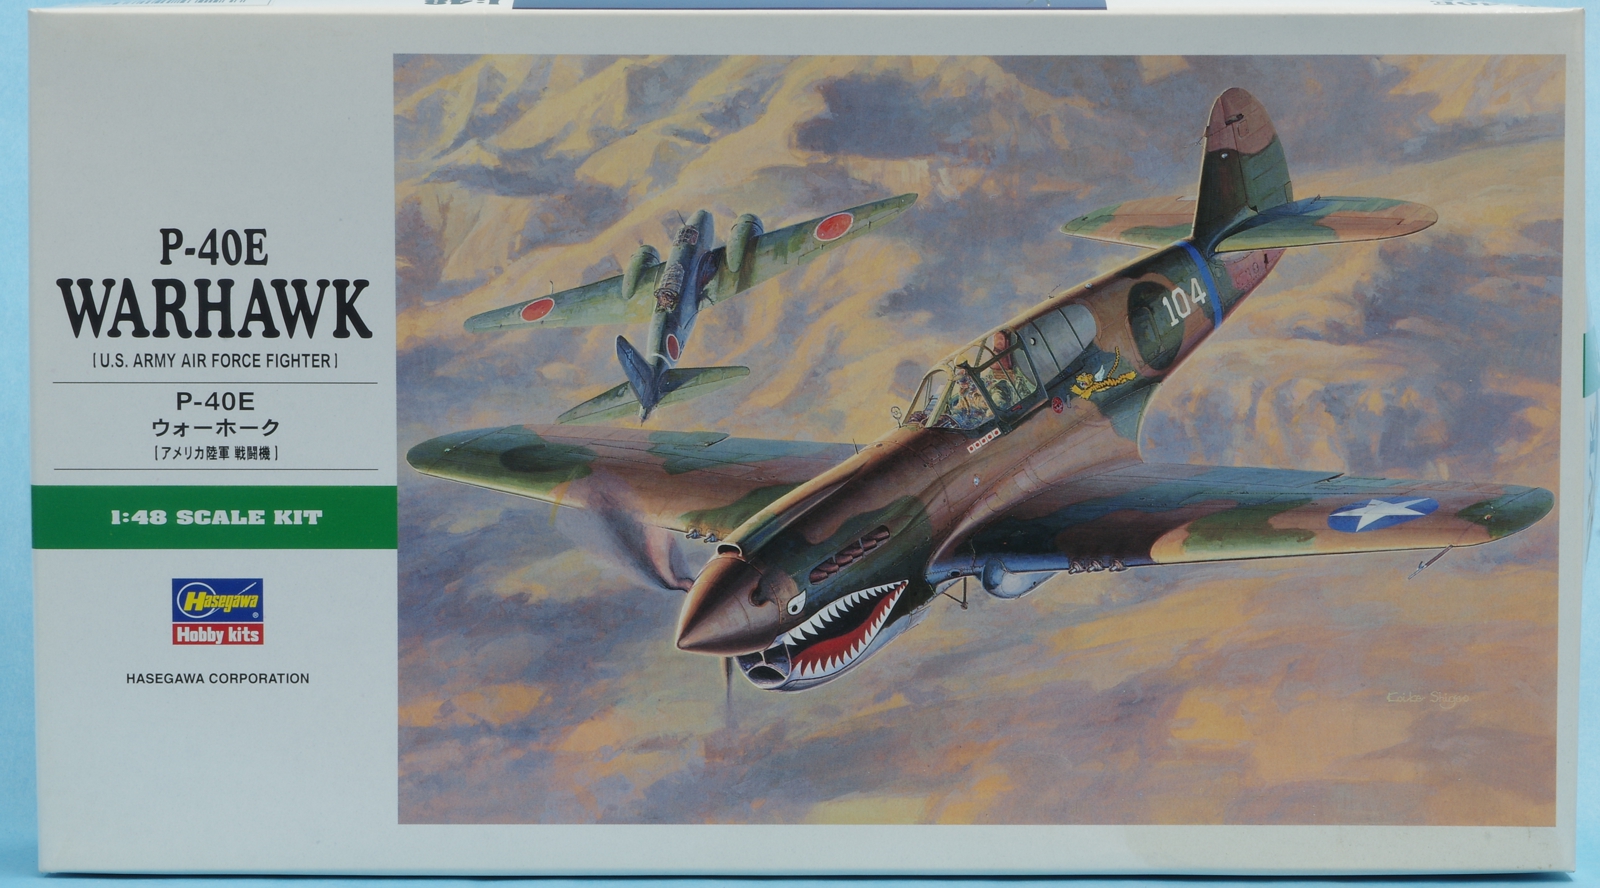
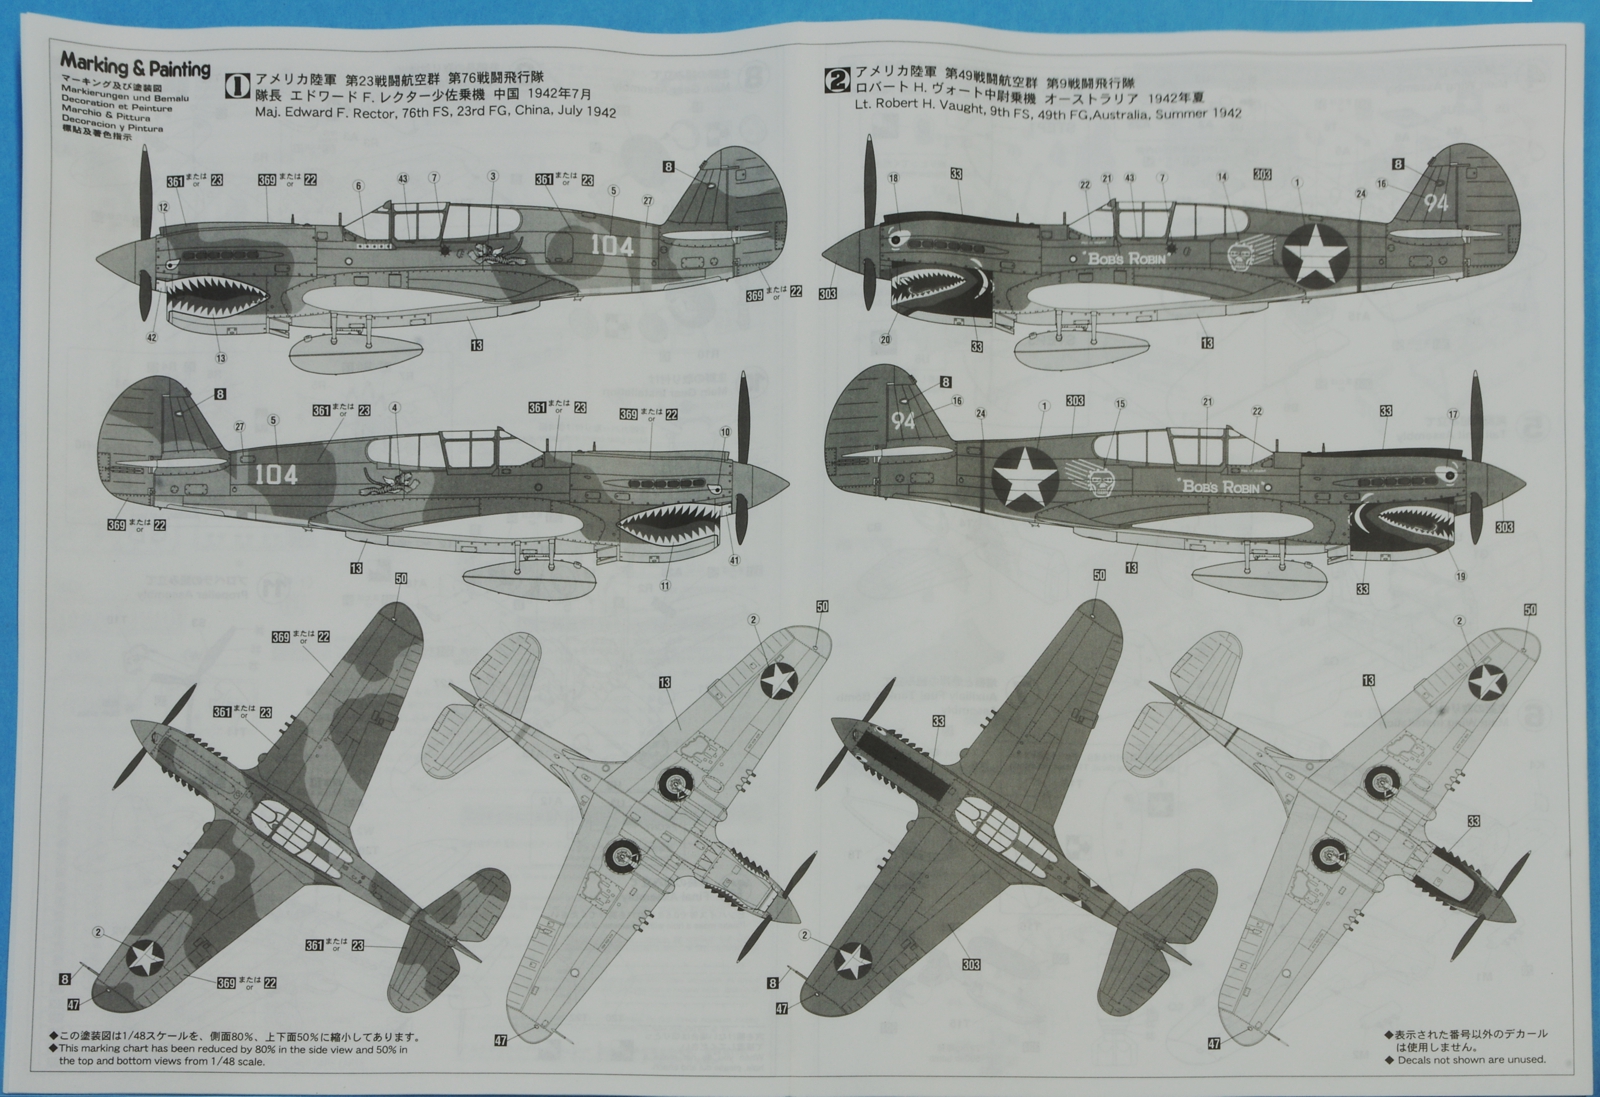
The box art and instruction color scheme page. Neither of these schemes excite me.

0013p40.jpg


0023p40.jpg


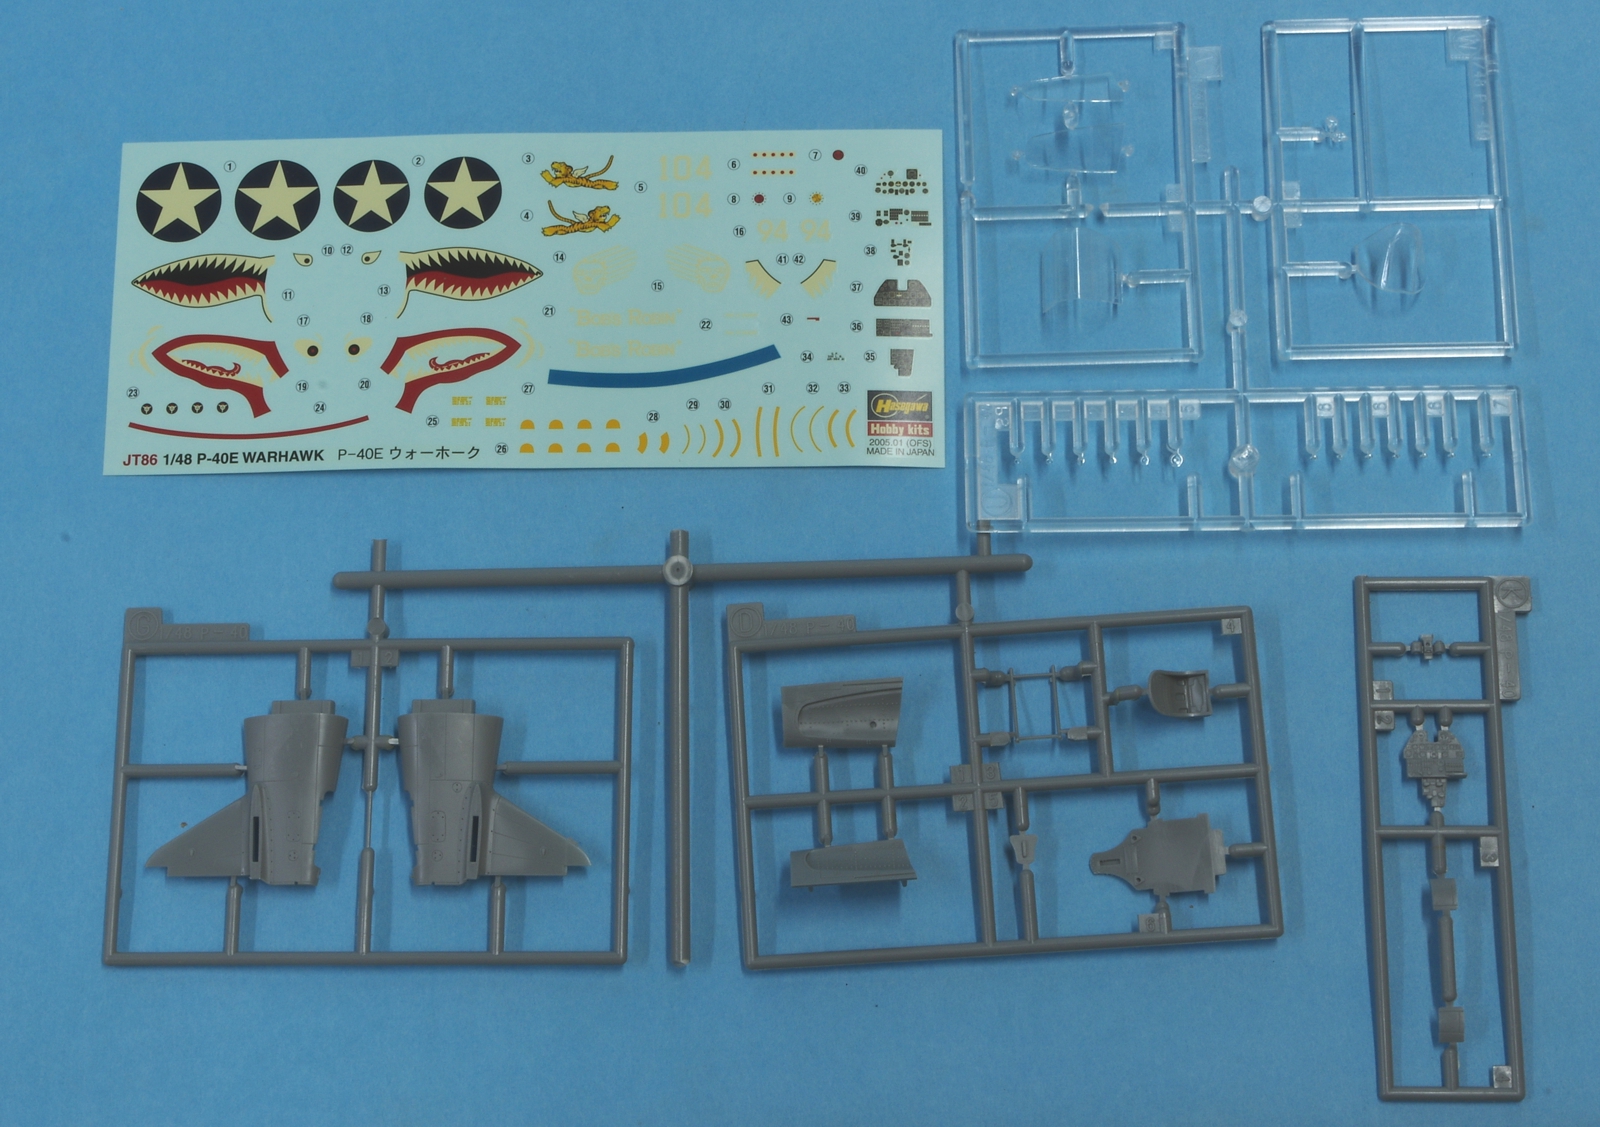
The parts that are different in the P-40E kit.

0033p40.jpg


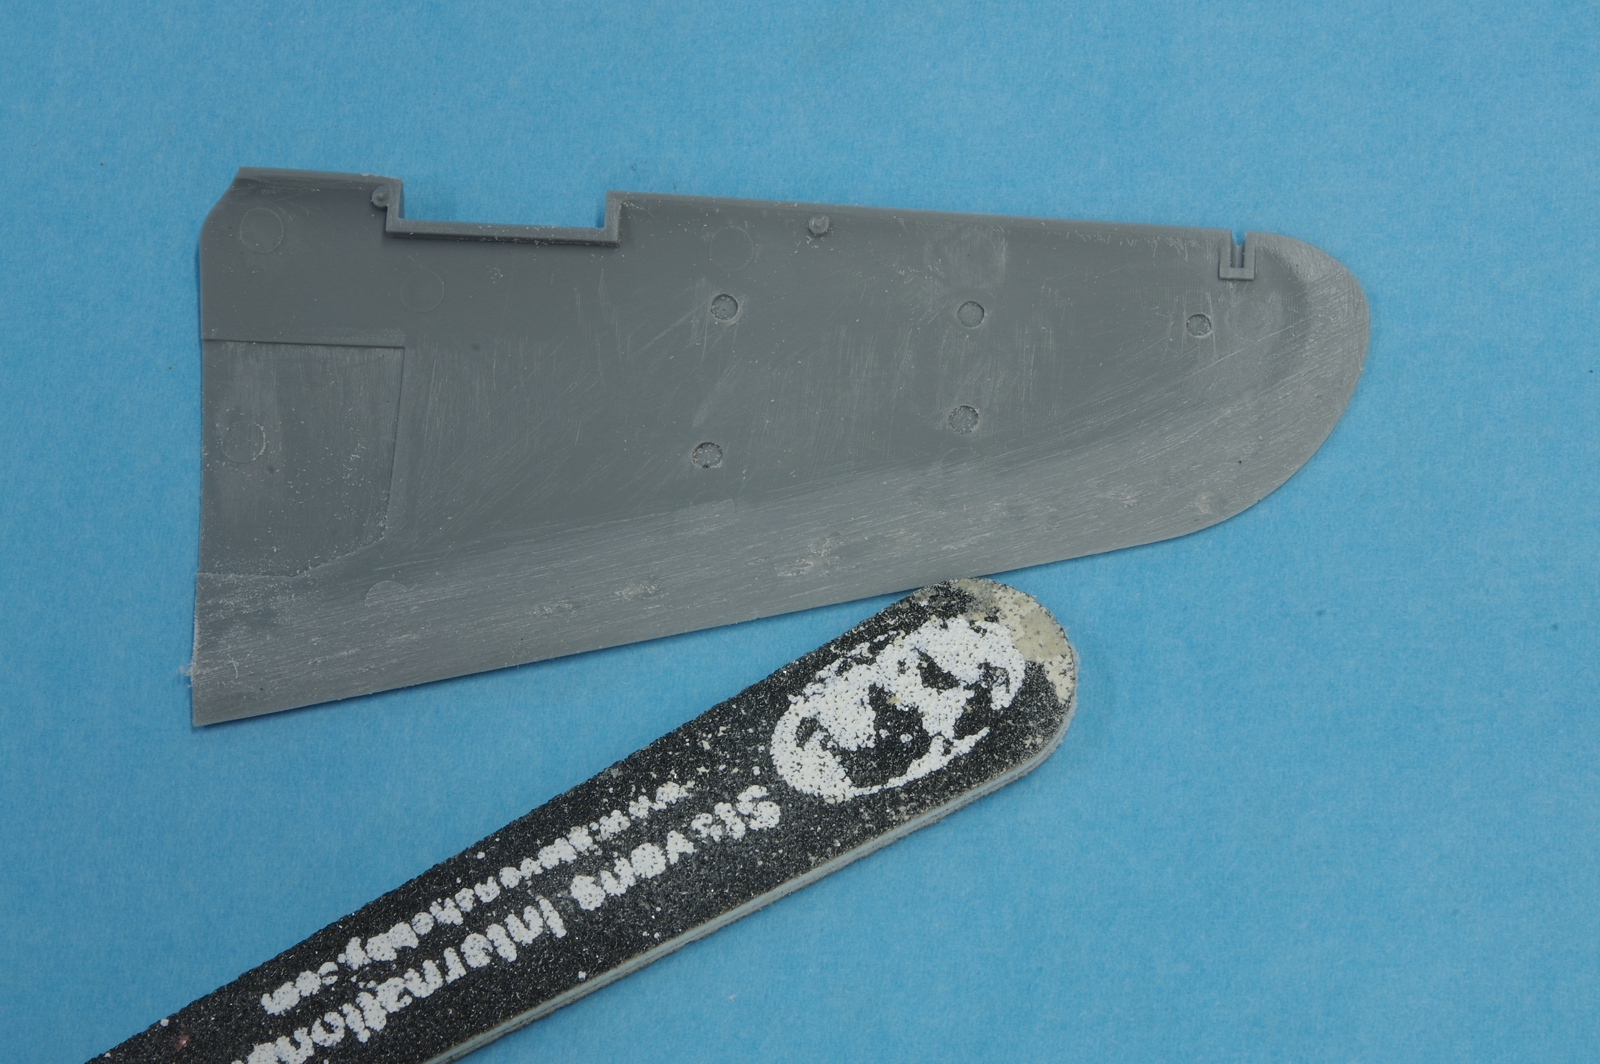
When I built the Hasegawa P-40N I was not satisfied with how well the wing trailing edges mated up. I used a Dremel tool with a barrel sander and this rough sanding stick to remove some material from the inside of the upper trailing edges and the fit was better.

0043p40.jpg


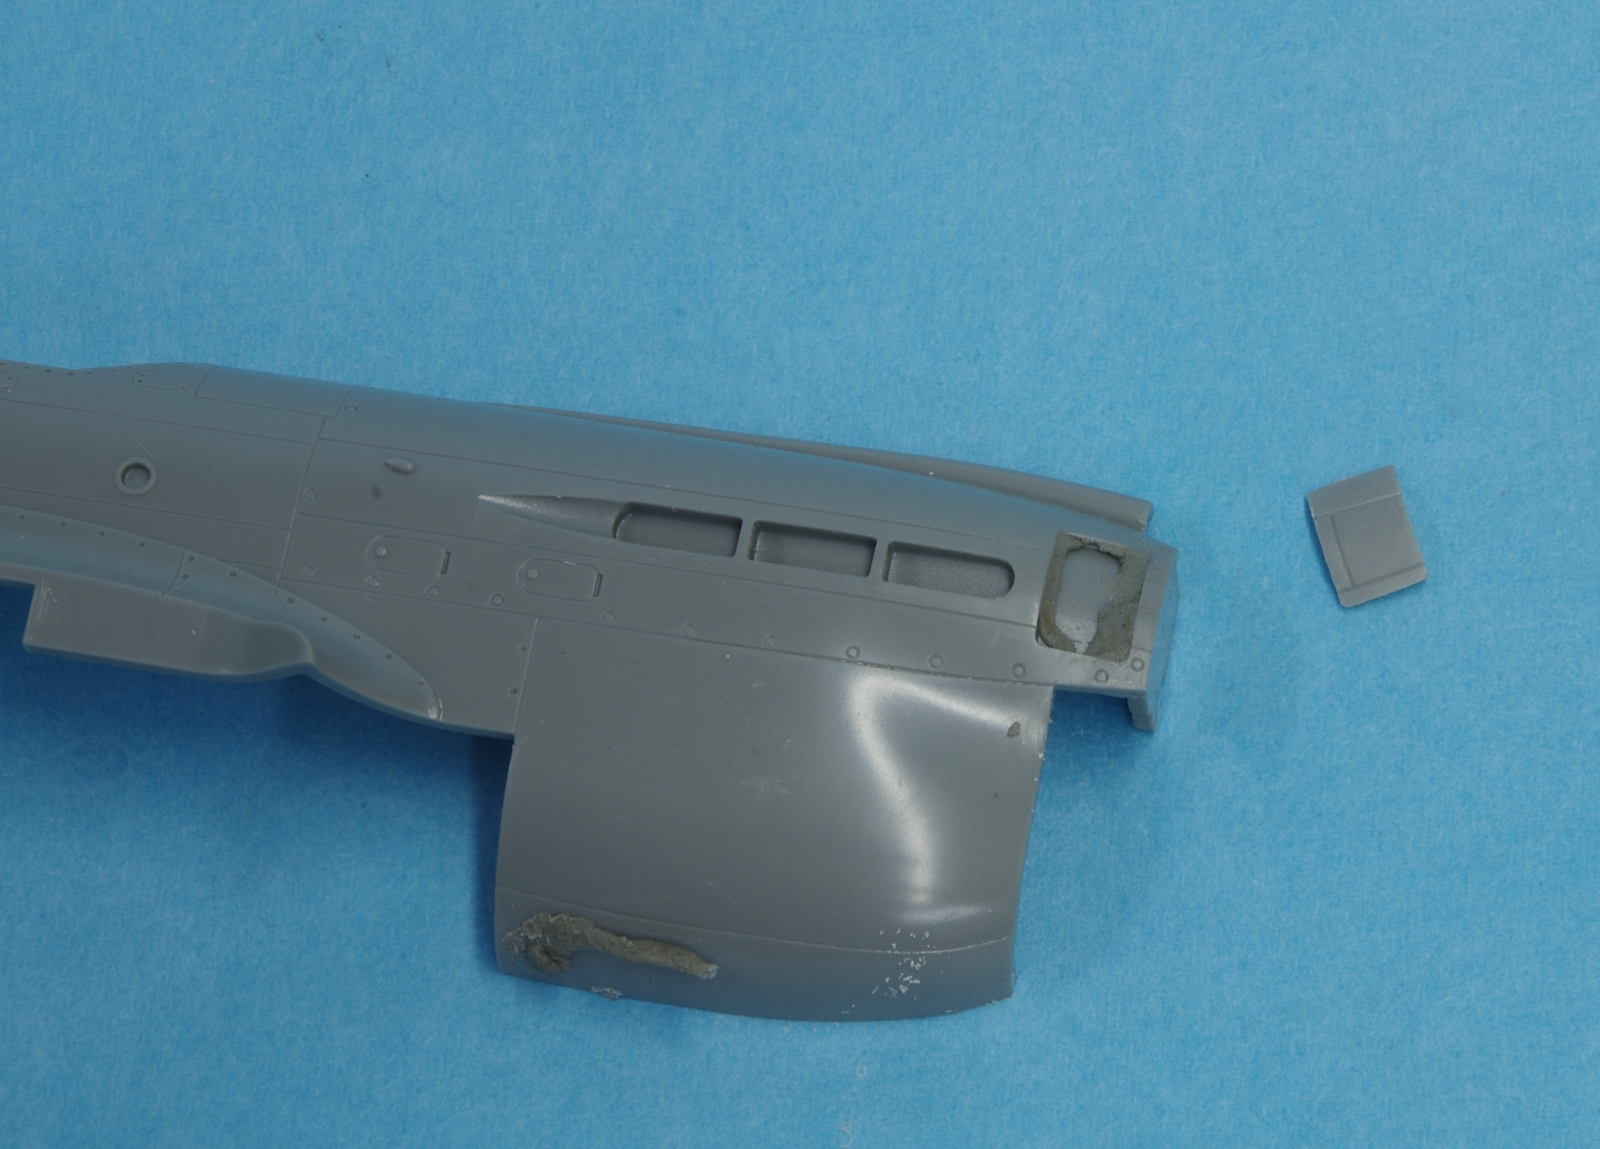
Never mind that worm on the bottom of the chin! To get a good fit on the upper nose inserts Aves Epoxy Sculpt was placed in the recess as shown
and the inserts were pressed in until they were flush with the surrounding surface. Excess epoxy was removed with a wet finger. And the worm.

0053p40.jpg


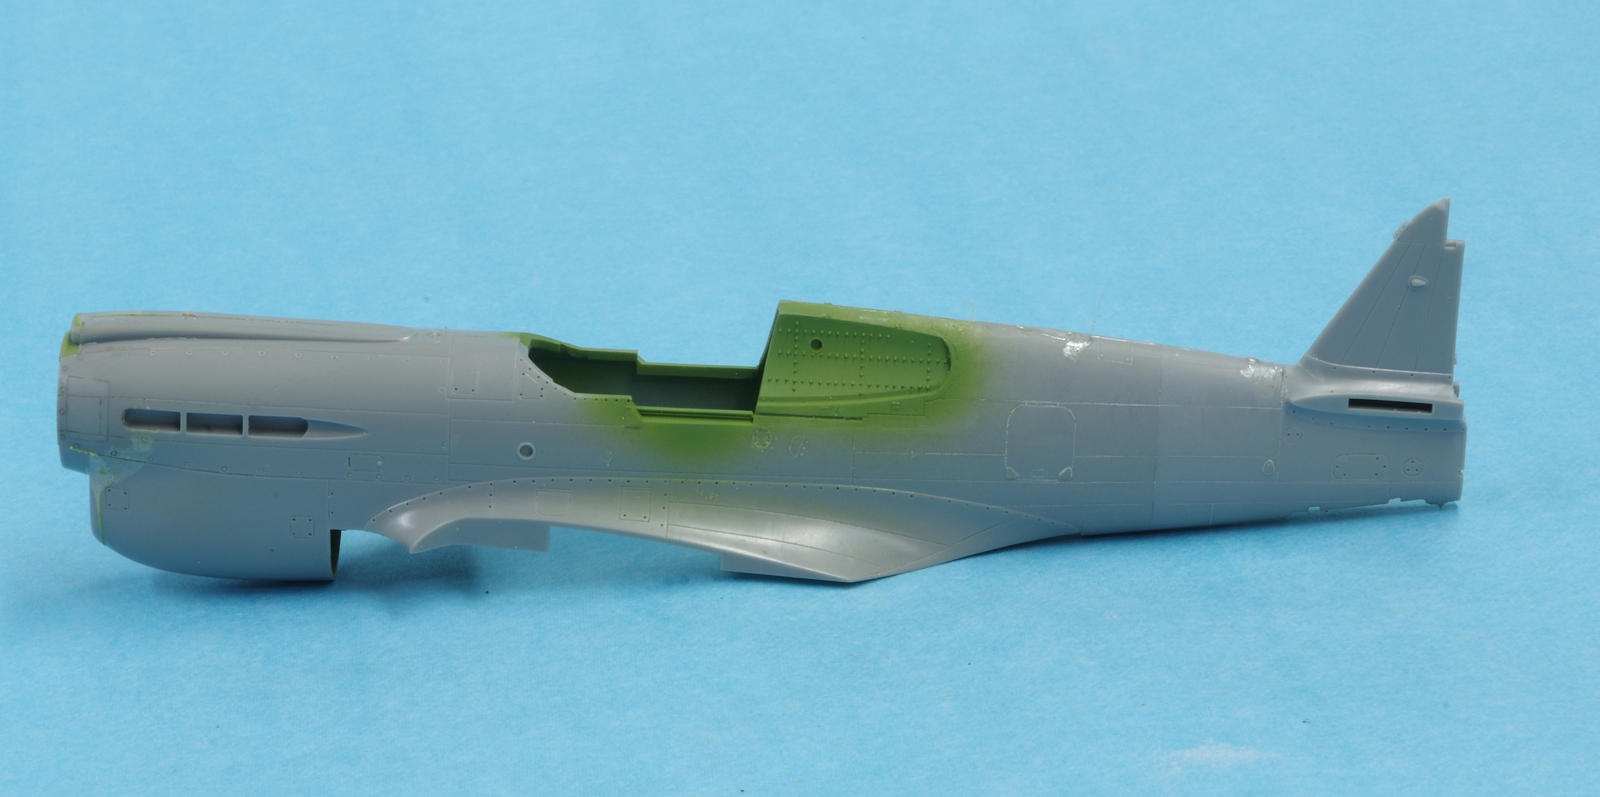
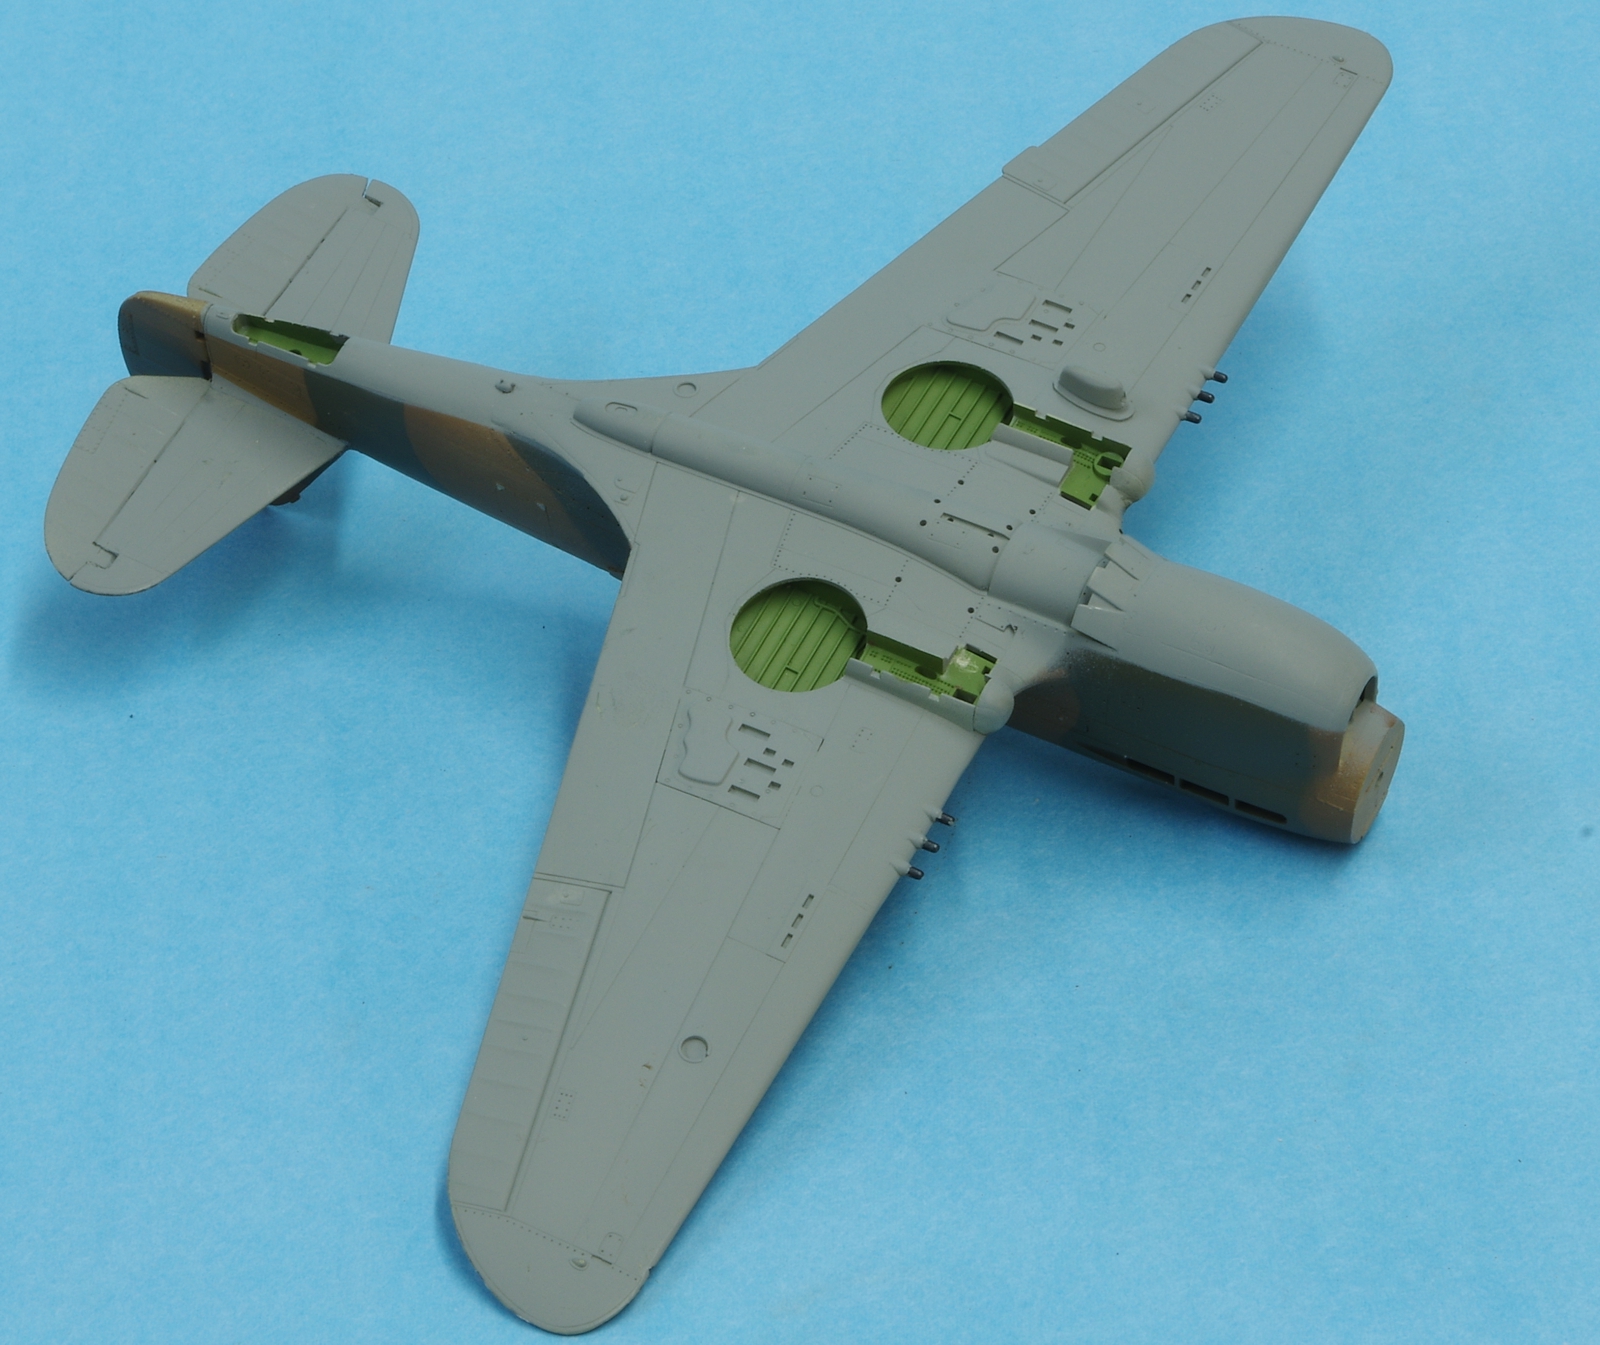
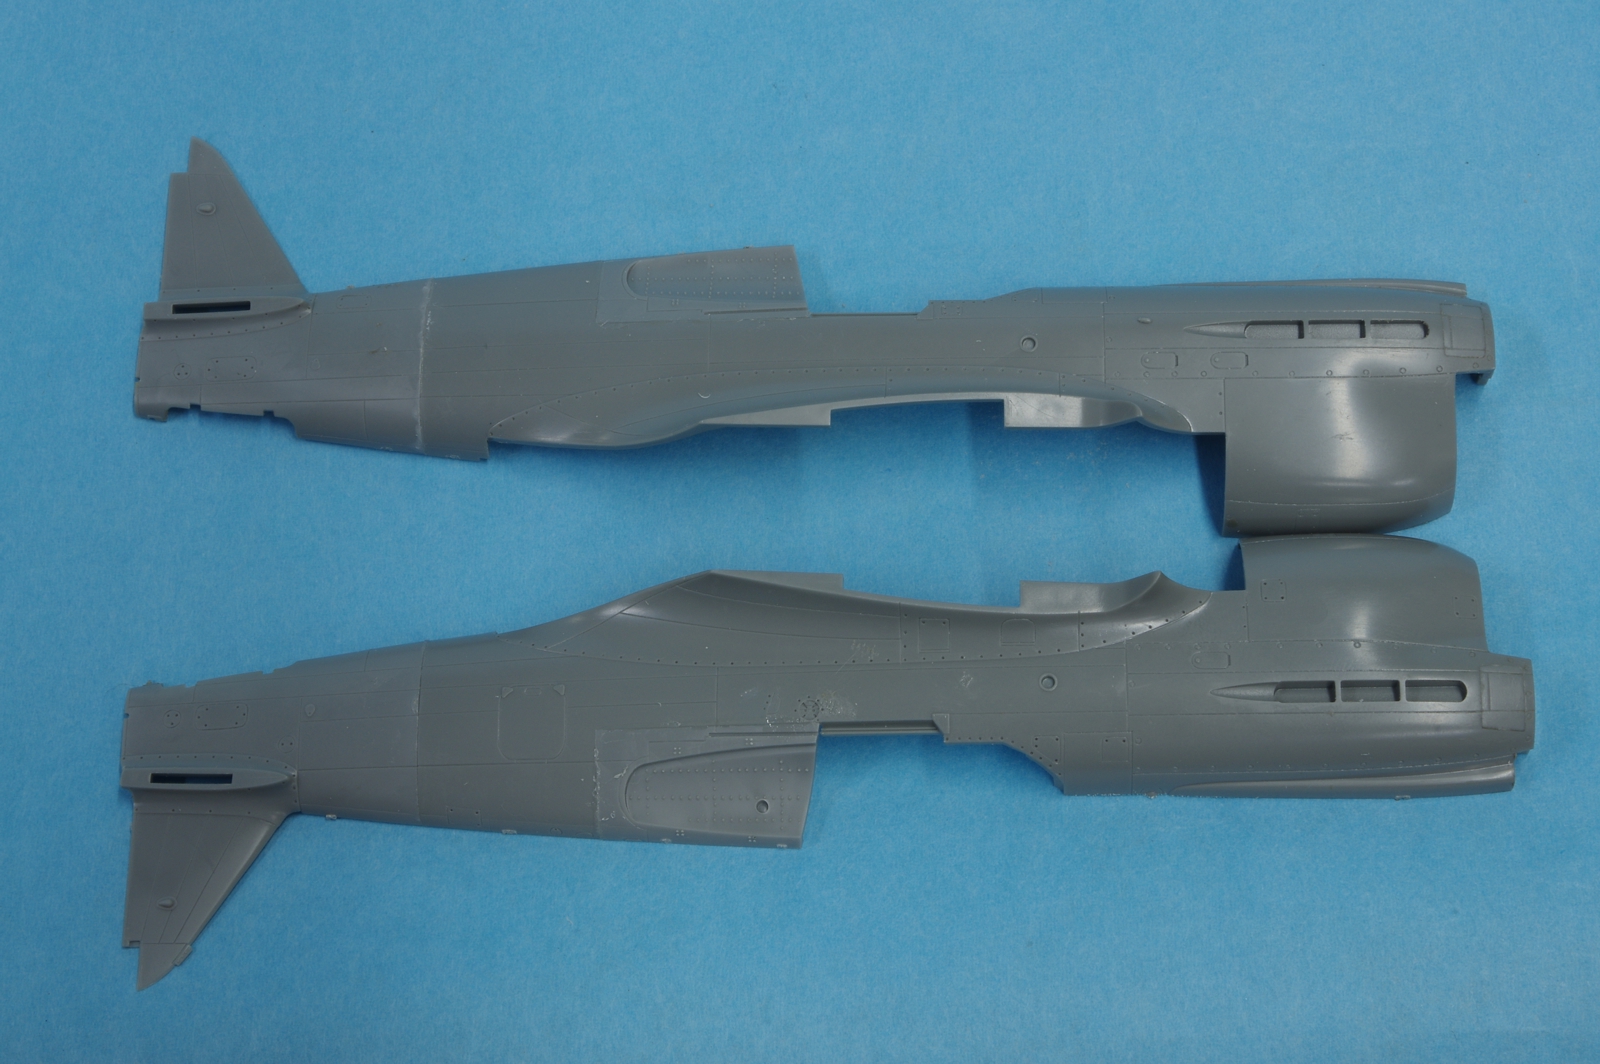
All the fuselage inserts are done here. Gel superglue was used on the tail joint and thick Testors cement from the black applicator with the steel tube was used for the aft cockpit insert.

0063p40.jpg


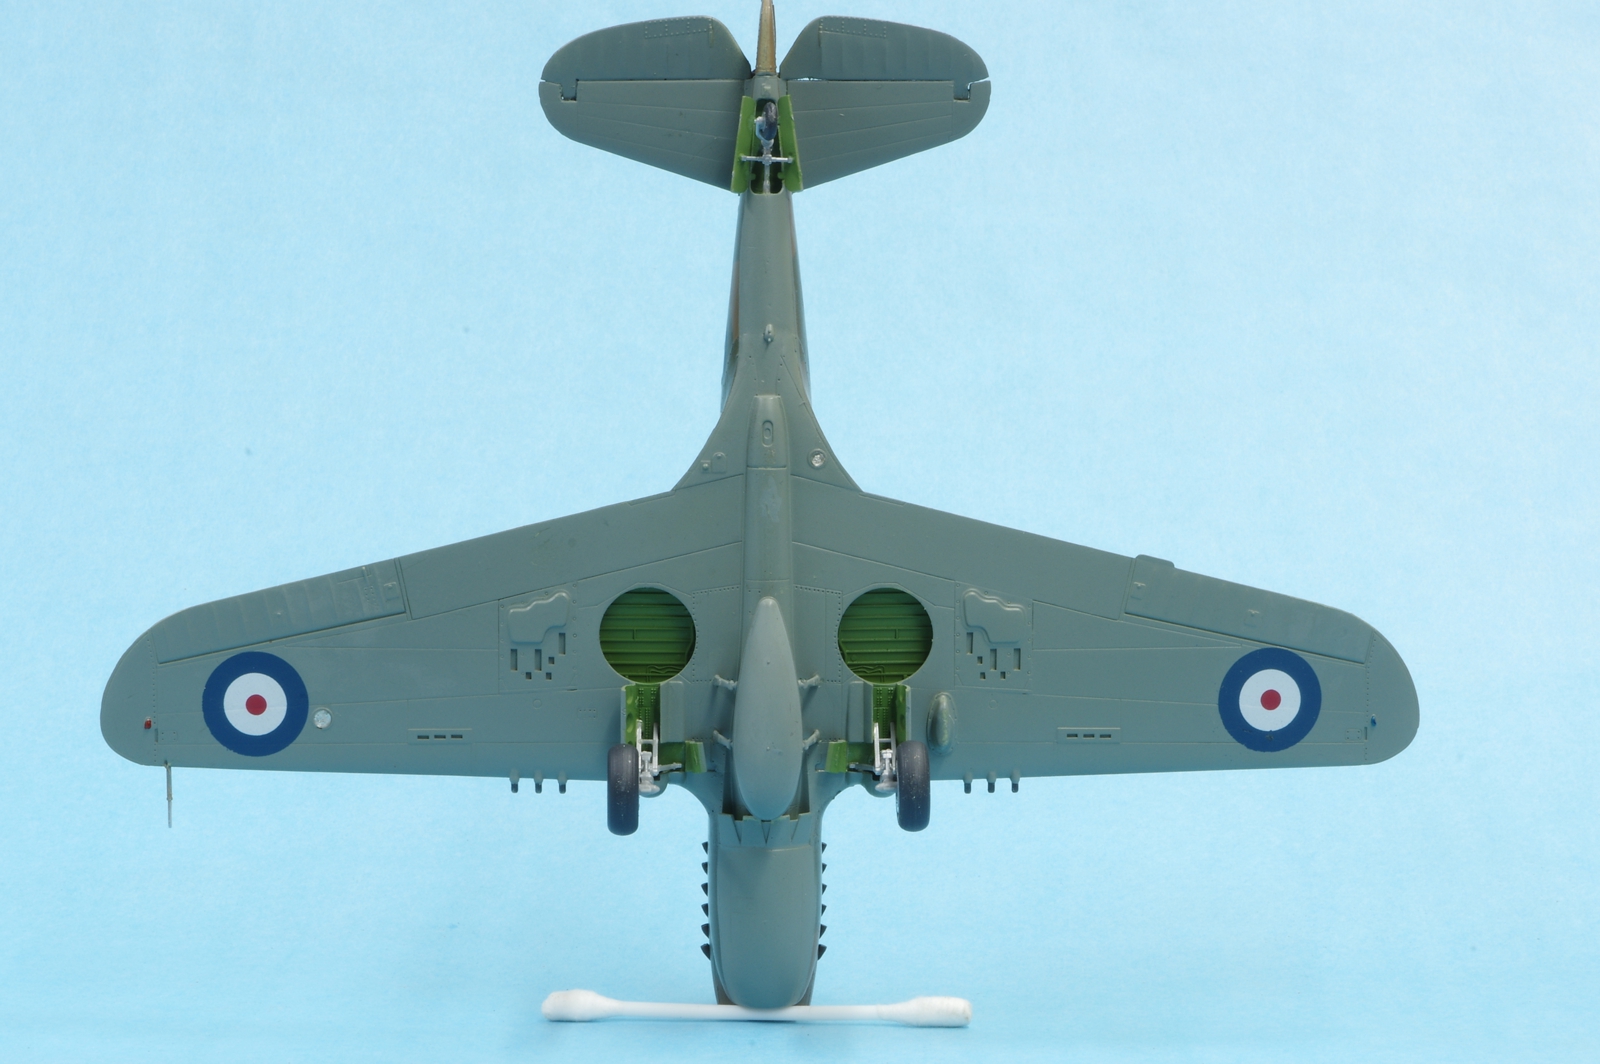
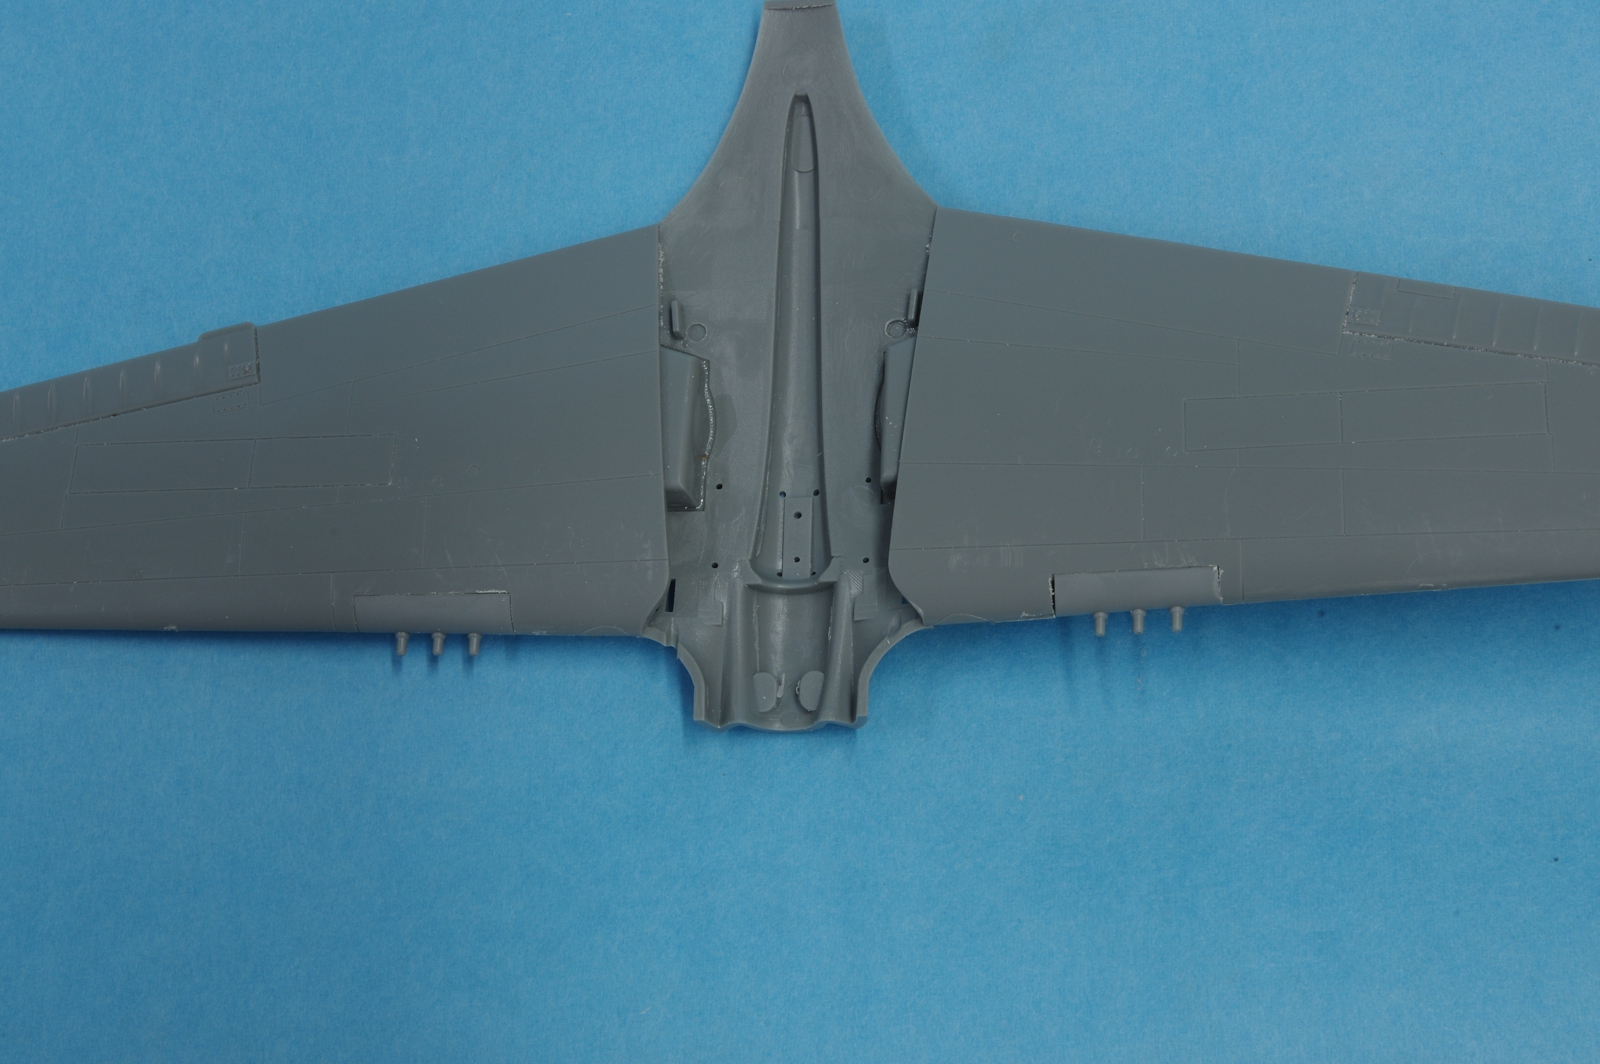
For some reason the wing inserts did not fit as well on the ends as on the P-40N kit. I set the best vertical alignment I
could on the bottom because it is easier to work on the upper wing surface without damaging the gun barrel detail.


0073p40.jpg
 
Nice work John (y) I really hate those separate tail inserts, same deal on the 1/32 kits, when I built mine I spent more time getting rid of the seam (not on a panel line) than I did on the rest of the kit.
 
Thanks, guys.

In between decals on the P-40N the cockpit was assembled. The overall zinc chromate green was applied yesterday and the instrument panel had already been painted and decaled so there was just some detail painting to do, PE belts on the seat, and sticking it all together. I did the instrument panel differently on this one, instead of all decals I detail painted and drybrushed the lower half and put the decals on the top. I put Future over the decal section, and when that was dry enough I painted around the dial faces with Matte Alclad II Clear. A person can do a lot more with detailng these cockpits, but I find I seldom ever look there again once the model is done. I did rub some SNJ aluminum powder into the rudder foot rails. The only part of the cockpit that gave me any hassle was the tube frame that the seat runs on, it was fiddley to get in place. I put the left side, back, and floor together, because I wanted the best fit there, and then the seat assembly was installed. A little was removed from the bottom of the seat frame before upper ends would seat properly. Putting the seat in before either side panel will likely result in misaligned side panels. You could also drill out the lower seat frame holes and adjust it that way, not glueing the lower end until the side frames were installed, that might be easiest. Then again, it might just be me and my kit!

0083p40.jpg


0093p40.jpg


0103p40.jpg
 
Really frustrating as I cannot see any of the photos that John posts on any of his threads.. :bang head


Ian.
 
Ian it looks like John is using his personal hosting space for his images. http://www.yolo.net/~jeaton/mymodels/p40/3p40/0103p40.jpg is the address.

I can see it just fine. You'd have to troubleshoot on your side, sorry.

John, looks great, I also wonder why we spend so much time on things that can't be seen either other than, "because we can". (y)
 
When I built the Hasegawa P-40N I installed the pylon for the drop tank on the fuselage, then the sway braces, and then I mounted the drop tank to the airplane. That was not easy because the mounting points are very small and were hard to locate to the tank and then the glue joint was very small and fragile. This time the drop tank pylon has been glued to the tank first, using Tamiya thin followed by thin CA to reinforce the joints. Then the sway braces will be added, and then the tank mount pylon will be added to the fuselage. All this as one of the last steps.
Since there will most likely be more Commonwealth P-40’s in my future I made some painting masks for the P-40E, which should work for any short tail D to K version. I have done masks in the past for the Spitfire and Hurricane. I have made a pdf of the masks and they can be downloaded from the P-40E build log on my web site, or you can right click and download the jpg here which should print to 1/48 scale.


P-40Ebritpattern.jpg


0113p40.jpg


0123p40.jpg


0133p40.jpg


Tamiya Light Sea Grey was used on the bottom, with Model Master Acryl for the upper Dark Earth, and Tamiya Dark Green RAF (2). I find the Acryl paints rather fragile but this time it worked OK and sprayed very nicely.

0143p40.jpg


0153p40.jpg
 
Thanks, Bob and Luiz!

All done now and in the display case. Apologies to Saul for the lack of a shark mouth :eek:ldguy . The markings are for a P-40E-1 flown in the defense of Darwin by RAAF F/L Les Jackson. Schuftie is Arabic for "have a closer look". I have made it a habit to make two sliding canopy sections, one vacuform for posing with an open cockpit and the other the kit canopy for closed cockpit photos. The kit canopy seldom rests right in the open position. The masks required are quite different. On the Squadron canopy the left and right sides are also different, and there was no upper longitudinal framing at all. Those masks were made by photographing the canopies, tracing over them in Autocad, and cutting them with a Silhouette Cameo vinyl cutter. There are always adjustments to be made so paper patterns are printed and tried until everything is happy. The decals came from the ProModeler P-40E kit and look nice when done but took very careful handling to keep them from breaking up. A few required touch up. The bead sight is made of fine music wire, I despaired of ever holding on to the plastic part long enough to clean up the sprue gate remains, and it immediately flung itself into space anyway. Easier anyway to super glue in the wire and cut it to length when the glue is cured.

0163p40.jpg


0173p40.jpg


0183p40.jpg


0193p40.jpg


0203p40.jpg


0213p40.jpg


0223p40.jpg


0233p40.jpg


0243p40.jpg

Done!? :woohoo:

Wow, you're really crankin'em out John. Looks great, nice job :drinks
 
Yeah, done, Bob. And that's a problem because unless I go back and work on that C-141 (that I did get the decals for to do a white top airplane) I have to go to work on the short wing B-26. Actually did some work on it yesterday and today, worked on fitting the tail cone and rescribed the fuselage halves. Maybe my sense of futility is lessening with respect to this one. I may be past the parts that require three hands.
 
Came out a real beauty John! Just picked up the Airfix P-40B from Hobby Lobby and trying to decide on a scheme other than what's in the box....
 
Ahhh man now you’ve got me wanting to do one!
Really nice work John. Now stop enticing me into another build on an already overcrowded bench.
 
Back
Top