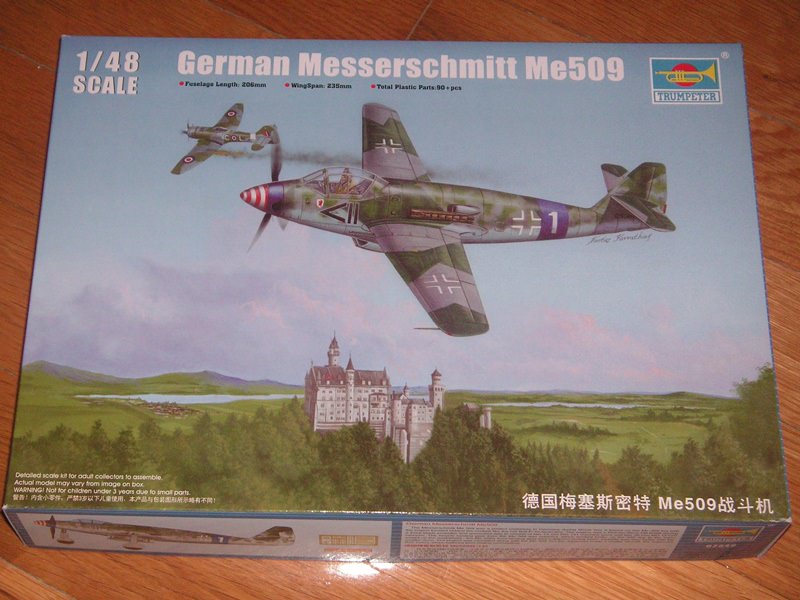
• Modelers Alliance has updated the forum software on our website. We have migrated all post, content and user accounts but we could not migrate the passwords.
    This requires that you manually reset your password.
    Please click here, http://modelersalliance.org/forums/login to go to logon page and use the "Forgot your Password" option.

Me 509 Trumpeter 1/48

MichelC

Member
My new build!

evPLaT3.jpg


Oh, I know what you will say: "Oh no! Not another 509!"

What? Isn't that what everybody says when they see a 509? Or is that for the 109? :D

Truth is that there are damn few 509 builds out there. Of course there's Chuck's and that quality makes largely up for the lack of quantity. Talking about Chuck's build, it's kinda hard to post mine on the site where he posted his so I just hope that with the few intervening years at least most modelers' memories of it have dimmed... :D

OK, a quick look inside the box:

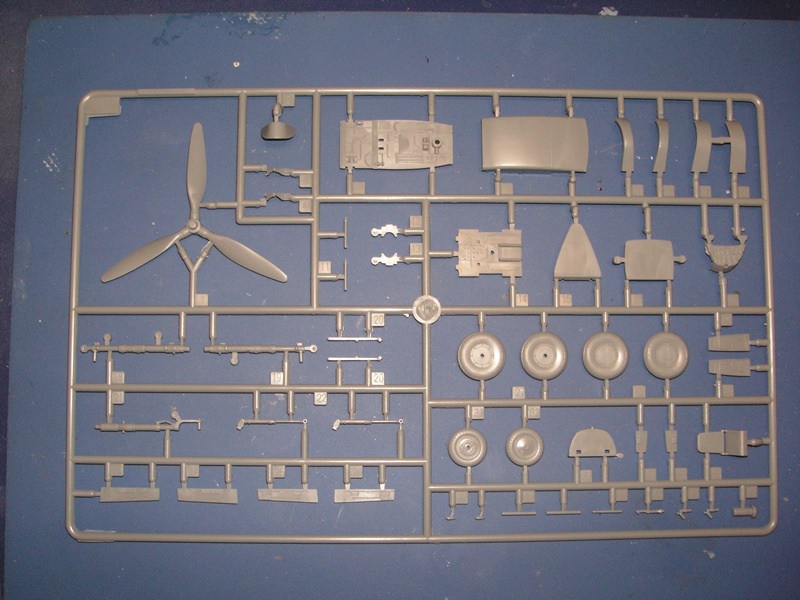
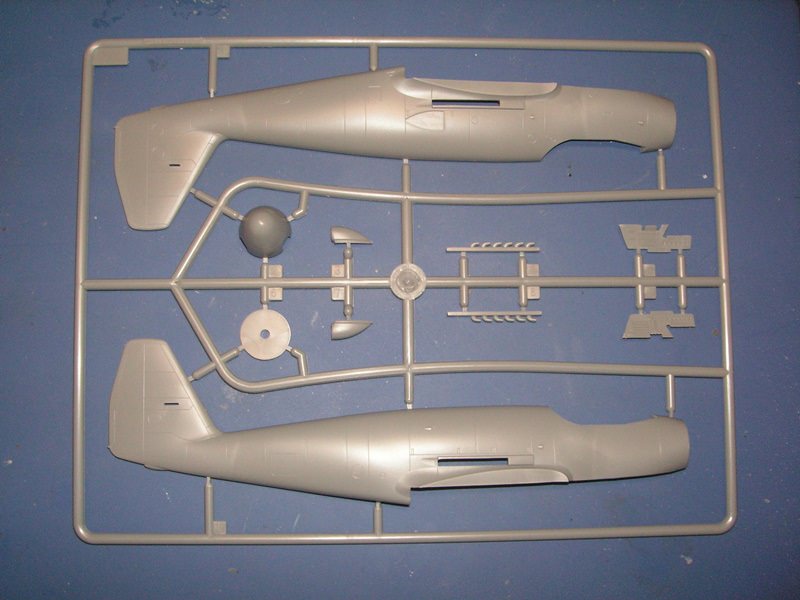
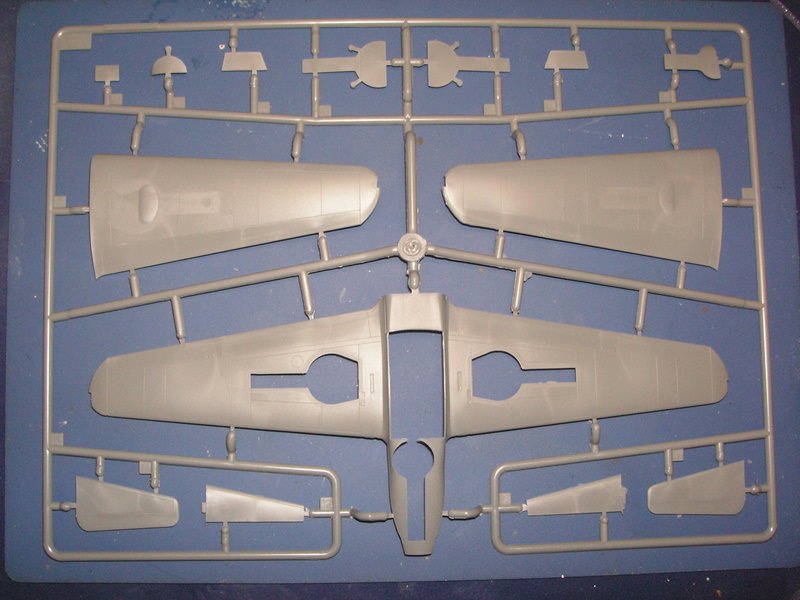
3 sprues of gray plastic.
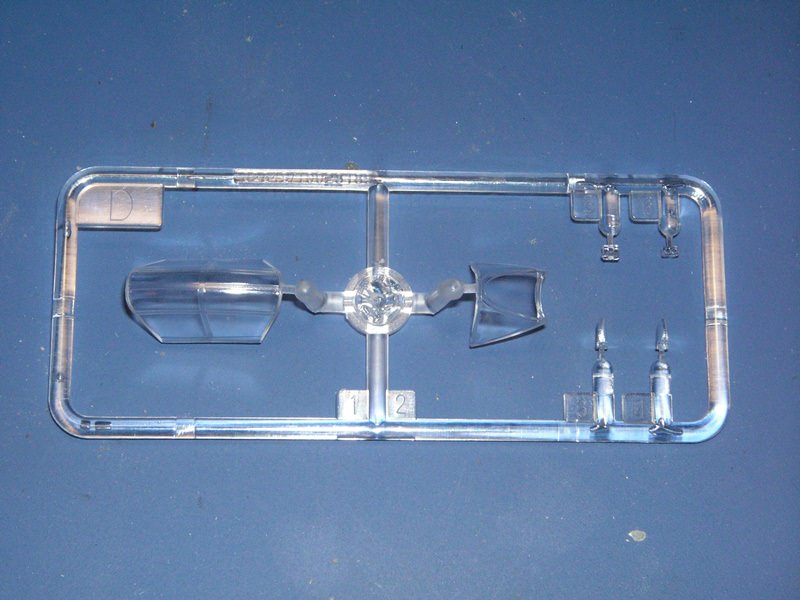
SlYxIn8.jpg


lHKJSKJ.jpg


9EaHazM.jpg


A clear sprue.

bpRJjpH.jpg


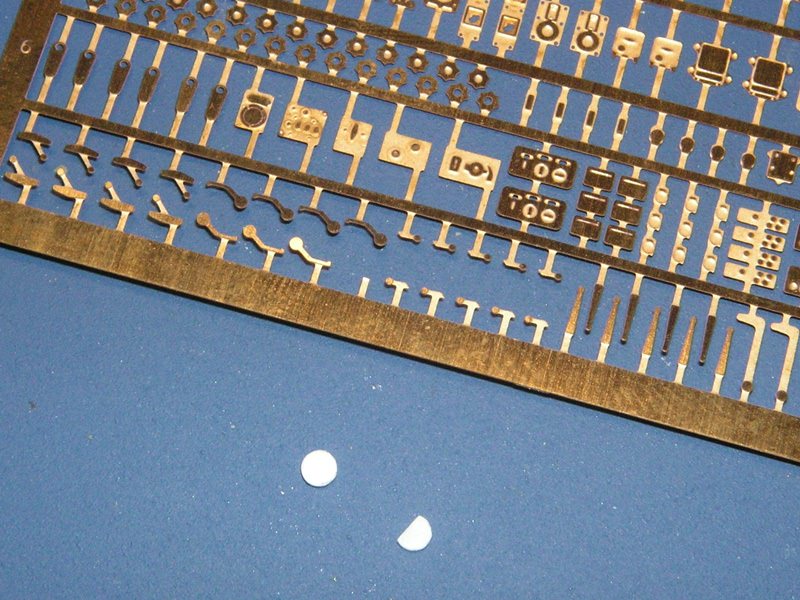
A rather simple decal sheet and a mostly unusable PE fret.

1Dnk1op.jpg


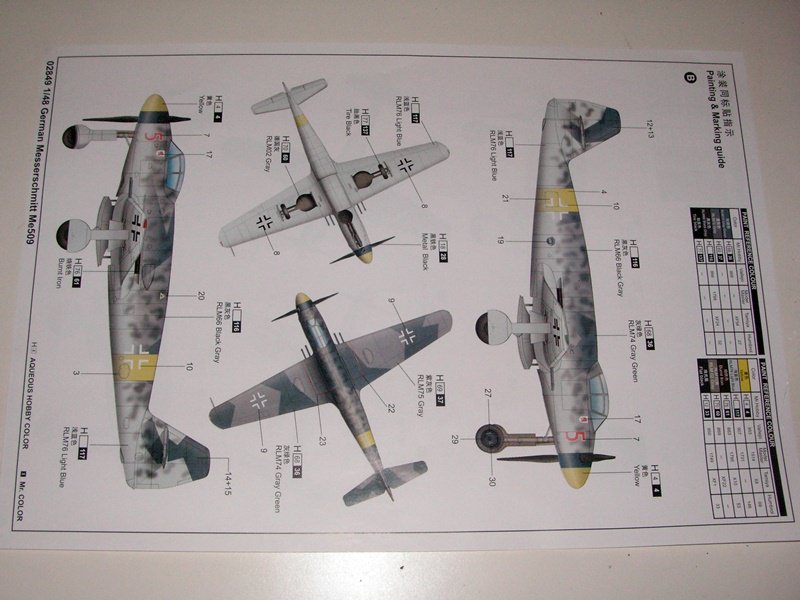
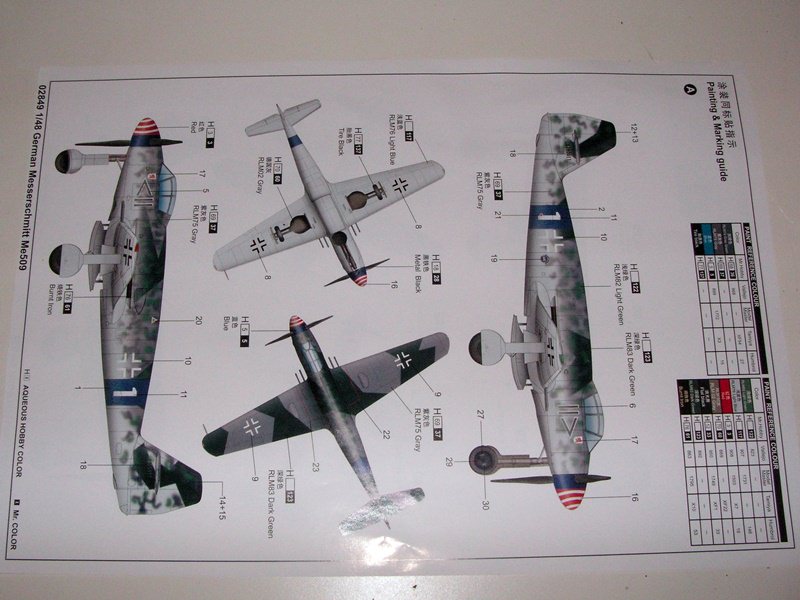
A double sided full-color paint instructions sheet in addition to the black and white building instructions (not shown).

k6hBUfW.jpg


3g9pWlD.jpg


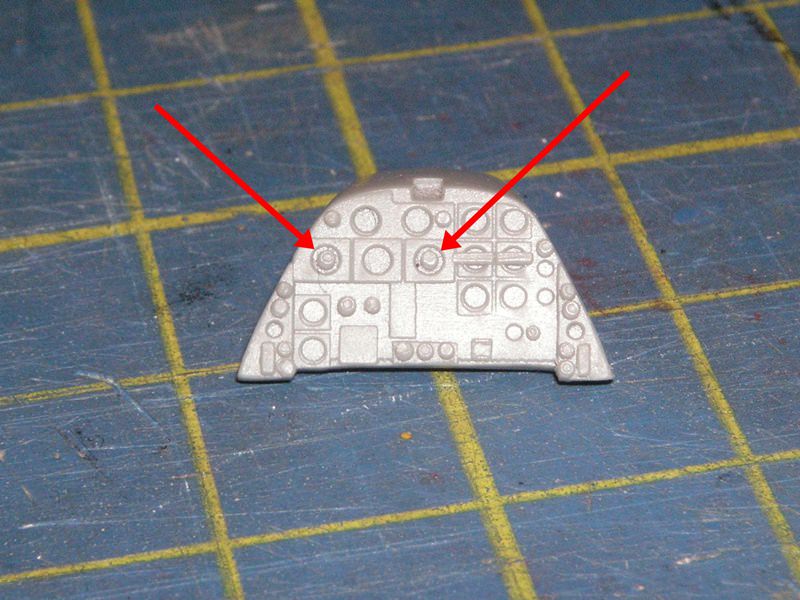
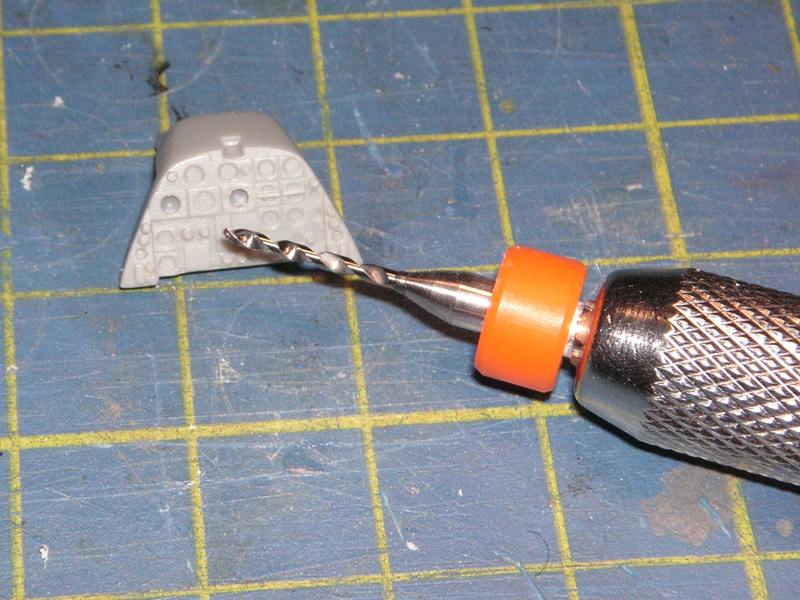
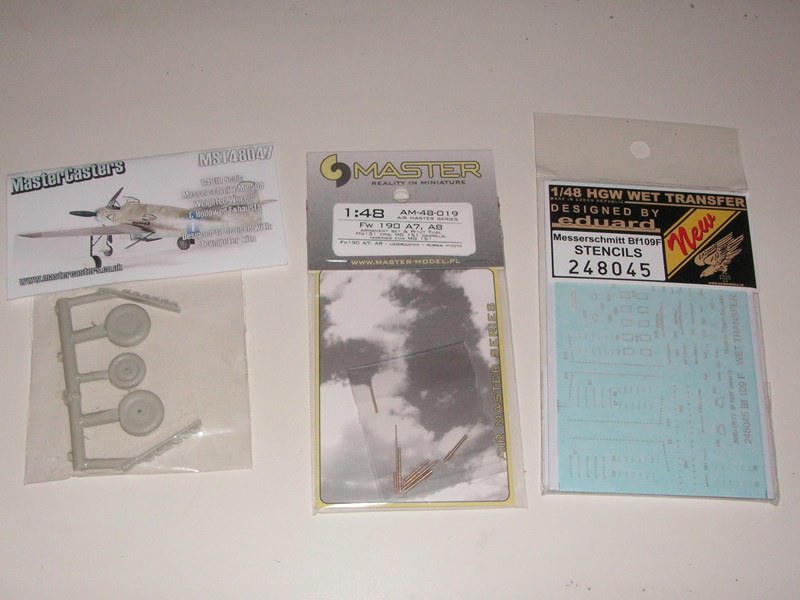
To make it all more interesting, some detailing goodies for the pit,

zwtcKid.jpg


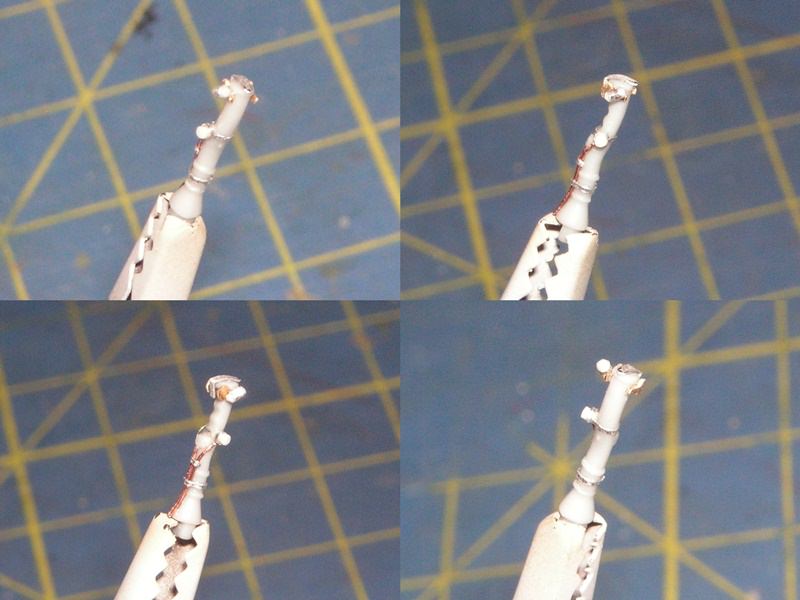
as well as resin wheels, turned brass guns and extra stencils.

l7kJonu.jpg


Ready to go! :pilot

M
 
Got two of these one in the box and one built but not yet painted. It builds nicely and has a lot of 'presence' in the cabinet.


Looking forward to seeing what you do with this one, Michel.


Ian.
 
Thanks for the comments, guys! :drinks

@Ian, if you have one ready for painting go for it! This subject lends itself perfectly to any kind of wild Lufty forty-sixy paint job!

It seems like a good kit but I heard the pit screaming for details as soon as I opened the box and I must say that I gave in. :D Pics coming soon...

M
 
Now, let's get to work!

The kit's sides walls have detail, which is unusable in my eyes.

MhU0QzL.jpg


Some of the detail was scraped off and covered with electrical tape, which is thick enough to cover irregularities and soft enough to adhere to contours. It was secured in place with liquid CA. The consoles are made from Evergreen strips.

sMXrRA8.jpg


The AirScale Cockpit Details set was then used to add details.

1YBjoNA.jpg


Same on the left side.

ZoWhYre.jpg


To complete the left side I made a throttle quadrant by first punching out a plastic disc

1nmtfw9.jpg


and then adding the levers.

QsWpatX.jpg


There it is!

s3g3B1y.jpg


BTW, punches can double as glue applicators. Just choose the right diameter for the amount of glue you wanna apply.

aSEbktv.jpg


Next I turned my attention to the IP, which has some weird buttons smack in the middle of two of the dials.

XS0Npm8.jpg


I decided to get rid of those by first drilling them out...

6FIyJ7b.jpg


and then inserting more discs made with the punch and die. Really useful tool, that!

There's also a small lever in the lower center of the panel and switch next to it, both from the AirScale fret.

The bars across the dials on the right seem weird too but I decided to leave those in place...

j2UHQRJ.jpg


Lastly I detailed the stick with some spare PE, wire, styrene bits and alu tape.

oh4gV24.jpg


More to come...

M
 
Looks good Michel! This kit is a totally fictitious plane loosely based on the actual 509 which had the cockpit in the rear part of the fuselage. I really like your touch ups as they make a lot of sense and add to the illusion.

thumbsup.gif
thumbsup.gif
 
Great work Michel!
I've been using that same punch tool for a few years now. Can't imagine buildig models without it.
What is that electrical tape you are using? wich brand?
 
Looks good Michel! This kit is a totally fictitious plane loosely based on the actual 509 which had the cockpit in the rear part of the fuselage. I really like your touch ups as they make a lot of sense and add to the illusion.

thumbsup.gif
thumbsup.gif

Thanks Eagle for nice words! The 509 was a paper projects that never made it to the prototype stage. It was a further development of the Me 309, I suppose that’s what you meant, itself supposed to be a replacement for the aging 109.

More here for anyone interested: http://www.luft46.com/mess/me509.html
 
Great work Michel!
I've been using that same punch tool for a few years now. Can't imagine buildig models without it.
What is that electrical tape you are using? wich brand?

Yeah, this punch is defo a nice tool!

The tape is just run of the mill insulating tape for electrical wiring. Any brand will do. ;)

M
Thank you very much!
 
Cool stuff. I dont think I have ever seen one of these built. Nice detail work there also. Looking forward to more.
James
 
Back
Top