Flyingbabydoc
Well-known member
Hello dear friends,
I have been really absent from the Forum. Since July 1st I have assumed the chairmanship of the department of pediatric surgery, which basically doubled my workload.
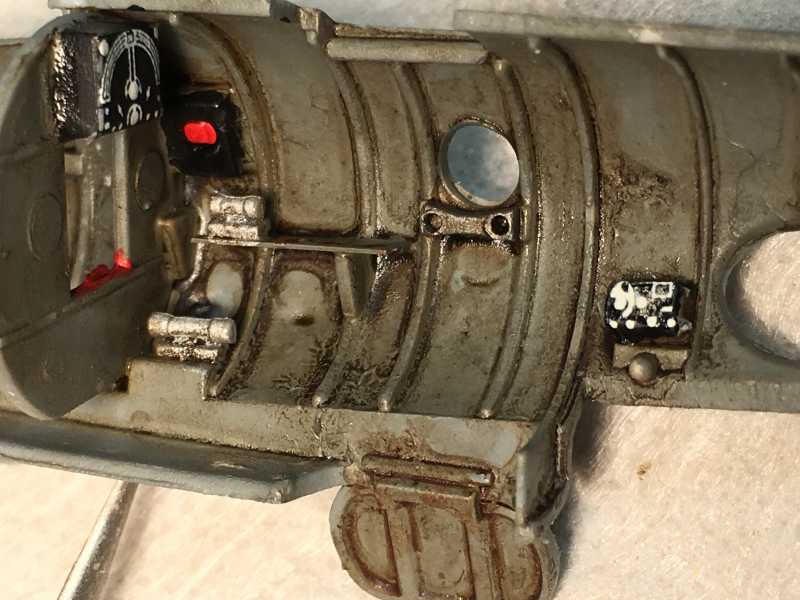
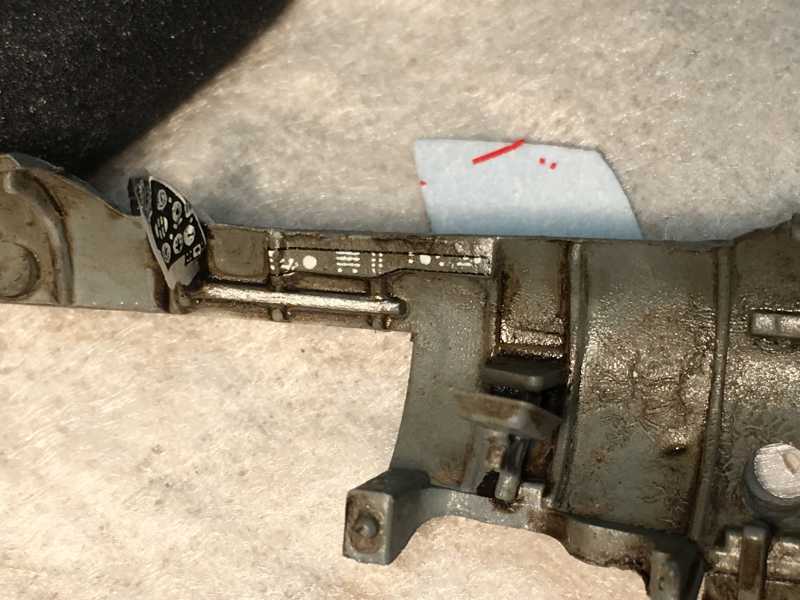
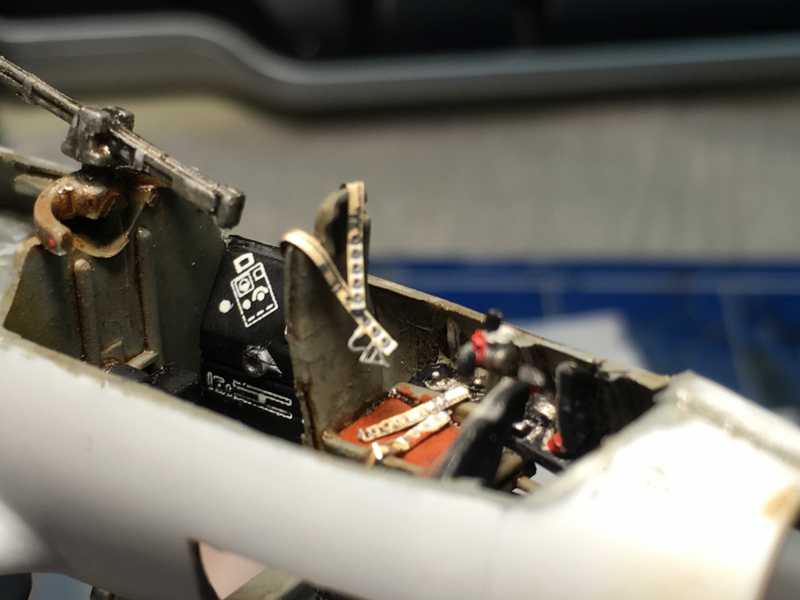
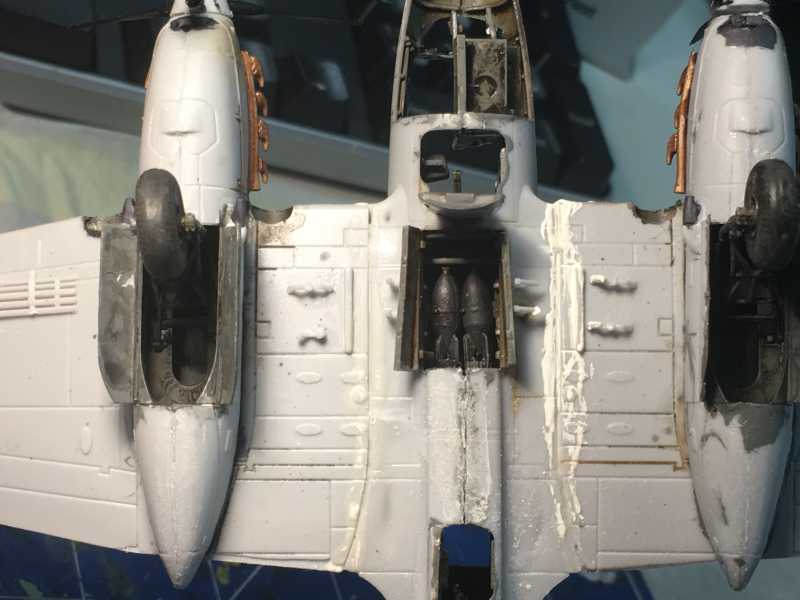
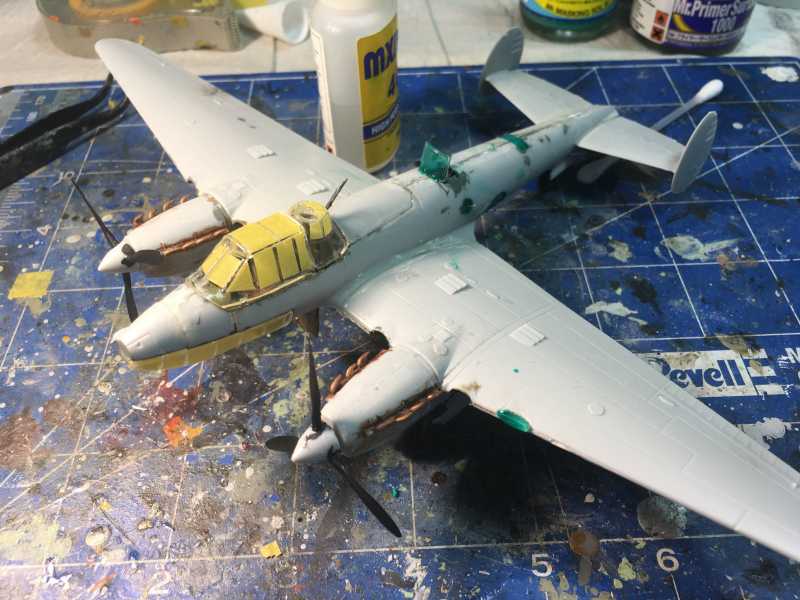
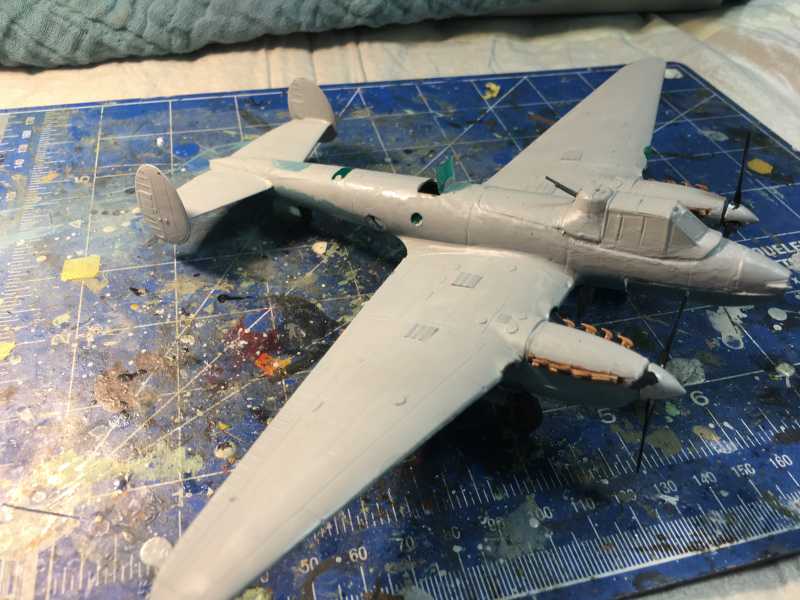
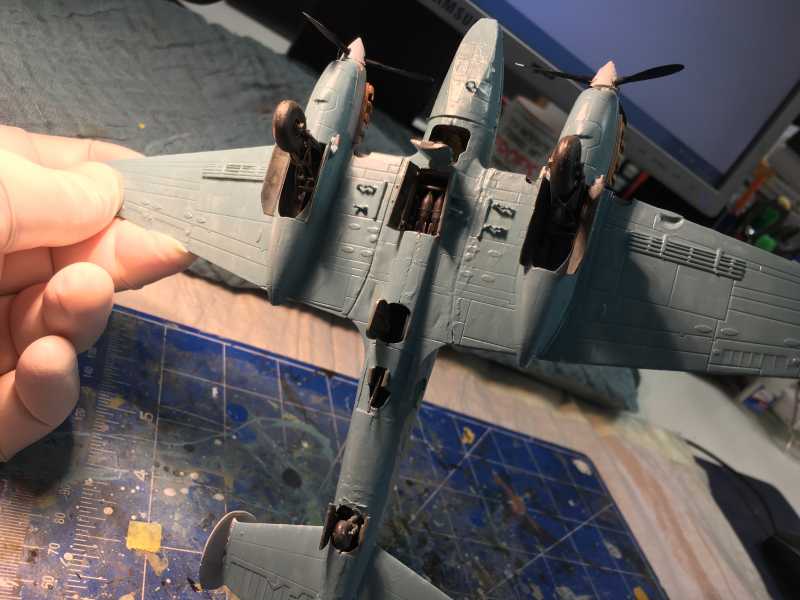
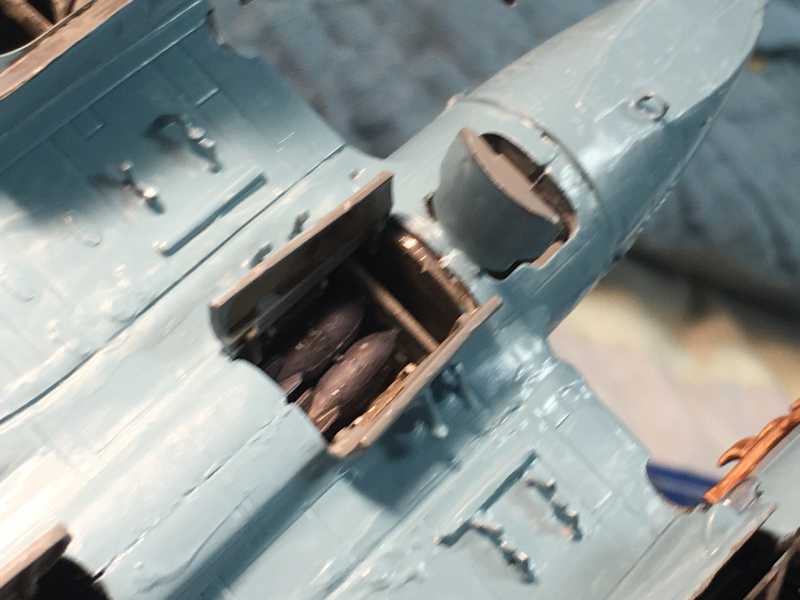
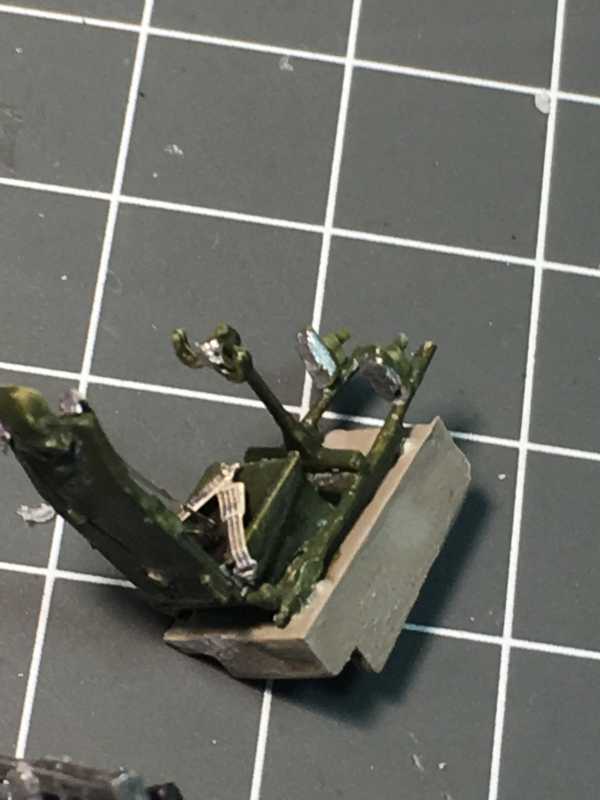
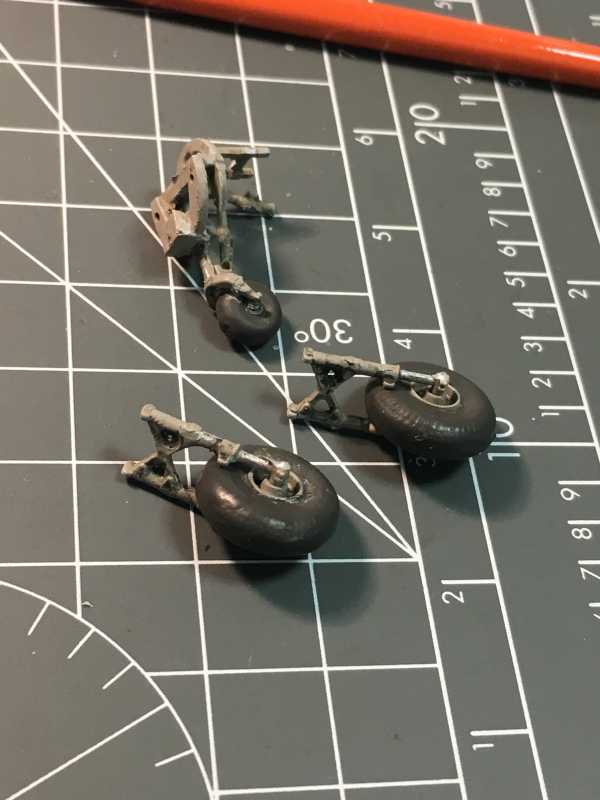
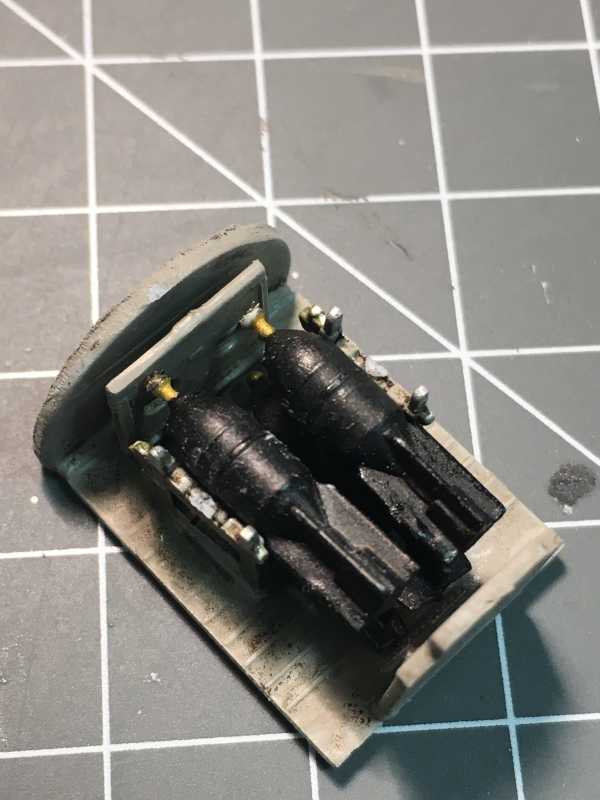
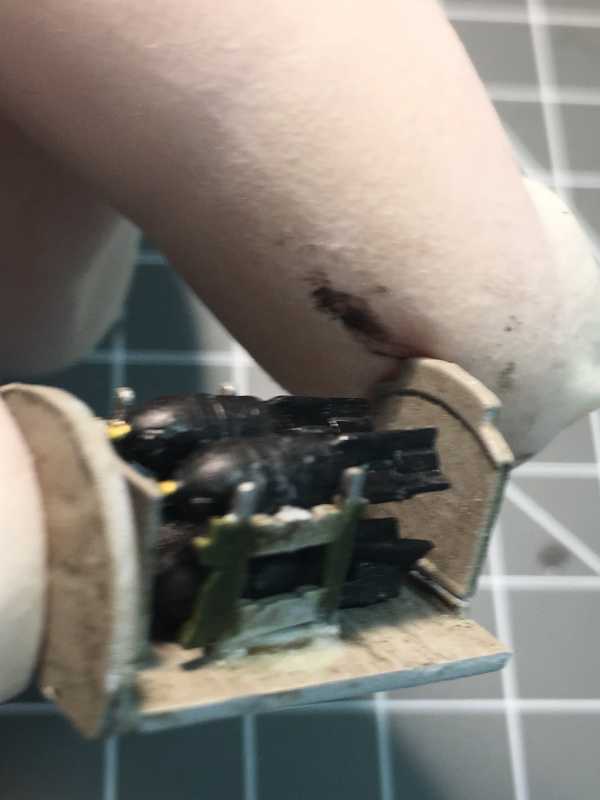
In any case, I thought I should put myself to the test and see if and which Progress I have achieved in These last years. For that I decided to re-assemble one of my greatest failures, a winter-camo Petlyakov PE-2 from UM Models built in September 2016.
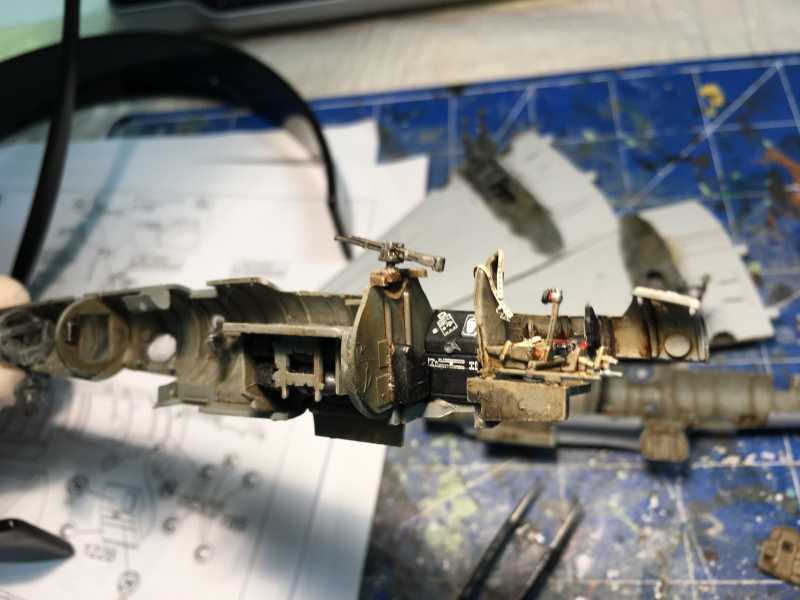
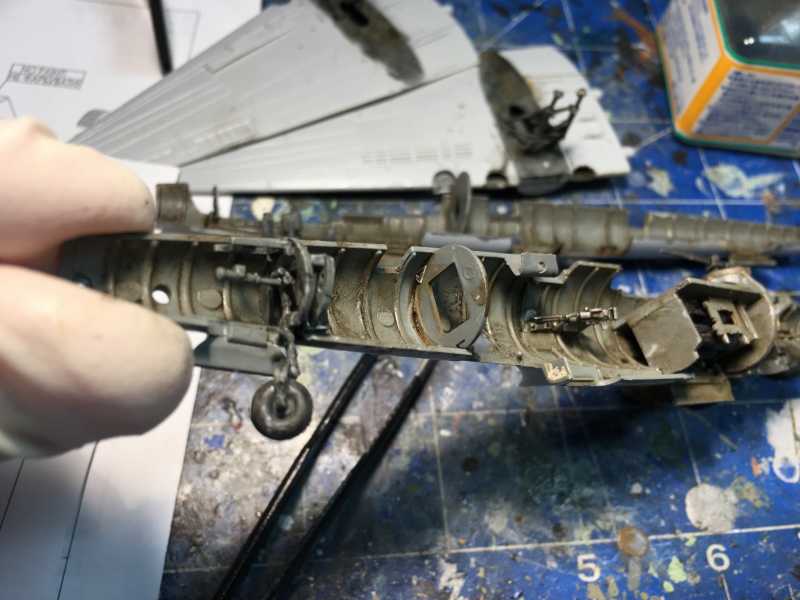
I will post the BEFORE and AFTER Pictures for each Segment, let's see if there is a difference.
I appreciate you comments as always.
Cheers
Alex
The model:
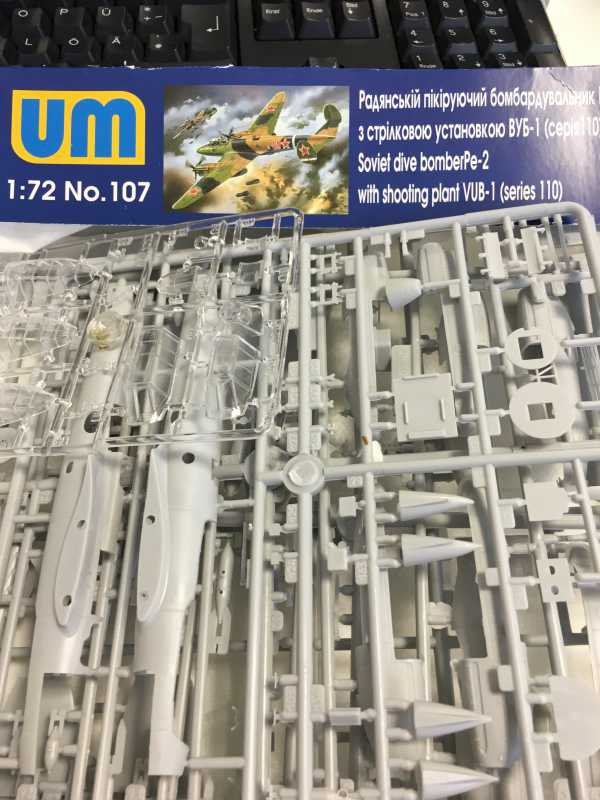


So, let's beginn:
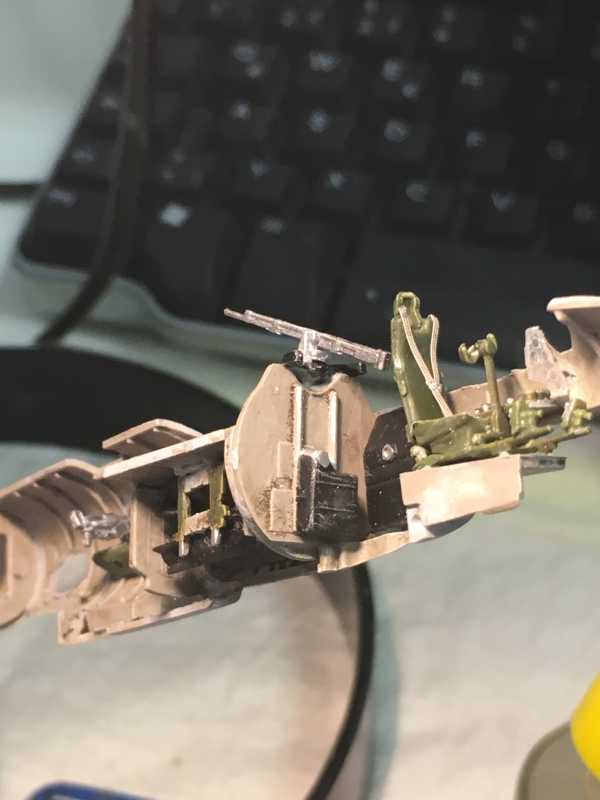
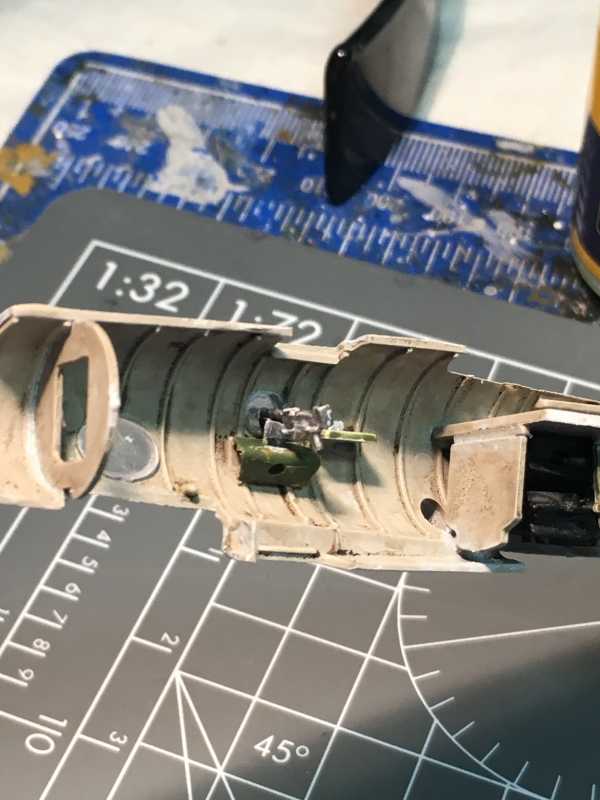
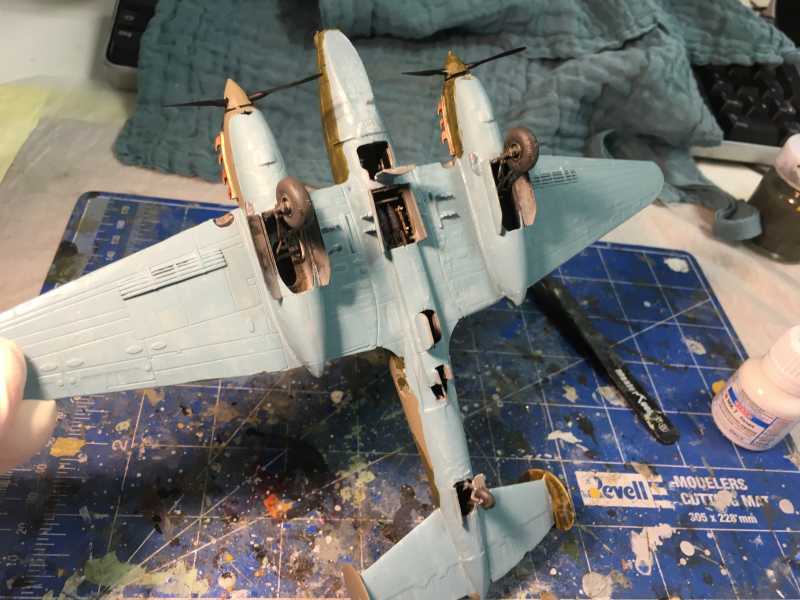
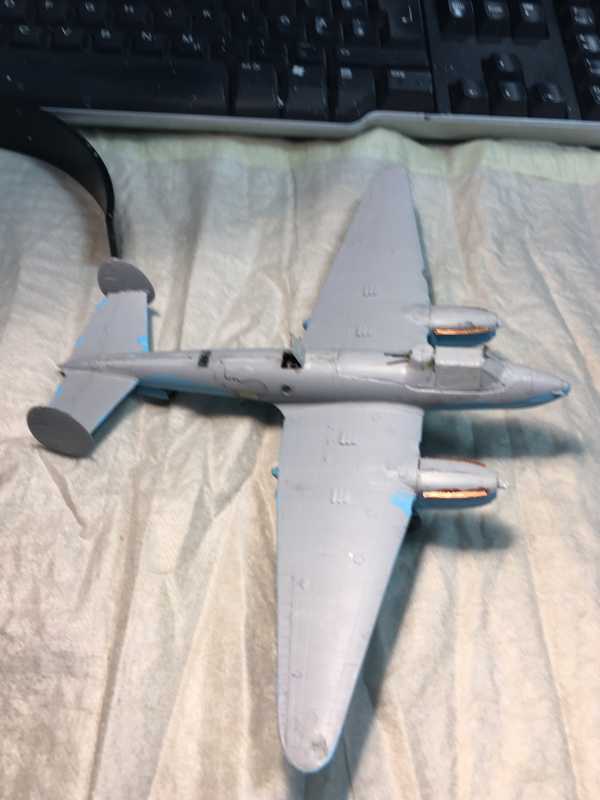
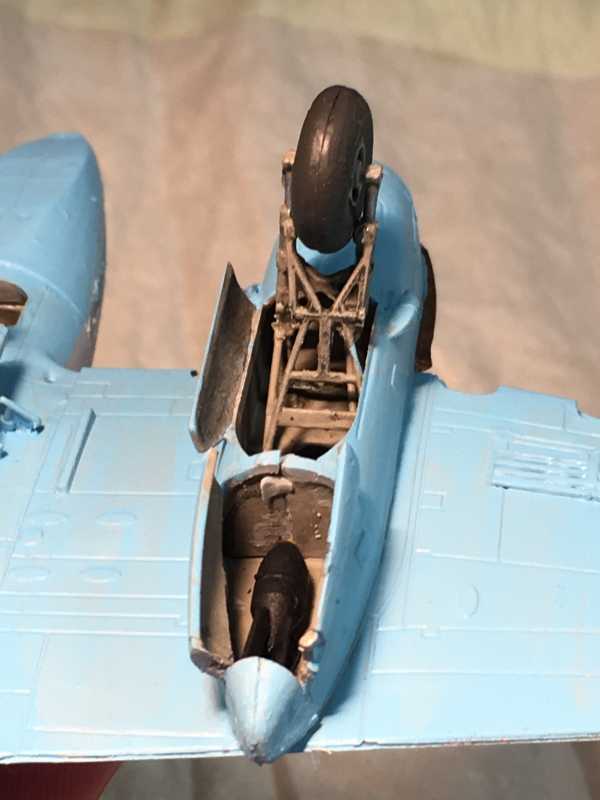
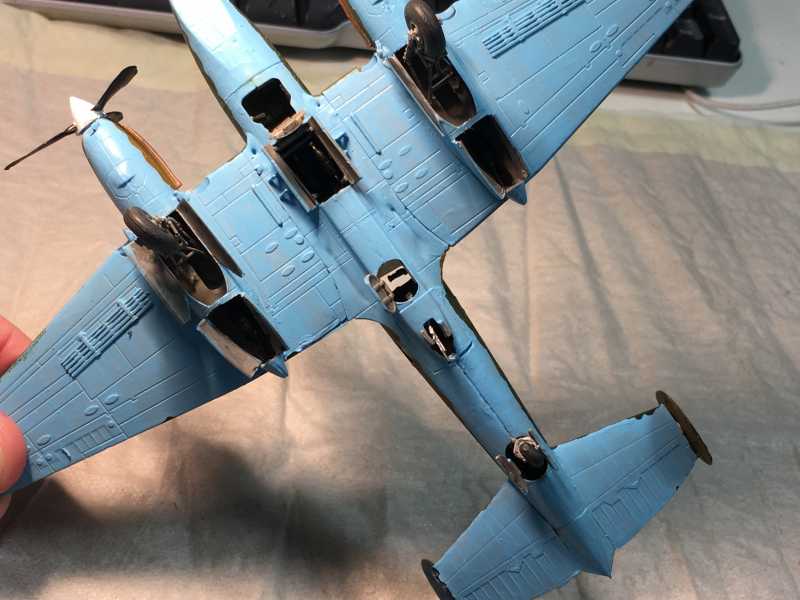
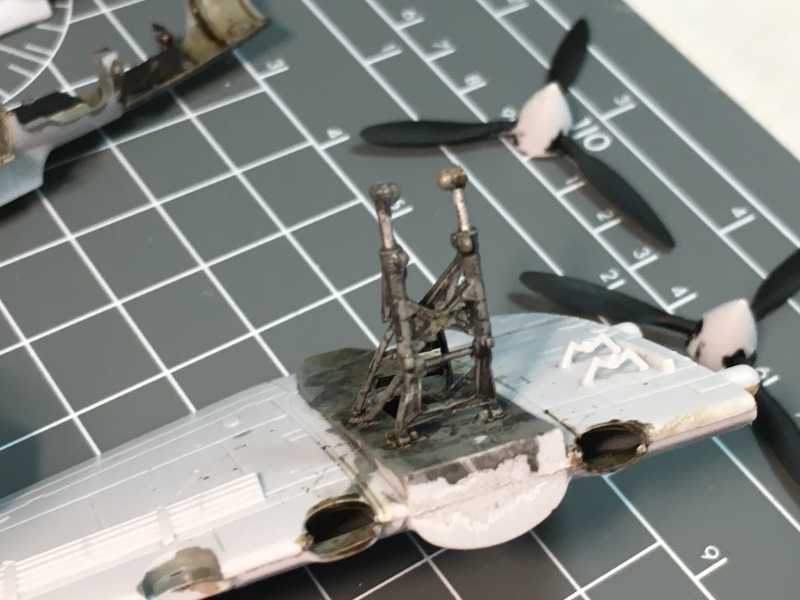
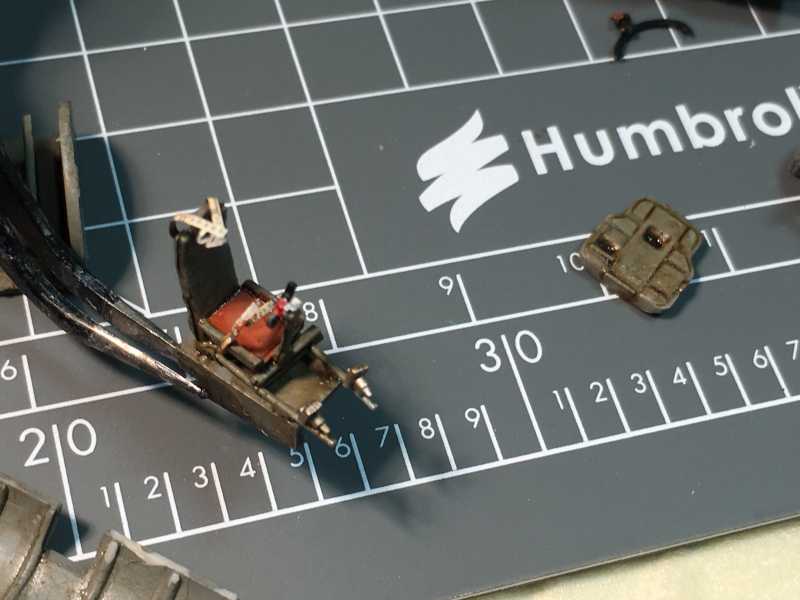
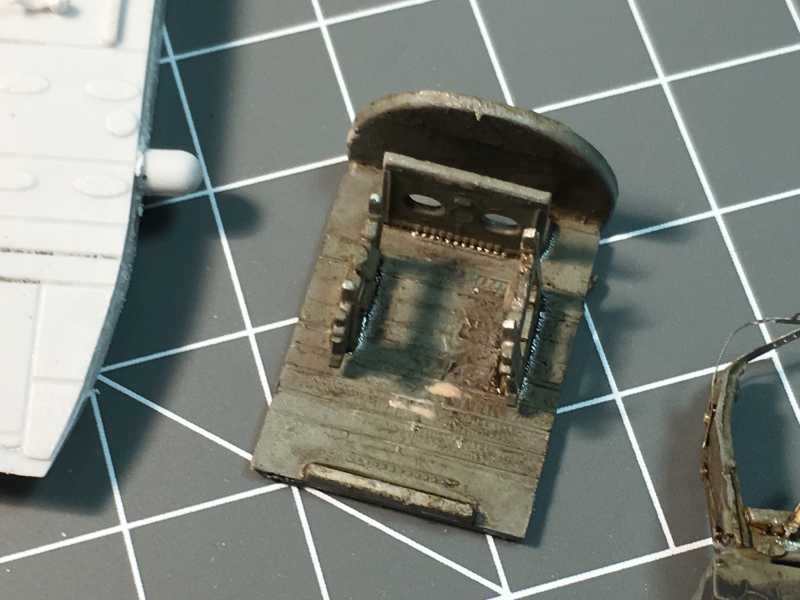
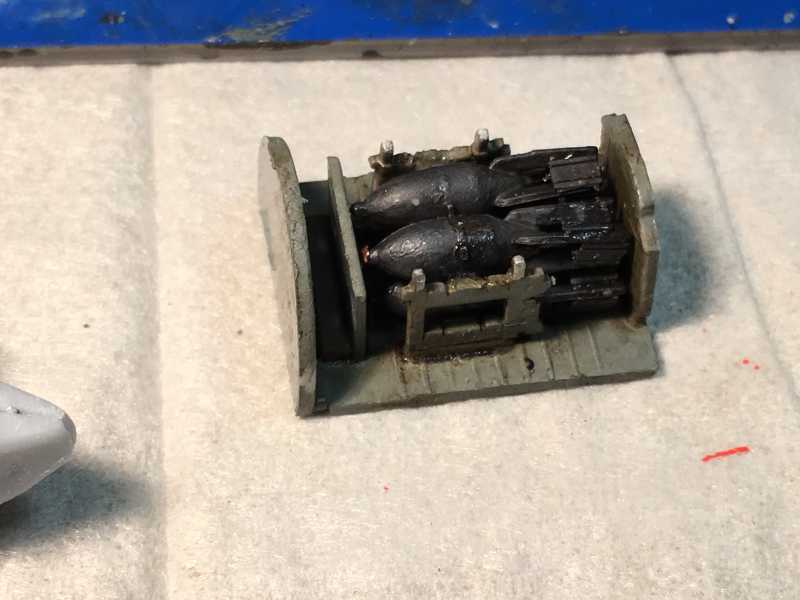
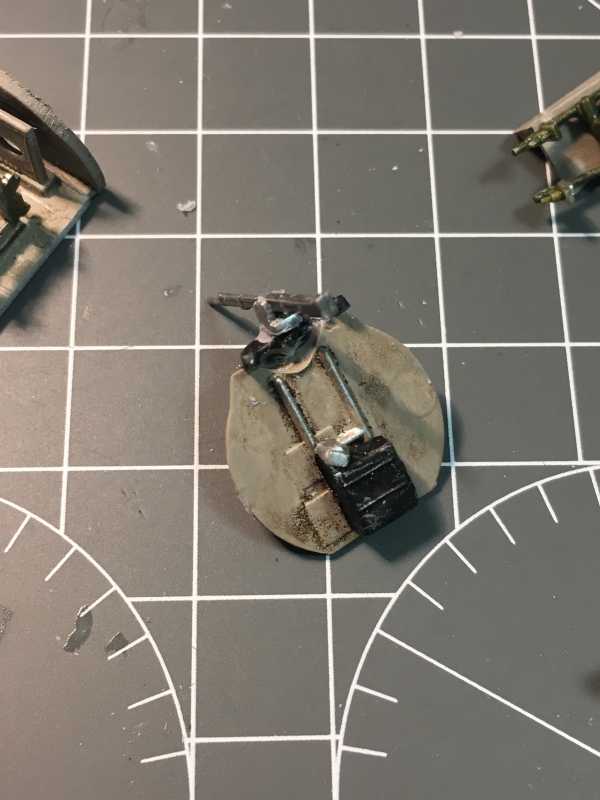
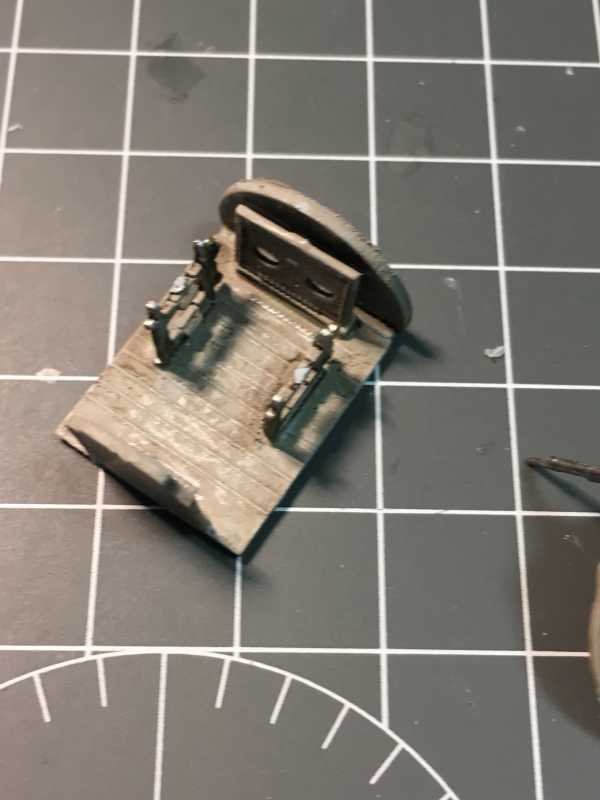
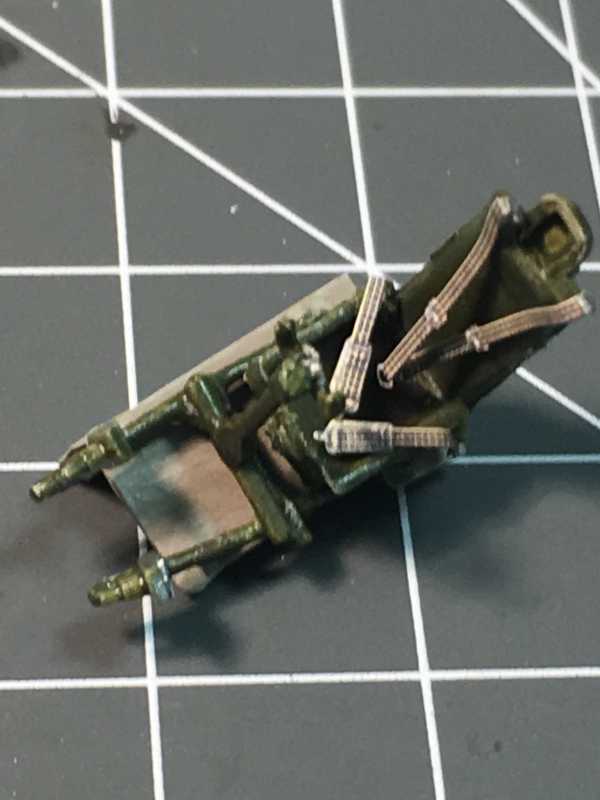
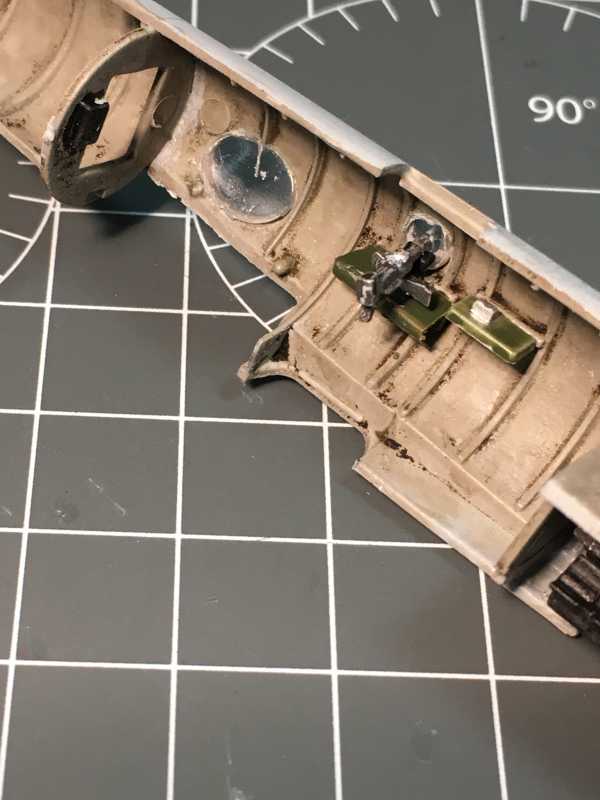
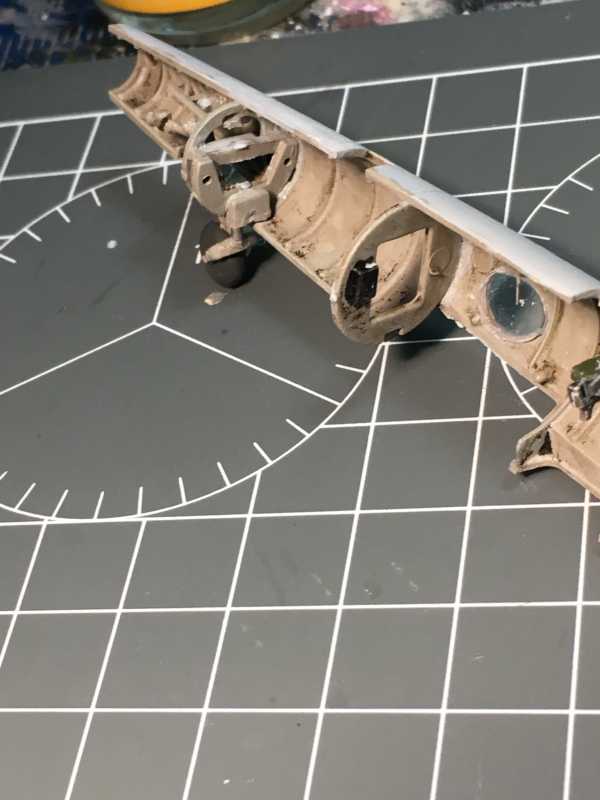
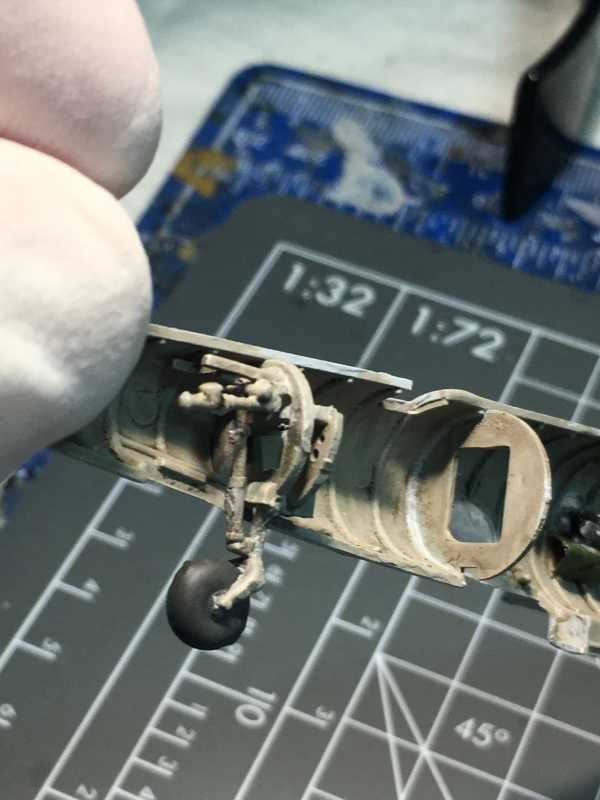
BEFORE:


I have been really absent from the Forum. Since July 1st I have assumed the chairmanship of the department of pediatric surgery, which basically doubled my workload.
In any case, I thought I should put myself to the test and see if and which Progress I have achieved in These last years. For that I decided to re-assemble one of my greatest failures, a winter-camo Petlyakov PE-2 from UM Models built in September 2016.
I will post the BEFORE and AFTER Pictures for each Segment, let's see if there is a difference.
I appreciate you comments as always.
Cheers
Alex
The model:
So, let's beginn:
BEFORE:

 )
) Does that kit come with both type of engines ?