
Skinny_Mike
Well-known member
Hey everyone!
Well I pulled this kit down off of the shelf to take a look and when I opened the box I found that I had already started this kit and made a little progress! I remembered doing the start up photos for CTA2 but thought that was as far as I had gone! :facepalm There is a Vietnam era group build going on over at ARC so I thought I would give this a restart as part of that. In case you forgot, here’s the kit and the aftermarket…
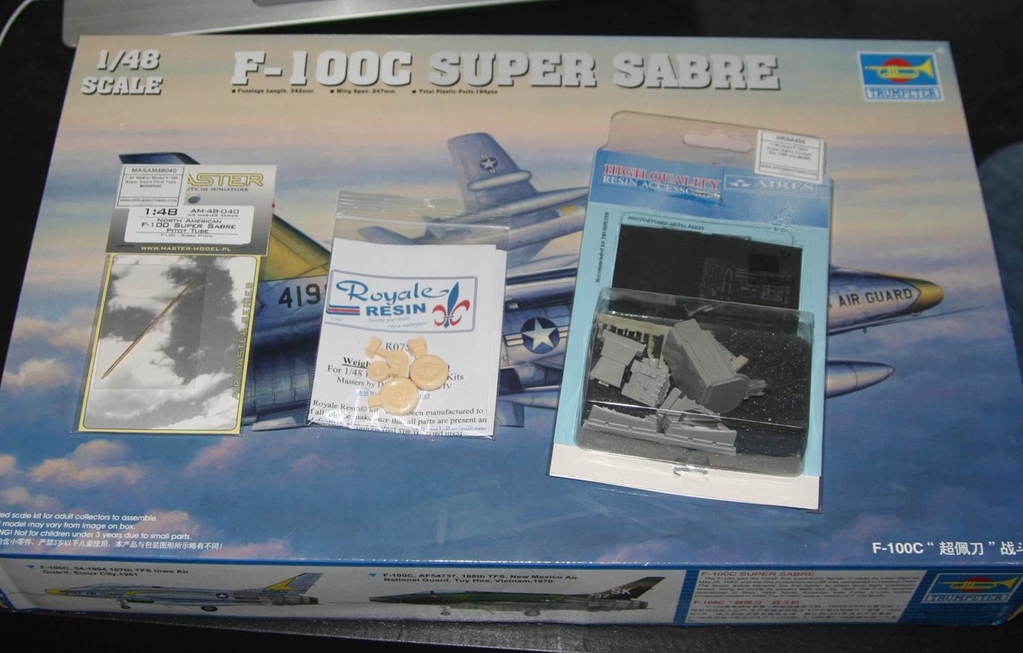
I’m using the Aires cockpit and exhaust, Royale Resin Wheels and a Master Model brass pitot tube. This one will be in SEA camo armed with Mk82 Snakeyes and BLU-27 Napalm Canisters, the famous “Snake and Nape” close air support load out.
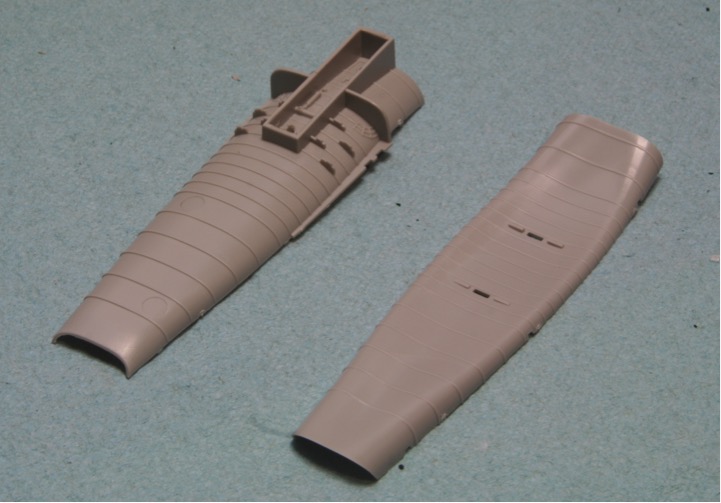
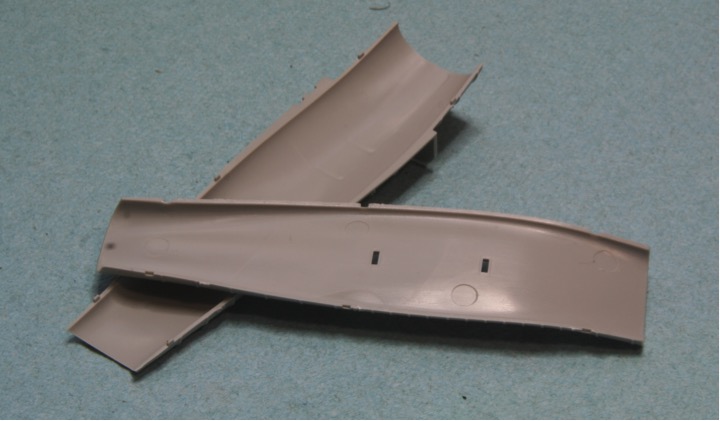
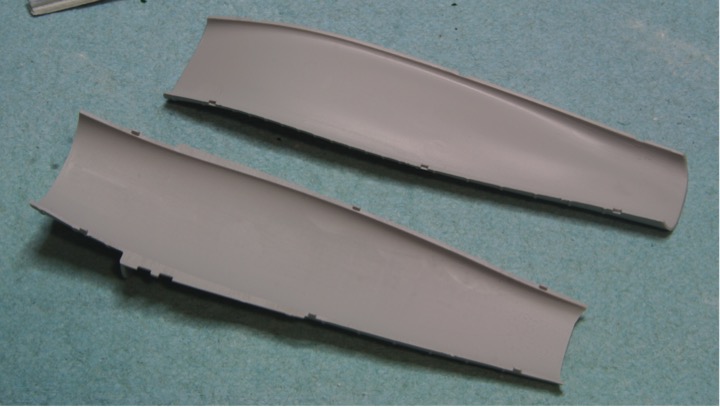
So here is the progress. First off the intake. Trumpeter provides the intake as an upper and lower half, with the nose gear well molded to the lower half.
On the interior there are a few blemishes that need to be cleaned up.
A little squadron putty saned smooth and after a coat of primer, no one can tell the difference.
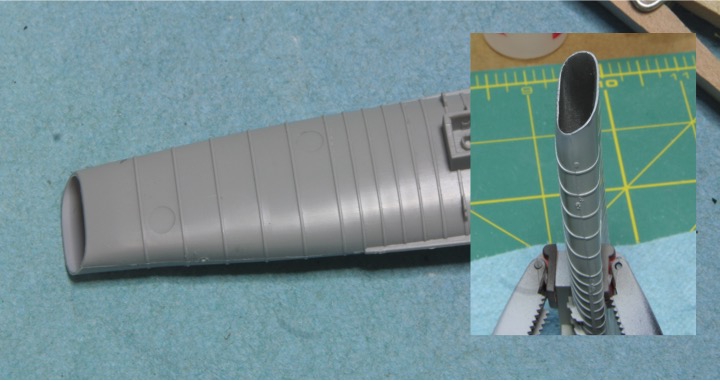
Then the intake was assembled and the seam cleaned up. I only did the front half, about as far as I could reach because the shape of the intake really hides the seam in the back. Interestingly trumpeter does not provide an engine face to close up the back of the intake, its just open to the inside of the kit. I have no idea if that will be visible or not, so I will need to think up something. Once I was happy with the seam I sprayed the intake Tamiya Flat Aluminum to mimic the bare metal of the intake.
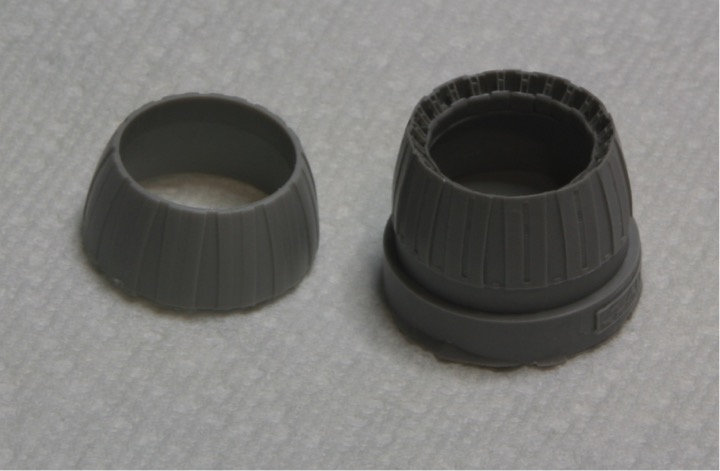
Next I moved on to the engine. I used the Aires replacement exhaust. In the next photo you can see the difference between the Aires detail and the kit. There is almost no question. And the kit exhaust section is no where near long enough.
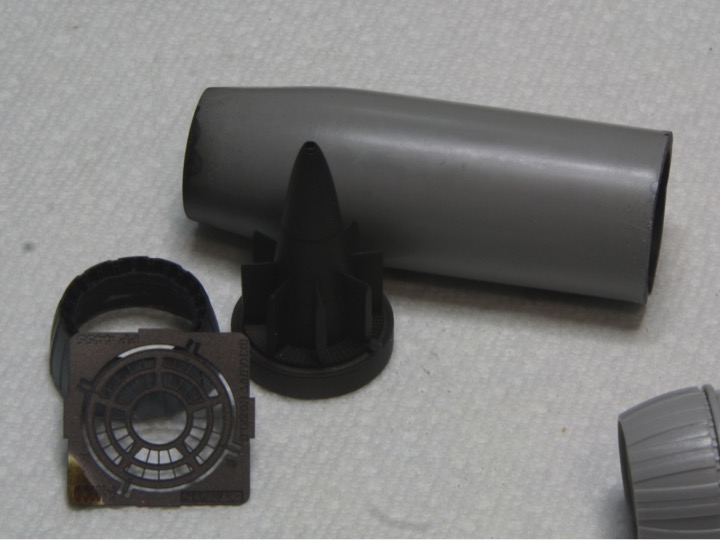
After a bath in dish detergent everything was primed with Alclad Gray primer and then the interior parts were all sprayed Alclad Burnt Iron which matched some reference photos I had seen somewhere.
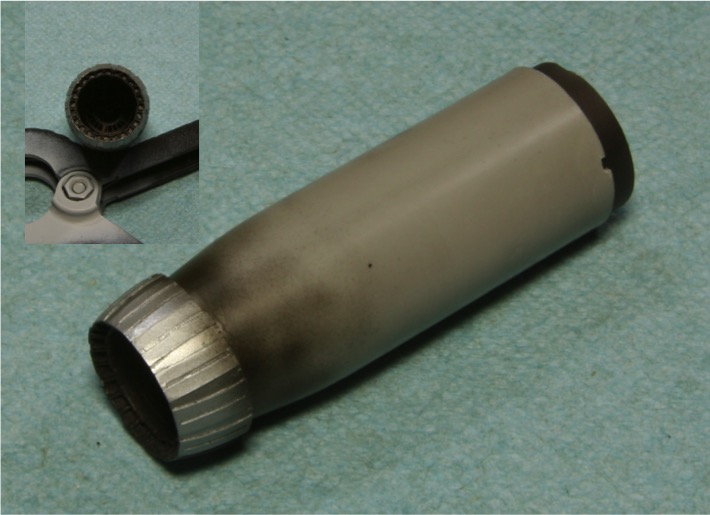
Then the exhaust petals were painted Alclad Aluminum and Matte Aluminum for some variation and given a lite overspray of Jet Exhaust at the fuselage end, again matching some reference photos I had seen.
Next step is the cockpit and then get it all buttoned up. Thanks for looking in and as always, comments and suggestions are always welcome!
Mike
Well I pulled this kit down off of the shelf to take a look and when I opened the box I found that I had already started this kit and made a little progress! I remembered doing the start up photos for CTA2 but thought that was as far as I had gone! :facepalm There is a Vietnam era group build going on over at ARC so I thought I would give this a restart as part of that. In case you forgot, here’s the kit and the aftermarket…
I’m using the Aires cockpit and exhaust, Royale Resin Wheels and a Master Model brass pitot tube. This one will be in SEA camo armed with Mk82 Snakeyes and BLU-27 Napalm Canisters, the famous “Snake and Nape” close air support load out.
So here is the progress. First off the intake. Trumpeter provides the intake as an upper and lower half, with the nose gear well molded to the lower half.
On the interior there are a few blemishes that need to be cleaned up.
A little squadron putty saned smooth and after a coat of primer, no one can tell the difference.
Then the intake was assembled and the seam cleaned up. I only did the front half, about as far as I could reach because the shape of the intake really hides the seam in the back. Interestingly trumpeter does not provide an engine face to close up the back of the intake, its just open to the inside of the kit. I have no idea if that will be visible or not, so I will need to think up something. Once I was happy with the seam I sprayed the intake Tamiya Flat Aluminum to mimic the bare metal of the intake.
Next I moved on to the engine. I used the Aires replacement exhaust. In the next photo you can see the difference between the Aires detail and the kit. There is almost no question. And the kit exhaust section is no where near long enough.
After a bath in dish detergent everything was primed with Alclad Gray primer and then the interior parts were all sprayed Alclad Burnt Iron which matched some reference photos I had seen somewhere.
Then the exhaust petals were painted Alclad Aluminum and Matte Aluminum for some variation and given a lite overspray of Jet Exhaust at the fuselage end, again matching some reference photos I had seen.
Next step is the cockpit and then get it all buttoned up. Thanks for looking in and as always, comments and suggestions are always welcome!
Mike
 ...
... 

")
 :dude
:dude