• Modelers Alliance has updated the forum software on our website. We have migrated all post, content and user accounts but we could not migrate the passwords.
    This requires that you manually reset your password.
    Please click here, http://modelersalliance.org/forums/login to go to logon page and use the "Forgot your Password" option.

Bandai AT-ST 1/48 build

While parts continue to come inf for my Falcon, I have a stash of other kits to get my skills improved with.
One of them is the 1/48 Baidai AT-St, which is very close to scale with the Falcon. I also have the 1/48 Snowspeeder, TIE and X-Wing for later.

Last night I finished the painting of the interior. I plan to make this a Hoth campaign AT-ST, not an Endor one.
This way I can pair it with the Snowspeeder later.

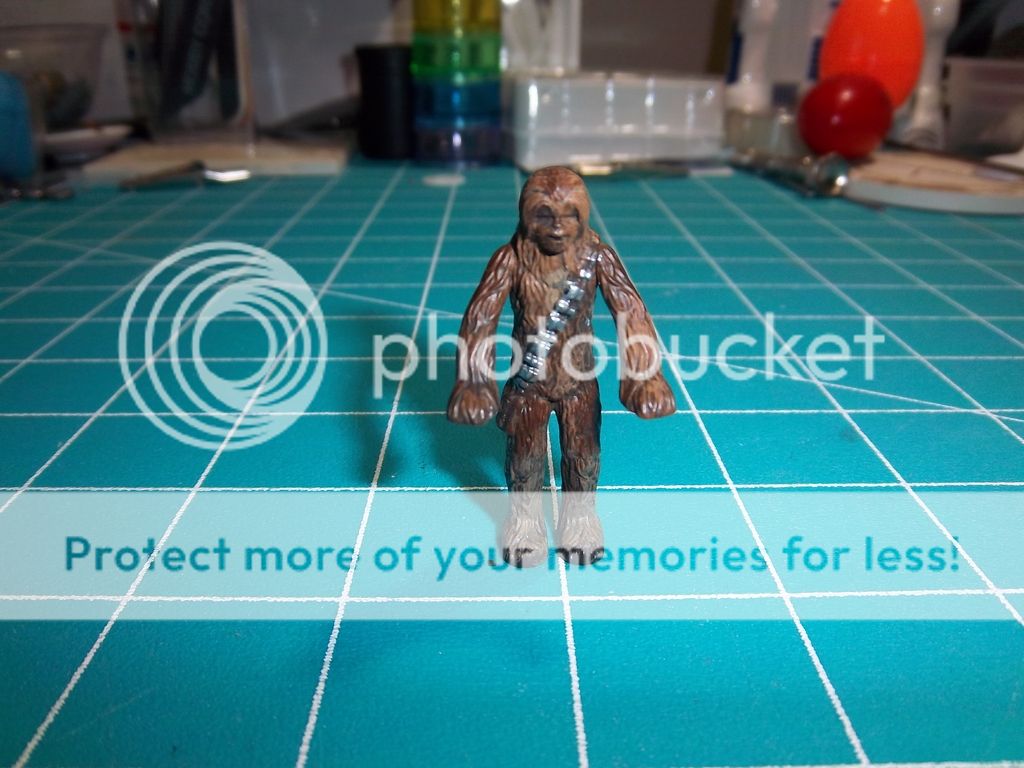
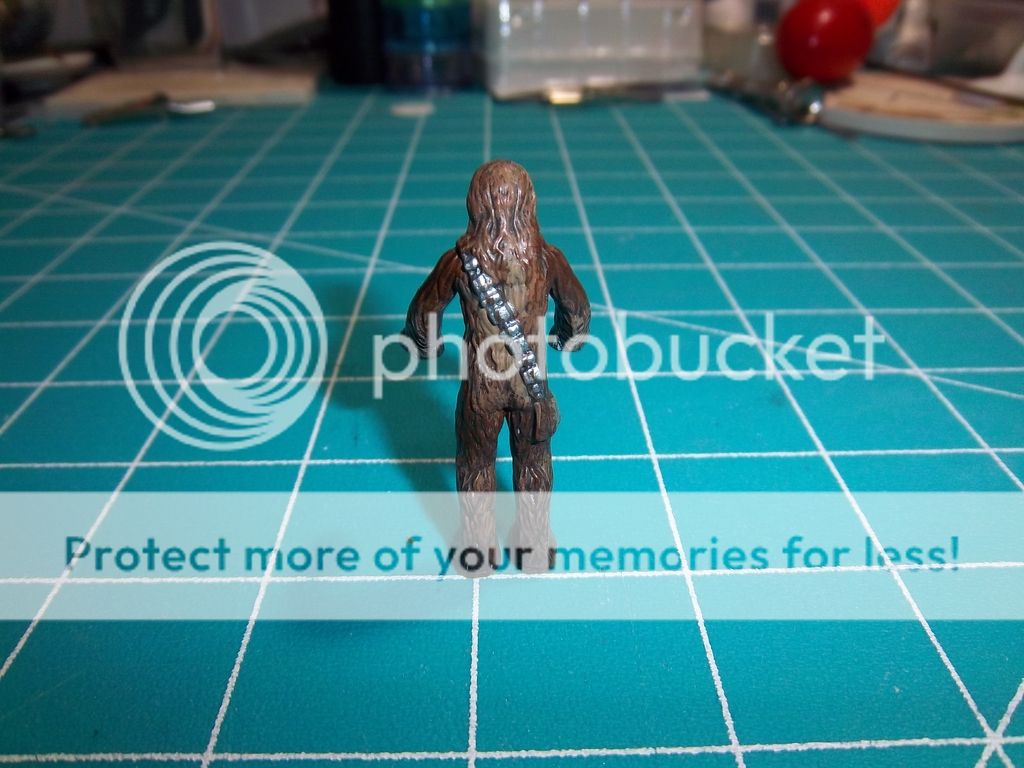
Here is the Chewie that came with the kit-


What I'm doing is adding sound and lights to the walker, inspired by this guy.
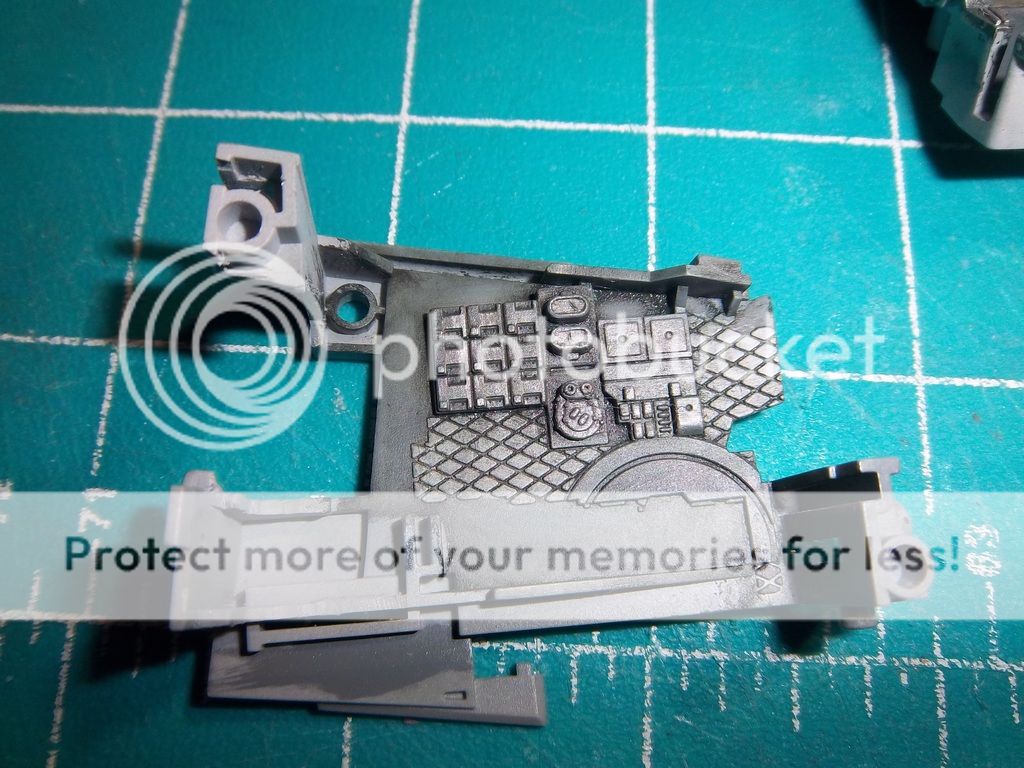
I got the same blaster he did, but I didn't want to compromise on the interior. So, I gutted the section behind the back wall to house it.
Then I used styrene to make a framework that holds the electronics.


I replaced the stock batteries with a coin cell holder, and added a larger speaker under the floor.


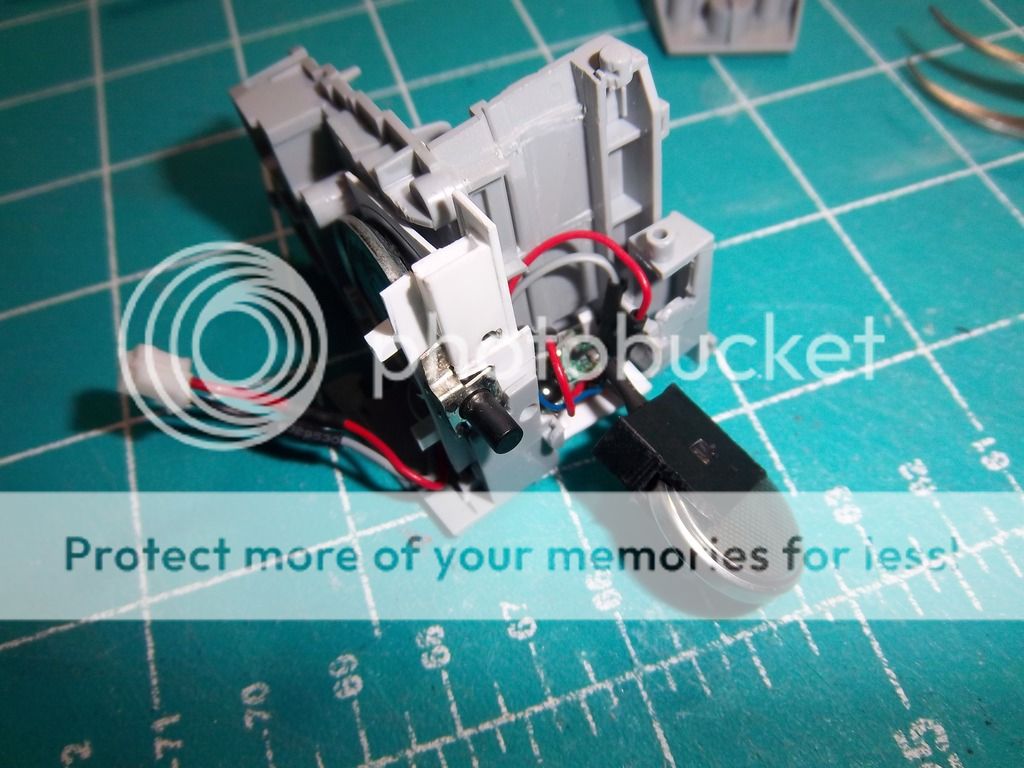
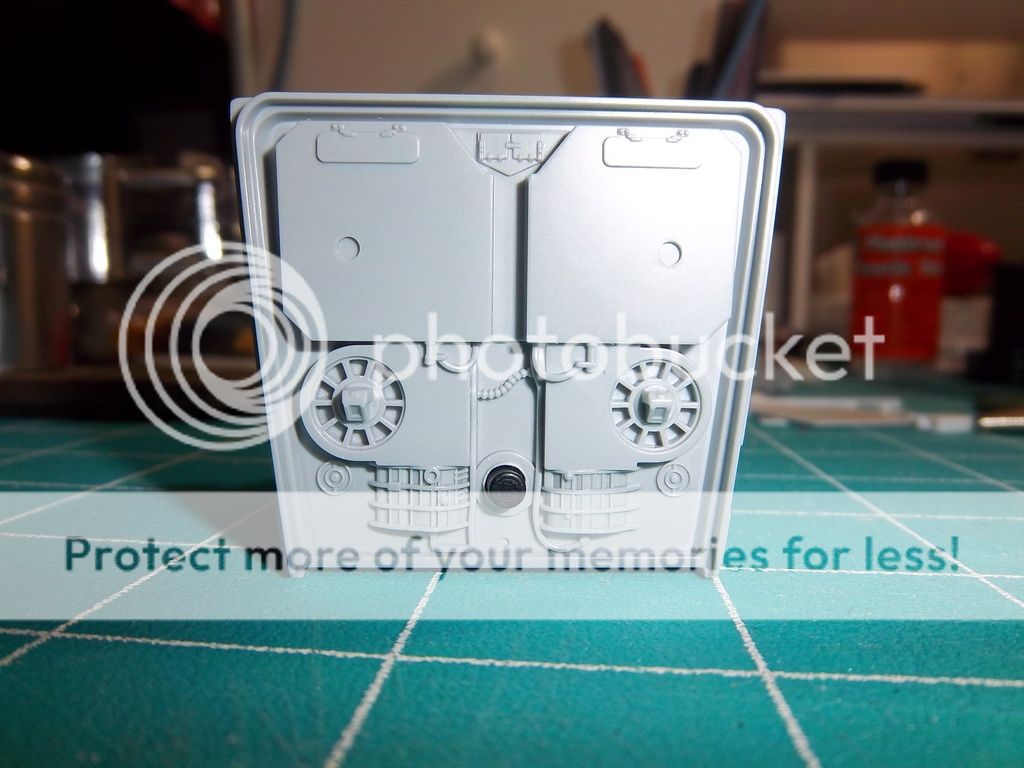
The led on the blaster is routed behind the chin guns, and I'll route some fiber optic to light the guns.
I added some brass to the light box for light blocking.


I still need to solder a plug to the led so I can hook it up to the main board.

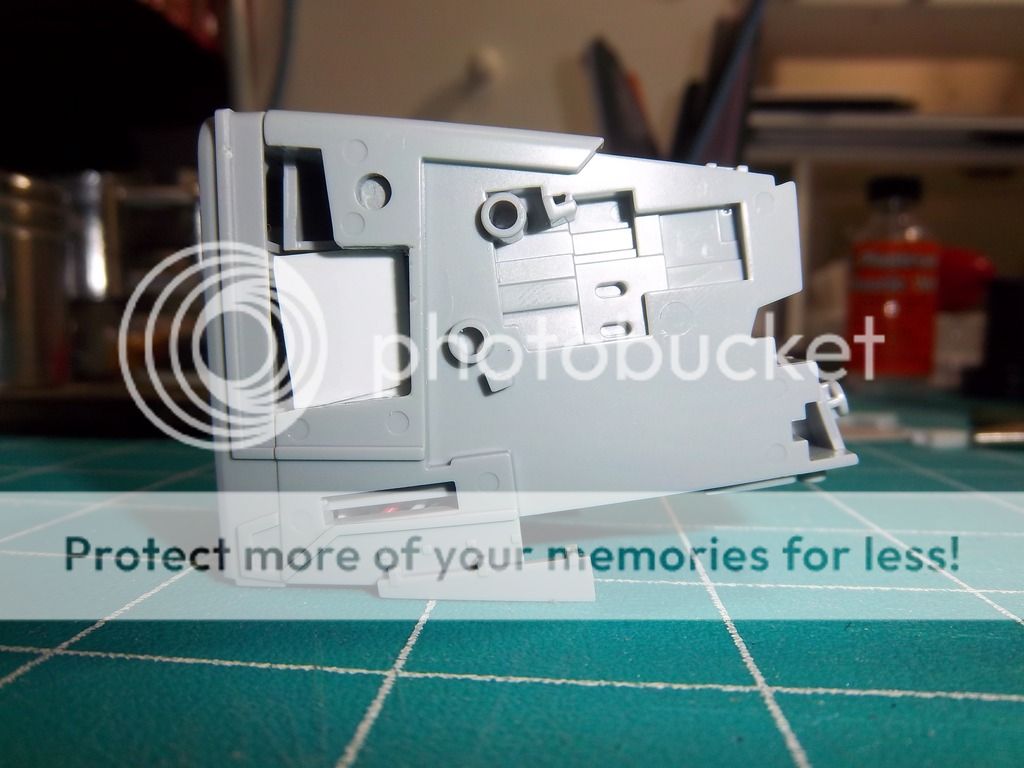
Here's the finished and weathered control cabin parts.


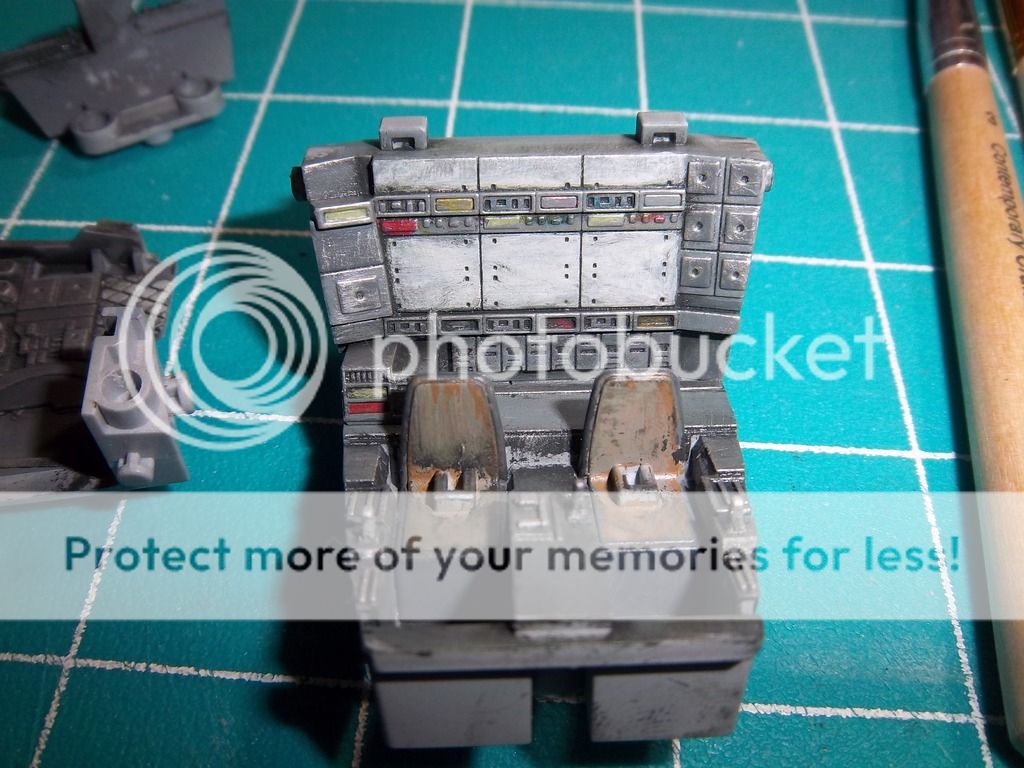
I'm still working on the exterior and legs. That will come a little later. I'm using this build as my start point for the colors and weathering.
 
Thanks guys. I'm having a lot of fun with this. Now that the hard part is complete, I hope to get the rest finished up over the next week or so depending on time available.
Then I have to figure out how to do a snow effect for the base. Anyone have a link to a good tutorial on such a thing?
 
I've made some good progress on the kit.
Here is the bottom plate connected up to the main board so the LED has power.


Then it was on to painting up the outside of the model. I went with a plain gray base, and I used a darker gray on some details here and there. Wherever it appealed to me to do it.


Since I decided that this was a Hoth campaign AT-ST, I added the cool little logo to the side that was on the screen model.
For an example of the logo, look at the bottom of this page in the Behind the scenes section.


At that point, I put a gloss coat on the parts for the next stage.

This is when I painted up the two pilots.
I made some changes to them as they had really poorly defined arms. I kept the arms for one of them, and just cut them off and repositioned them a little. The other one I cut off his arms and head. Then I replaced the head a little bit turned. The arms were from the WizKids Star Wars Minis Hologram General Veers. I cut off the gun in the right hand, and now it's a control stick.
I decided on my own color scheme for the pilots, as I figured that the arctic environment may have had a different AT-ST commander uniform color scheme. I wanted something a little different than the green helmet.


The pointing hand works well to either reach for a switch on the console, or he's pointing to the screen.


After the gloss coat had a chance to dry, now it's time for the gunk wash. This is a term I picked up here for doing a wash using unthinned oil paints. I managed to find an eBay seller that had MIG 502 Abteilung Starship Filth in stock, so I got two tubes of it (They're out now).

The basic idea is it's like a wash. Smear it on, and wipe it off. It'll get into all the little crevices, and it also tints the paint just a little bit. I really like how it came out. I did an initial wipe down, and then waited a week or so and did another.


The toughest part of it was the fiber optics in the chin guns. I haven't done much with fiber yet, so I'm still learning. I originally wanted to have a flexible tube that leads from the gun to the light box with the LED. This didn't work out like I hoped.
My first idea was to strip a wire, and then use the insulation to go around the fiber. Getting the fiber into the sleeve ended up to not be possible. Then I tried to use some decorative line with the center filling pulled out, and that just frayed out too much.
So, I ended up with using some styrene tubing that I melted with a lighter into a 180degree bend. Then cut it into pieces to give a pipe for the fiber to run through. I used white school glue to affix these parts as I didn't want to risk the fiber being effected by the glue chemicals.
Then I just hand painted these bits by hand.

The lights in the guns work, but they're not great. I may come back to it later on. For now I'm satisfied.
Here's a short vid I made of it. My camera isn't too great at videos, that's why I mainly stick to still images.
https://youtu.be/HJNBt1UfZE8

And that's where we're at. I'm ready to do some final dry brushing and damage effects. Then put a satin coat down and start on the base. I need to now research how to make good looking snow for it.
 
I like it very much Dan nice job ... I think you have more sound than the other one ... I don't see why you can't use that black paint right over the fibers and not worry about tube ... allow me a photo of my work on a 28mm Terminator ...

h11b7266_2016-02-29.jpg


I bought the fiber optics off of eBay on the cheap the optic tubes are mushroomed and exit at the base of this guys leg ... I stalled on this because the base would be too big ... now I'm not trying to derail your thread ... just offering some help ... The thing that I've been kicking around is that you could use a micro motor with a rotating cam to make your switch automatic not too complicated you would need a bigger base ... two spring wires and a egg shaped cam ... then flip a switch and she's on auto ...

Oh and by the way great job on this ... excellent paint & Sound ... :drinks (y) (y) (y) :ro: :dude
 
Thanks guys!
I'm using these small builds to get some skills up worthy of the Millennium Falcon. I find that I really enjoy the engineering aspects of these kinds of builds. While I don't plan to light all my builds, I think I'll likely add something like this to most of them.

I'm thinking of getting some spackle putty for the base. I hope that snow won't be too hard to get right. I'll of course use the same base type for the snow speeder. I'd like to add sound to the speeder, but I'm not sure. It could be cool to have them facing each other blasting away in a diorama. :fencing

Swordsman, I considered just painting the fiber, but talked myself out of it. I should take some spare fiber and see how it works with different paints and glues.

Moonpuppy, that would be one hell of a carpet monster to eat a part that big. How deep is the shag at your place?? :blink :D
 
It's humbling to get such a reaction from this crew. Thank you very much.
I'm also very open to suggestions on improving this kit or future kits based on this one. I love the range of experience and creativity on here.
 
Back
Top