I started this build because a couple of club friends wanted me to help them with their armor modeling.  My friend Norm wanted to do a Sherman so here we are. I have been posting little progress shots in the "What's on the bench" forum, but thought maybe someone would want to see the blow by blow.
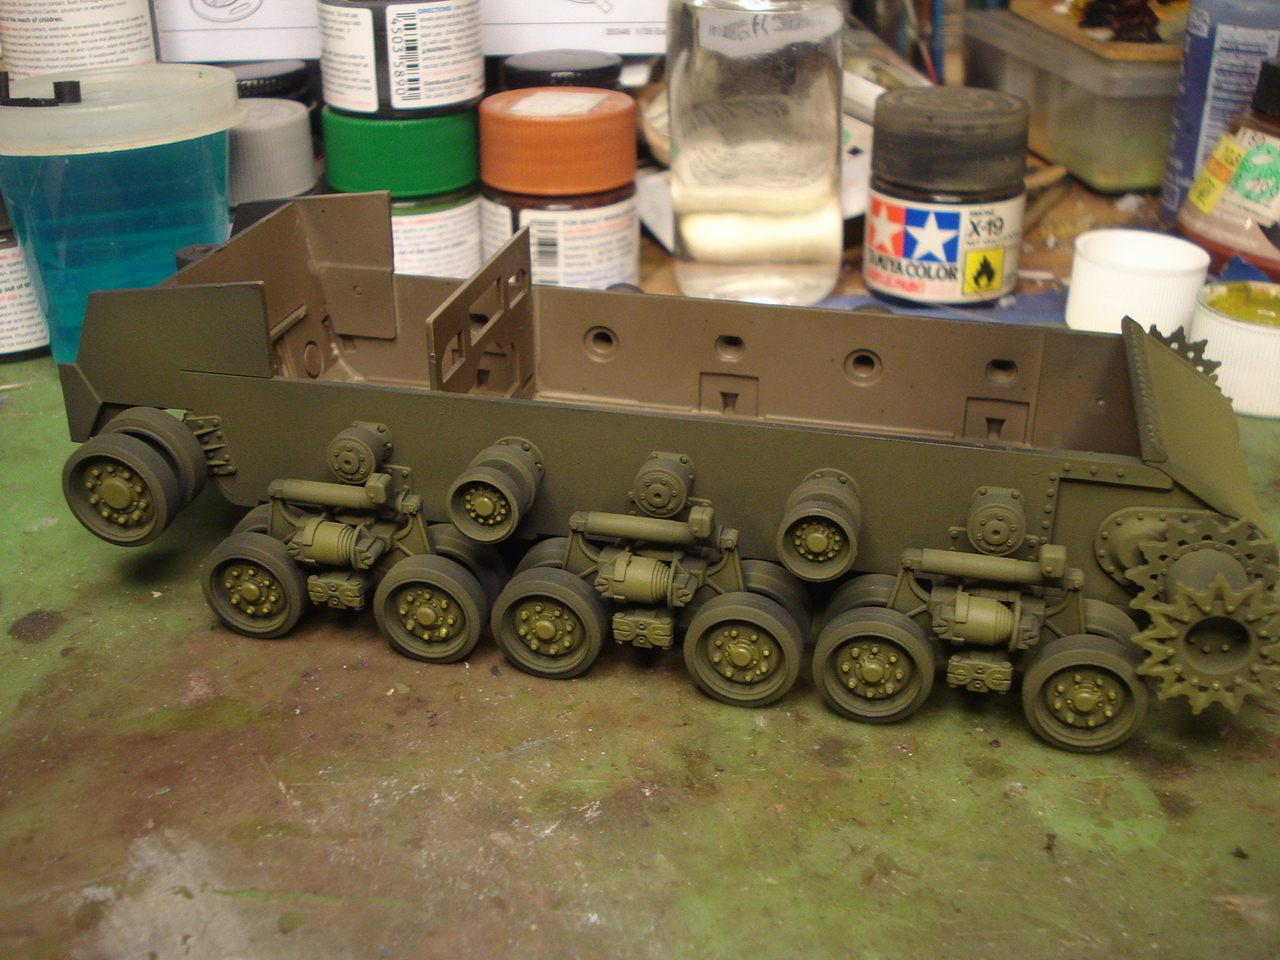
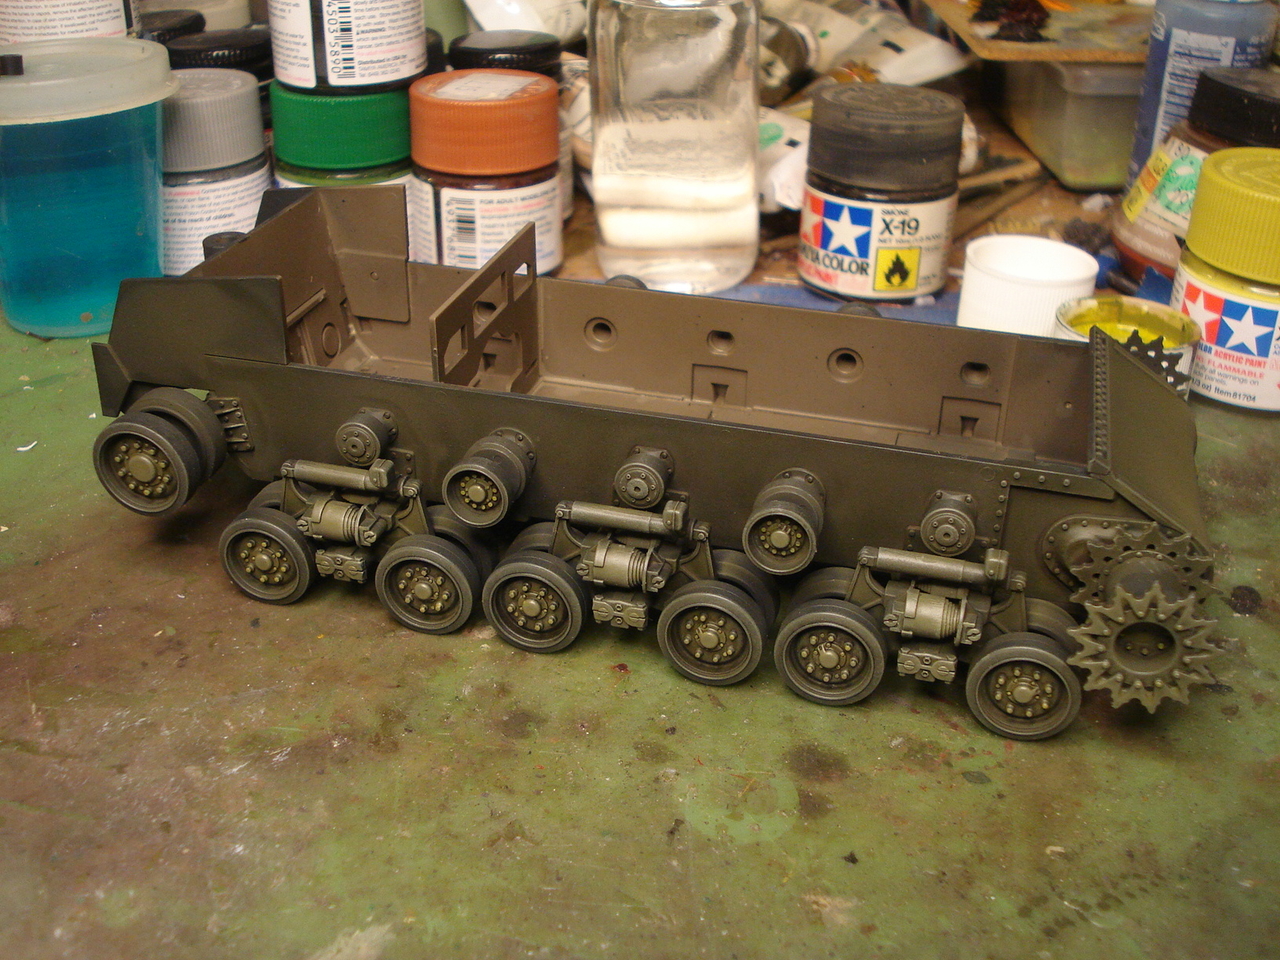
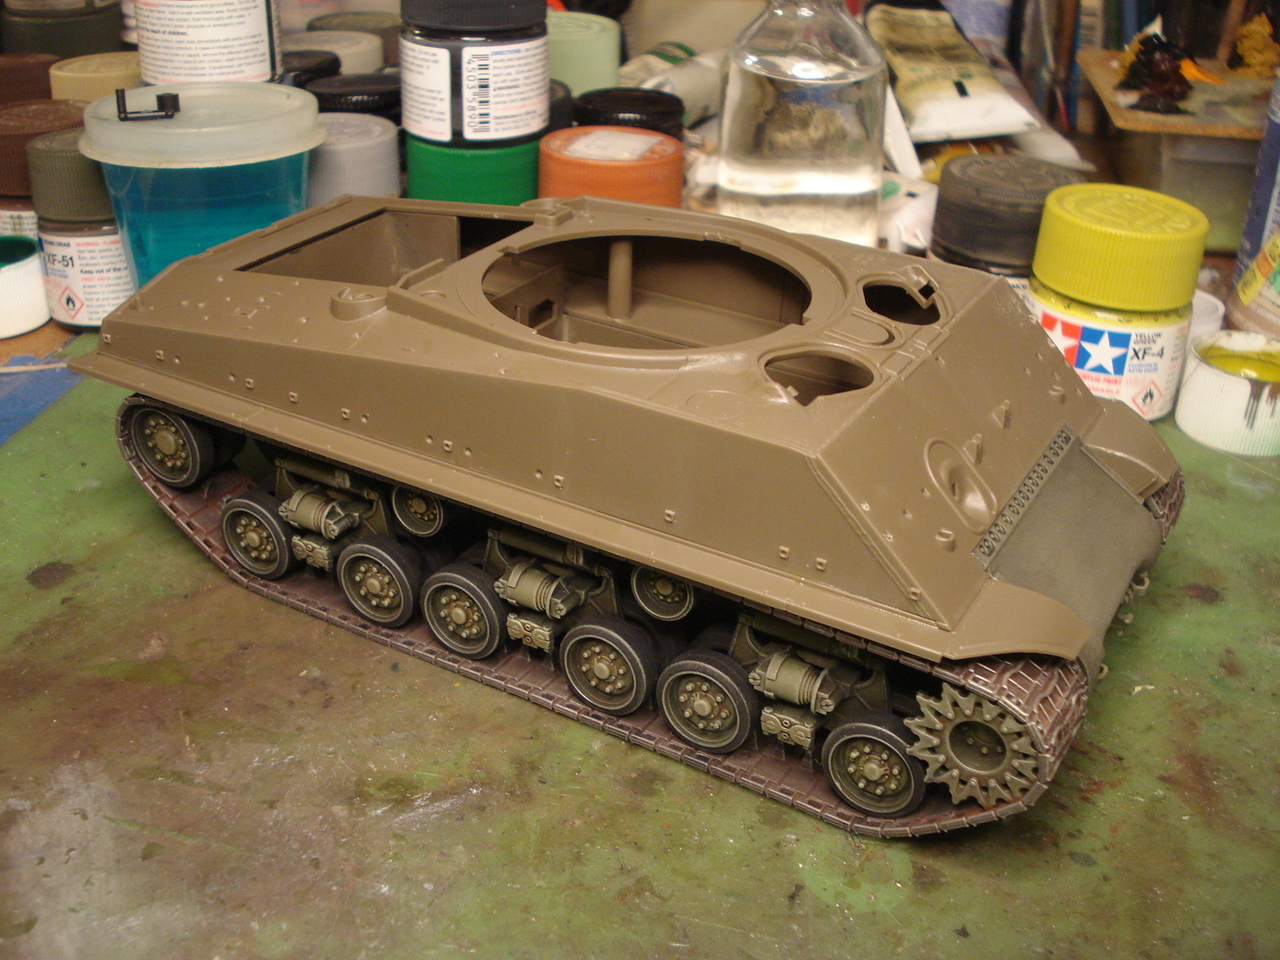
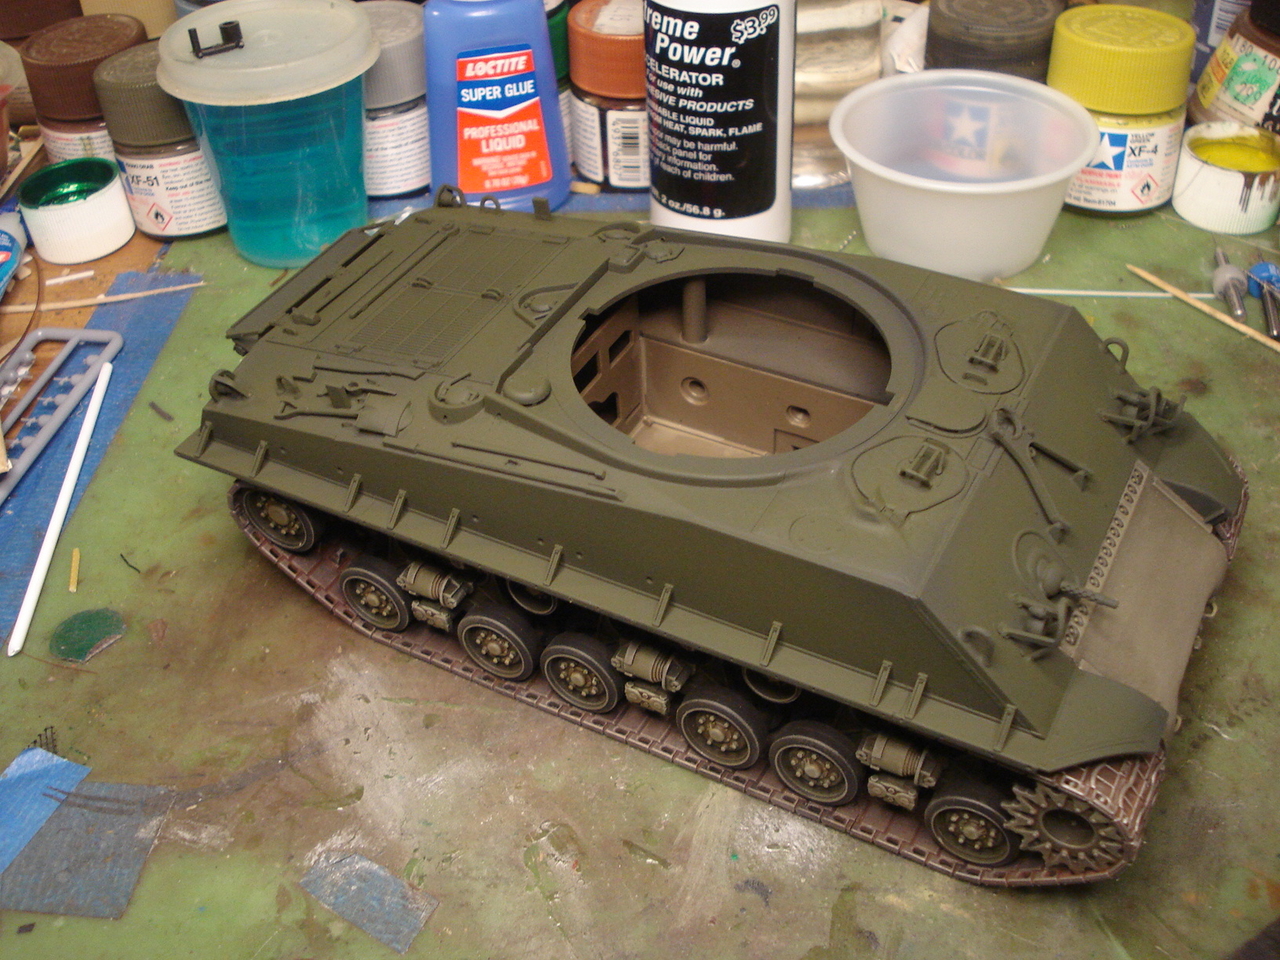
Started this M4A3E8 Sherman from Tamiya. The lower hull is built and primed with Tamiya Nato Black. Let the painting begin.

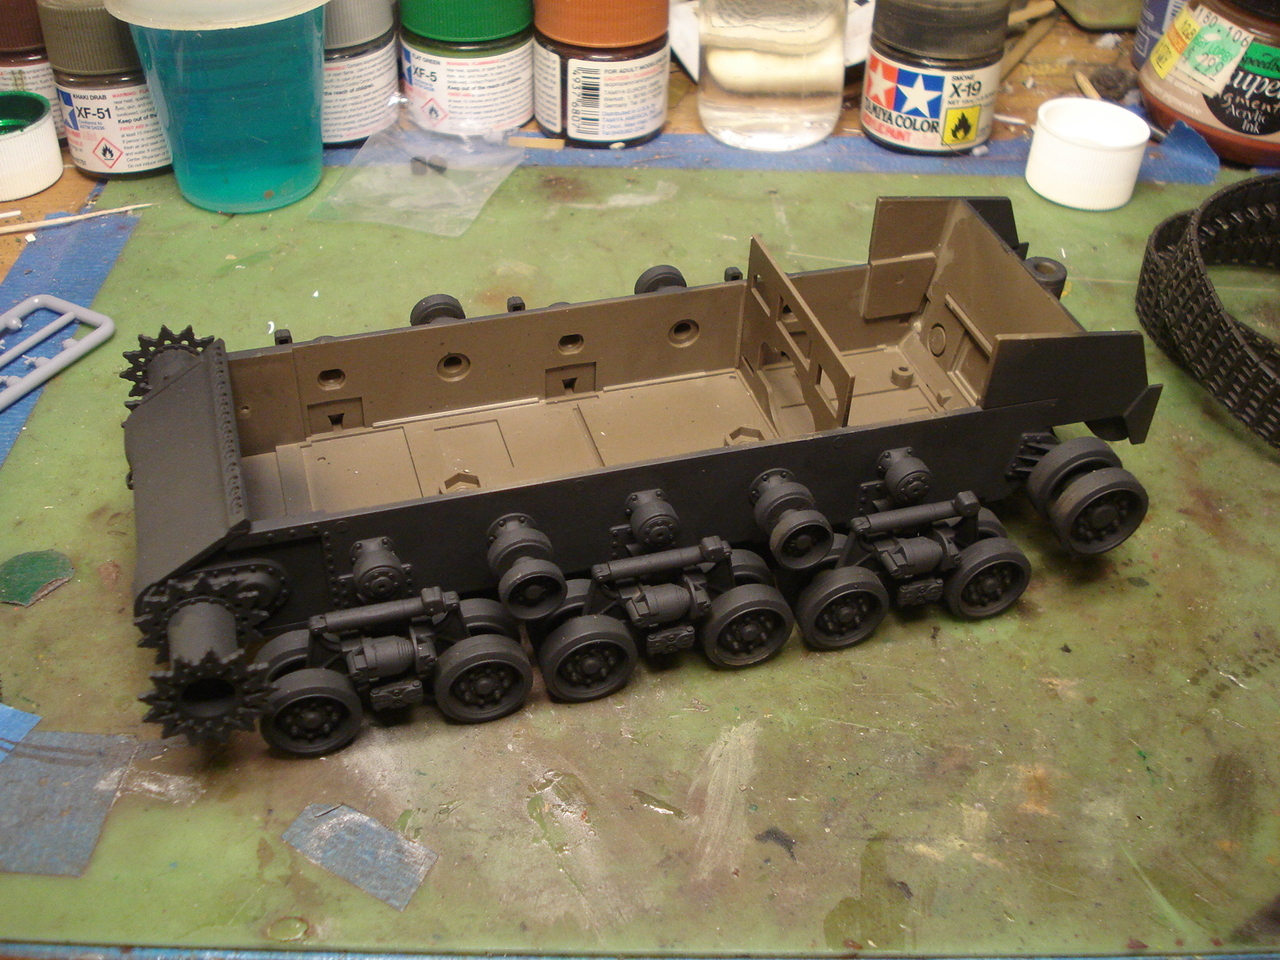
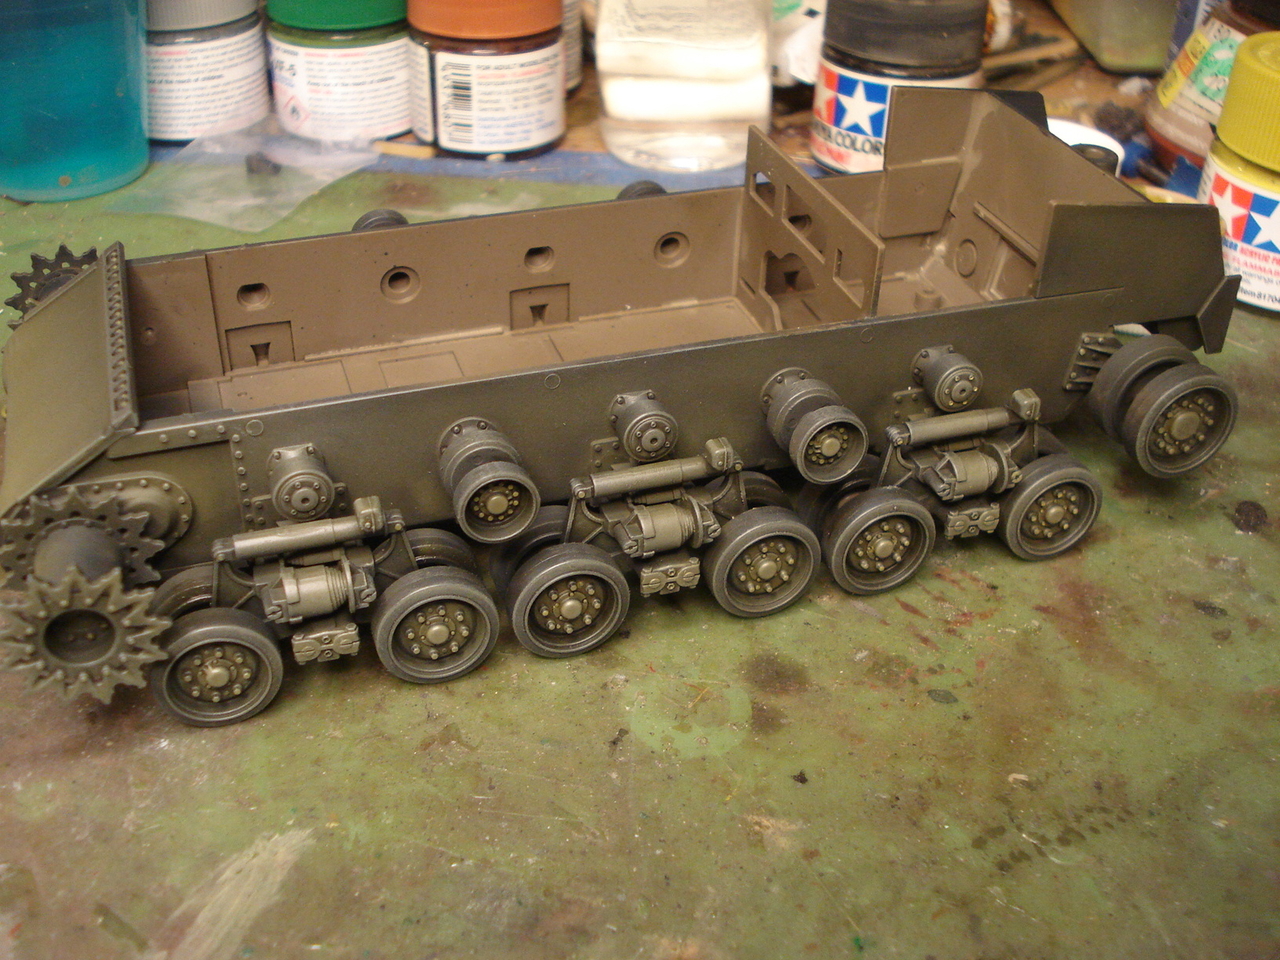
Done some painting and shading. Put on a wash and some dry brushing.
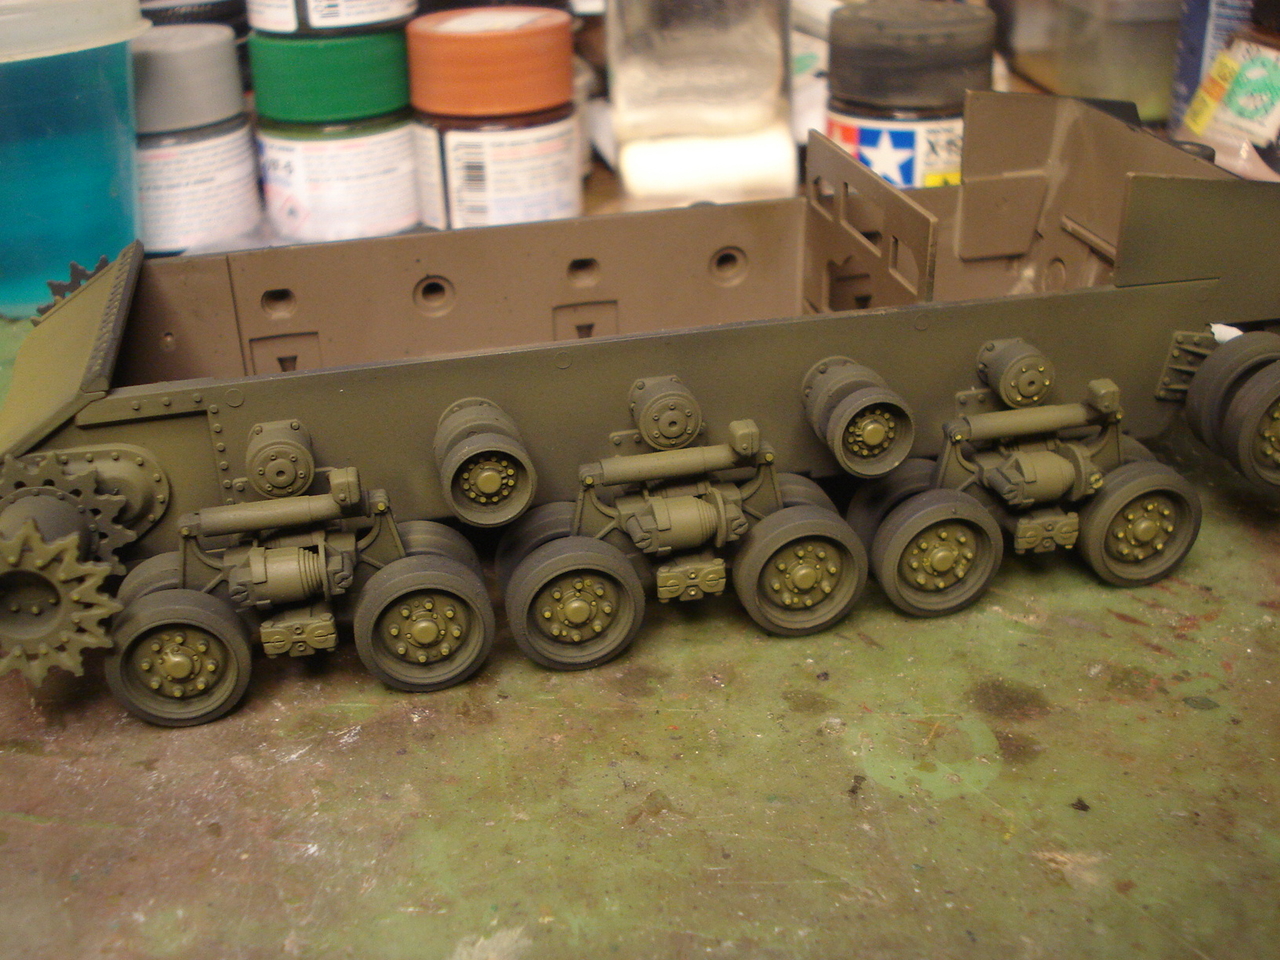
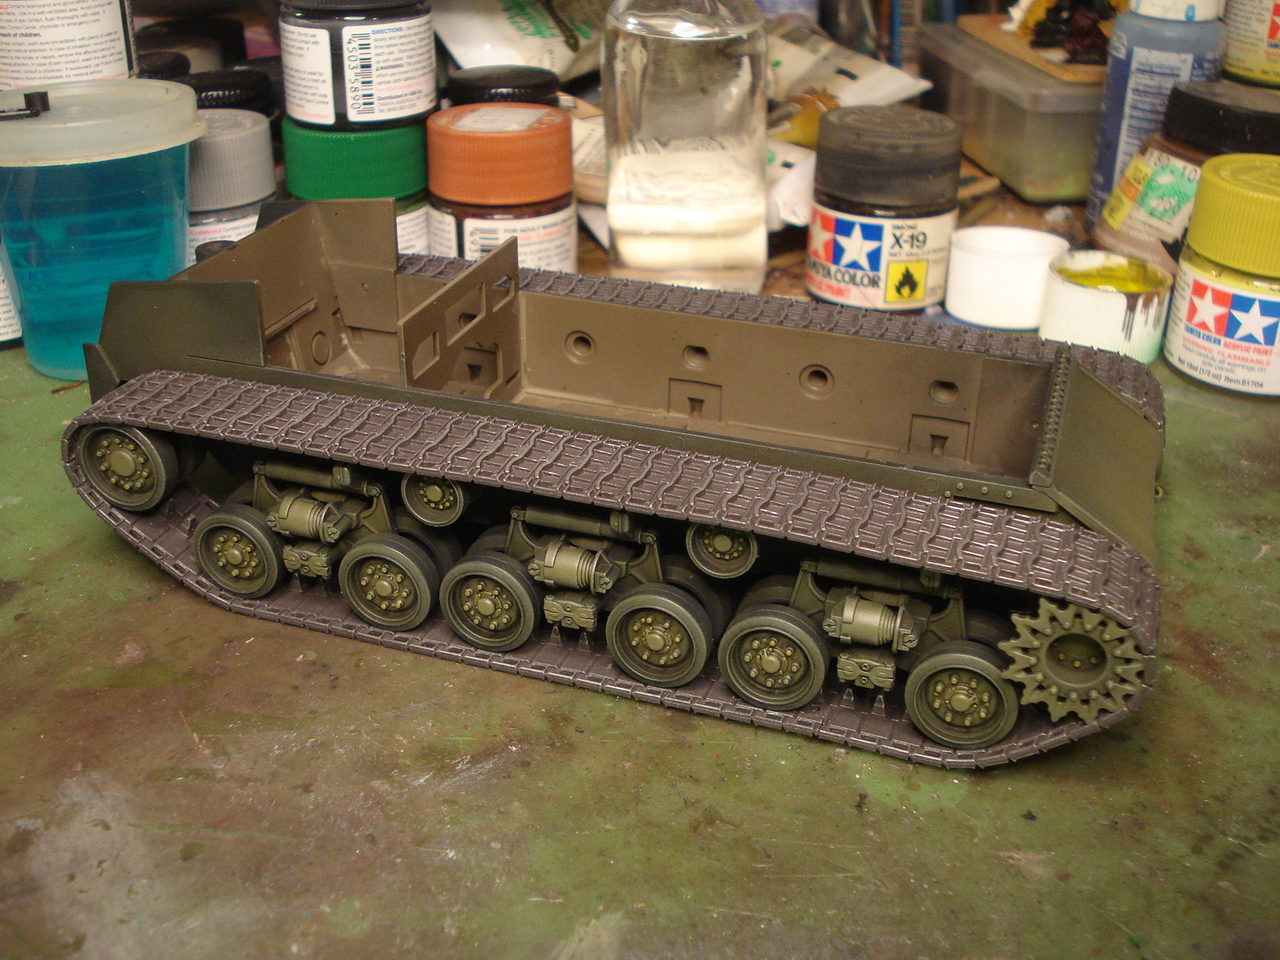
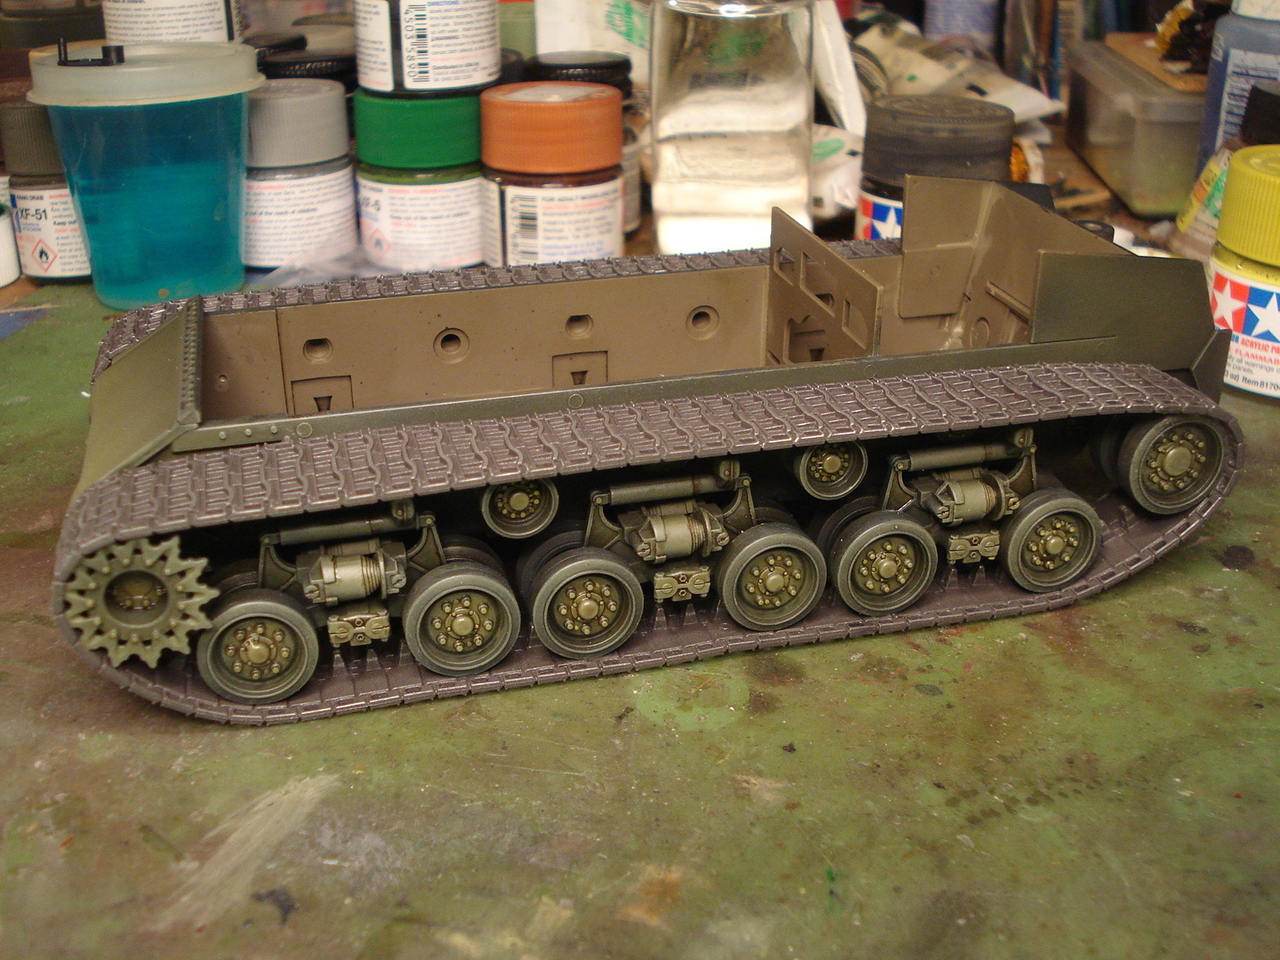
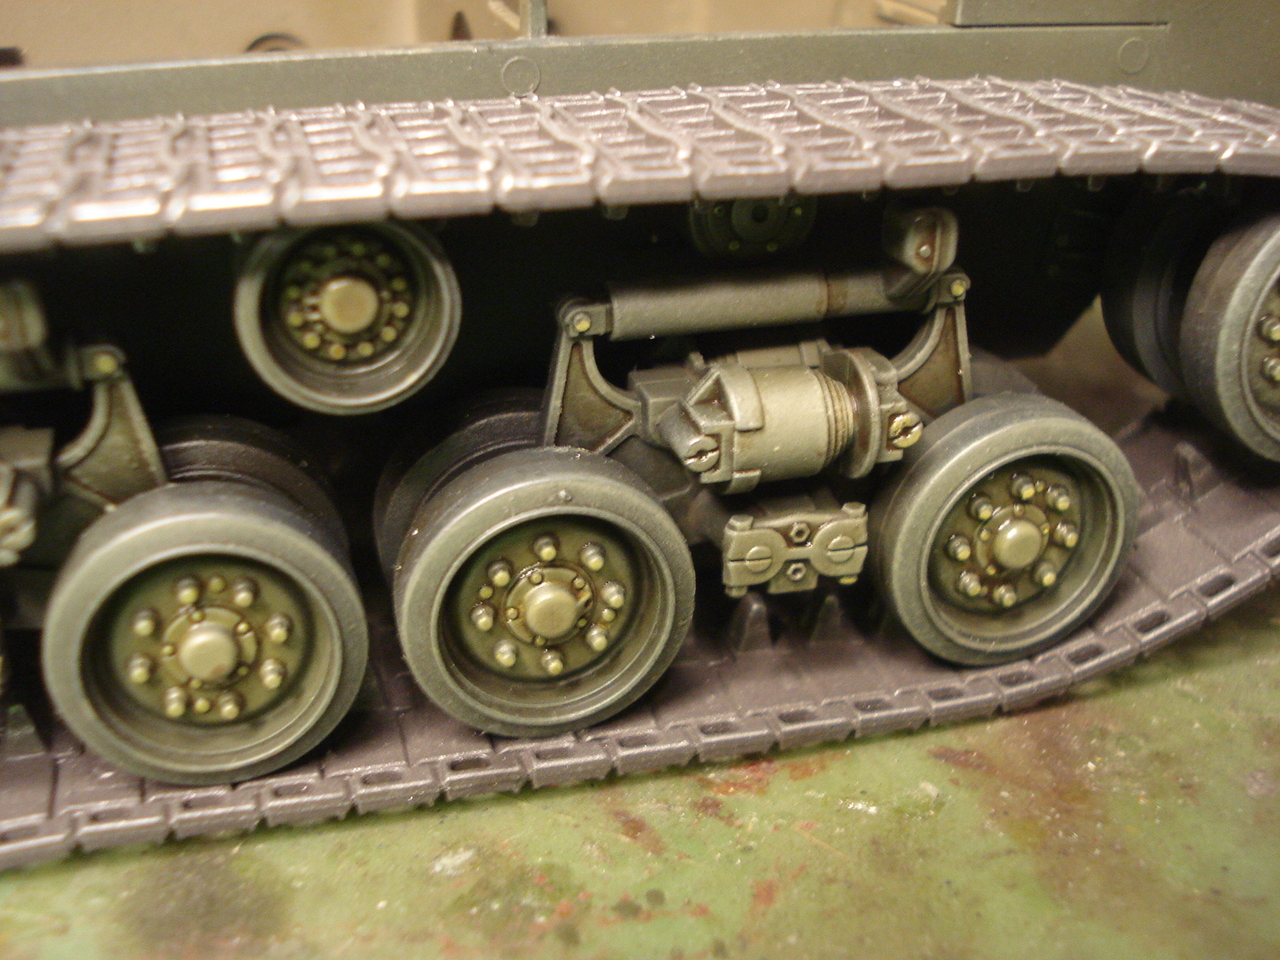
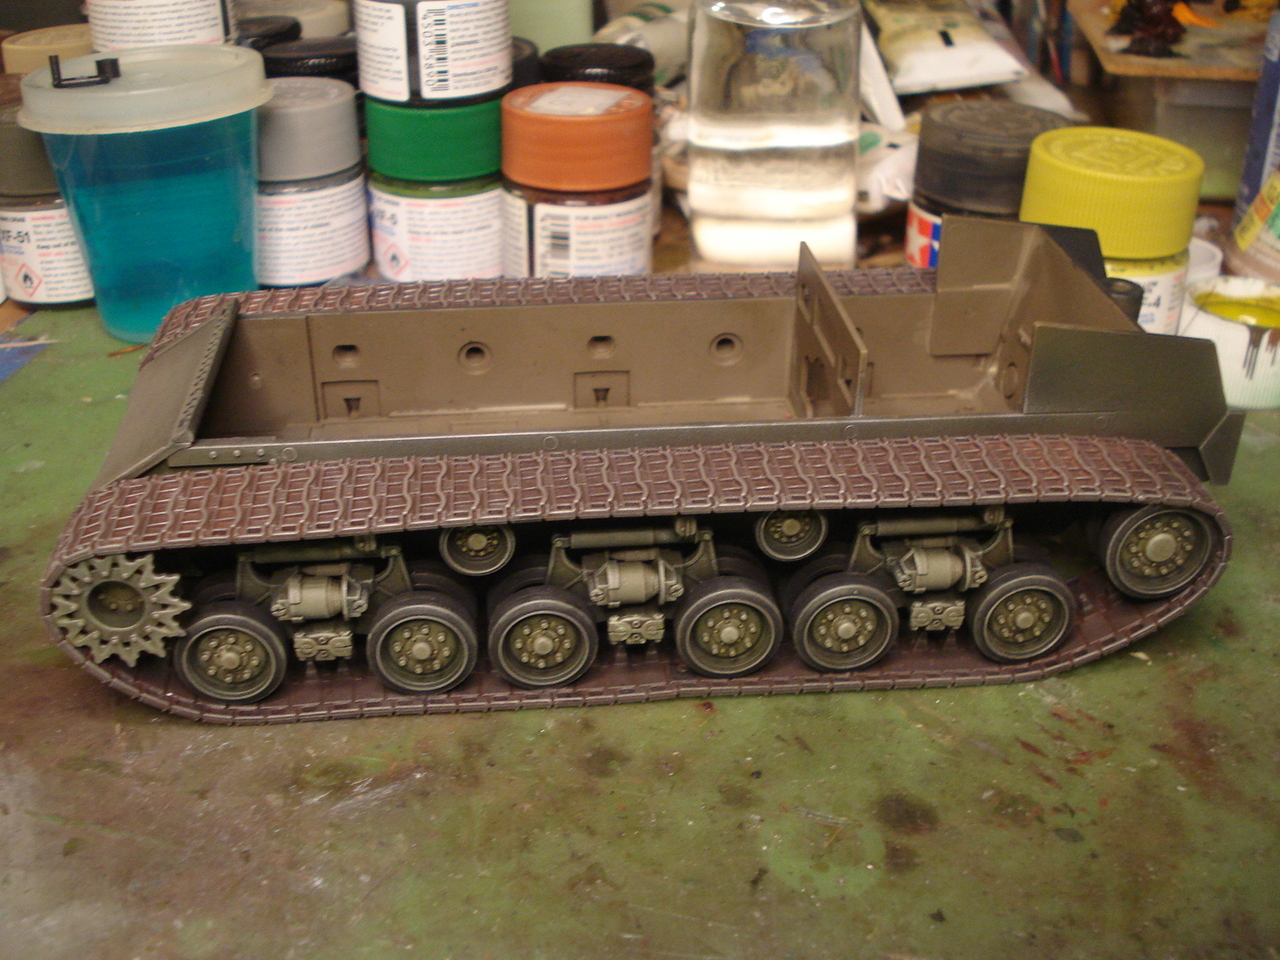
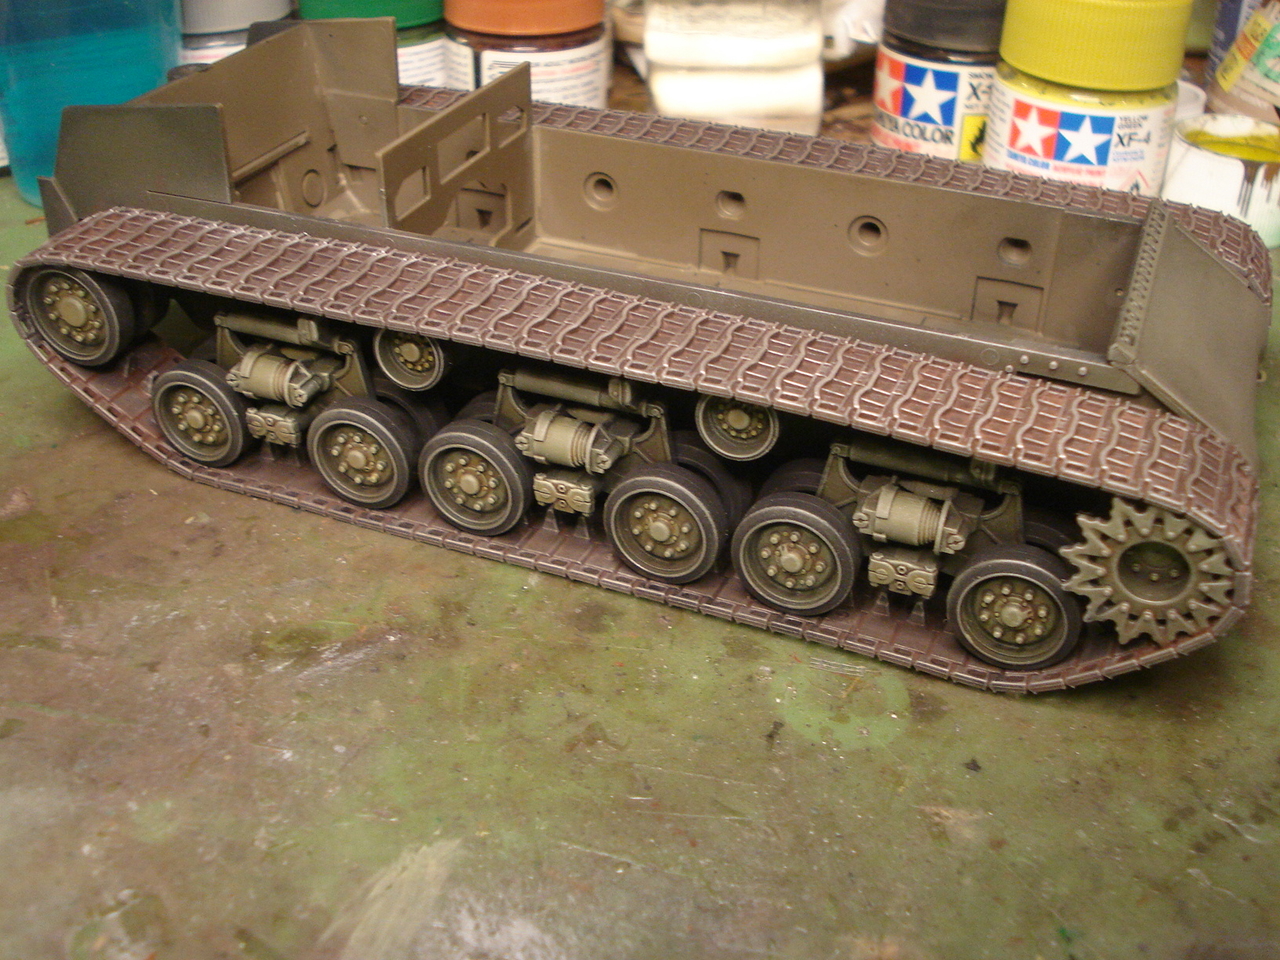
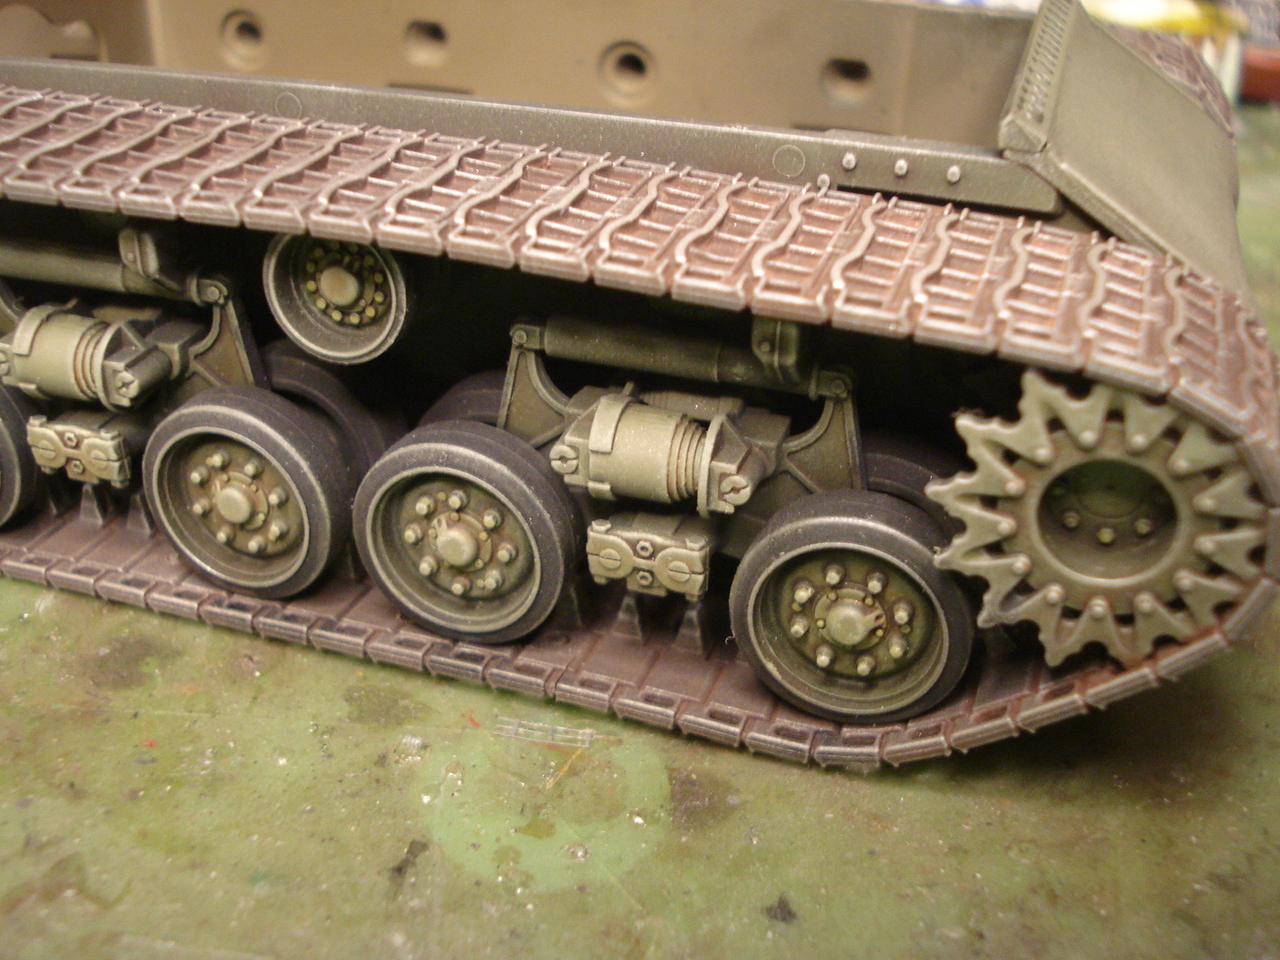
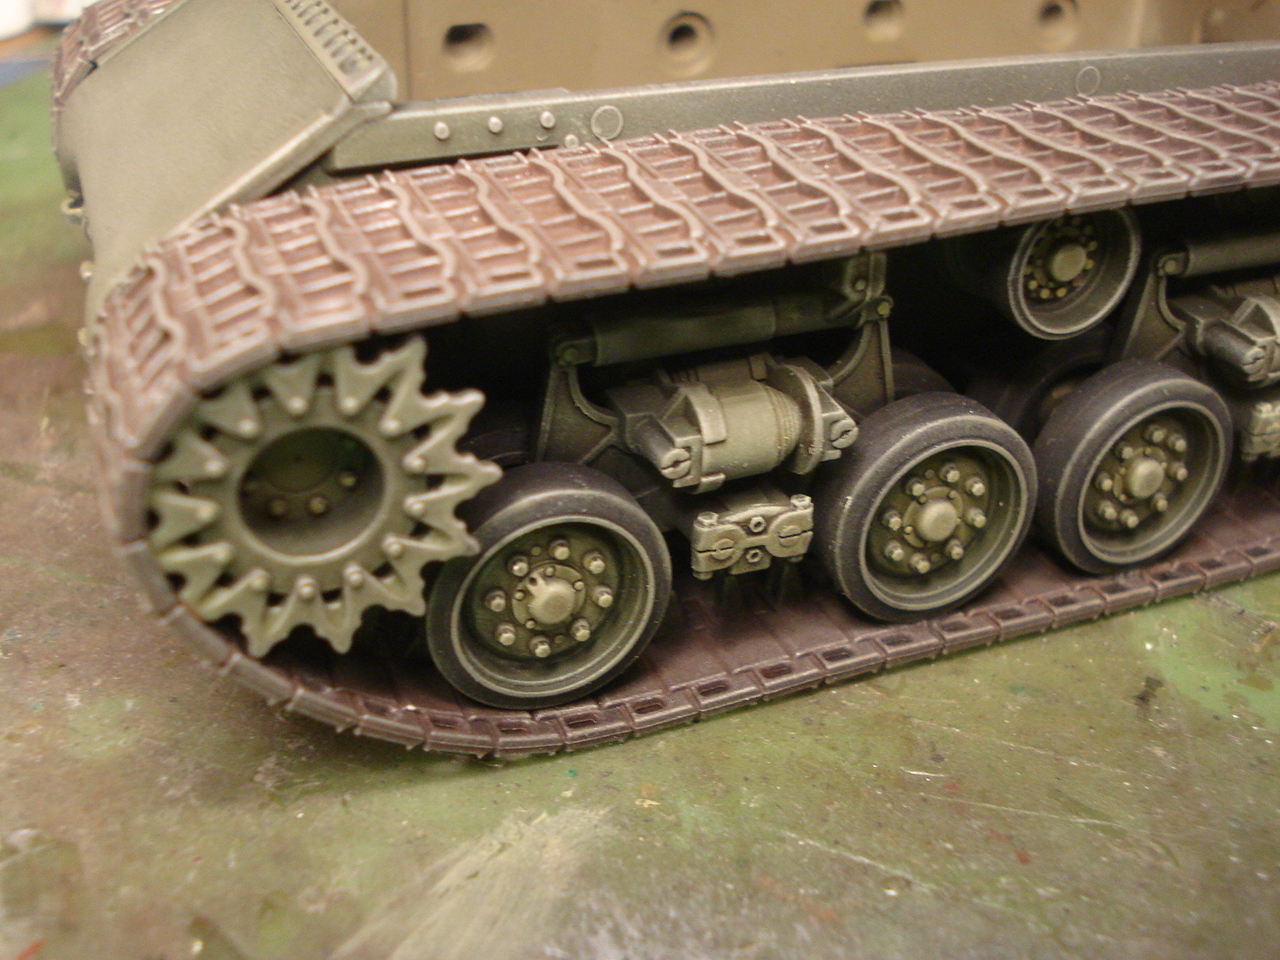
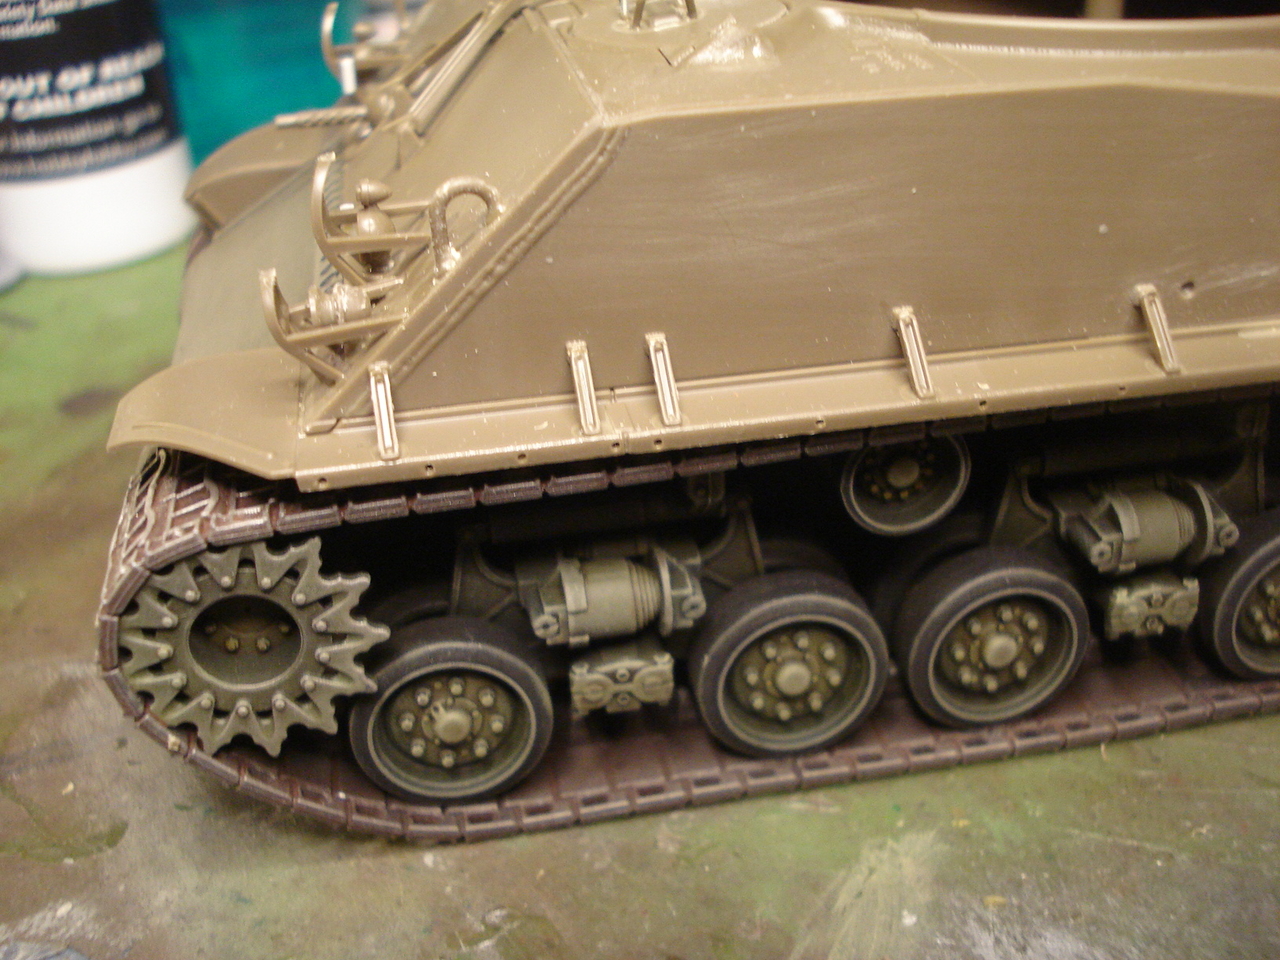
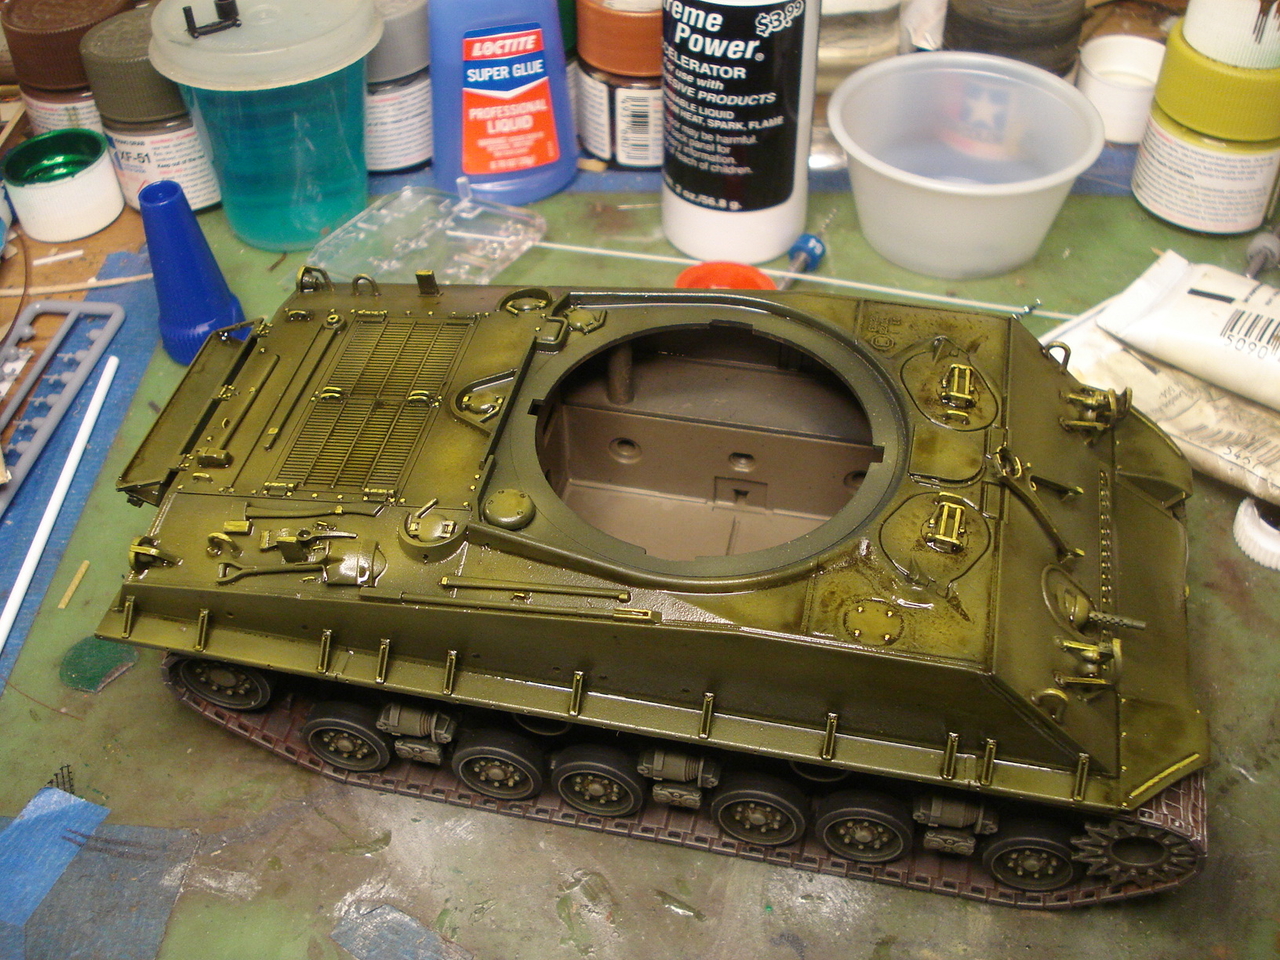
The M4A3E8 has tracks now. I painted them with Tamiya Dark Iron and dry brushed with a little silver. Also added a pin wash to the running gear.

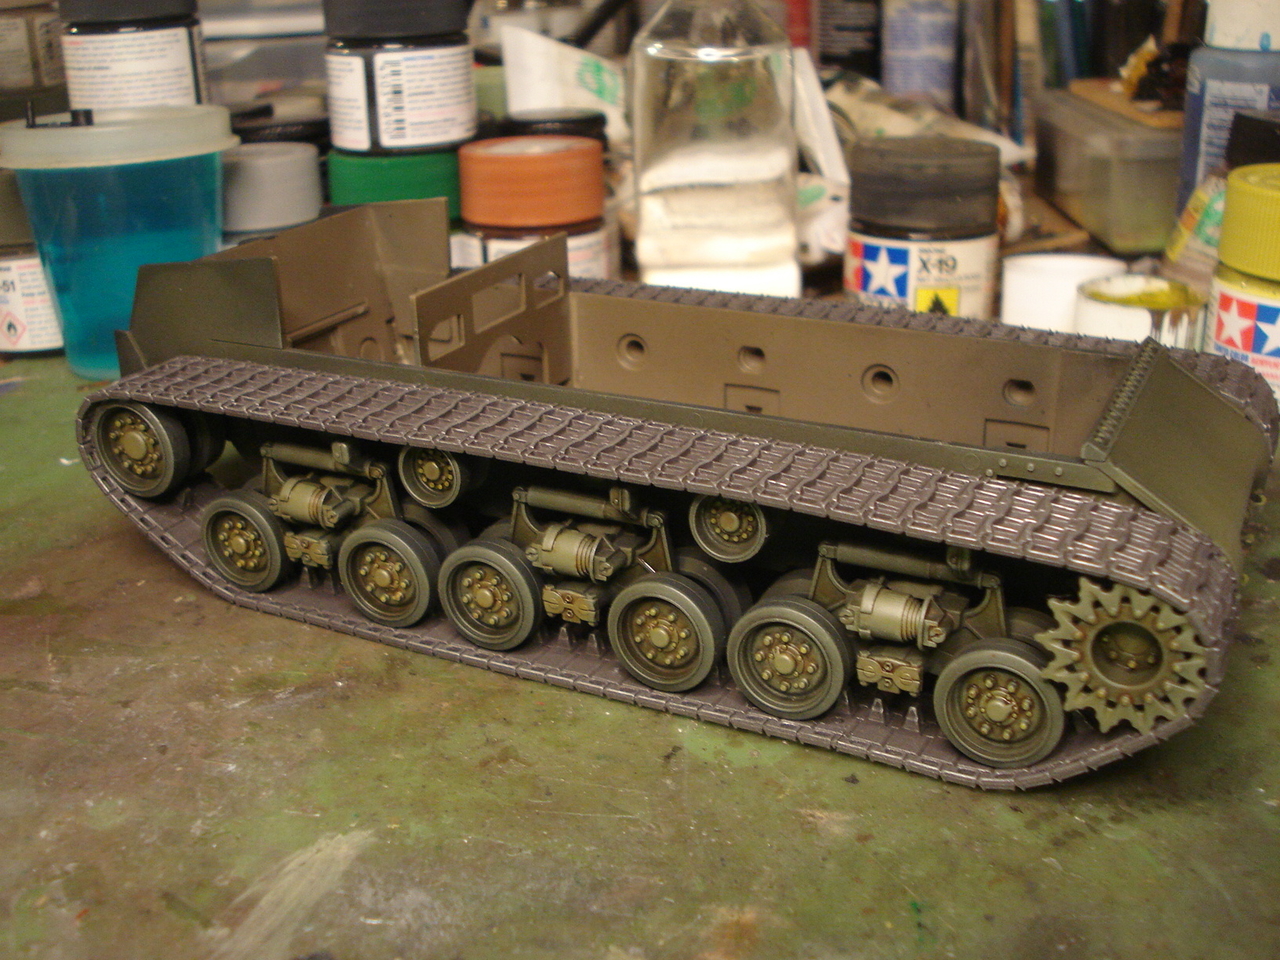
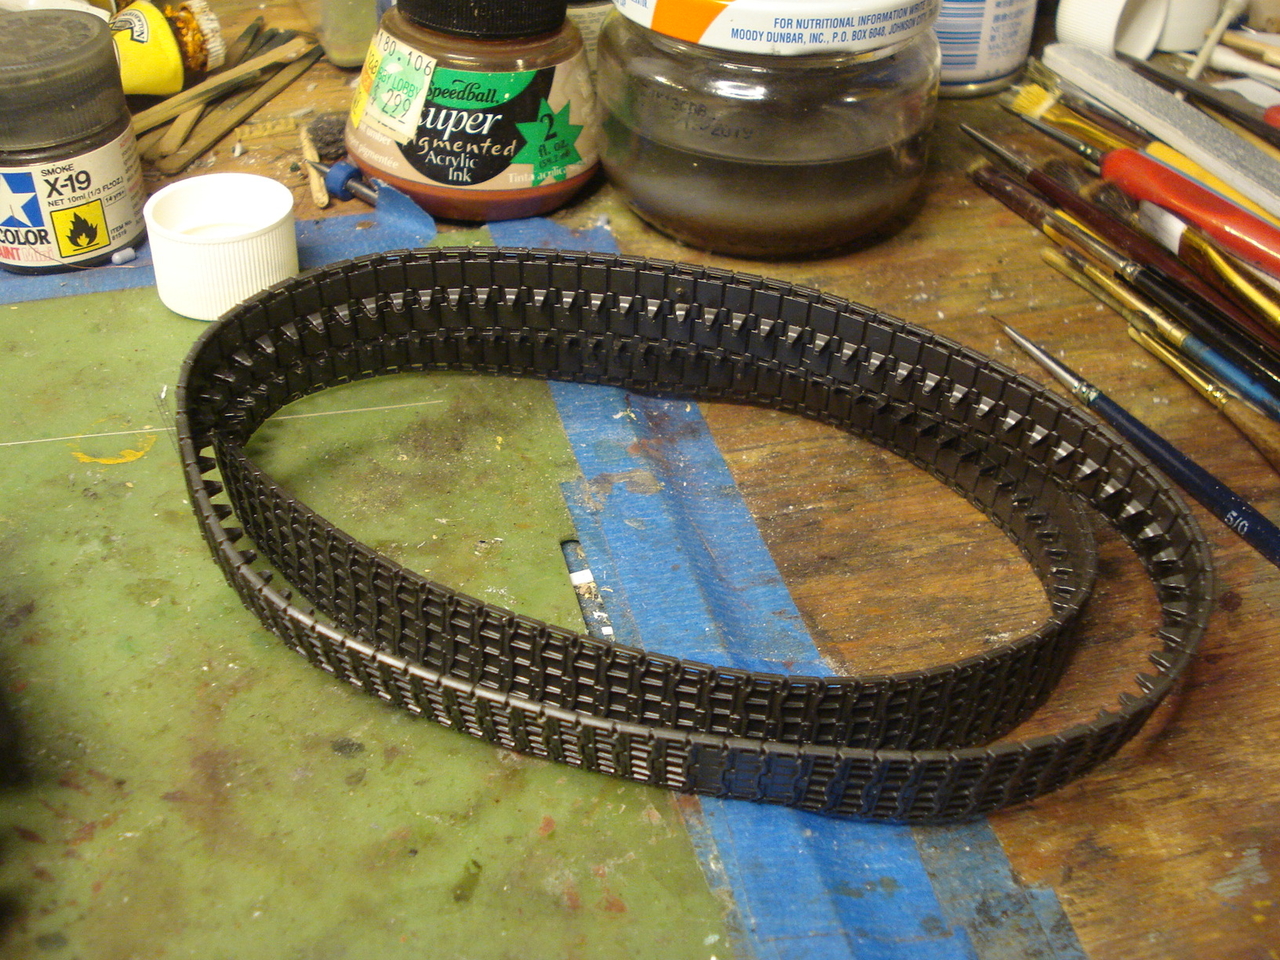
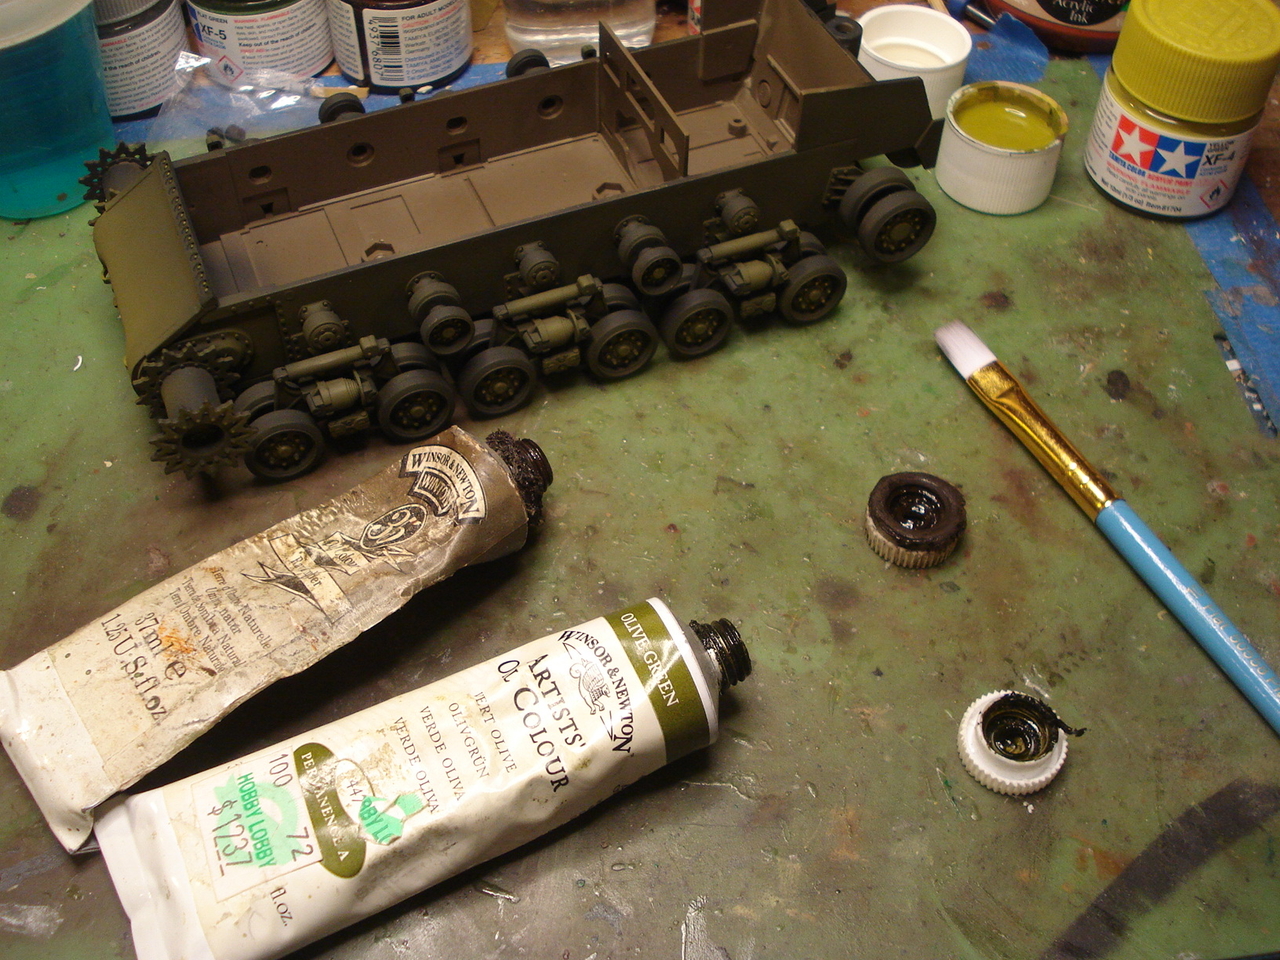
I have added a dark brown pigment wash to the tracks of my Sherman.
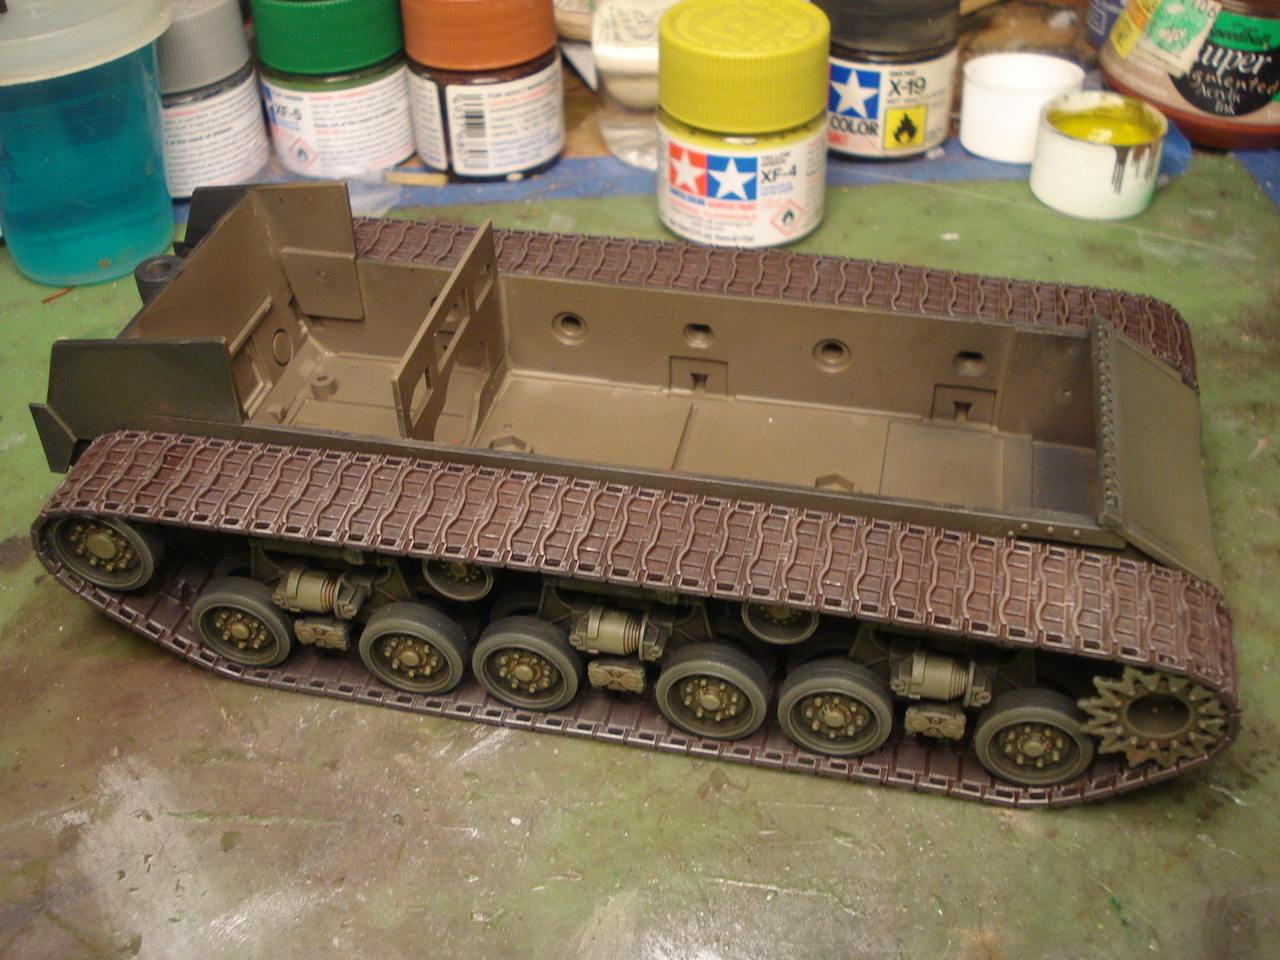
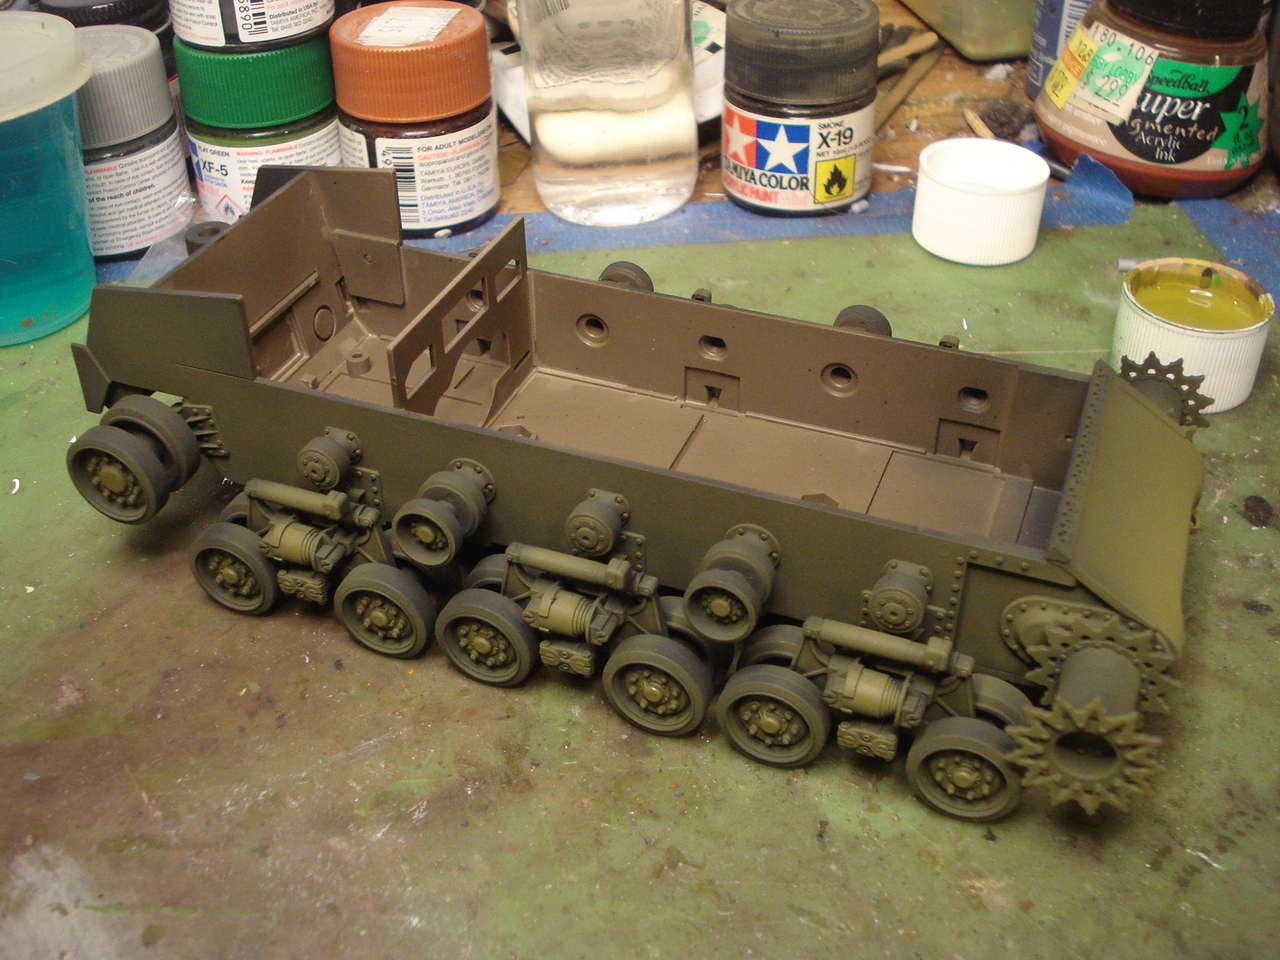
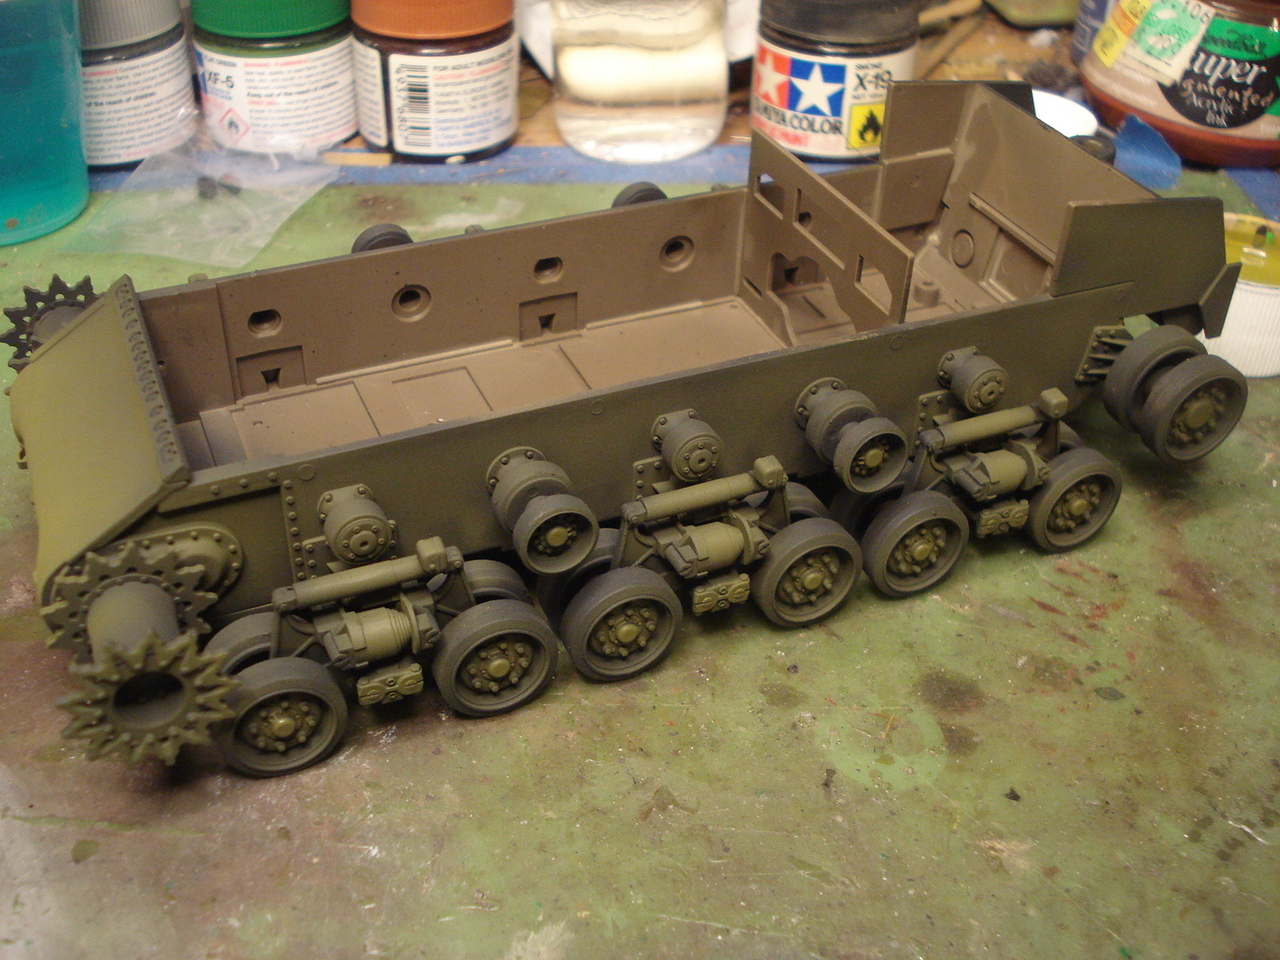
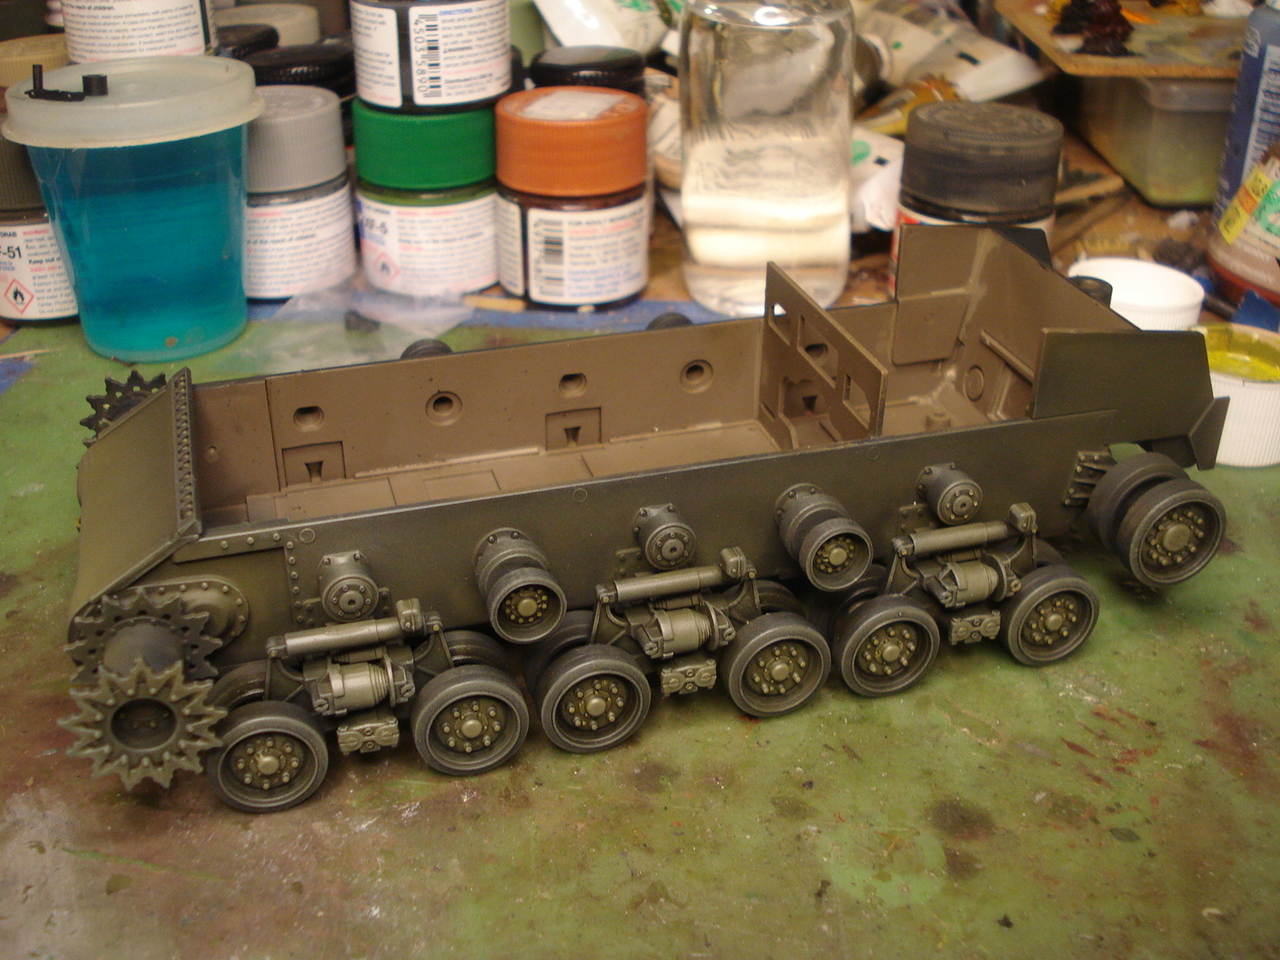
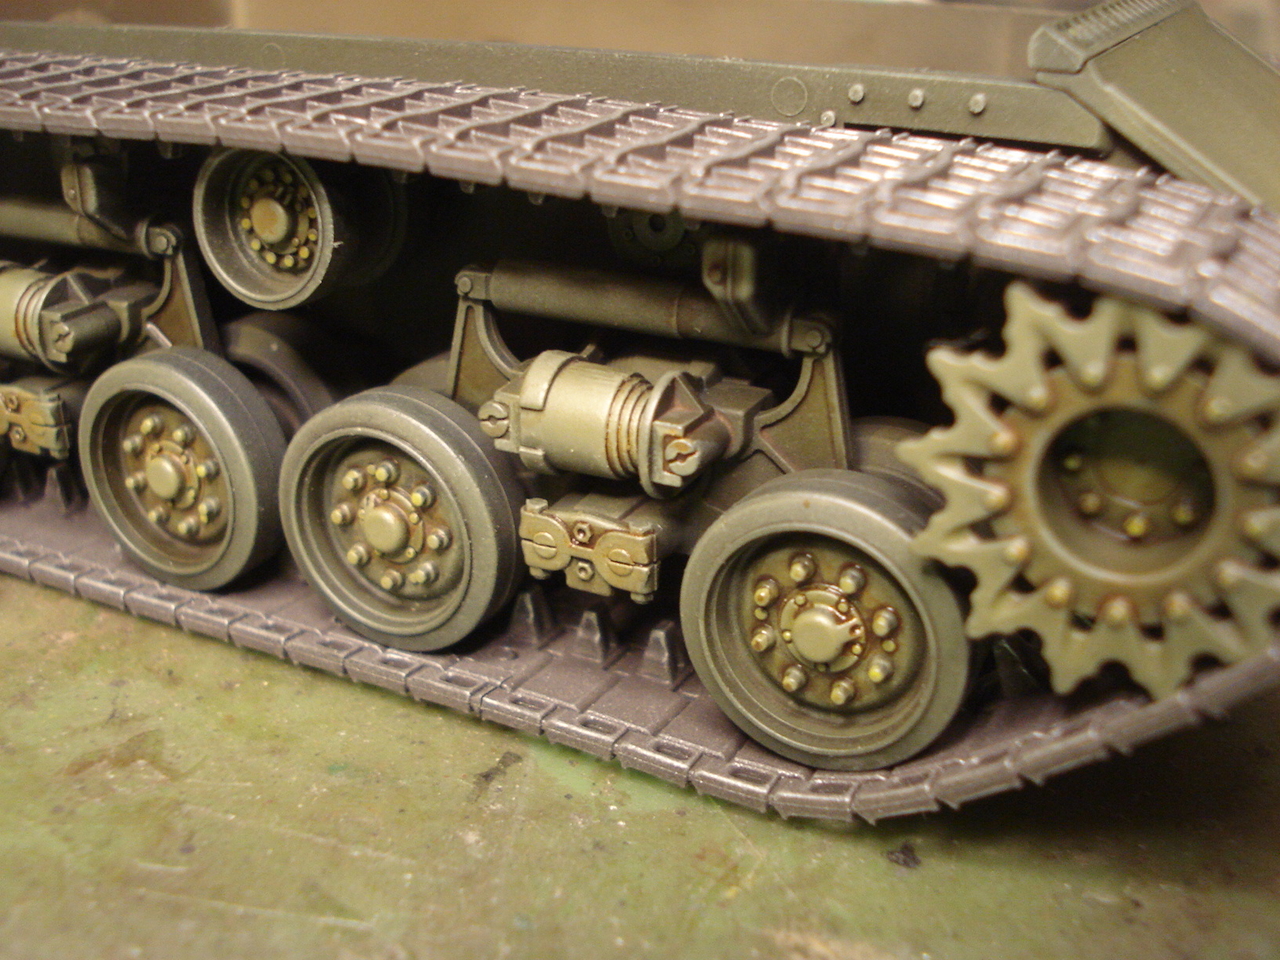
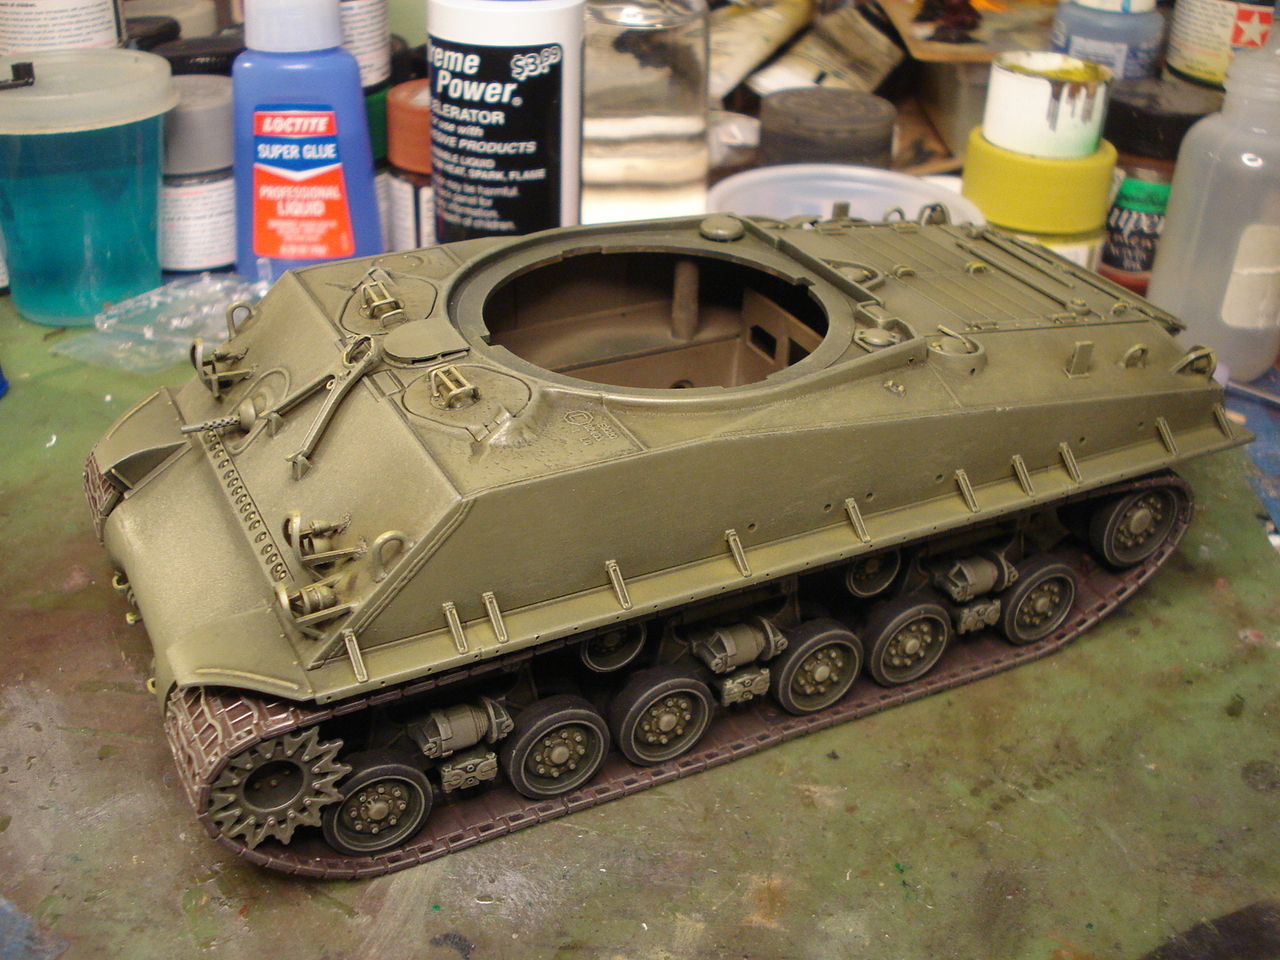
Added another pigment wash for the tracks and black oil wash to the tires. Now it's time to move on to the upper hull.
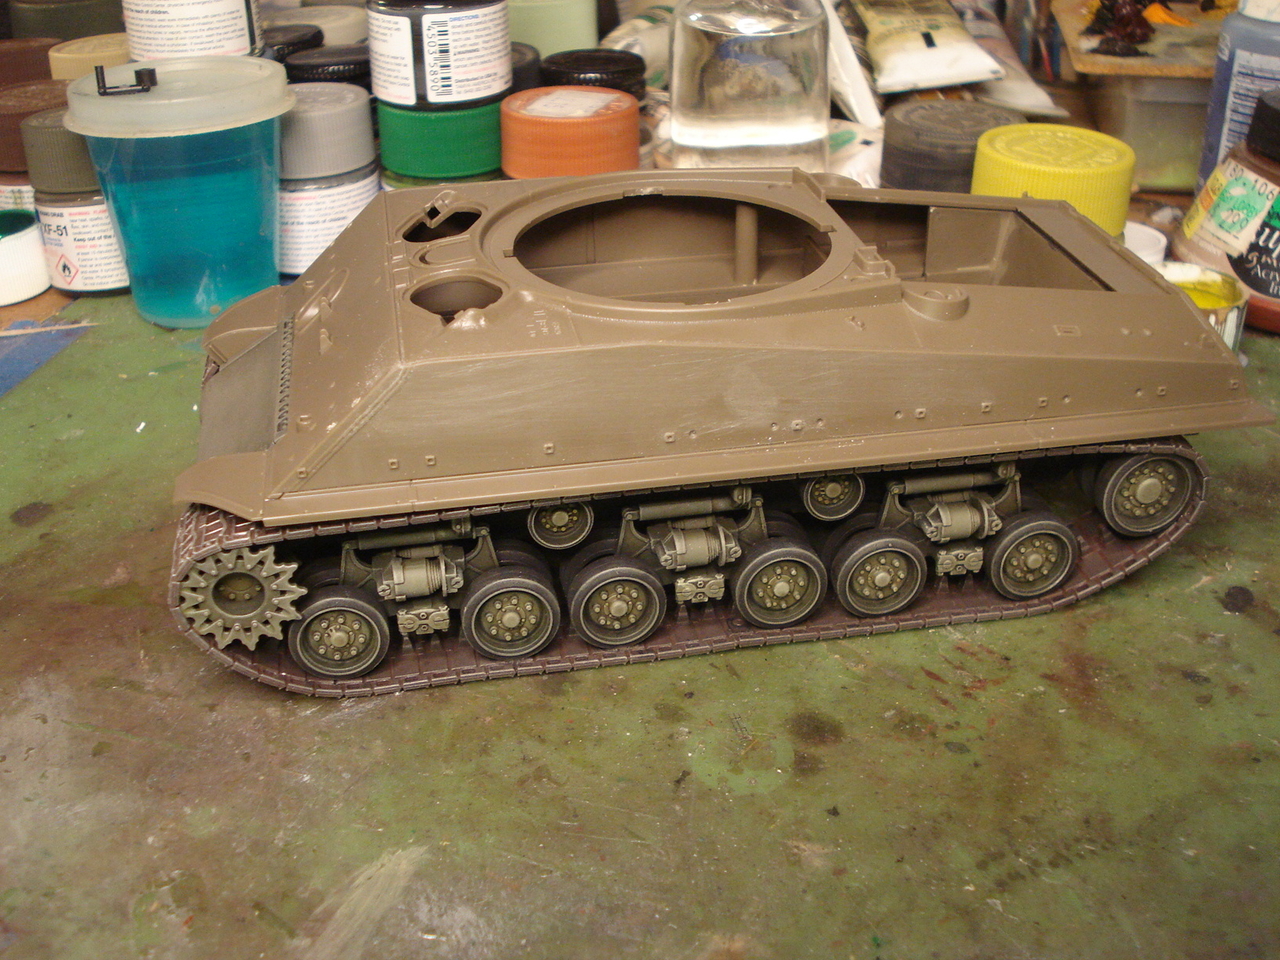
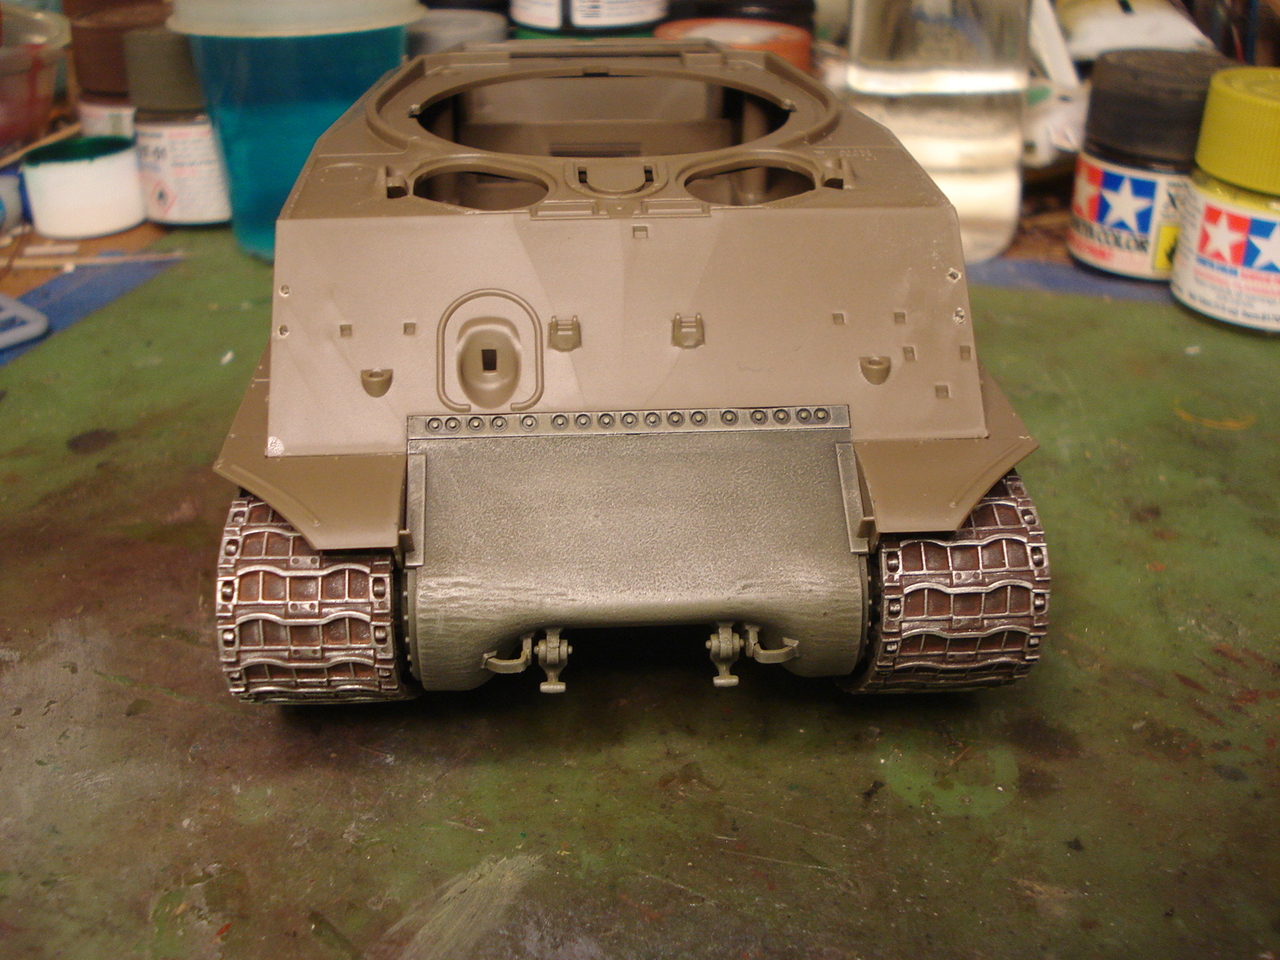
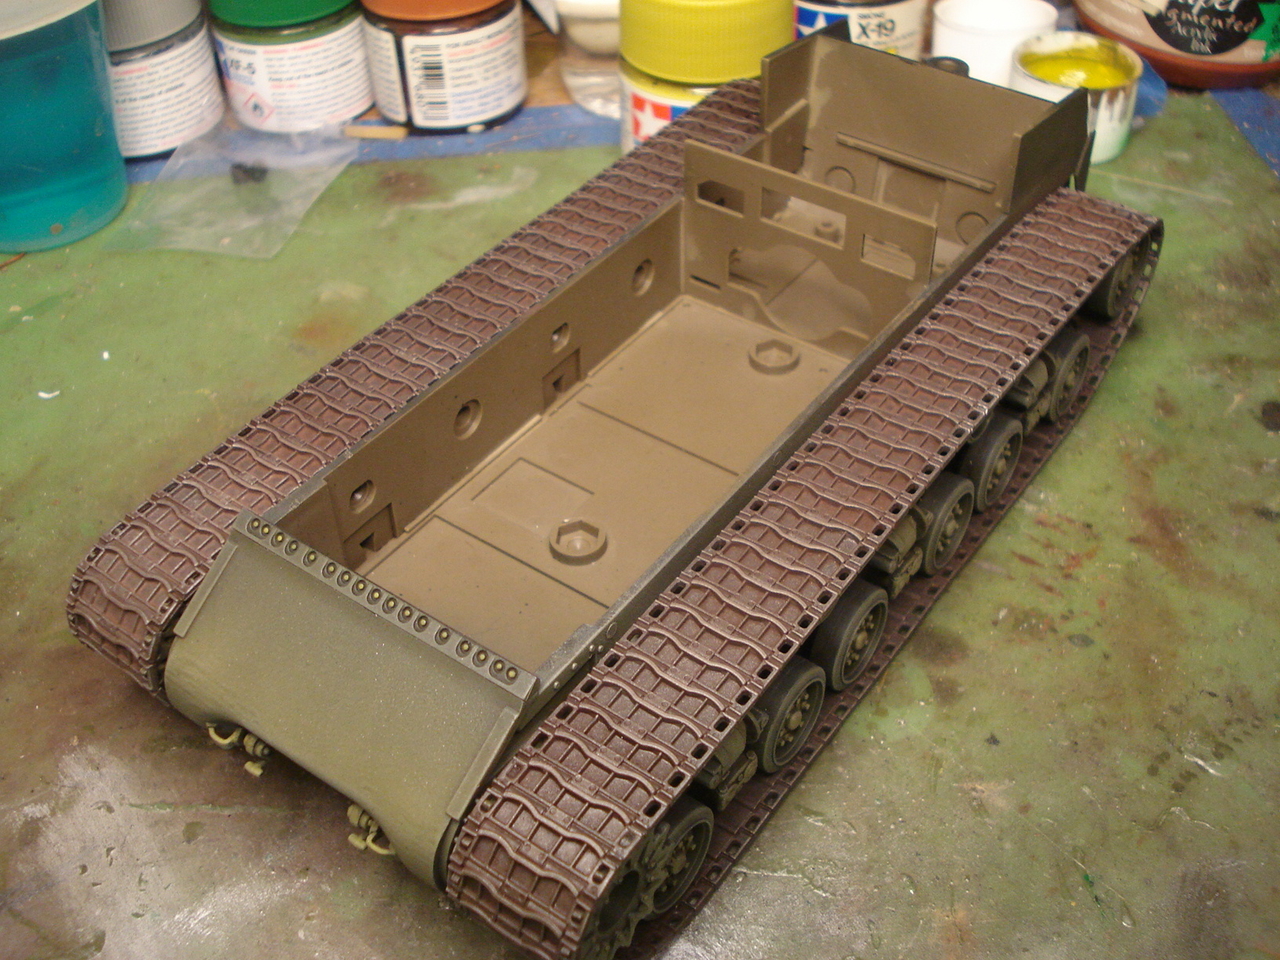
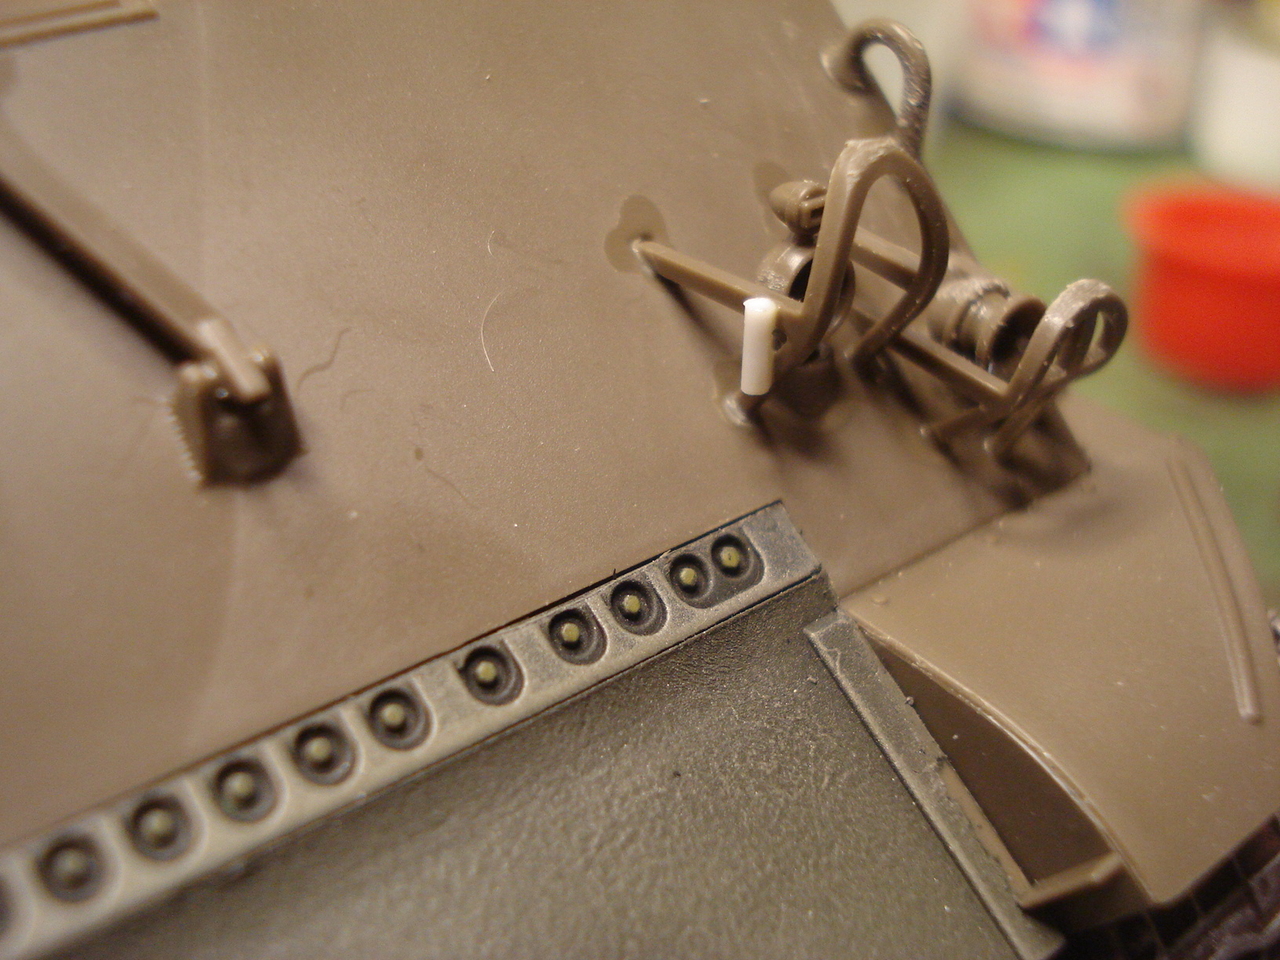
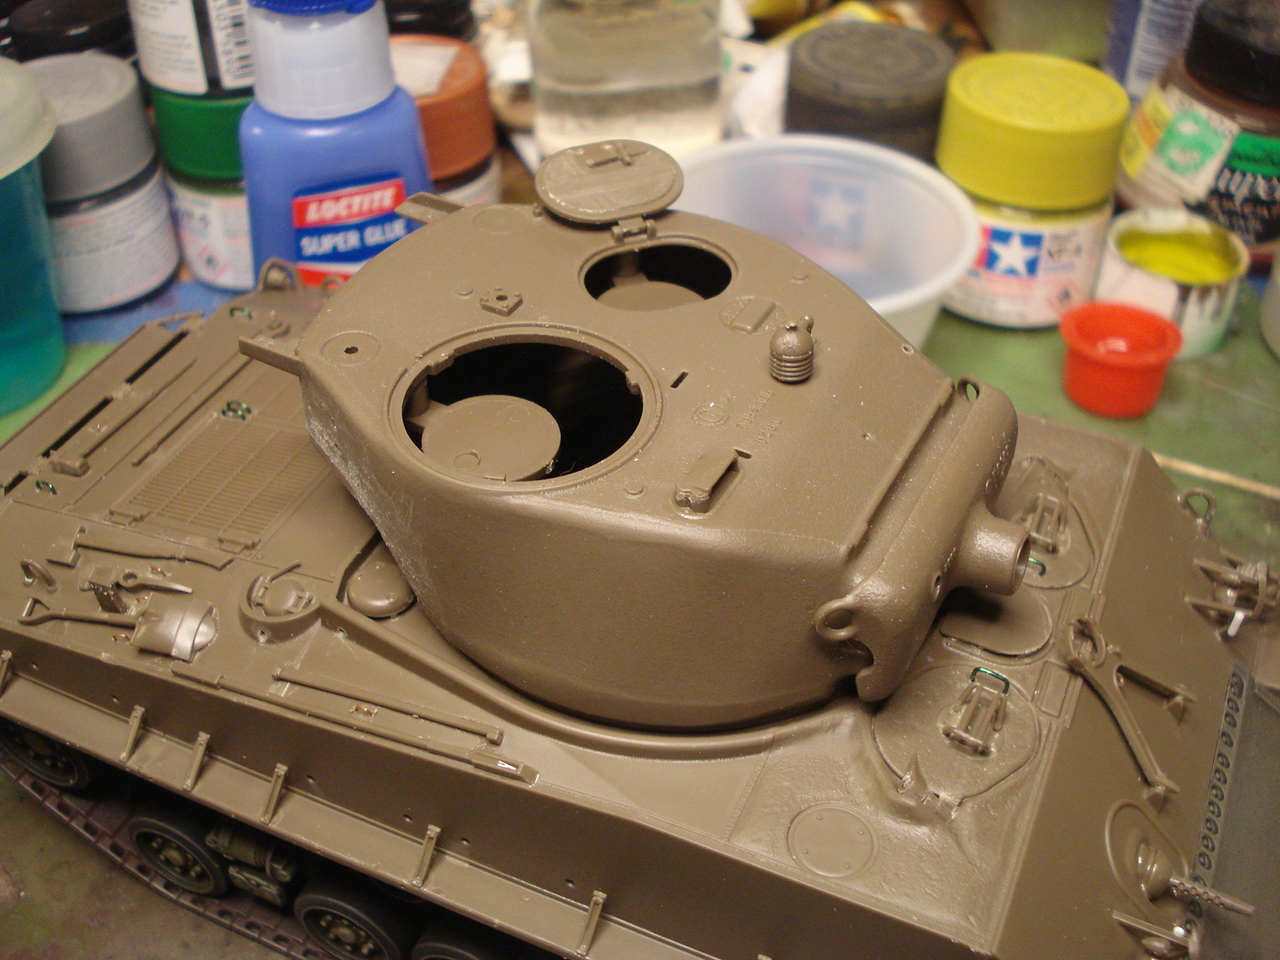
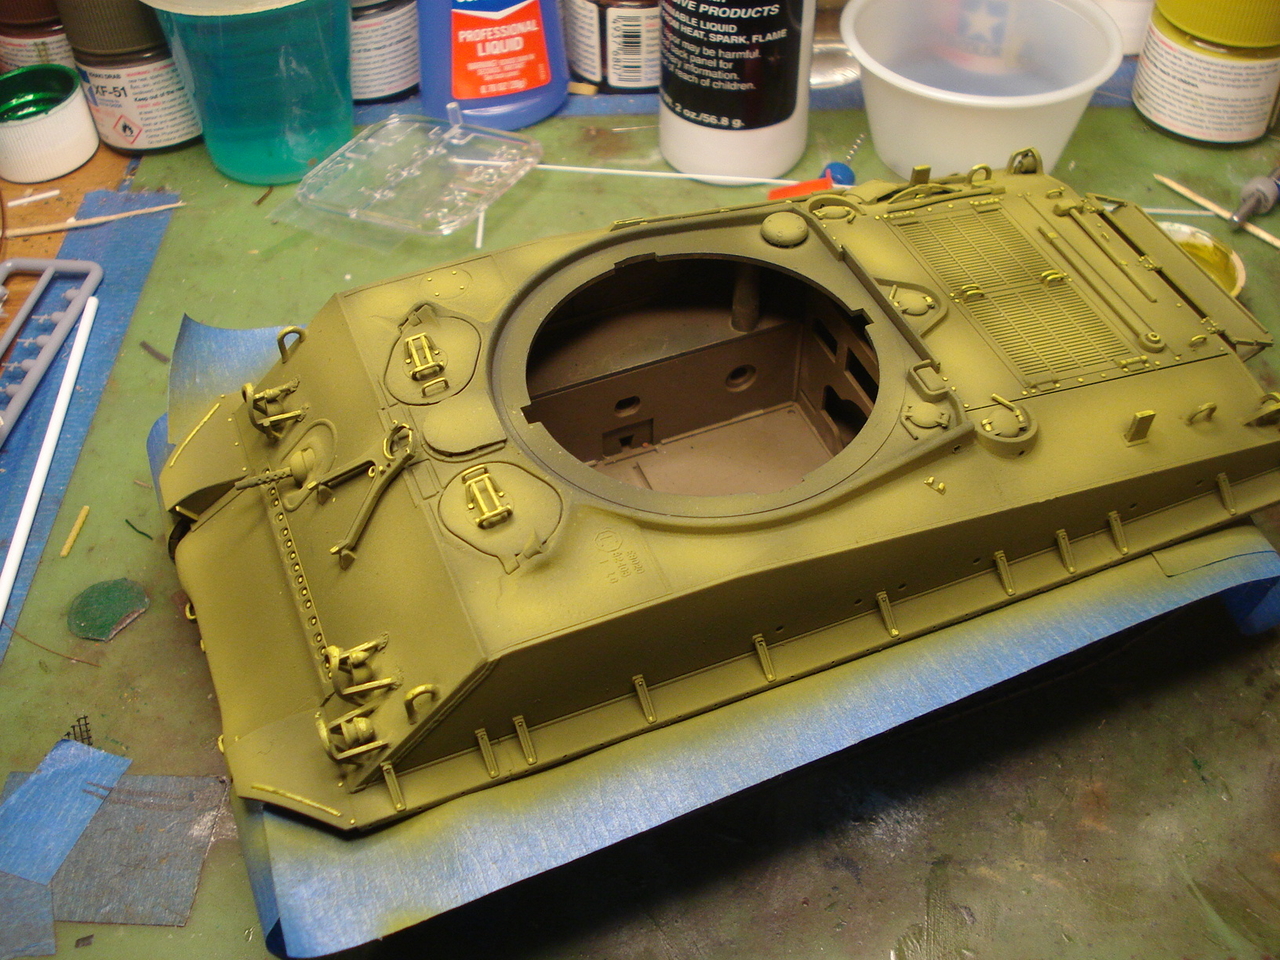
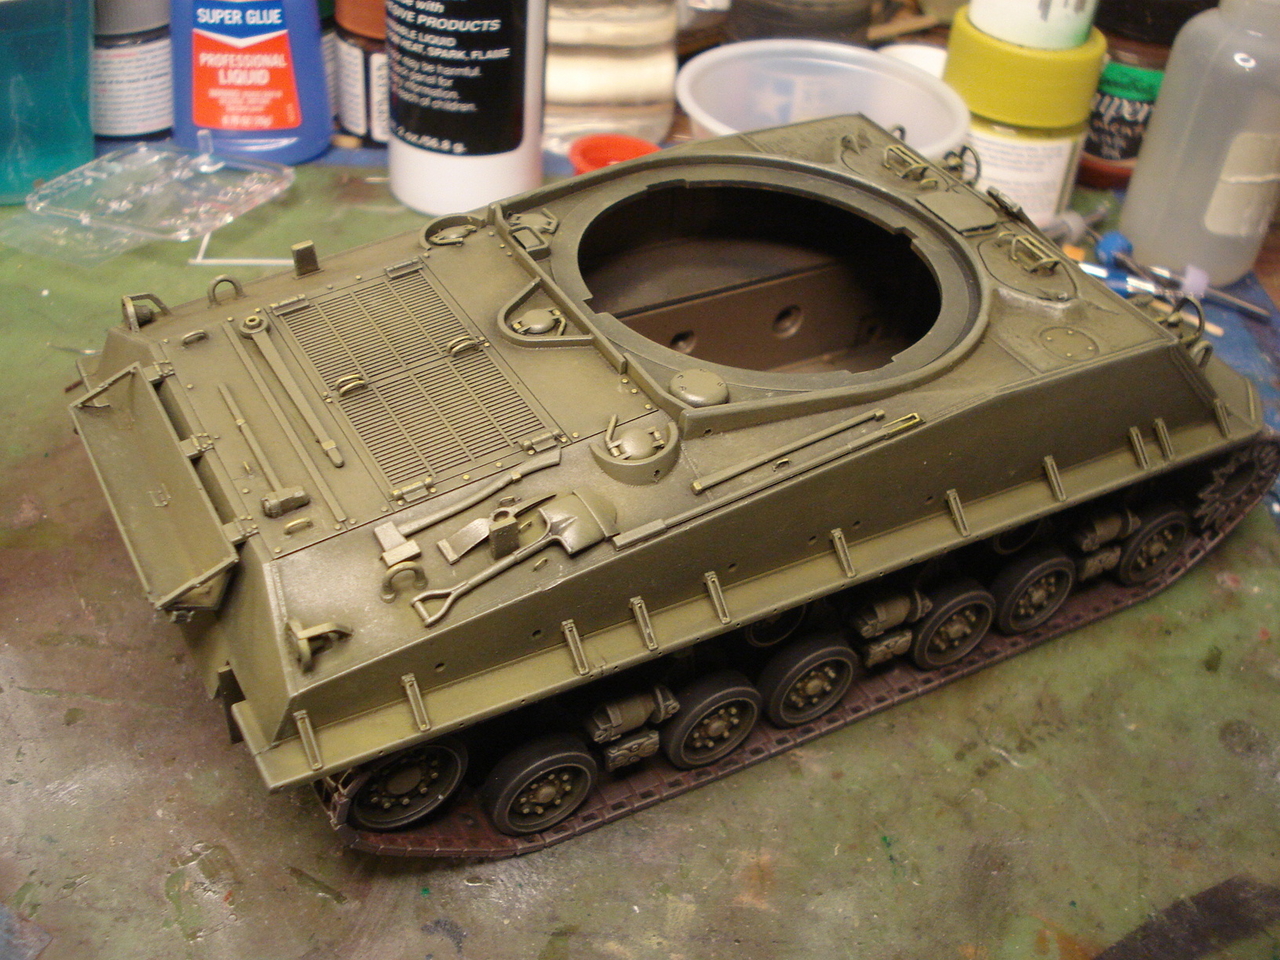
The upper hull is coming together. I replaced the molded on grab handles with wire ones and drilled the drain holes in the fuel cap guards.

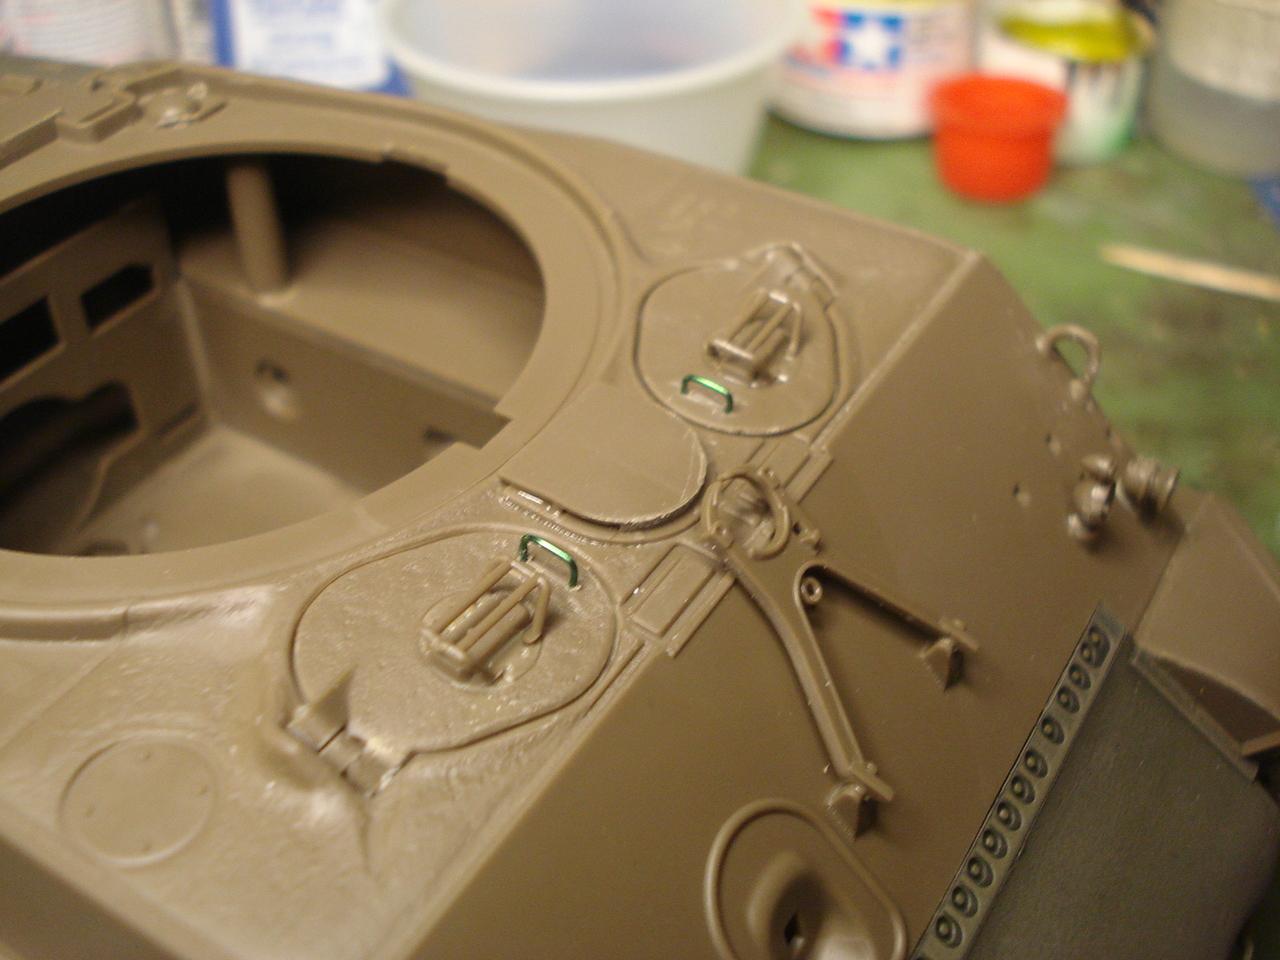
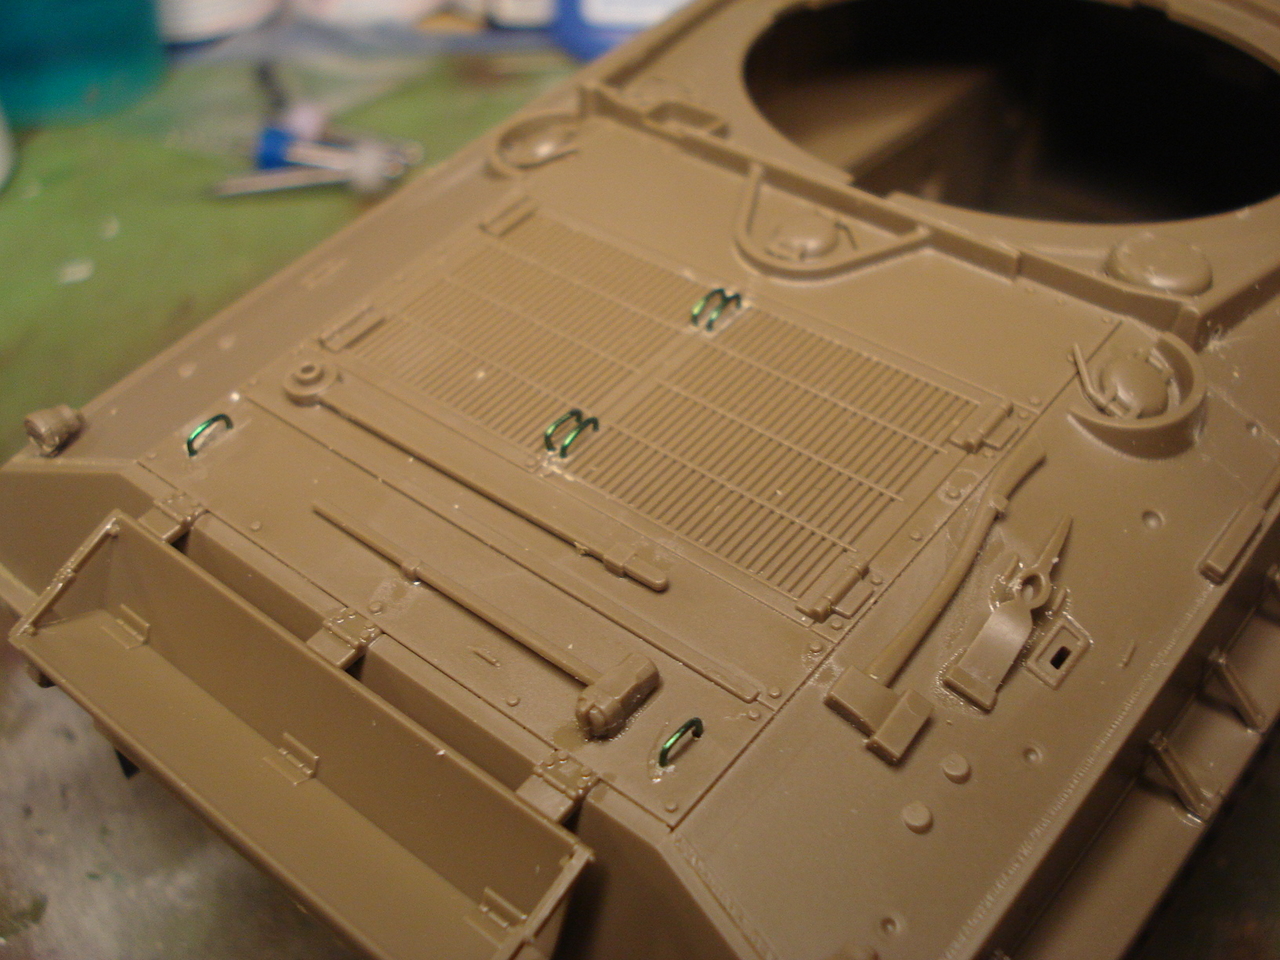
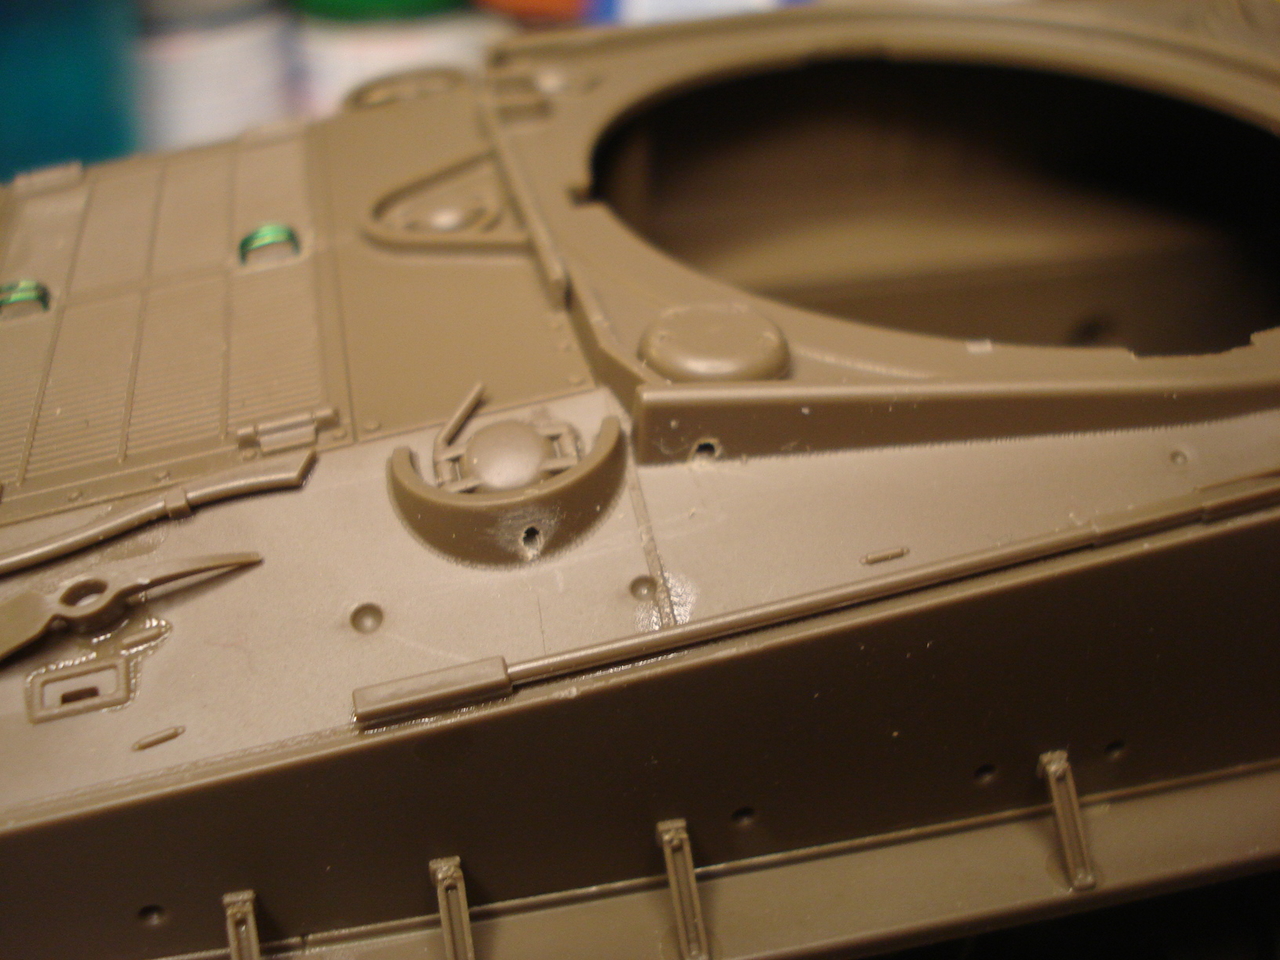
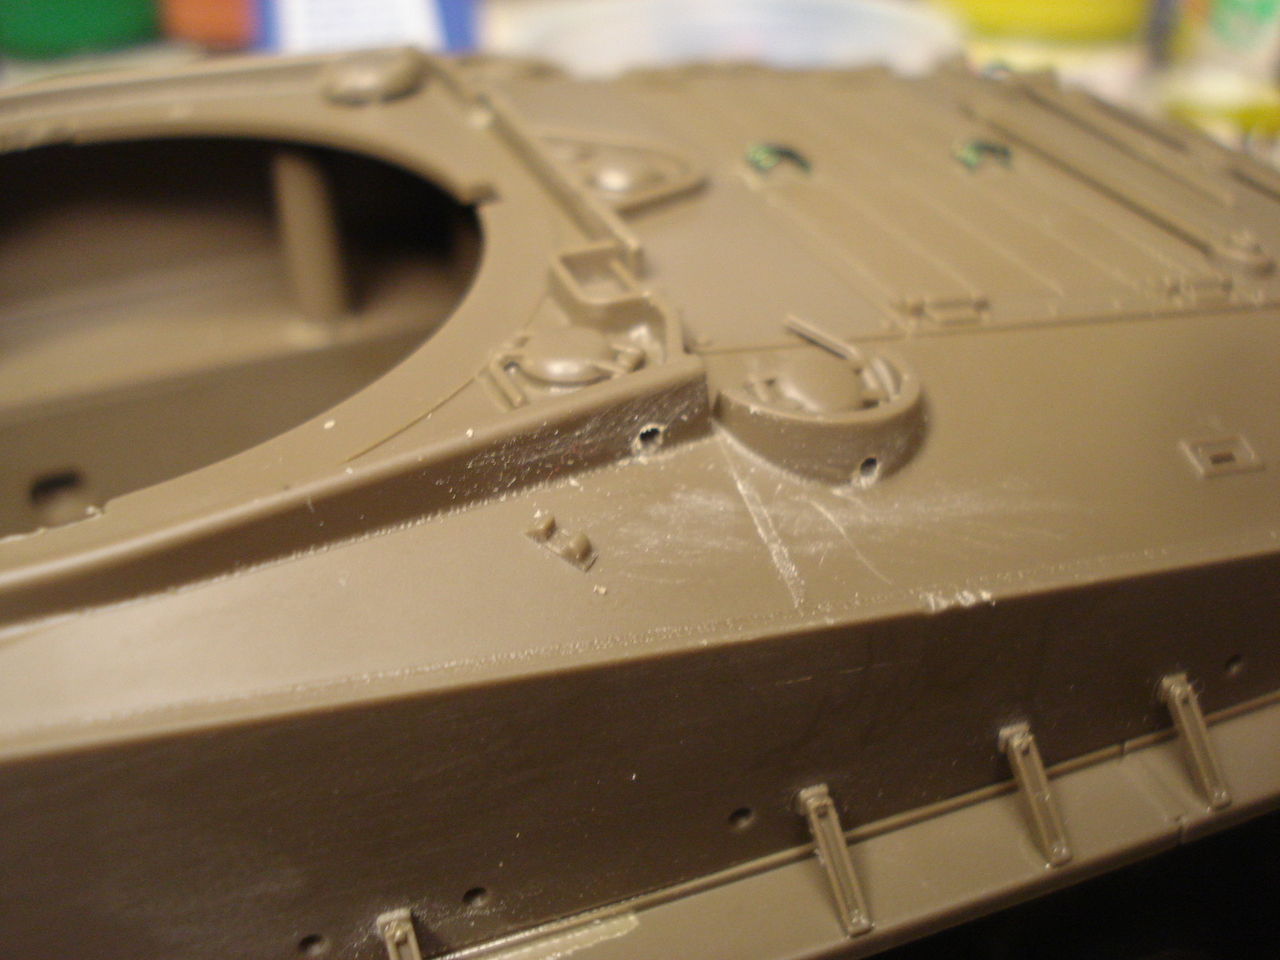
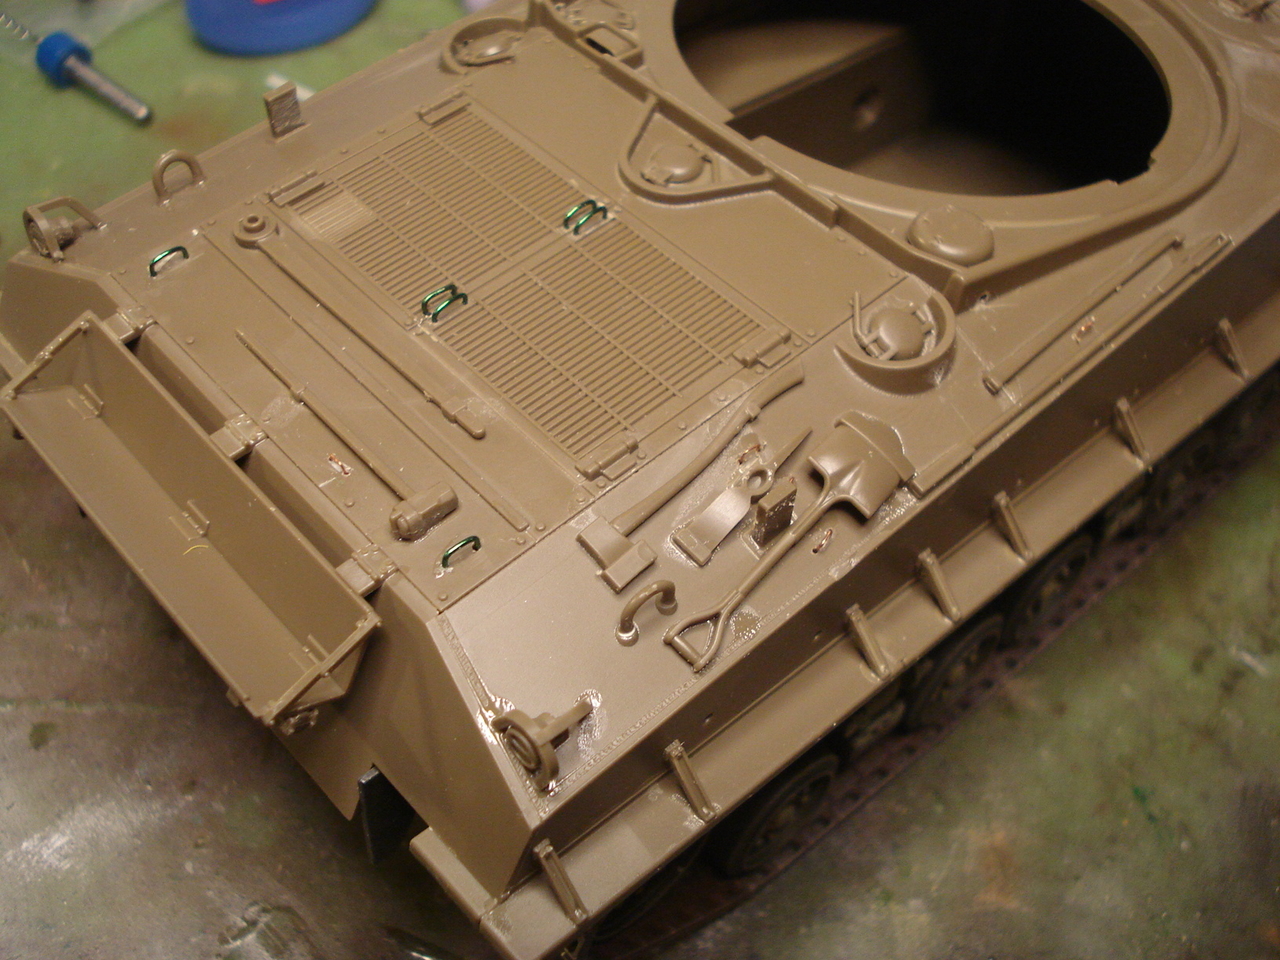
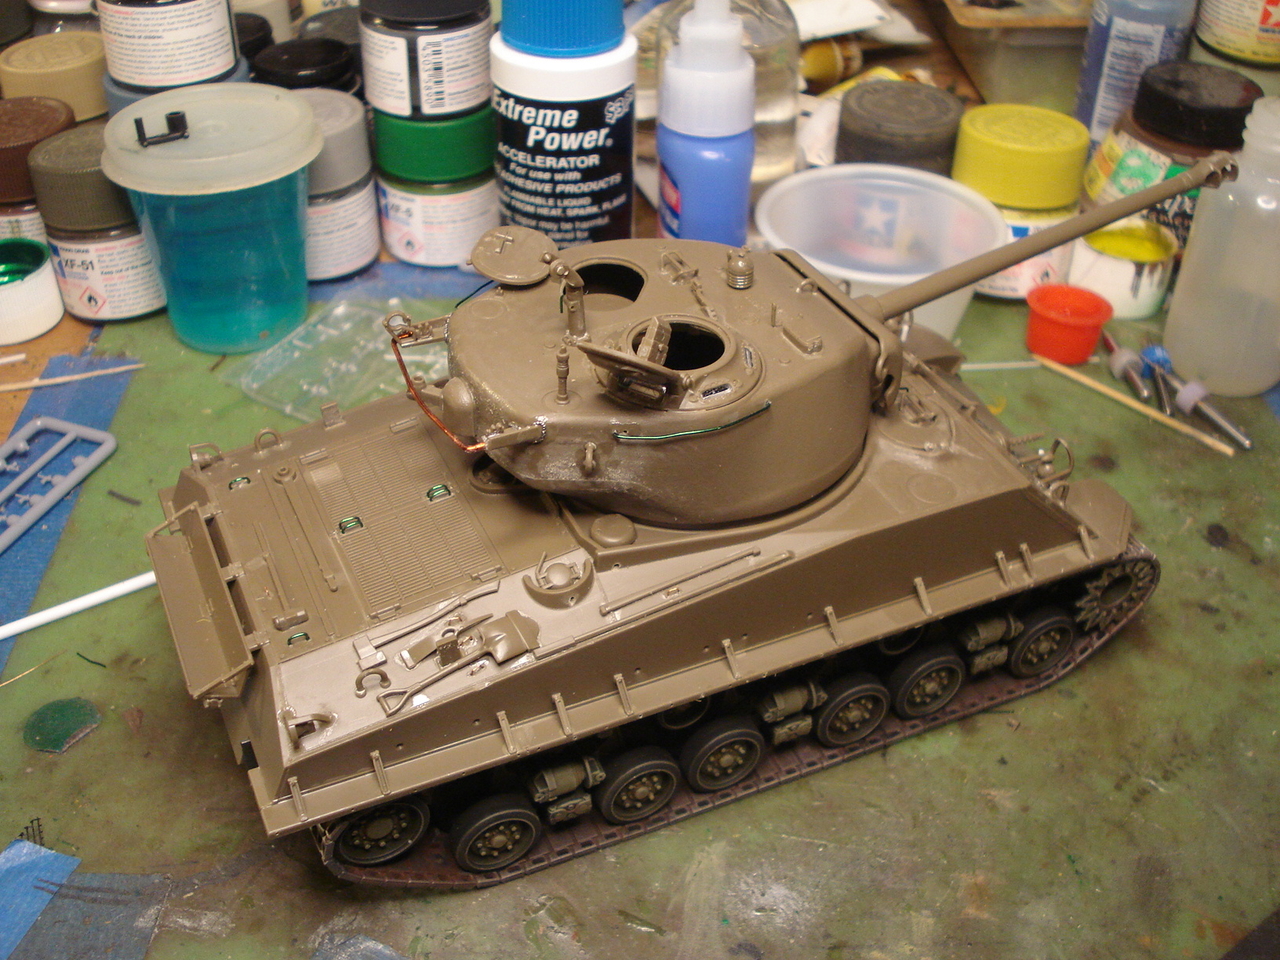
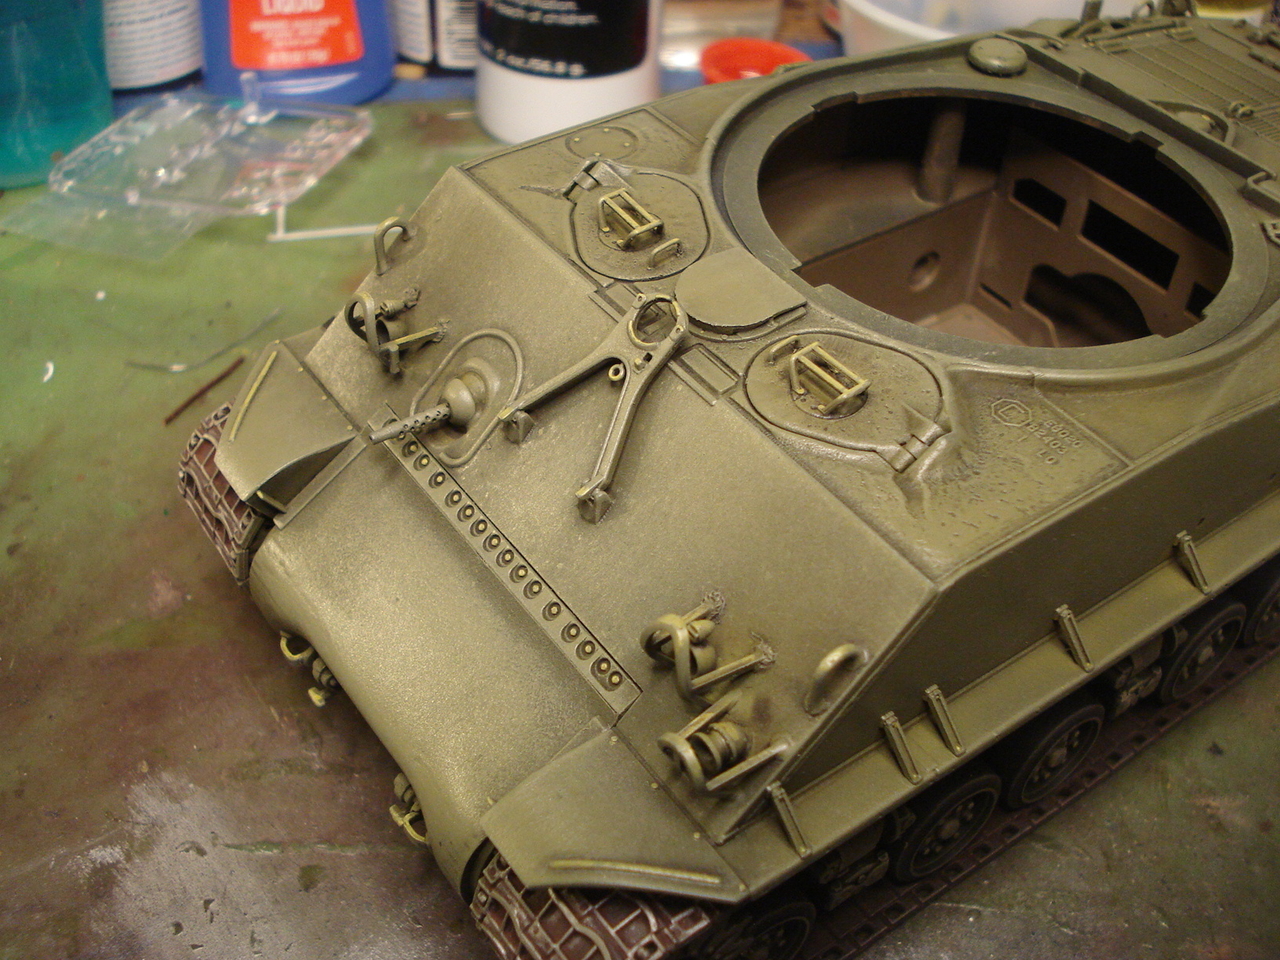
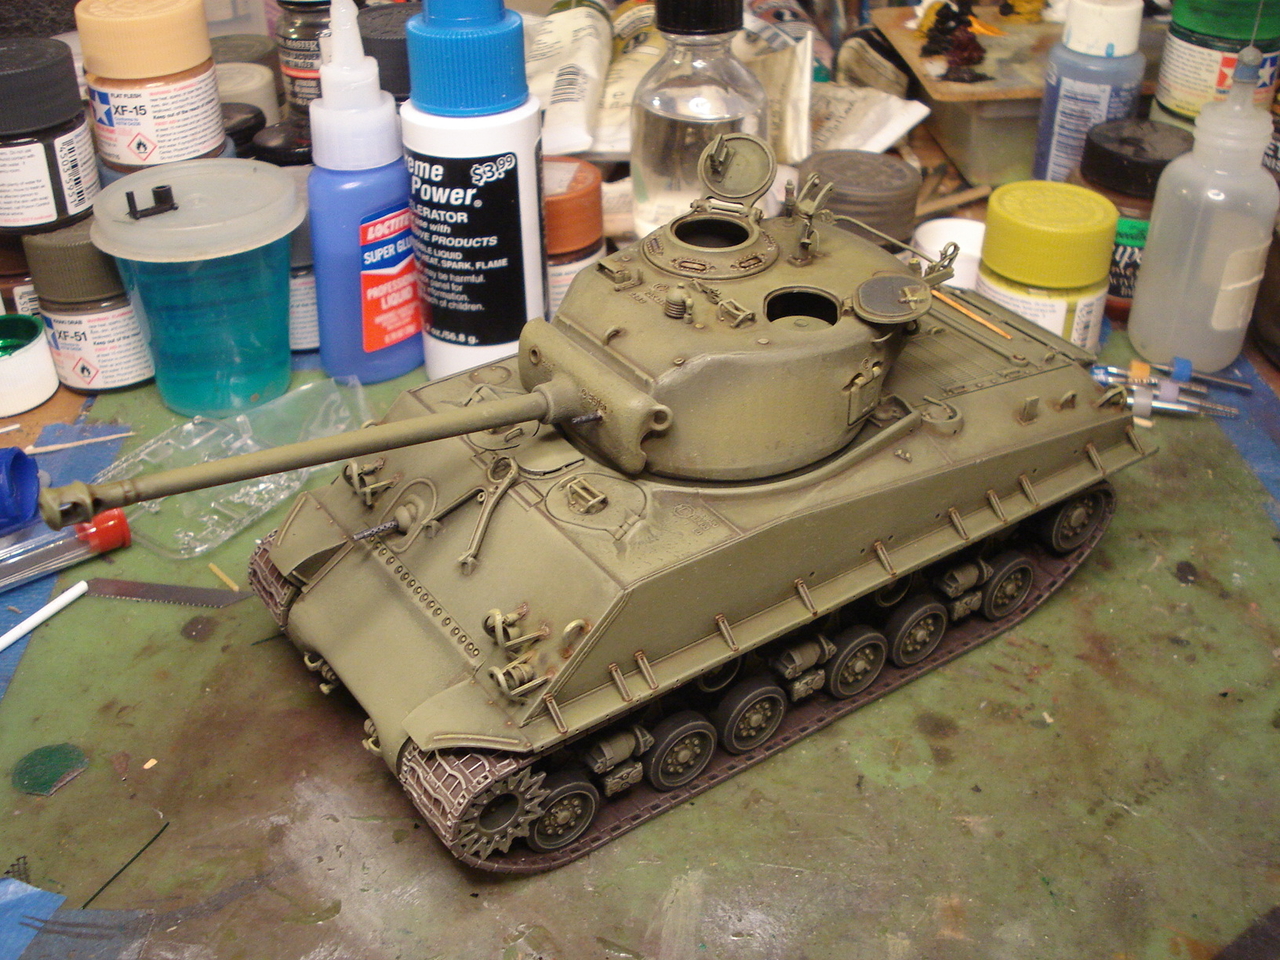
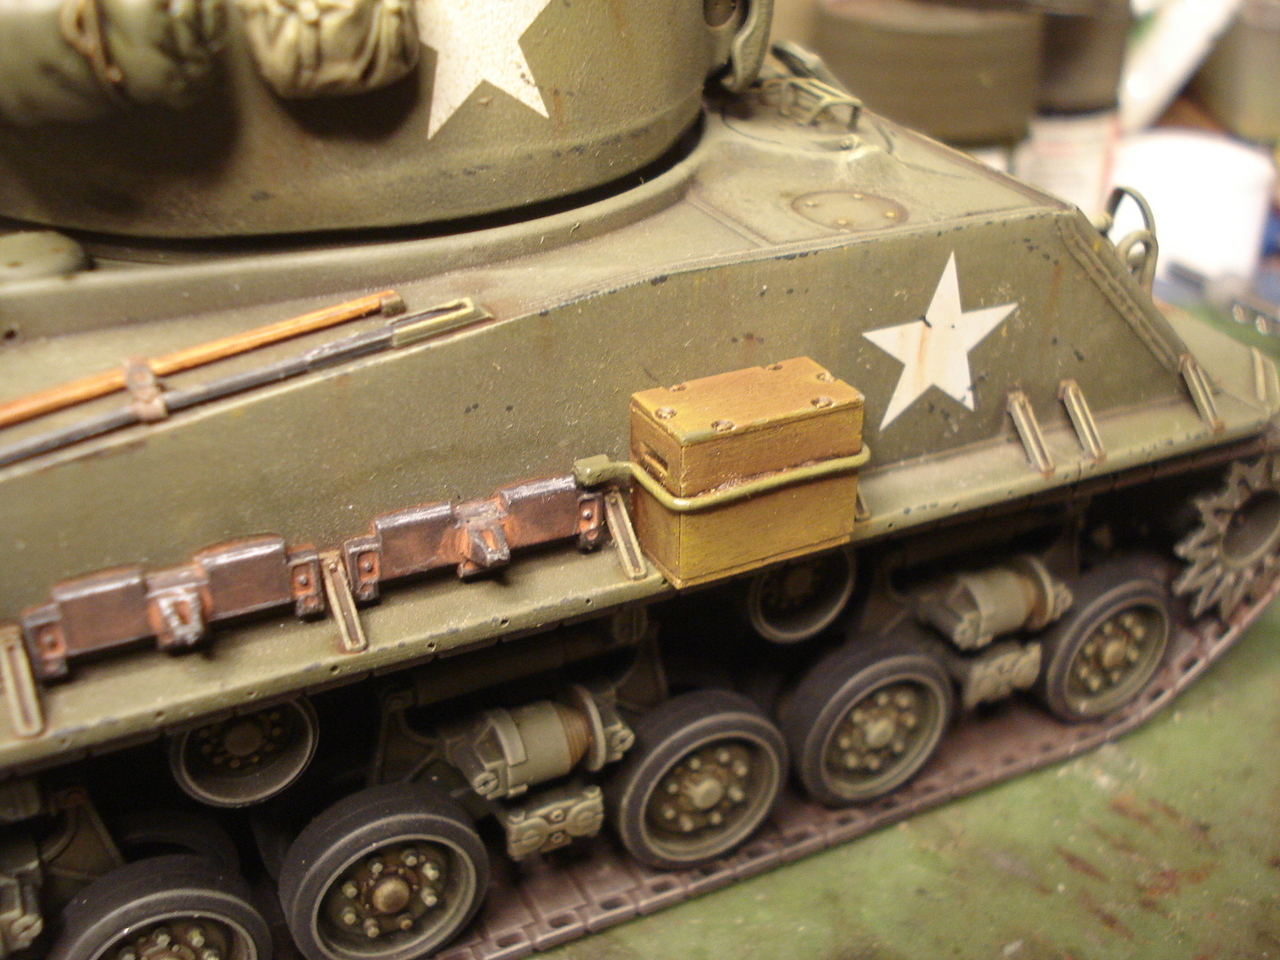
Added the rest of the tools and upper hull kit parts. I added wire tie down loops and some additional details to the headlight guards. I added side skirt mounting holes to the side fenders. I will be adding some weld beads here and there as well.

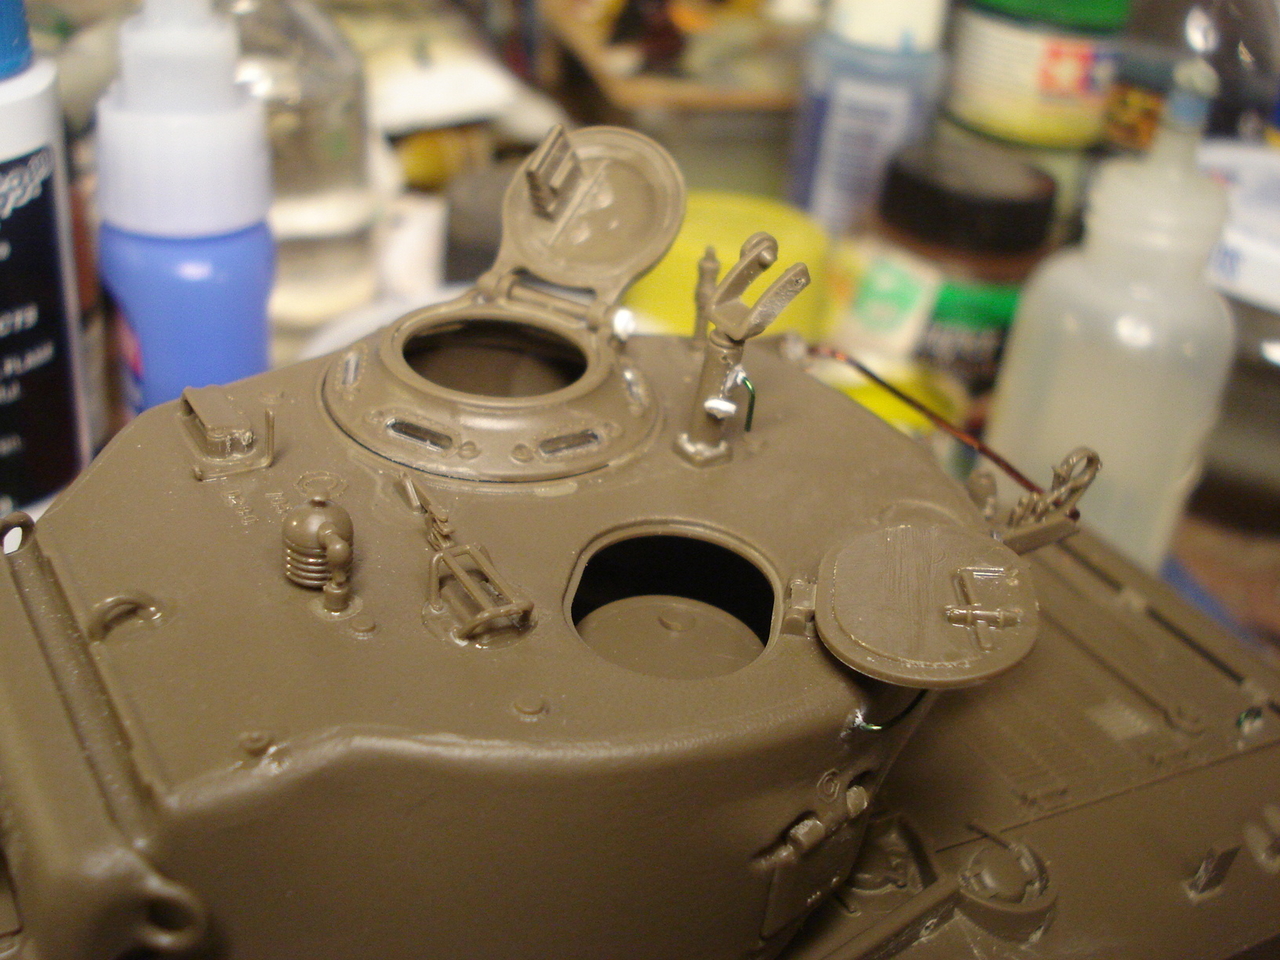
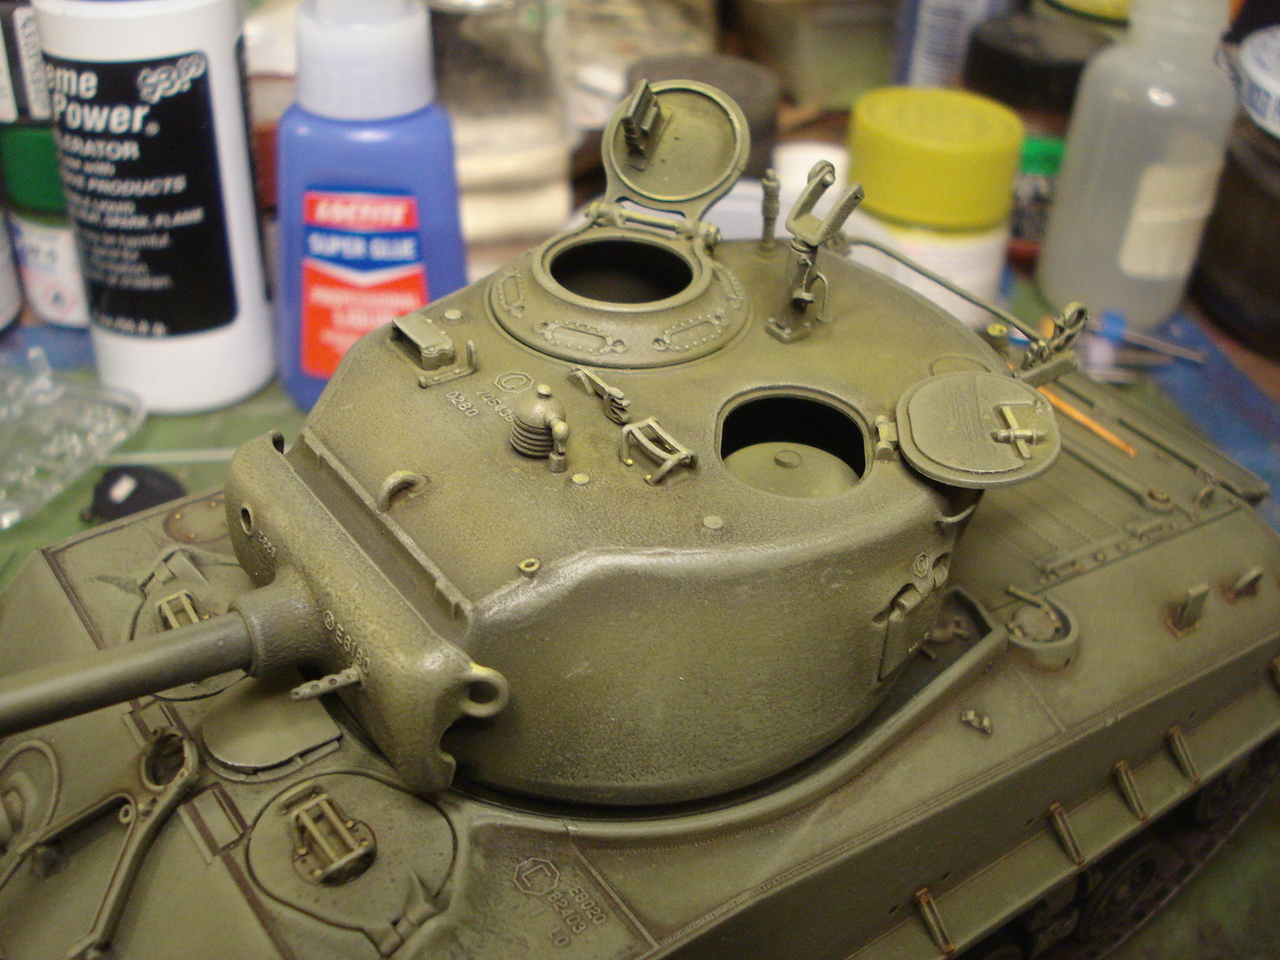
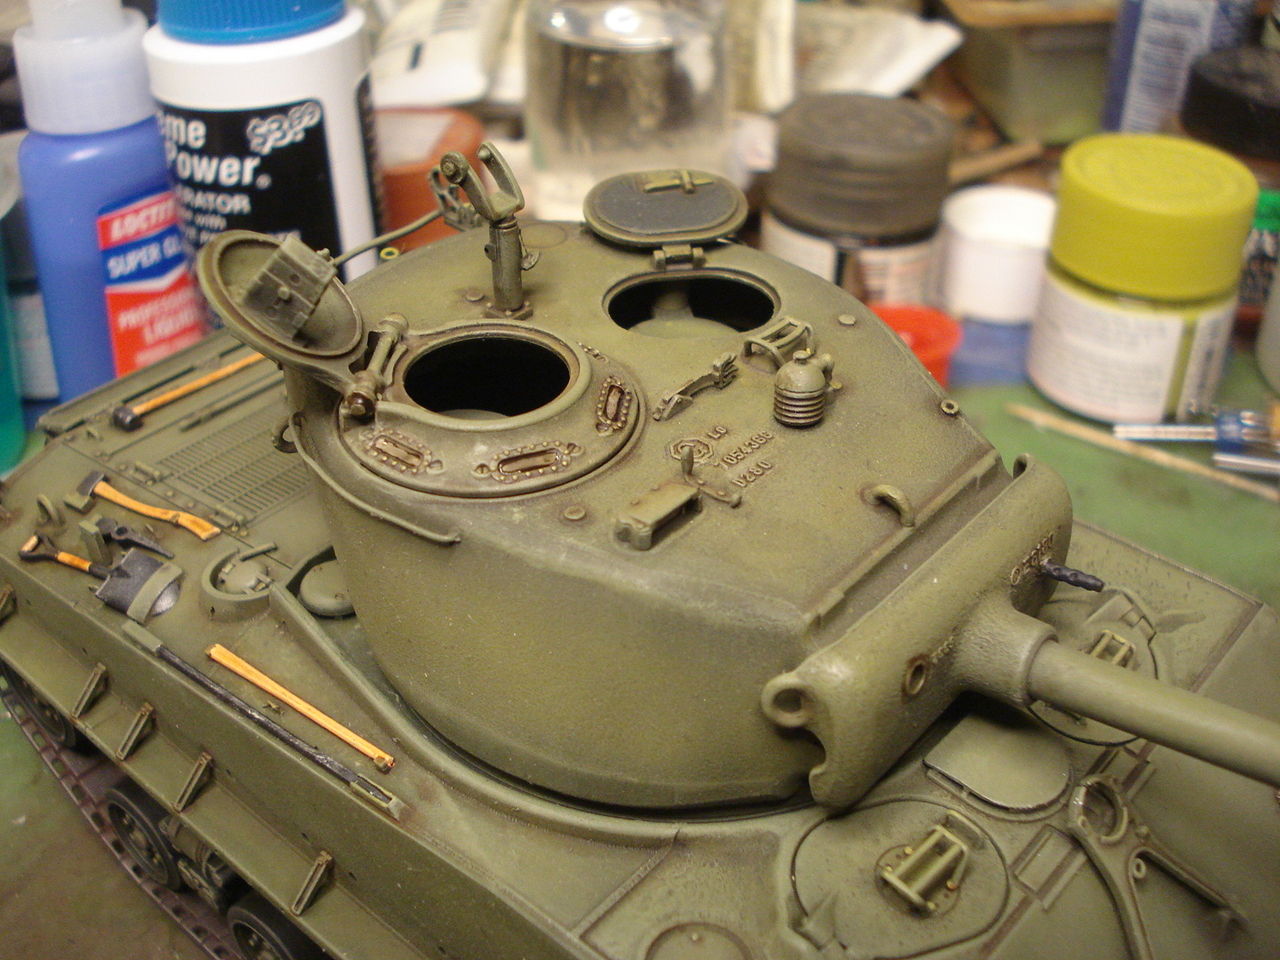
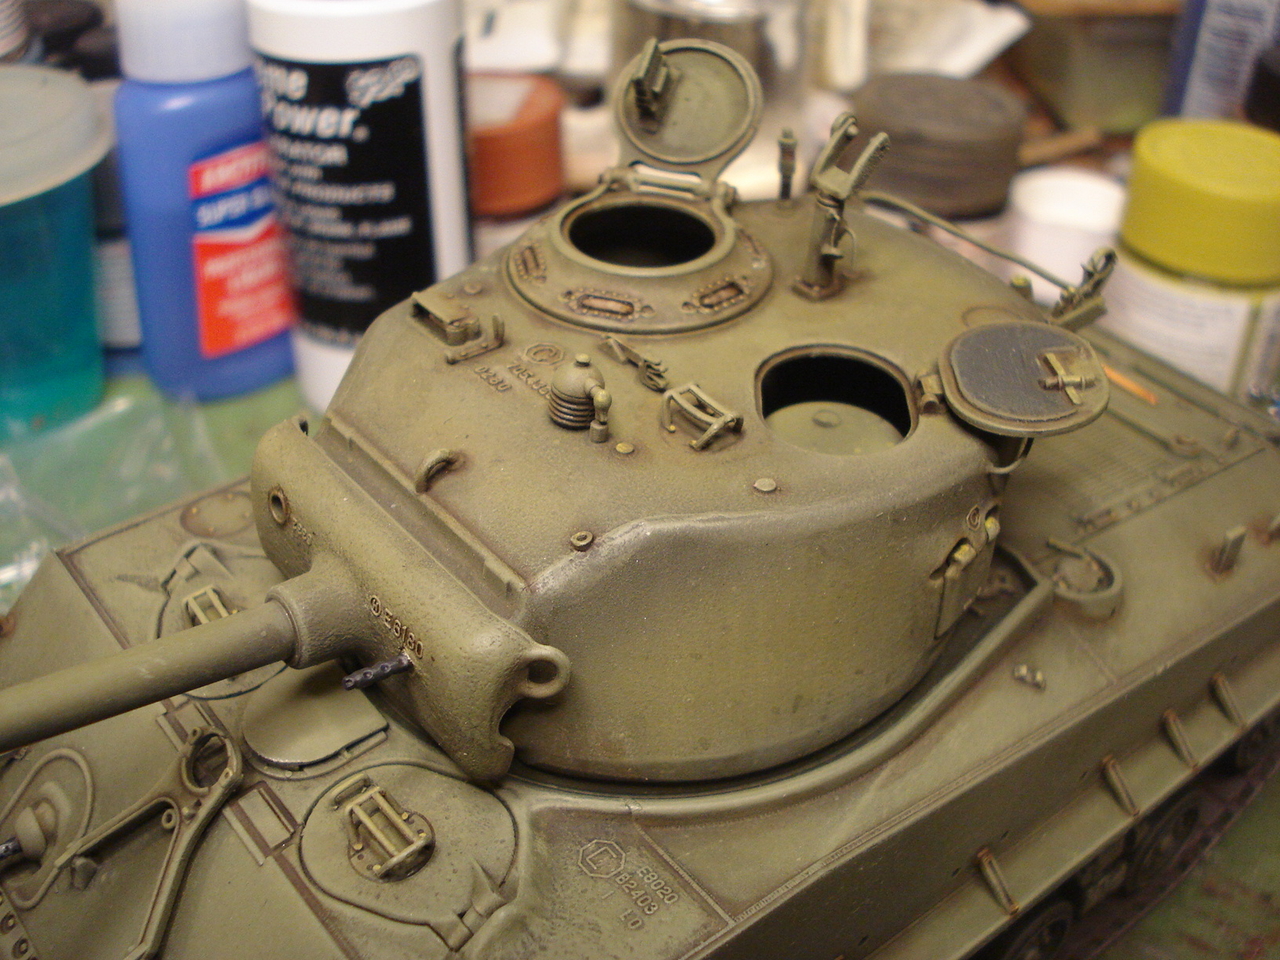
sneek peek at the turret.
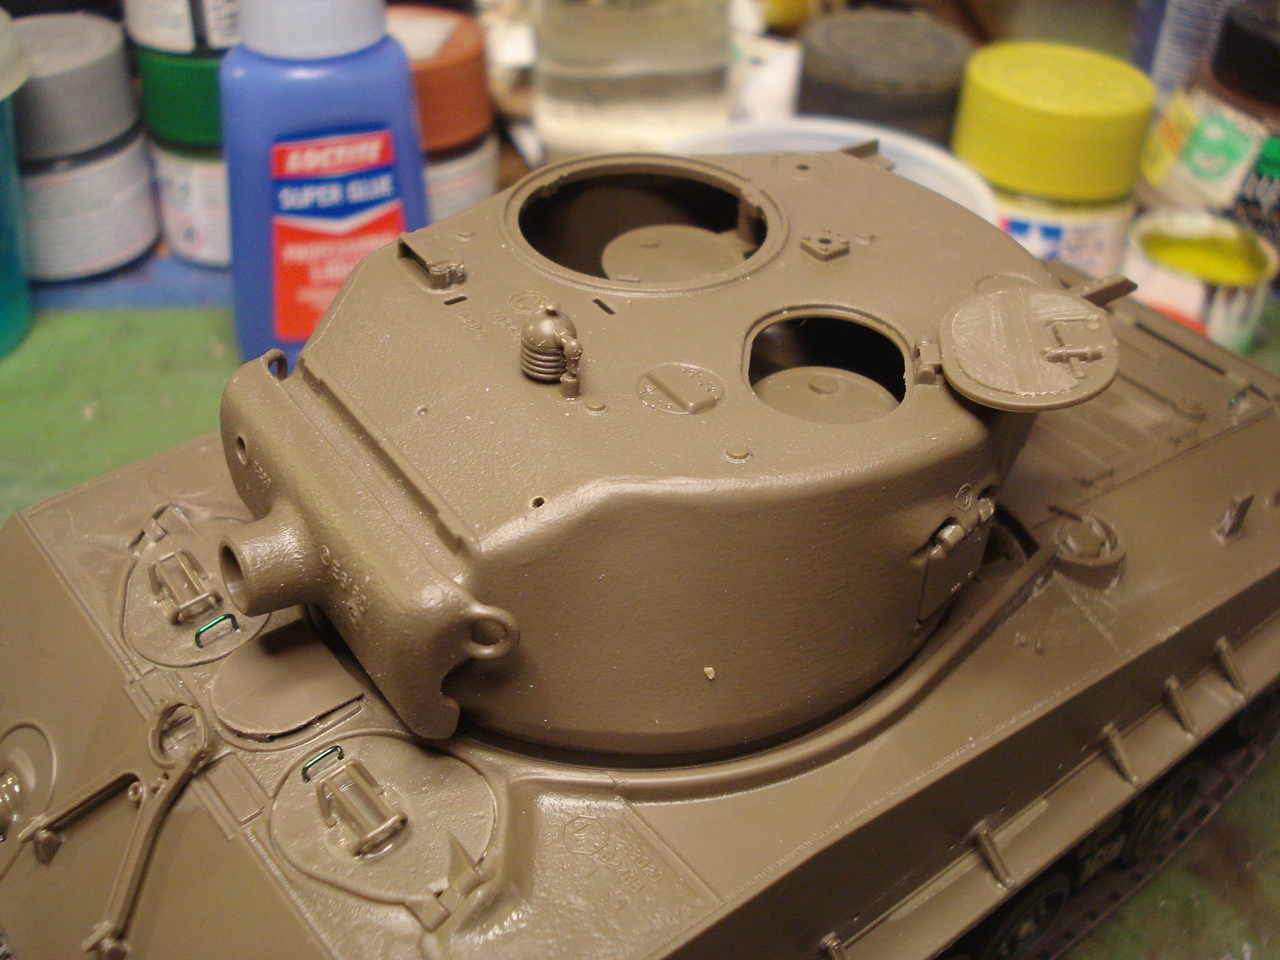
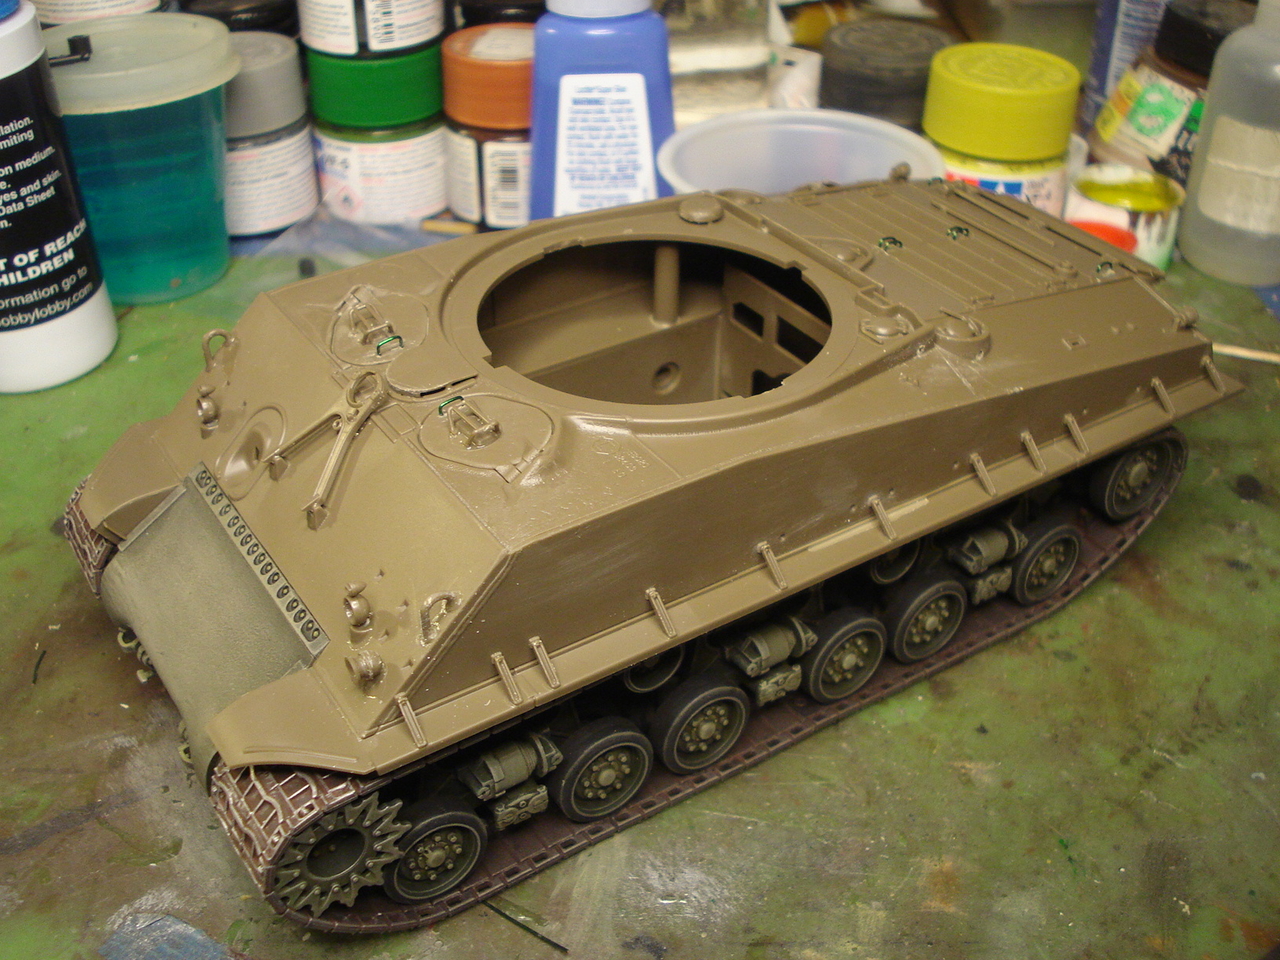
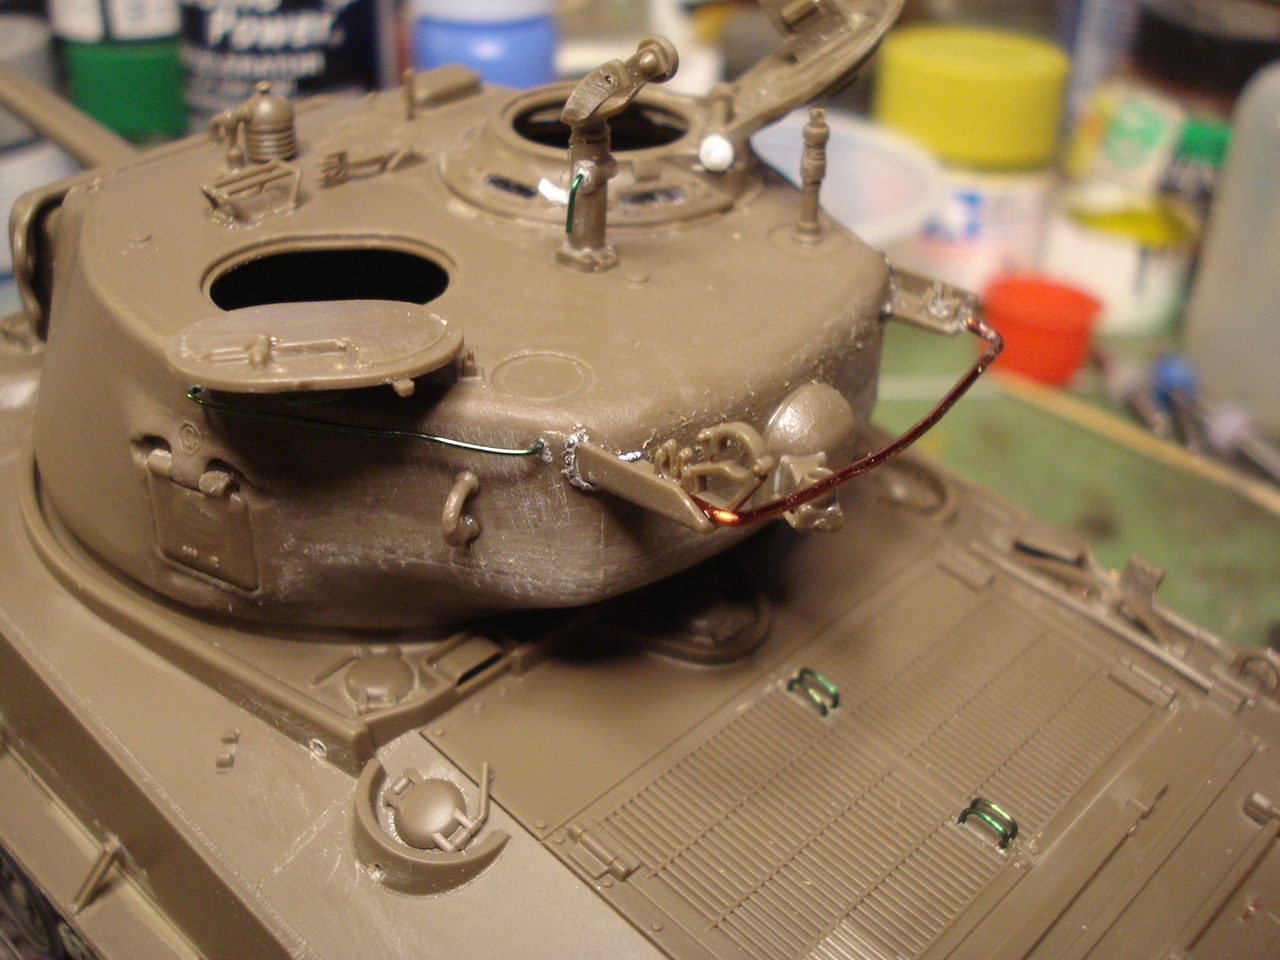
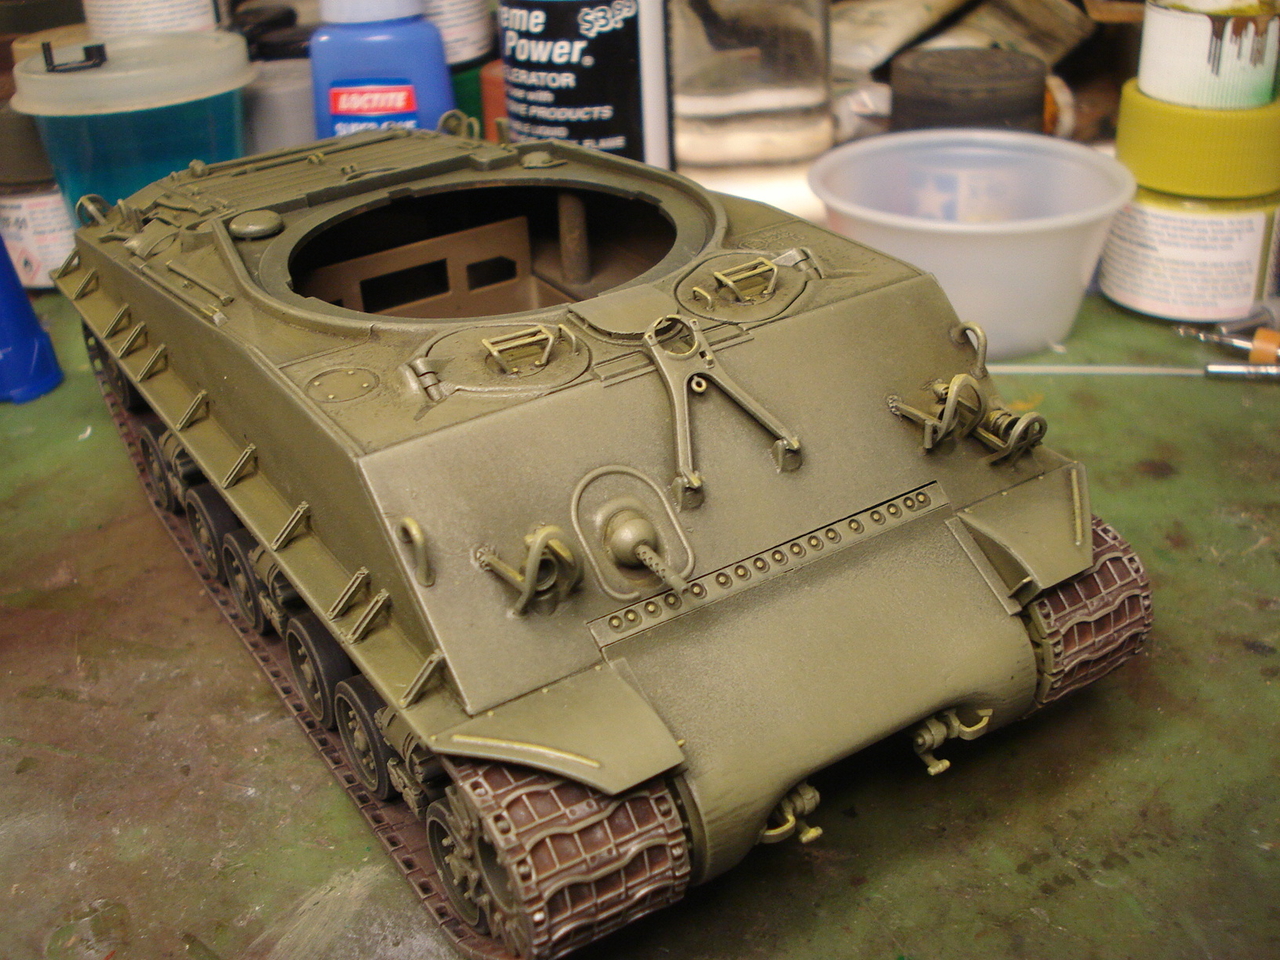
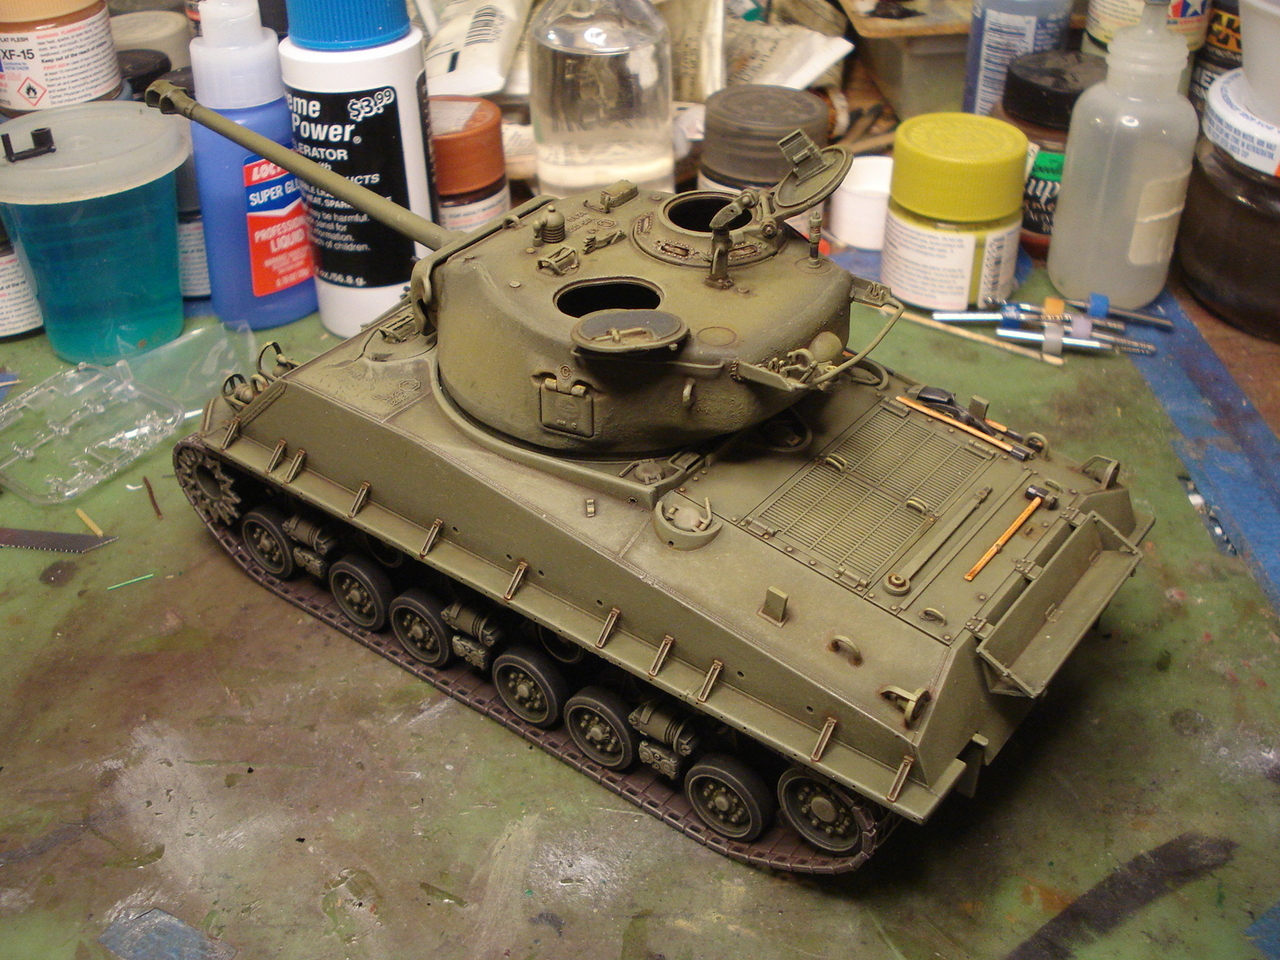
Ok most of the construction is complete except for some small details that I'm adding as I go along. Getting close to painting.

Let the painting begin...
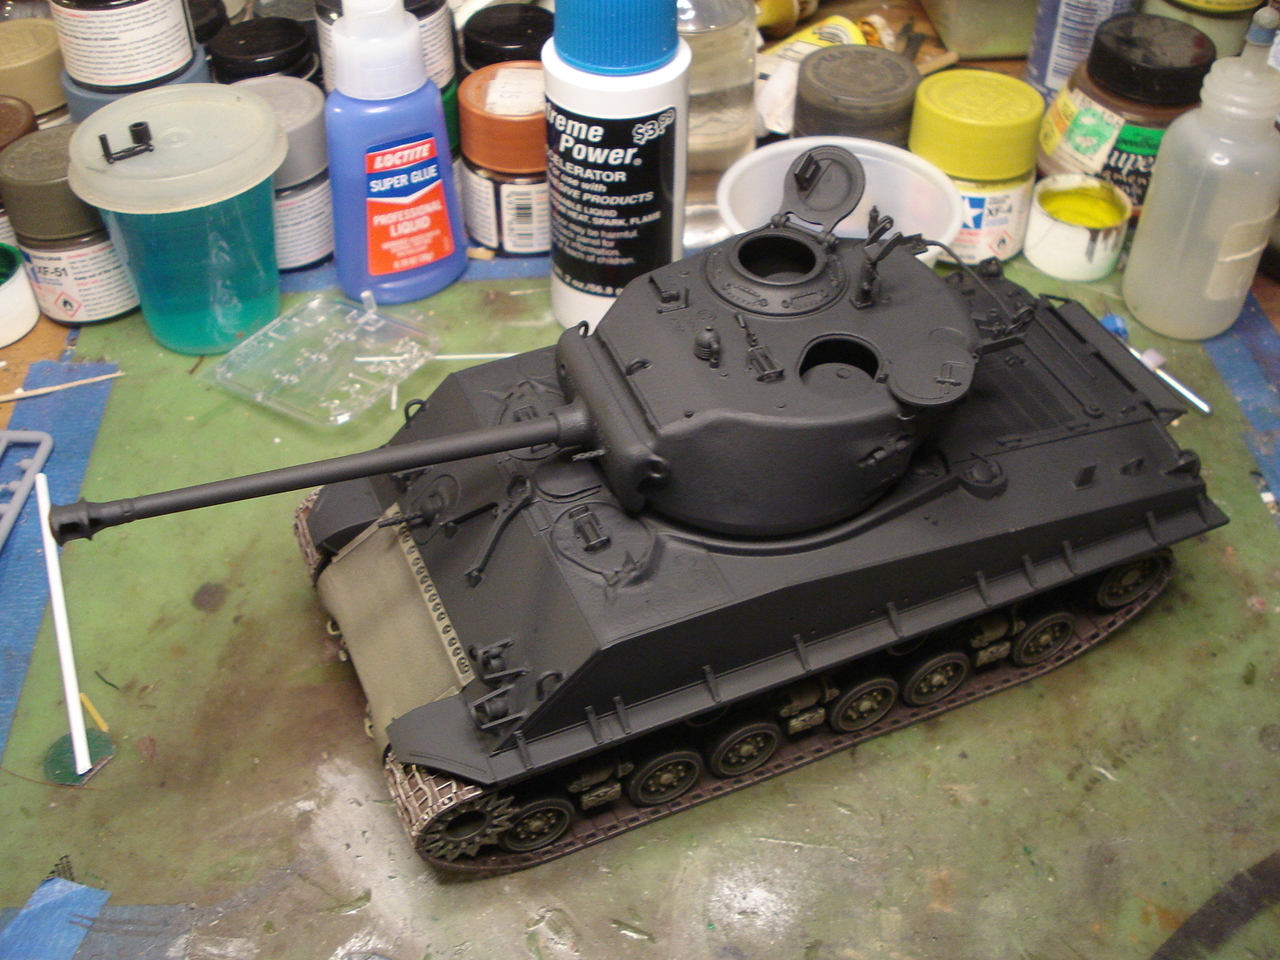
Painted overall Tamiya Nato Black.
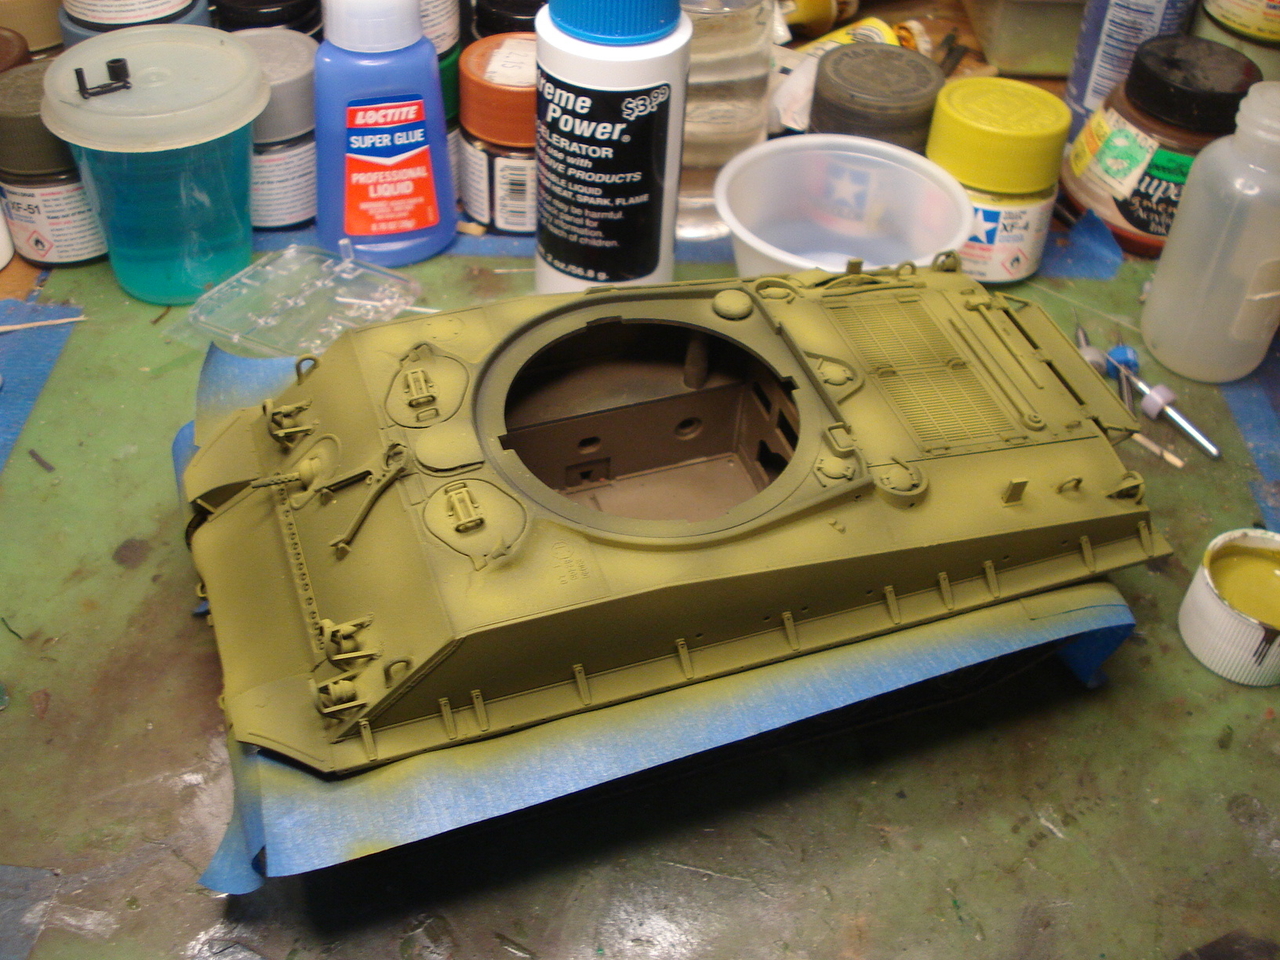
Then Black green...
Shading up ever lighter shades of green.
Highlights...
oil wash of olive green and burnt umber.....
Bry brushed with olive green, white, and yellow orcher oil paint.

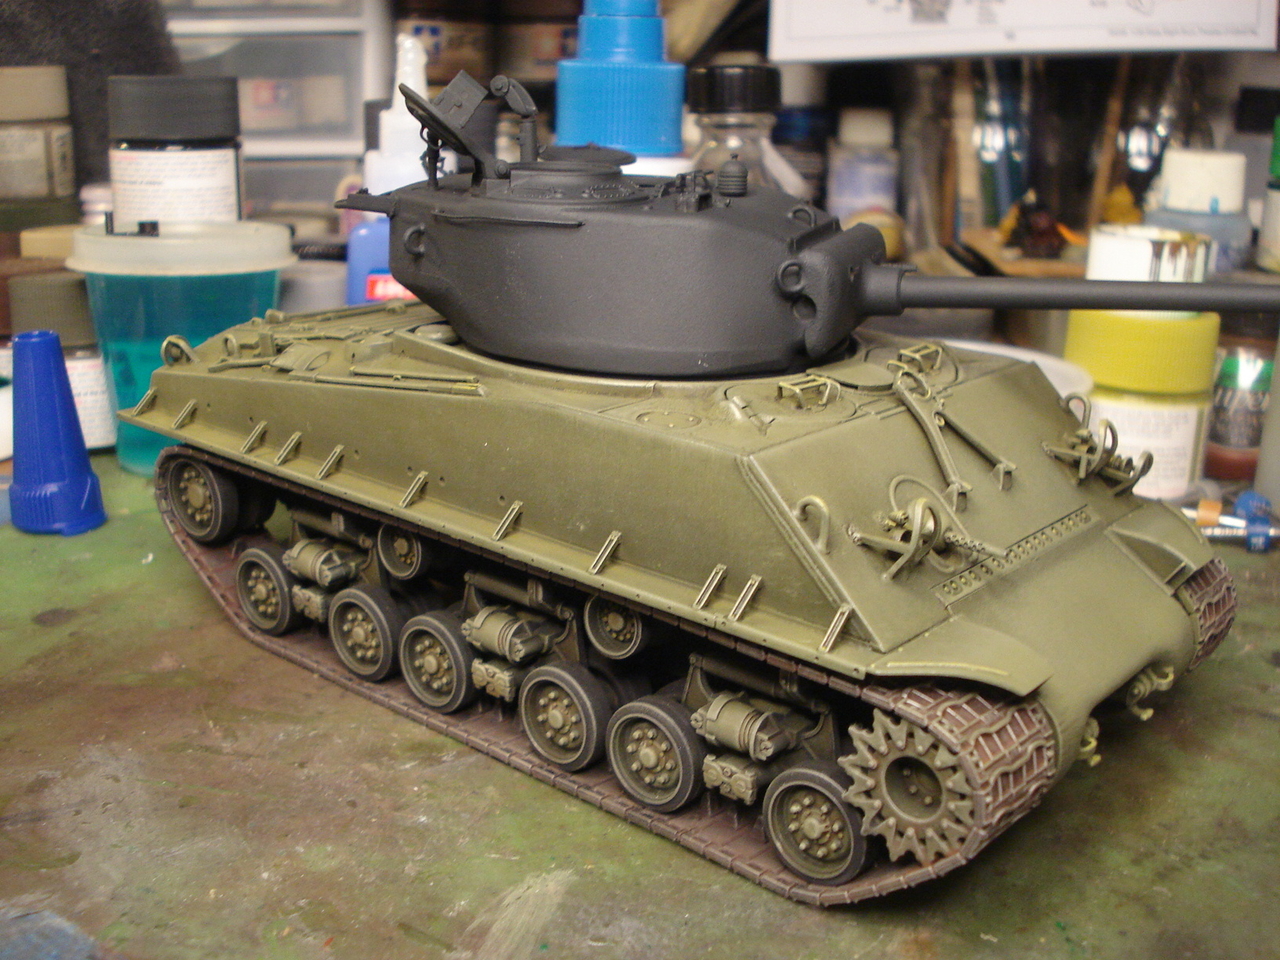

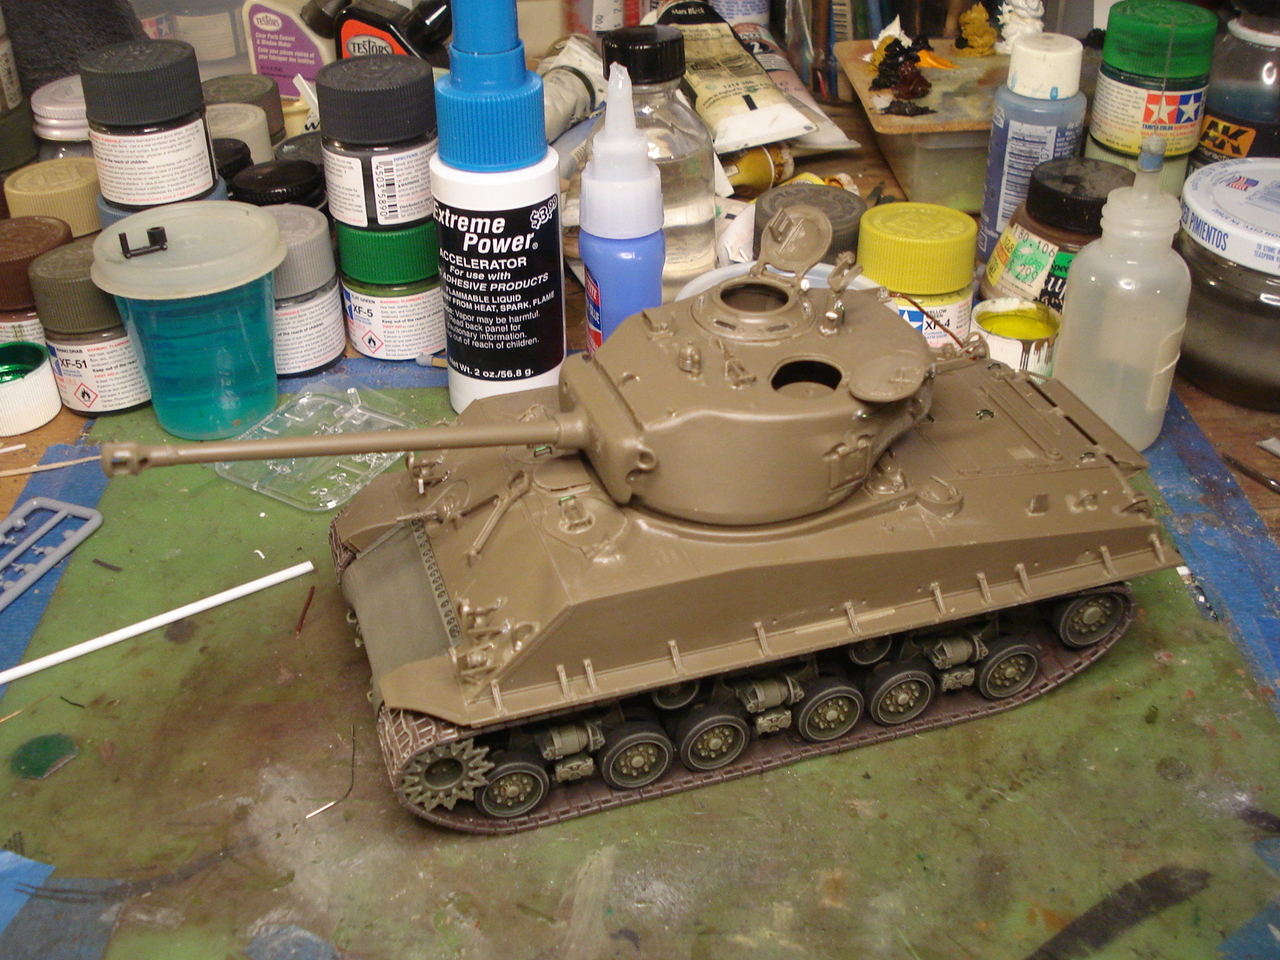
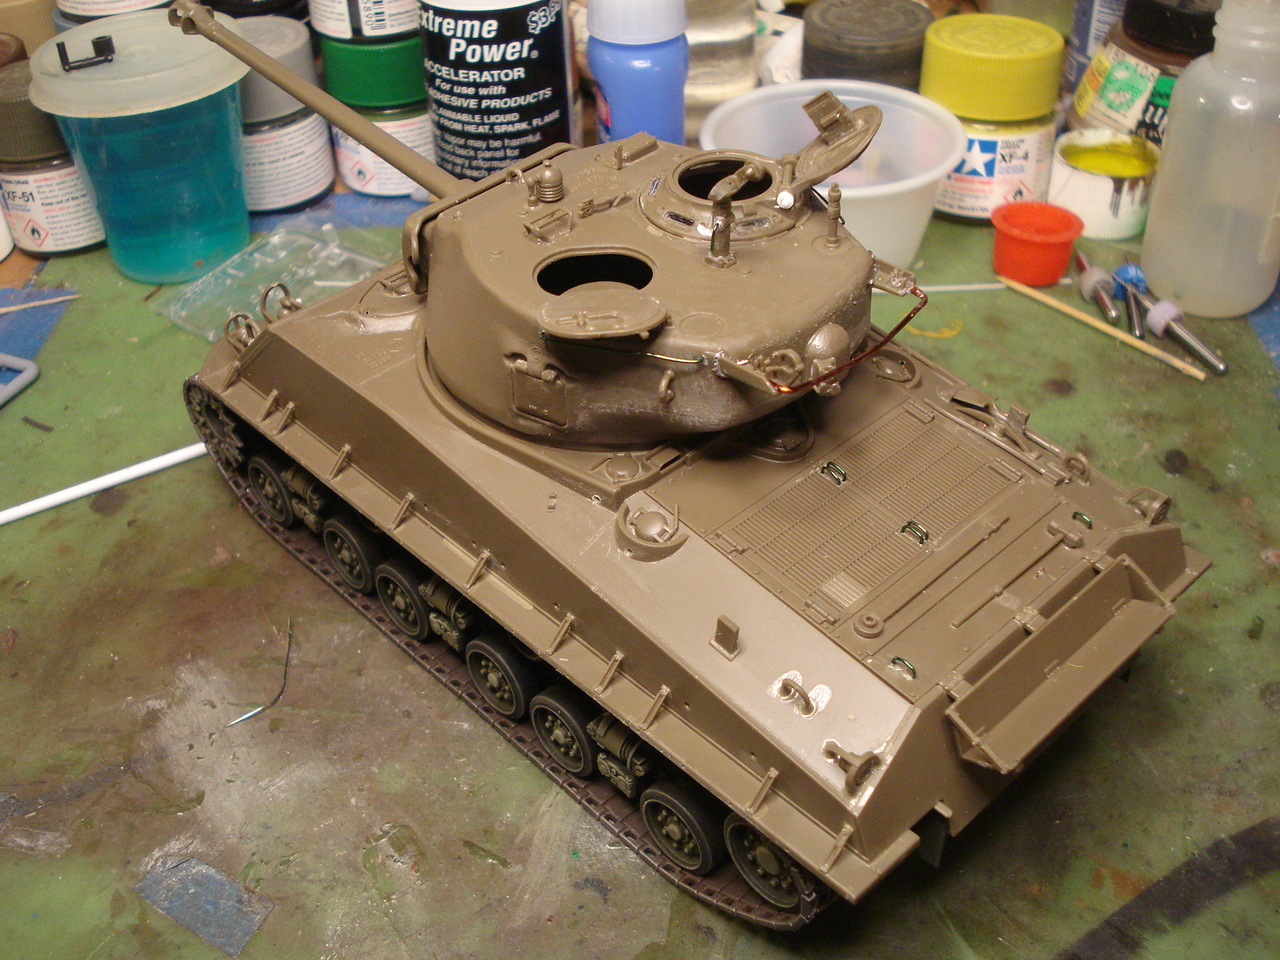
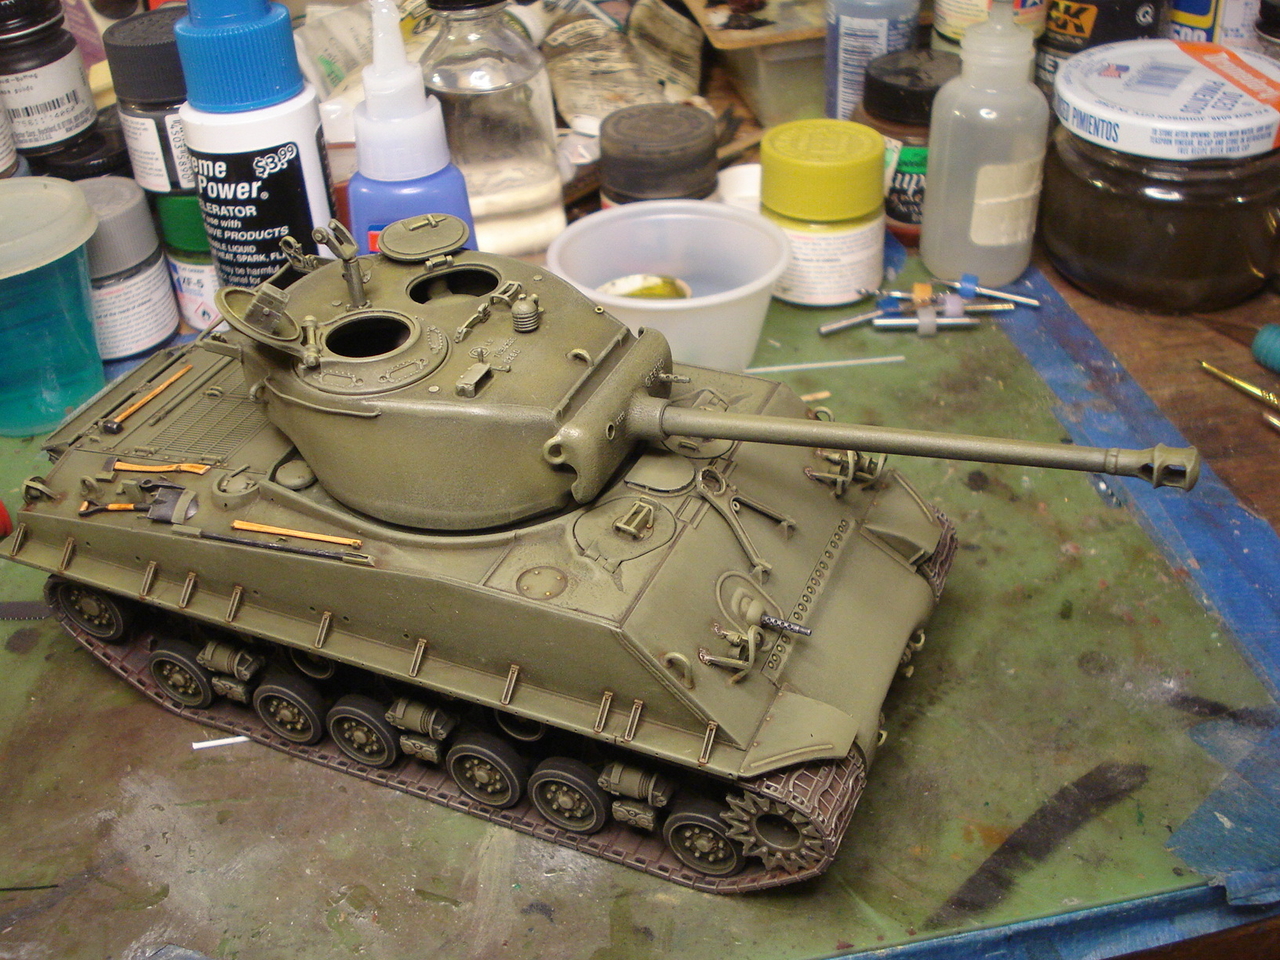
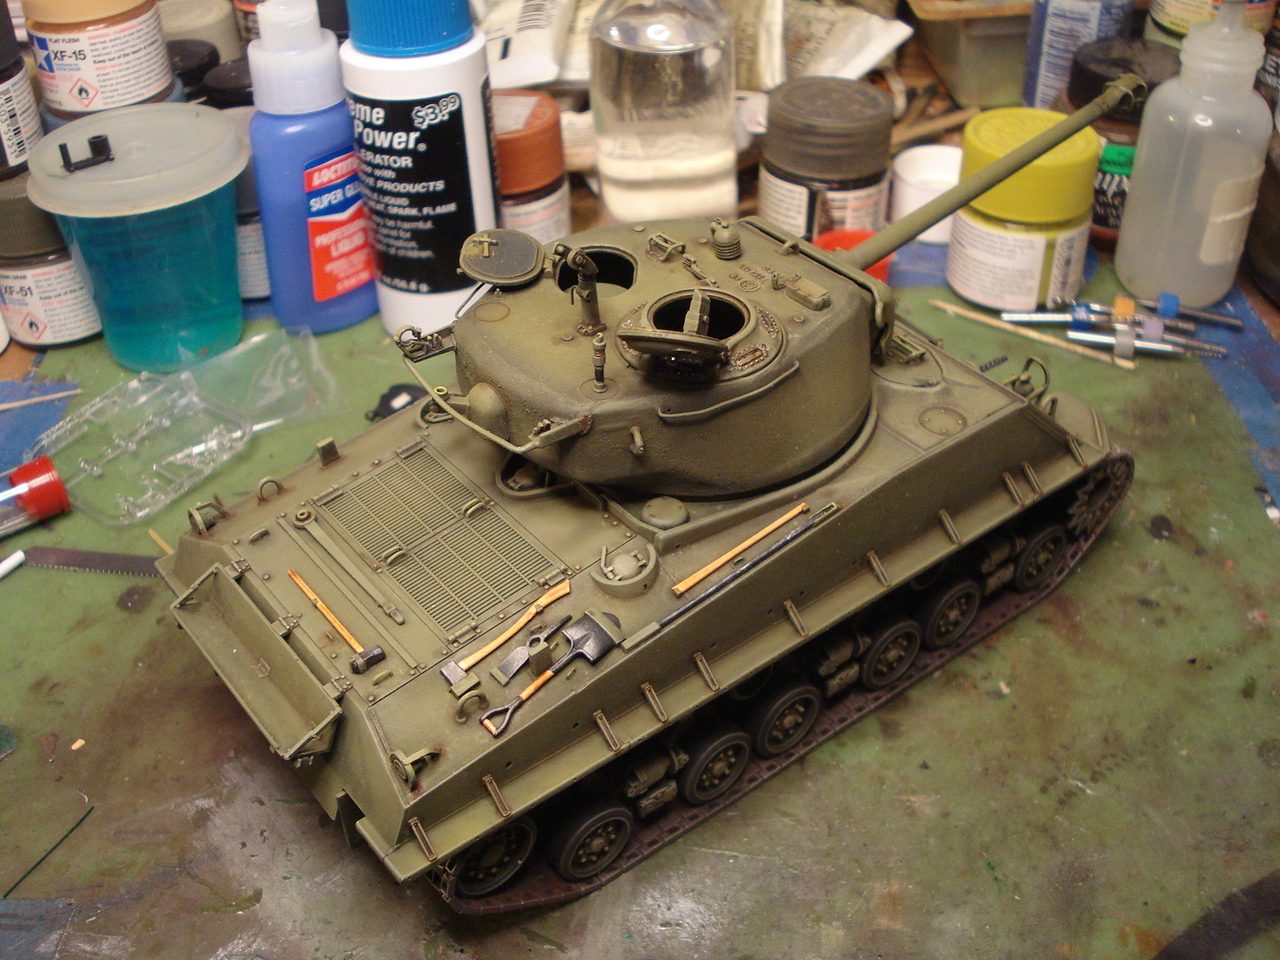
More done on the hull and turret started.
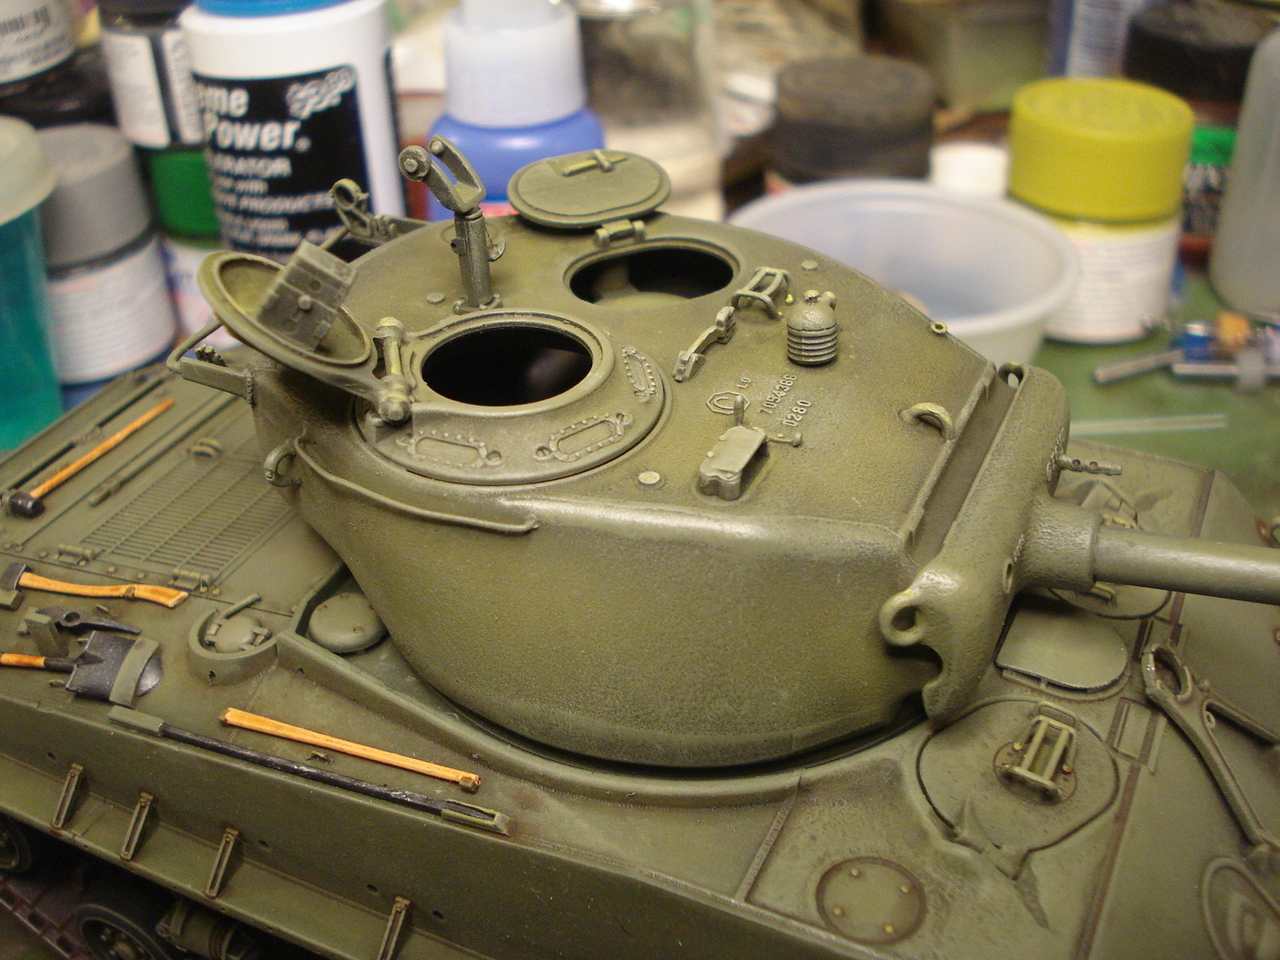

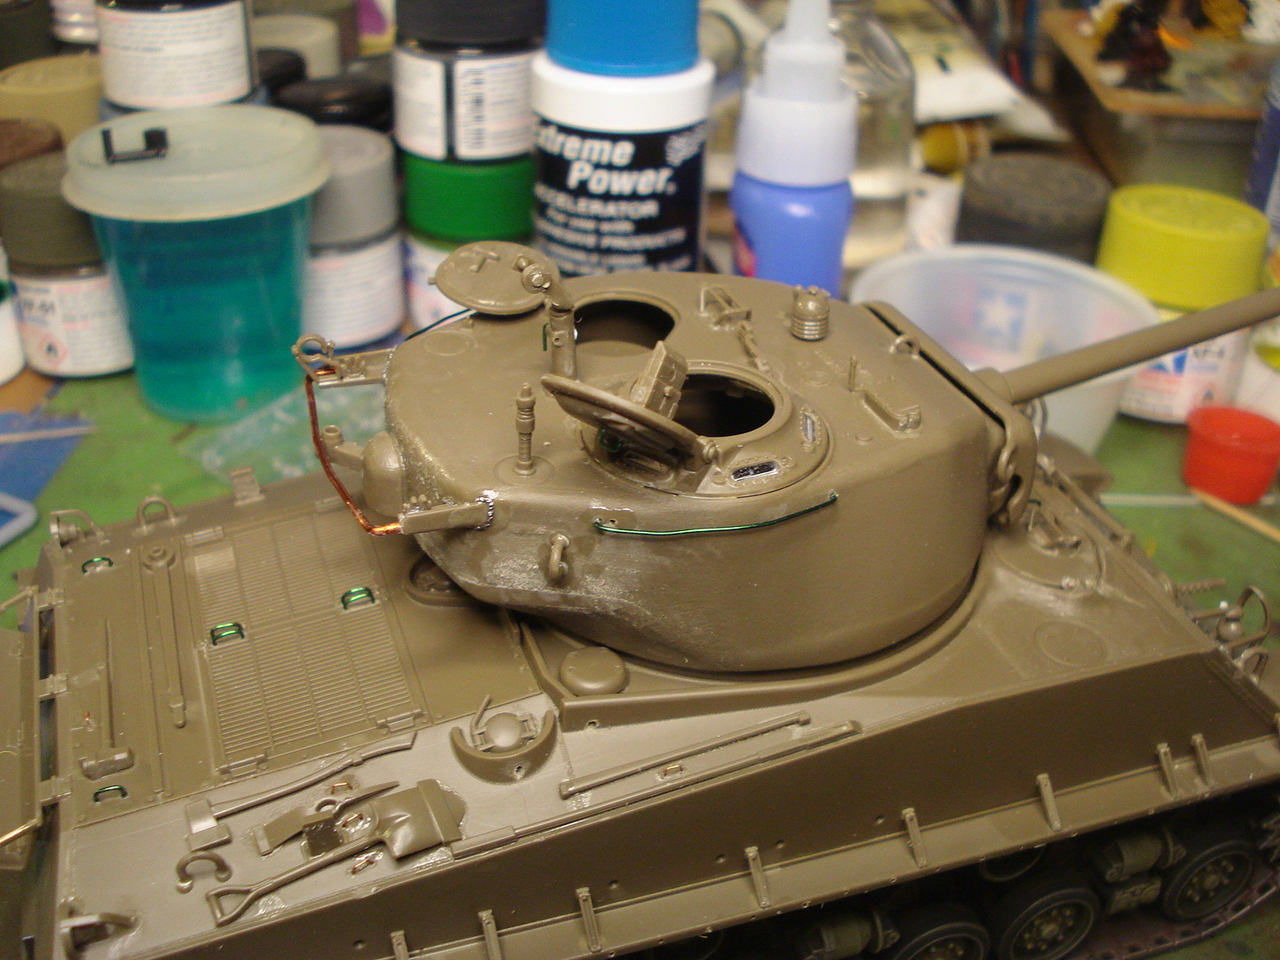
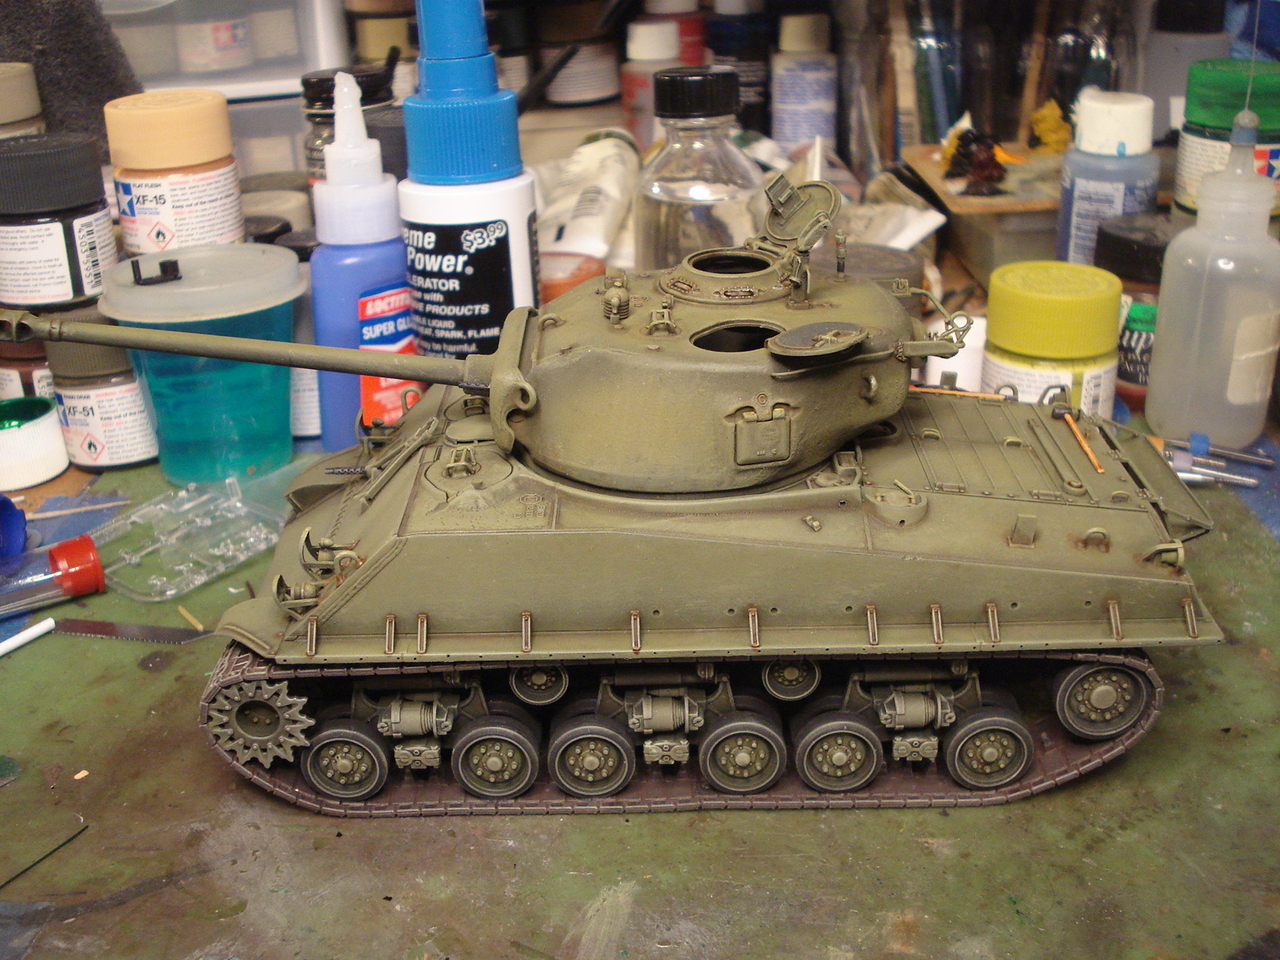
Here is a little more. I think I'm about ready to apply the markings.
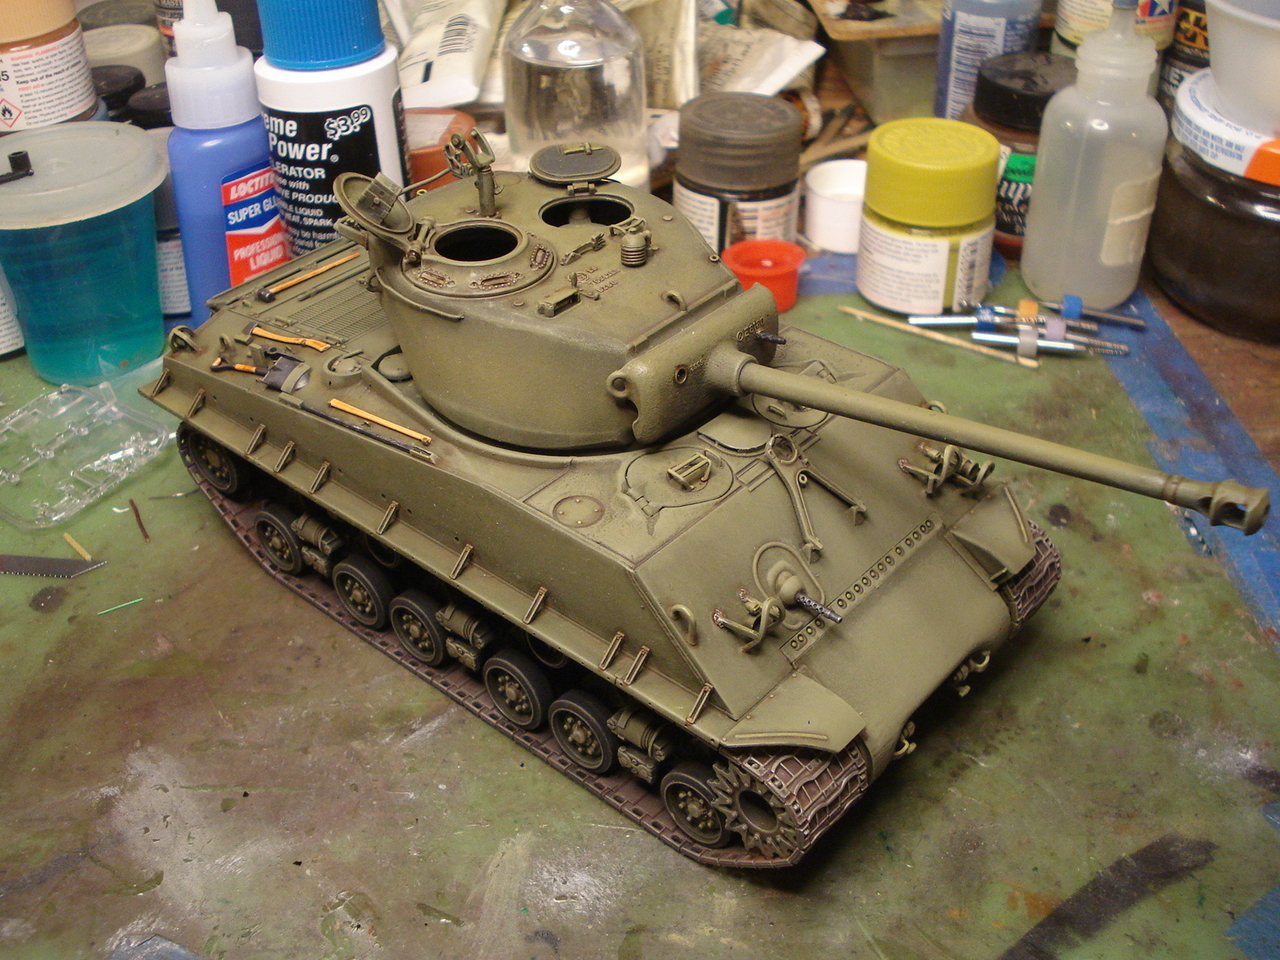
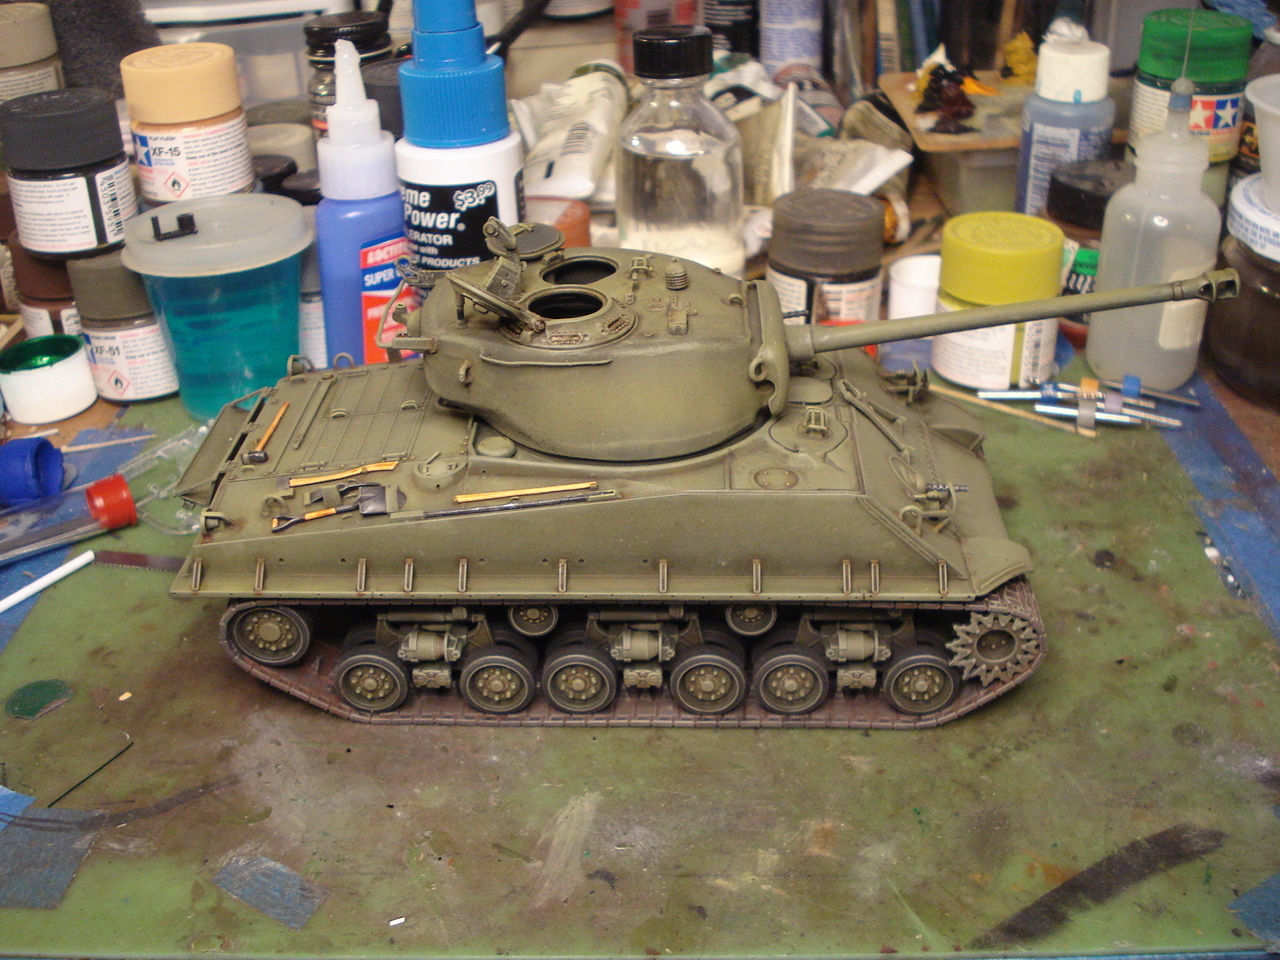
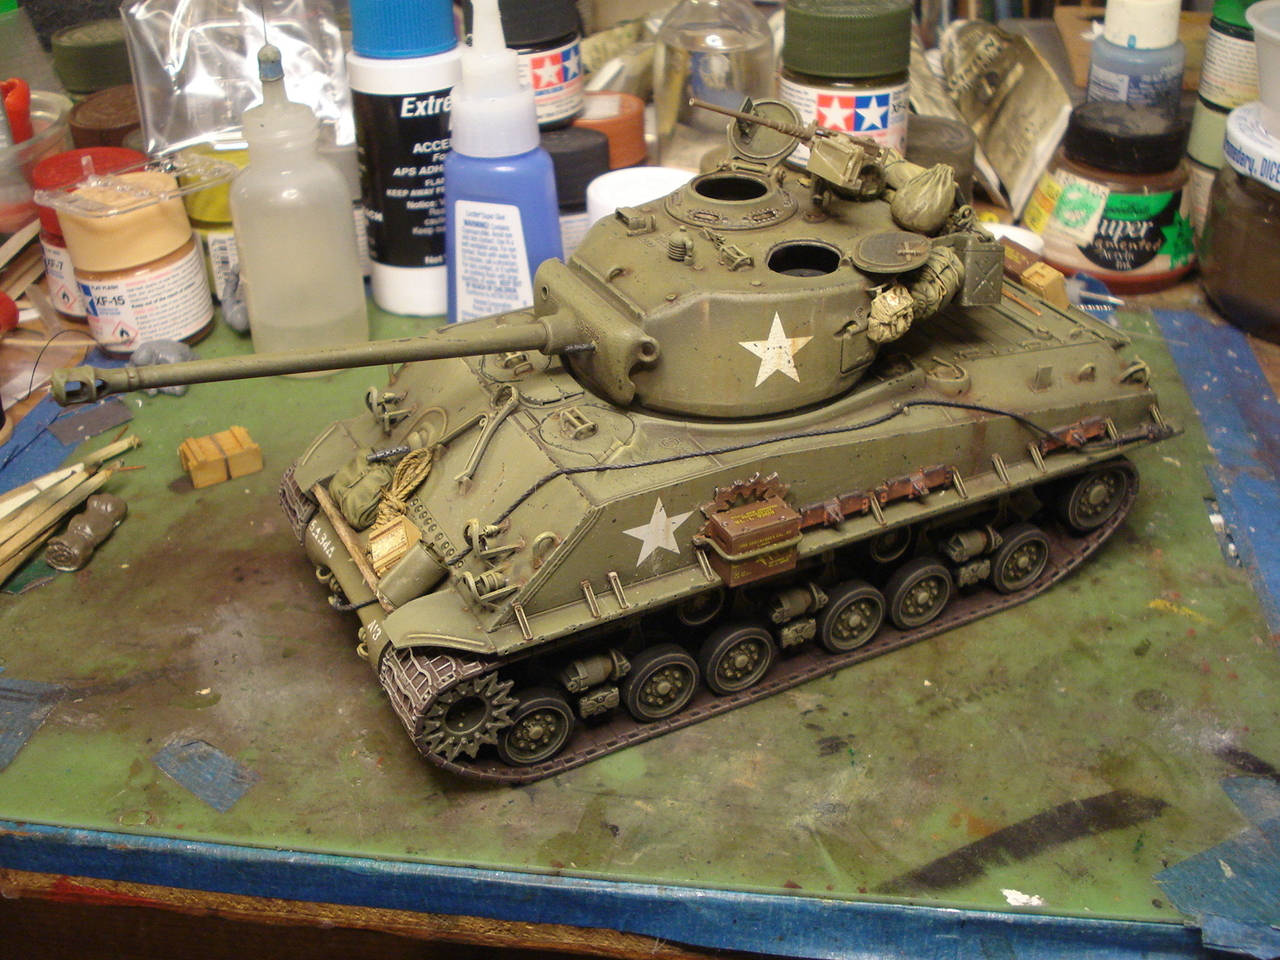
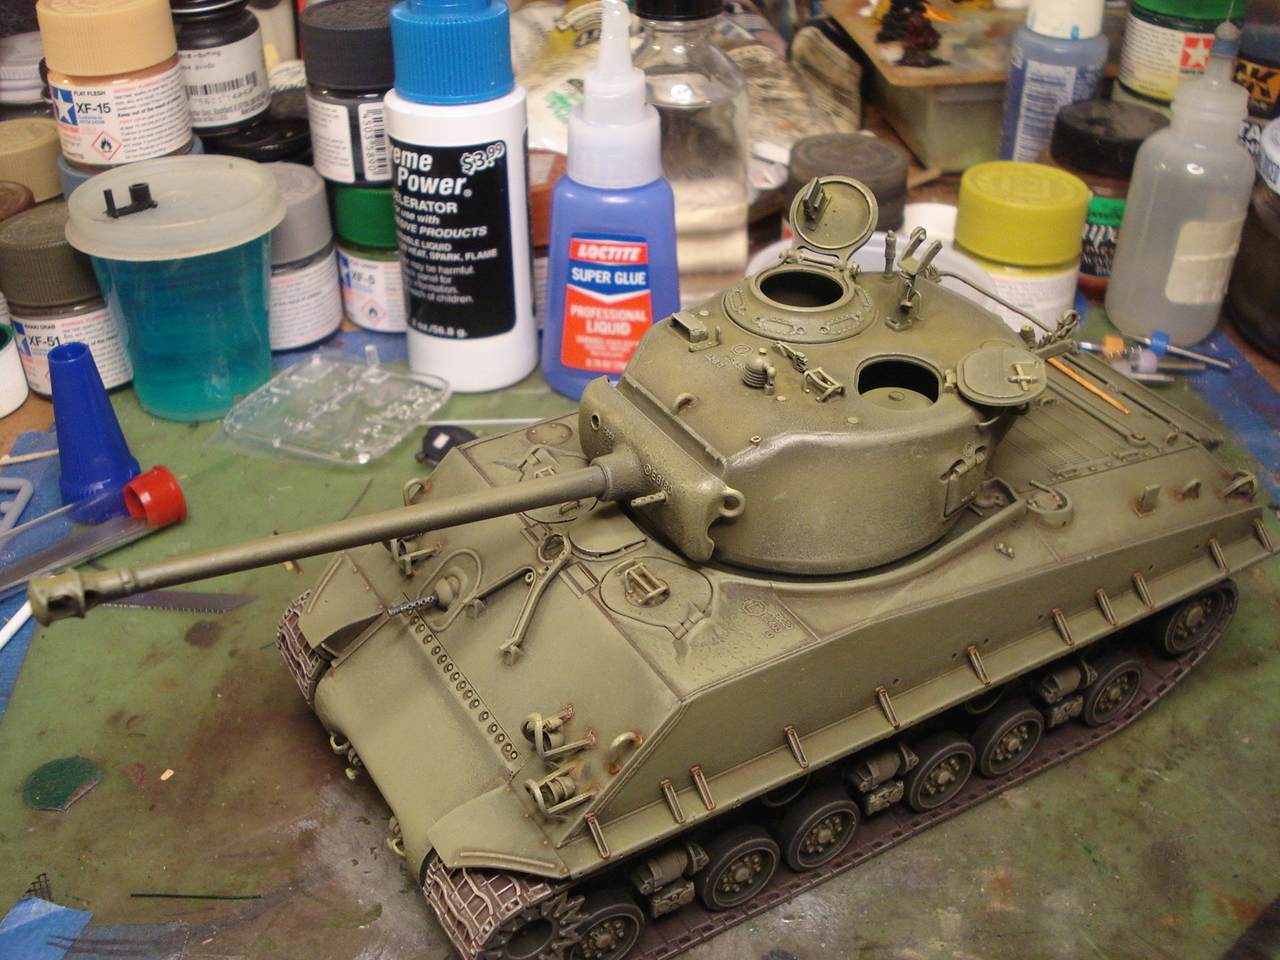
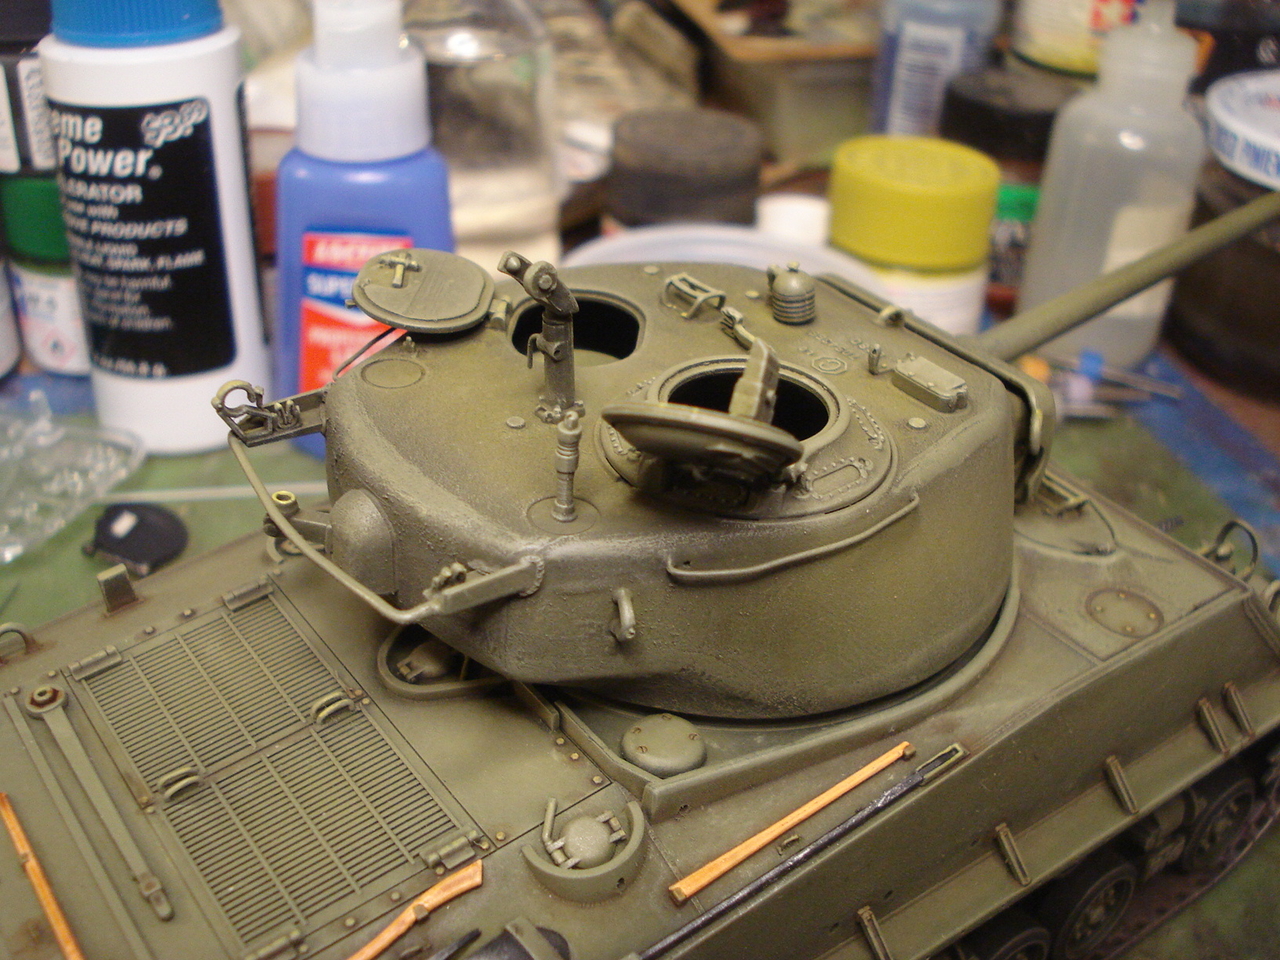
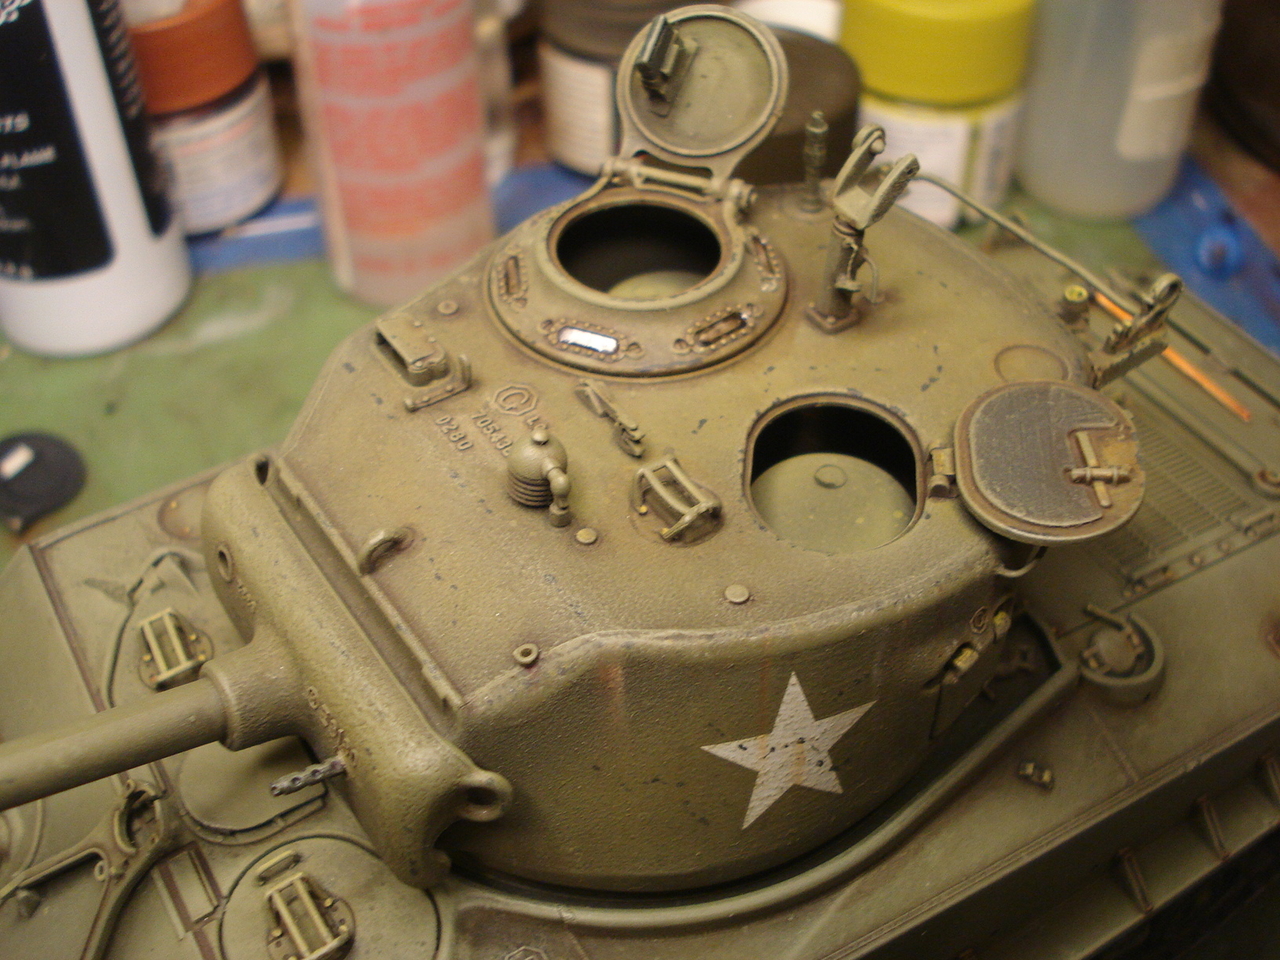
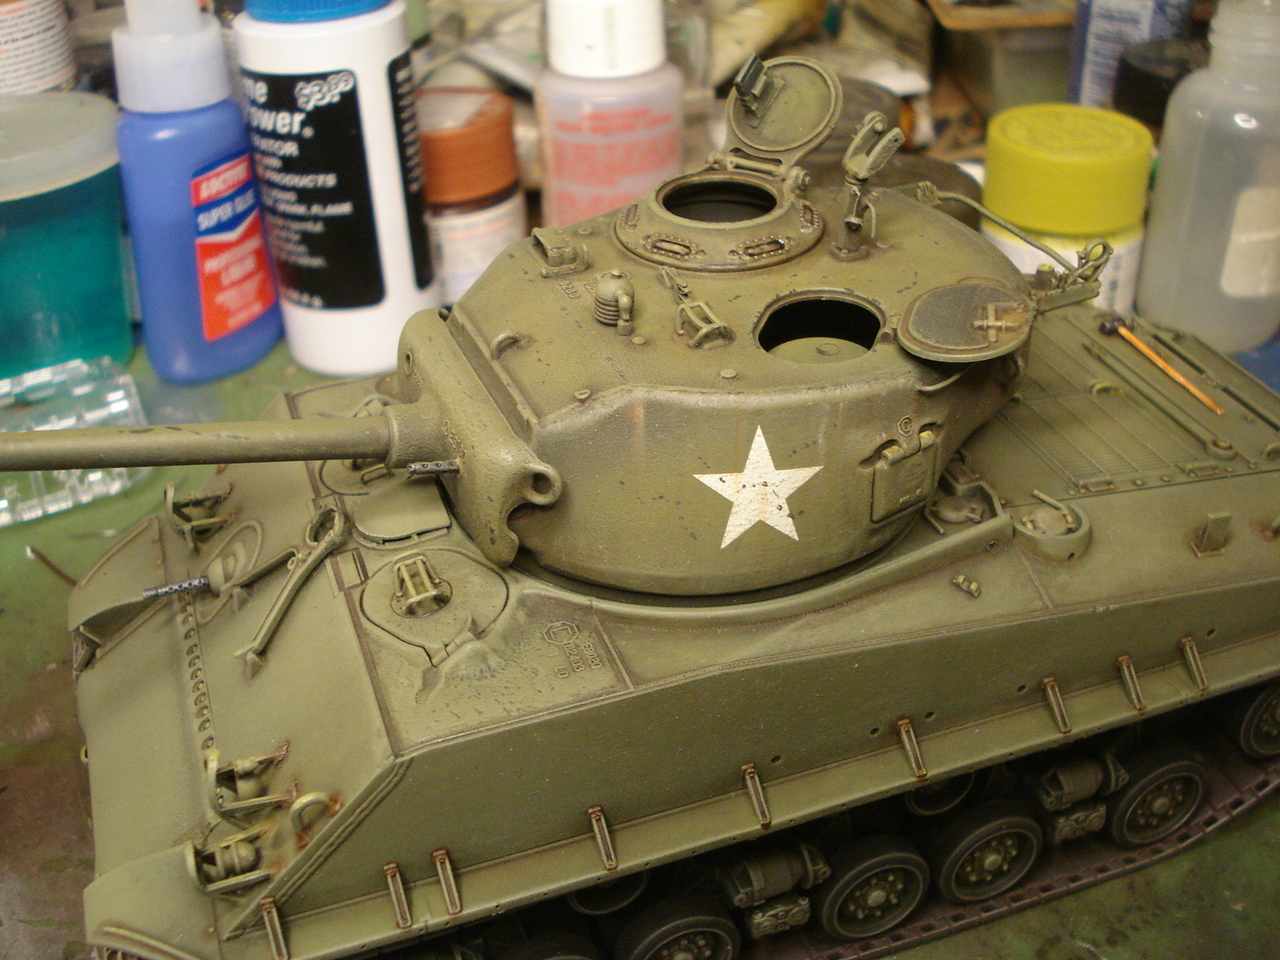
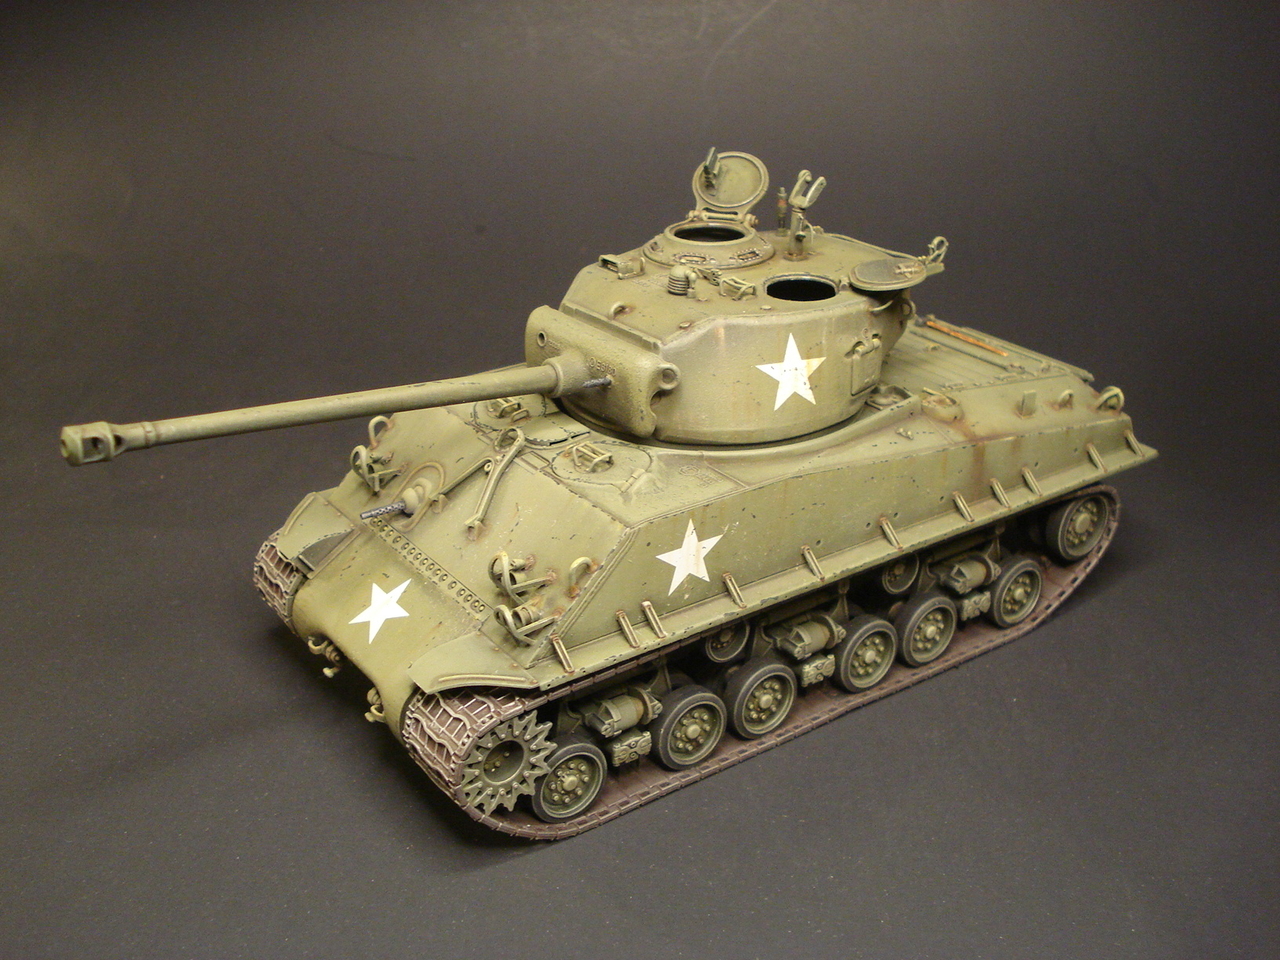
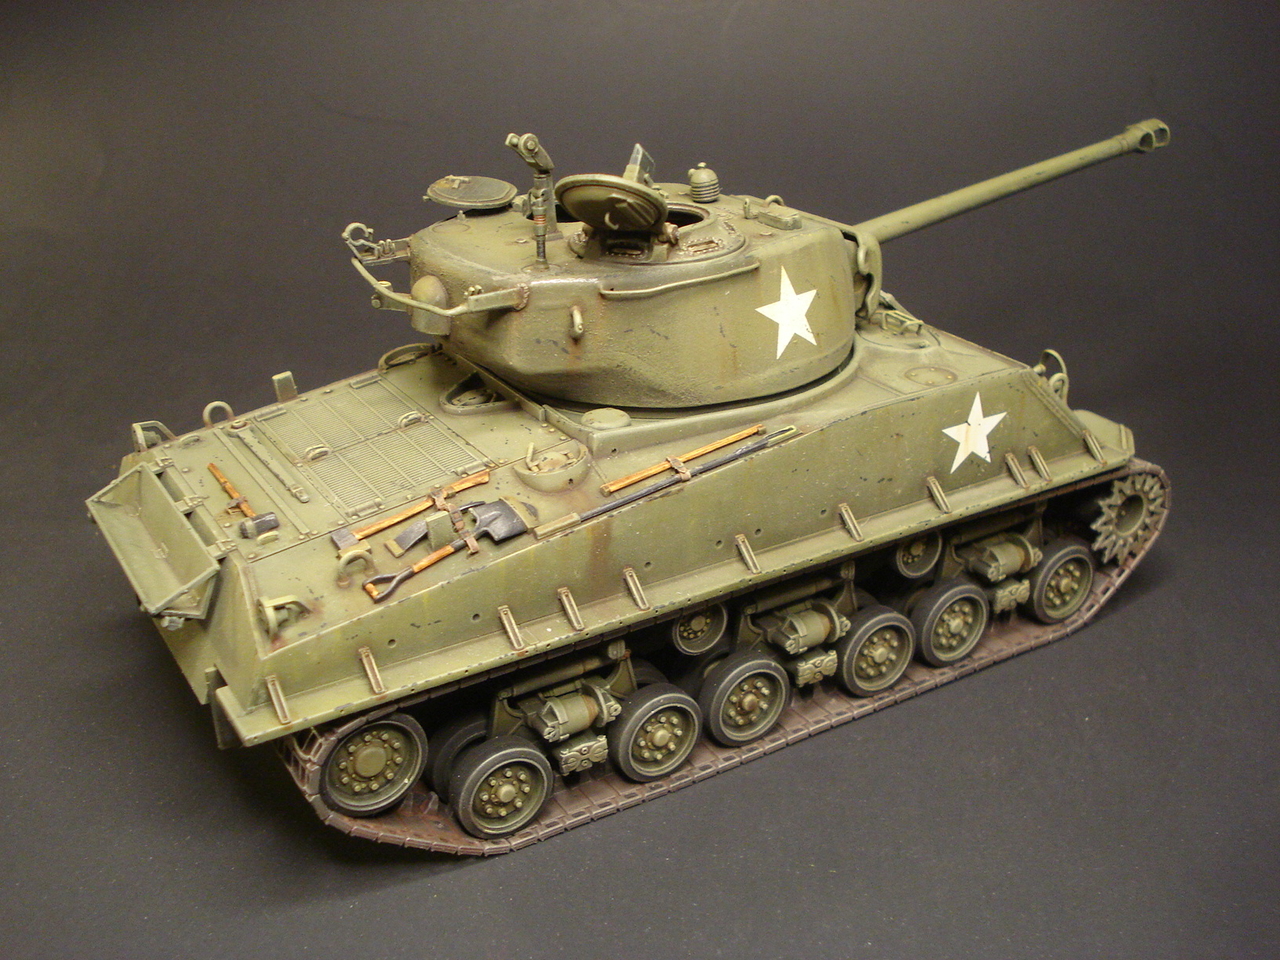
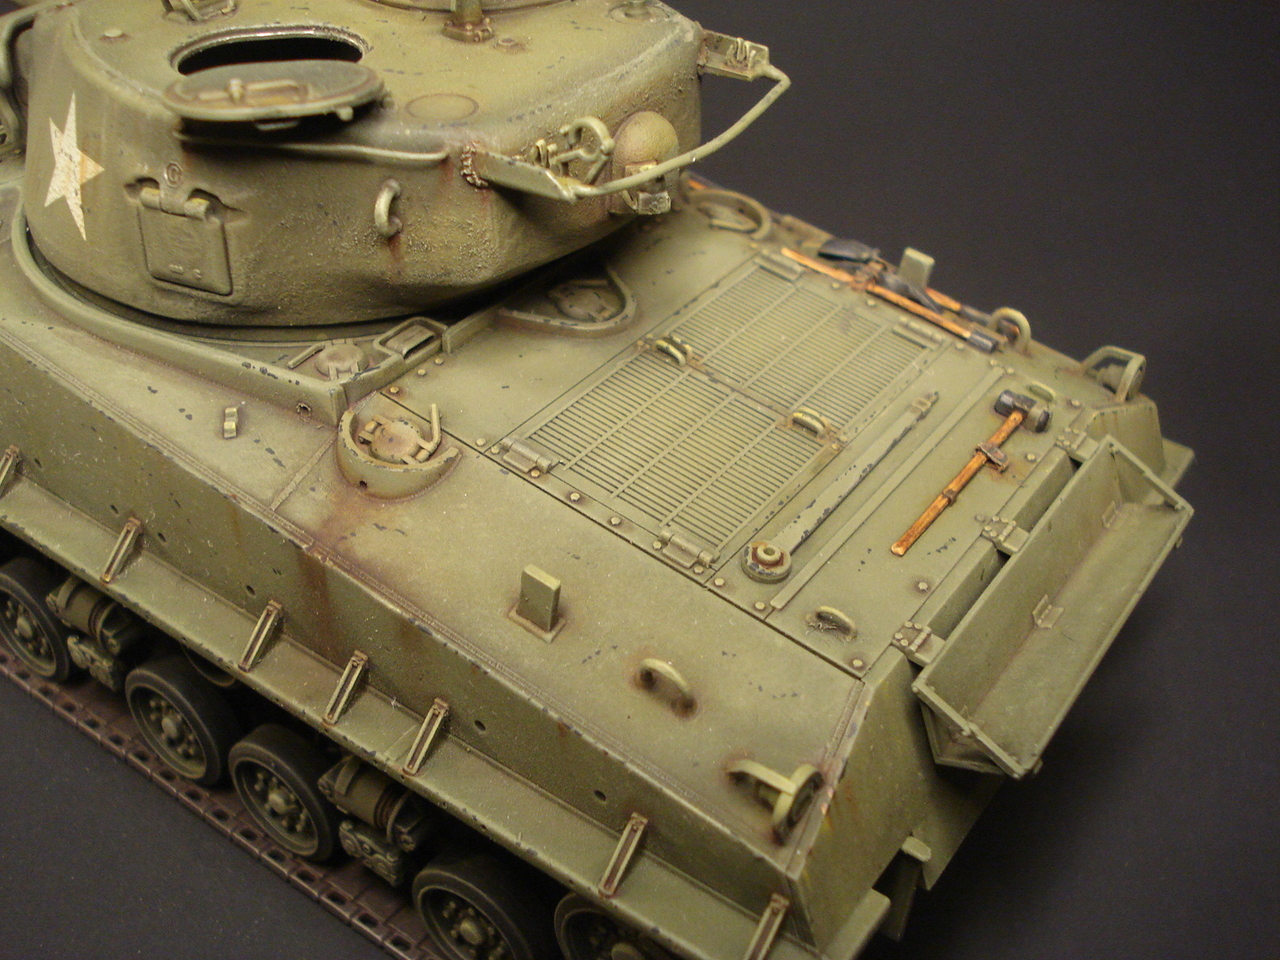
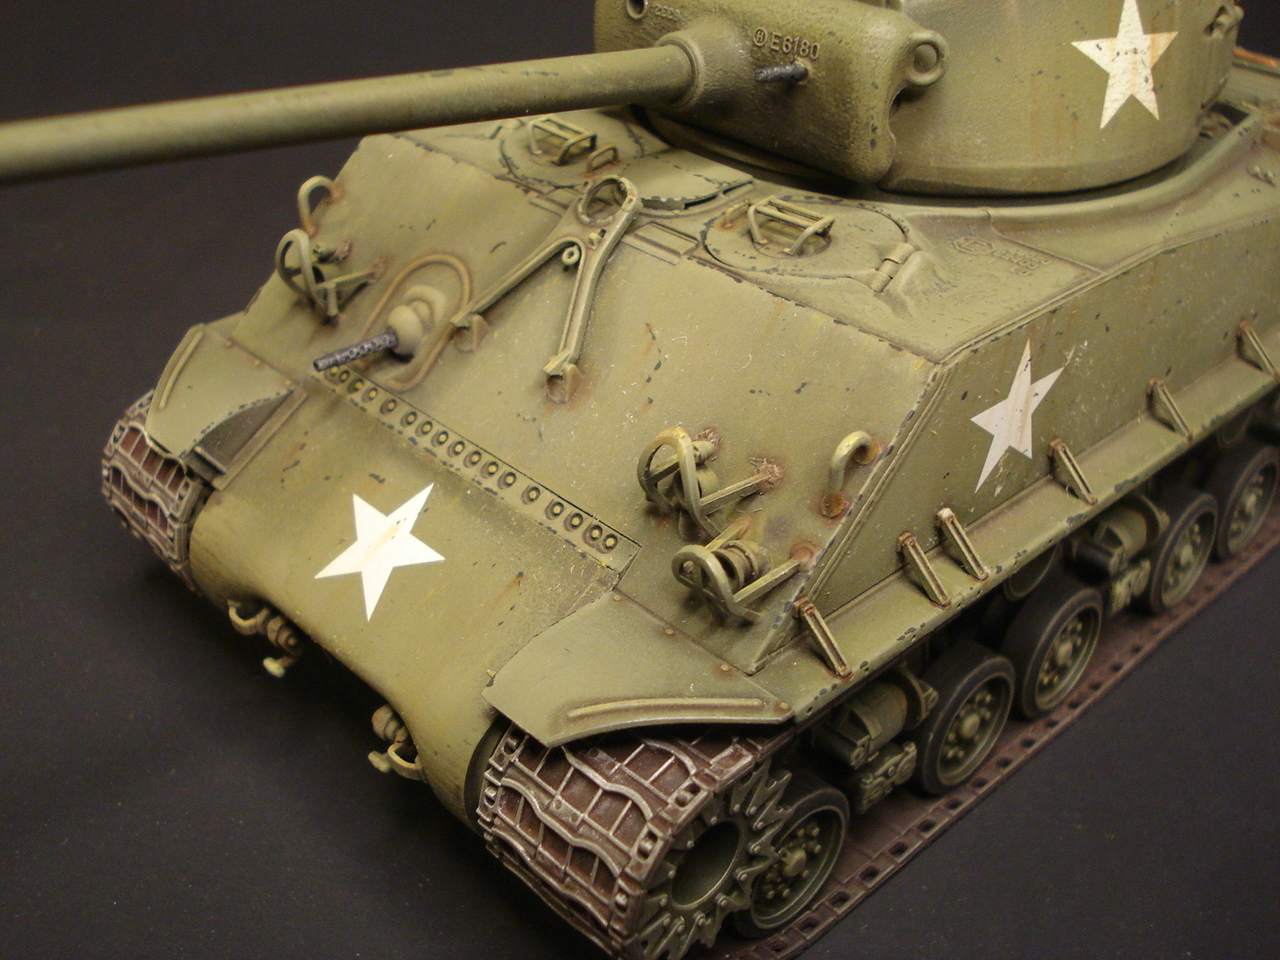
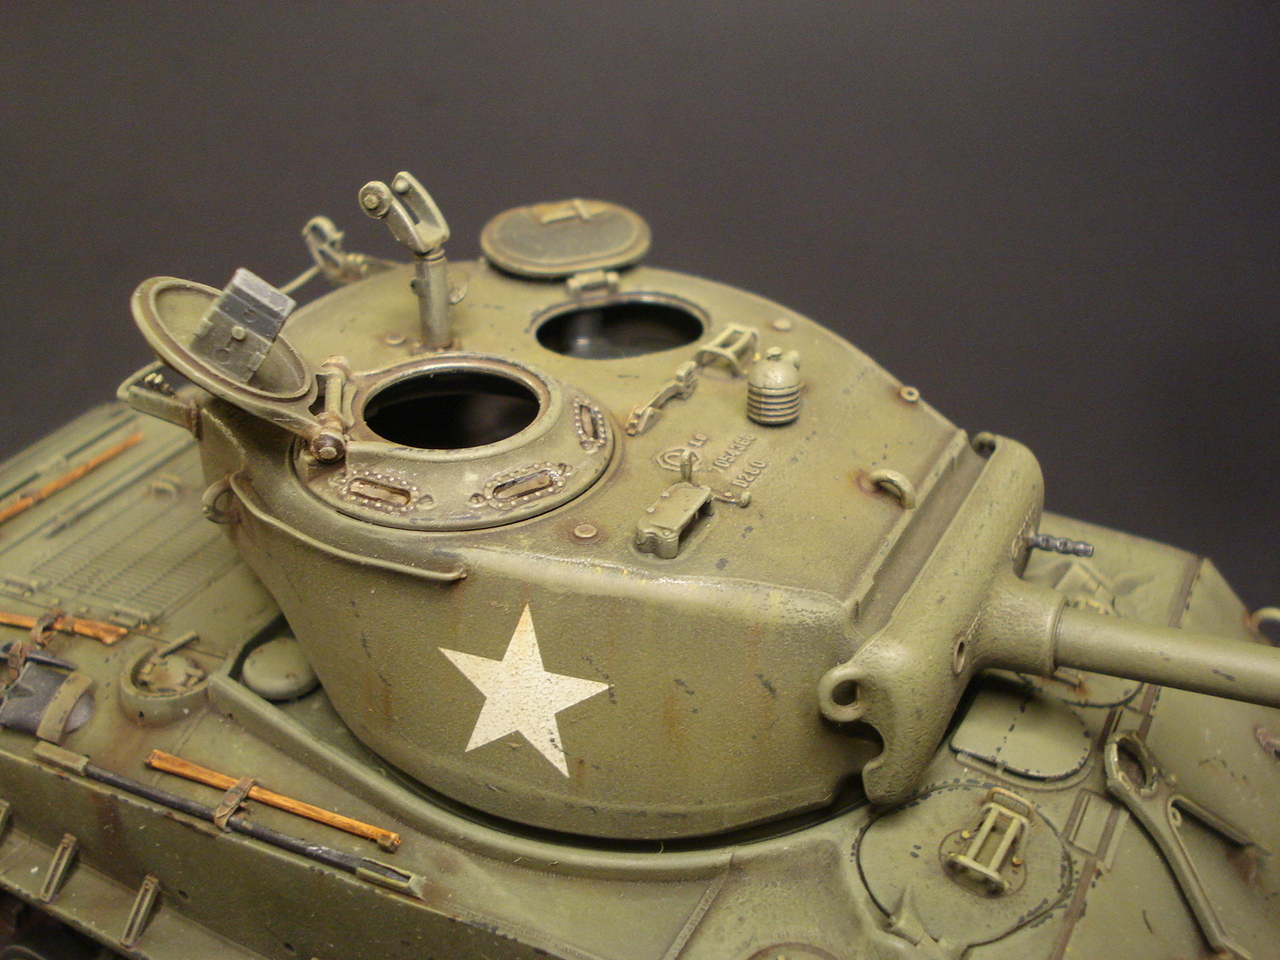
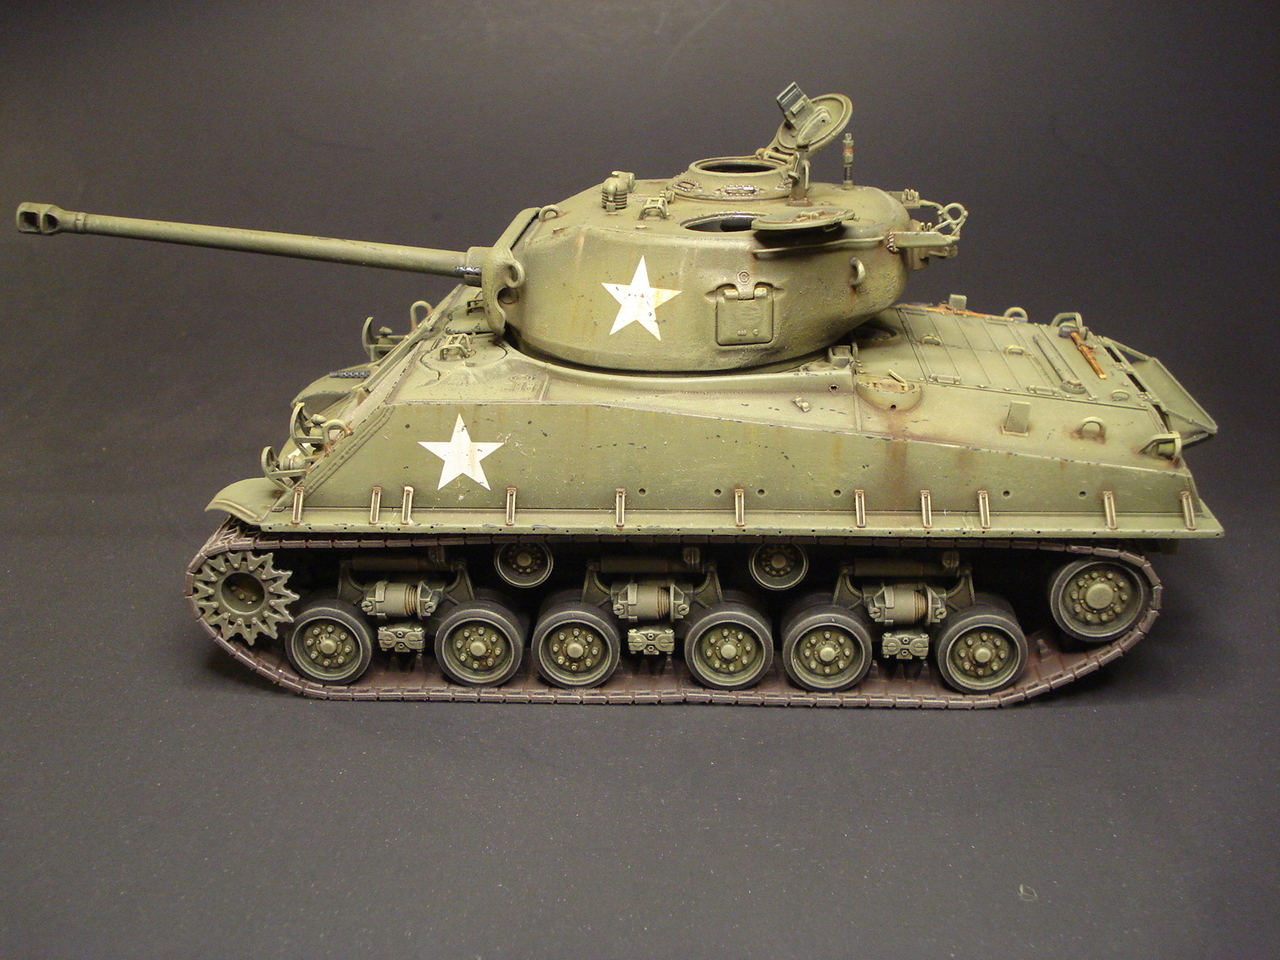
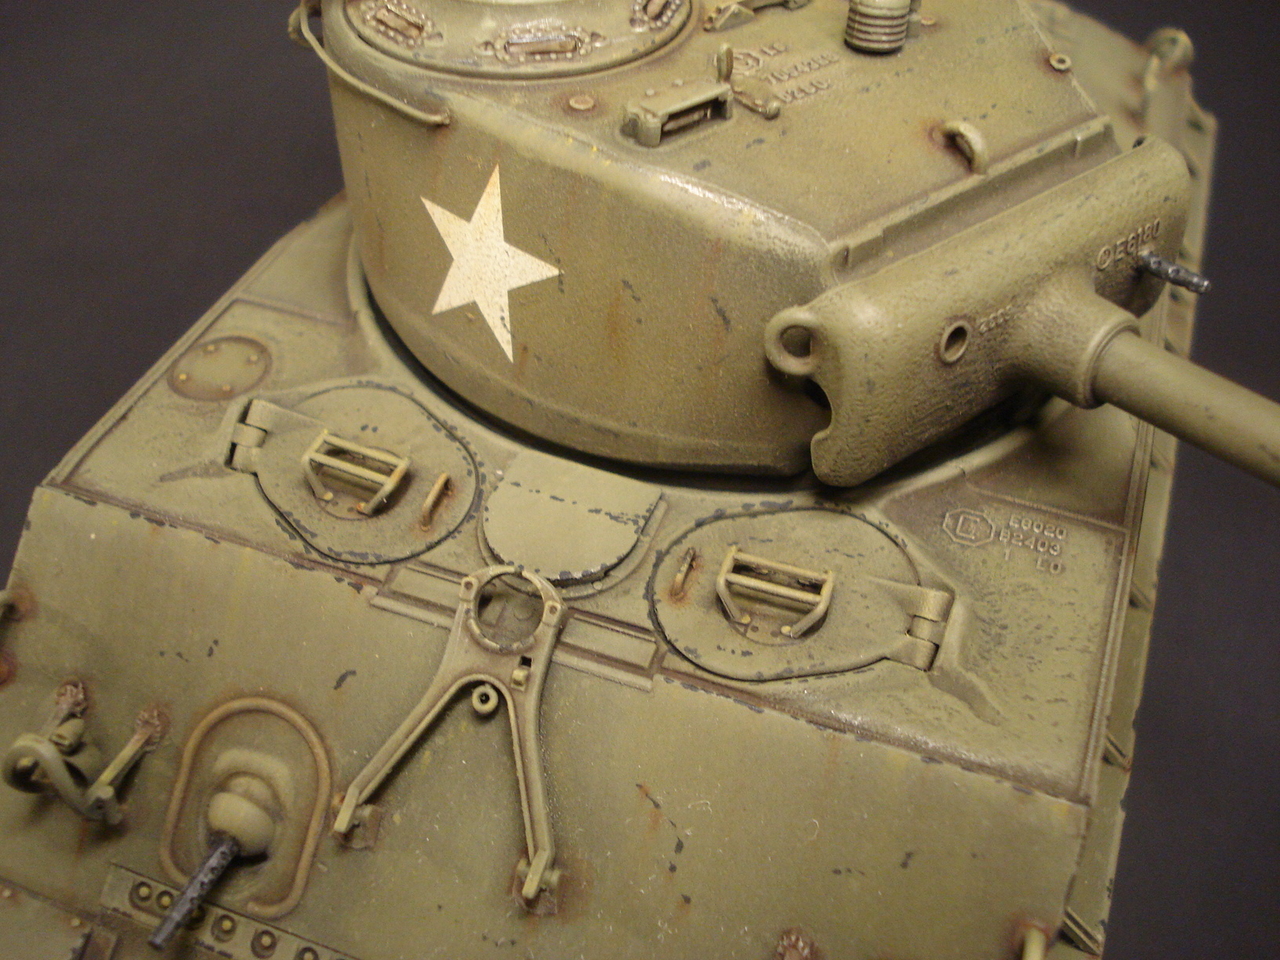
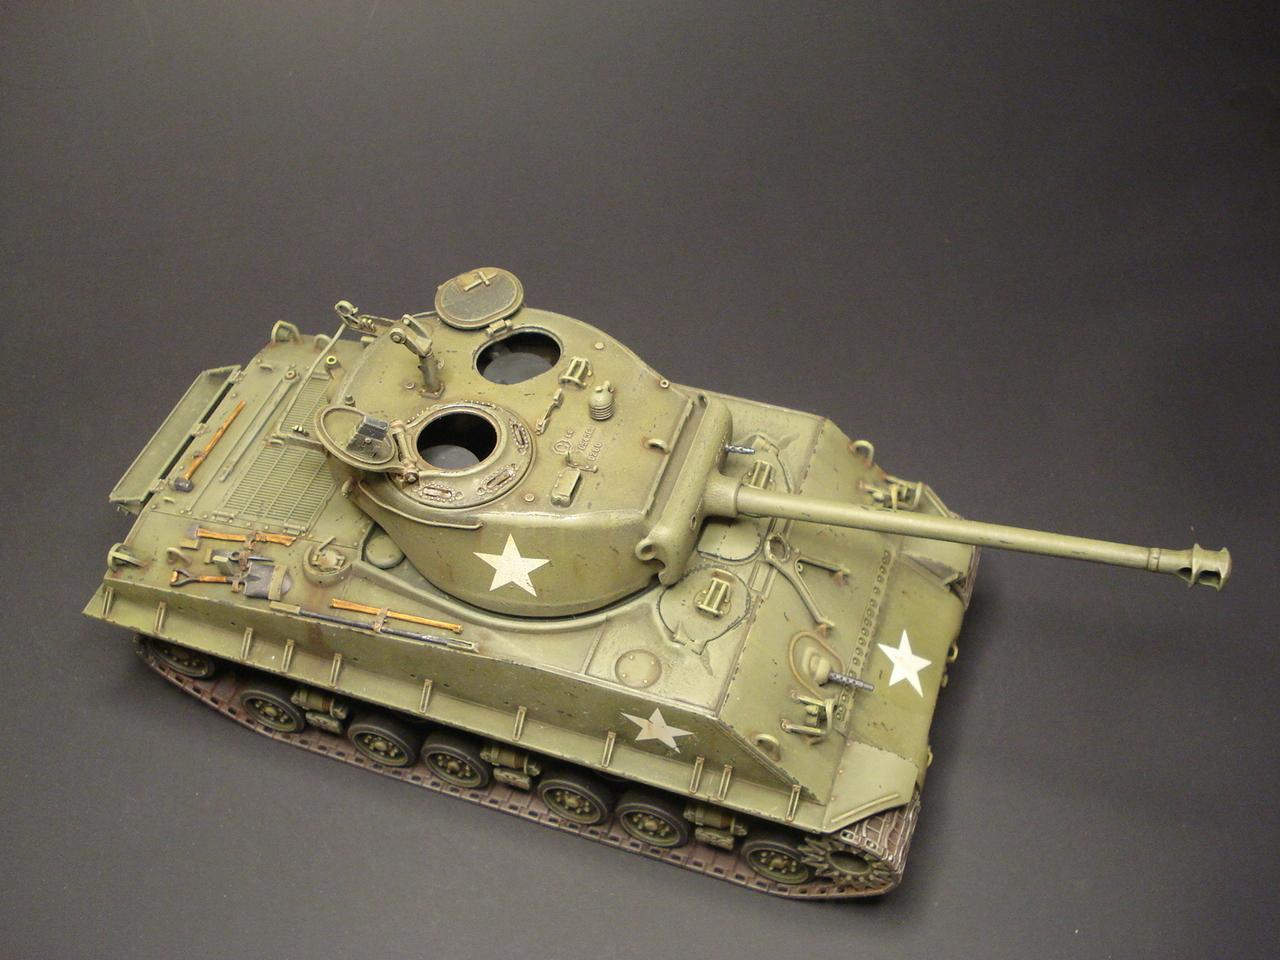
I added the markings for the turret and then did some chipping and more weathering.
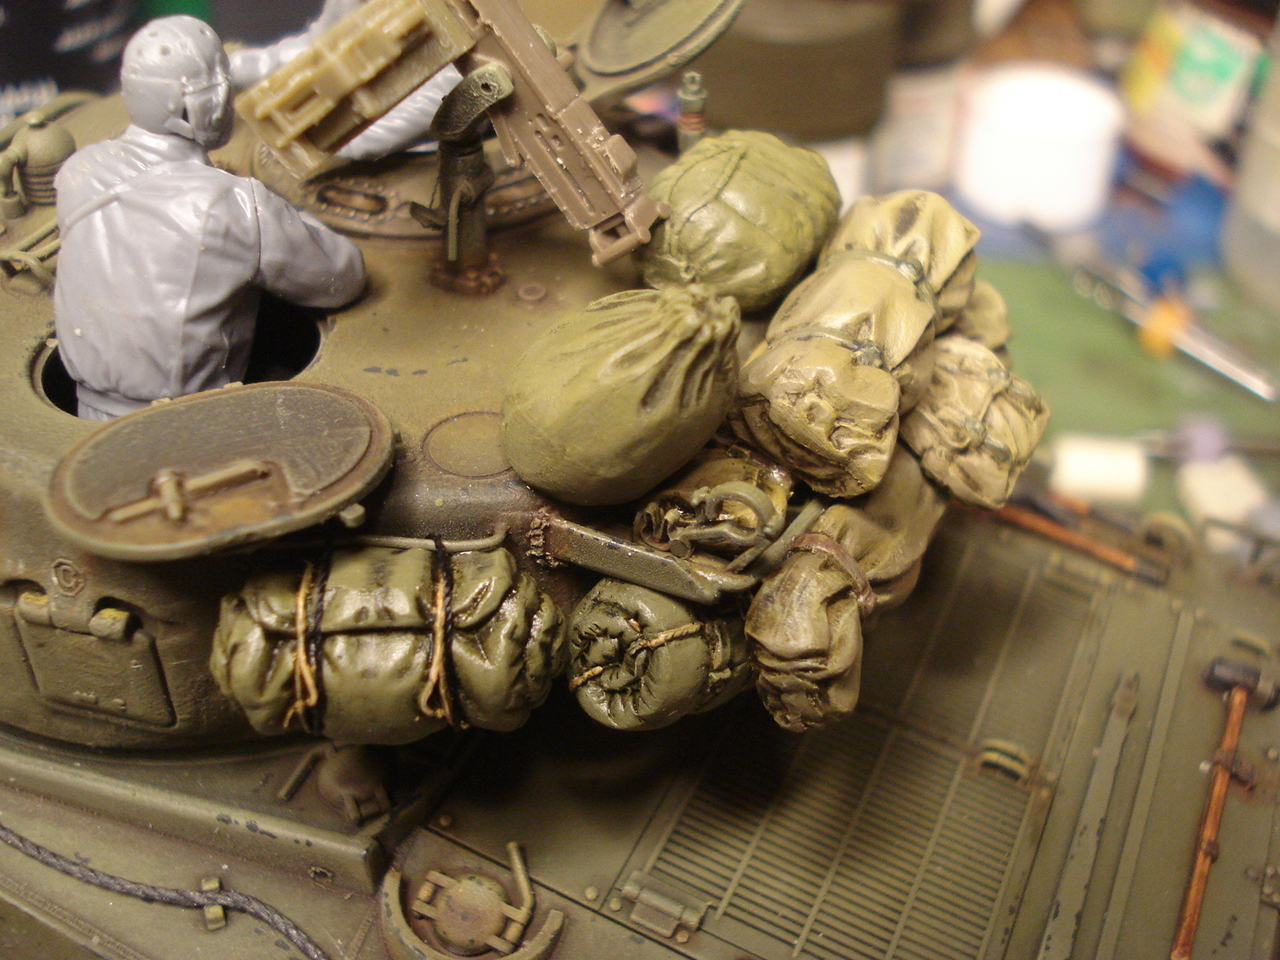
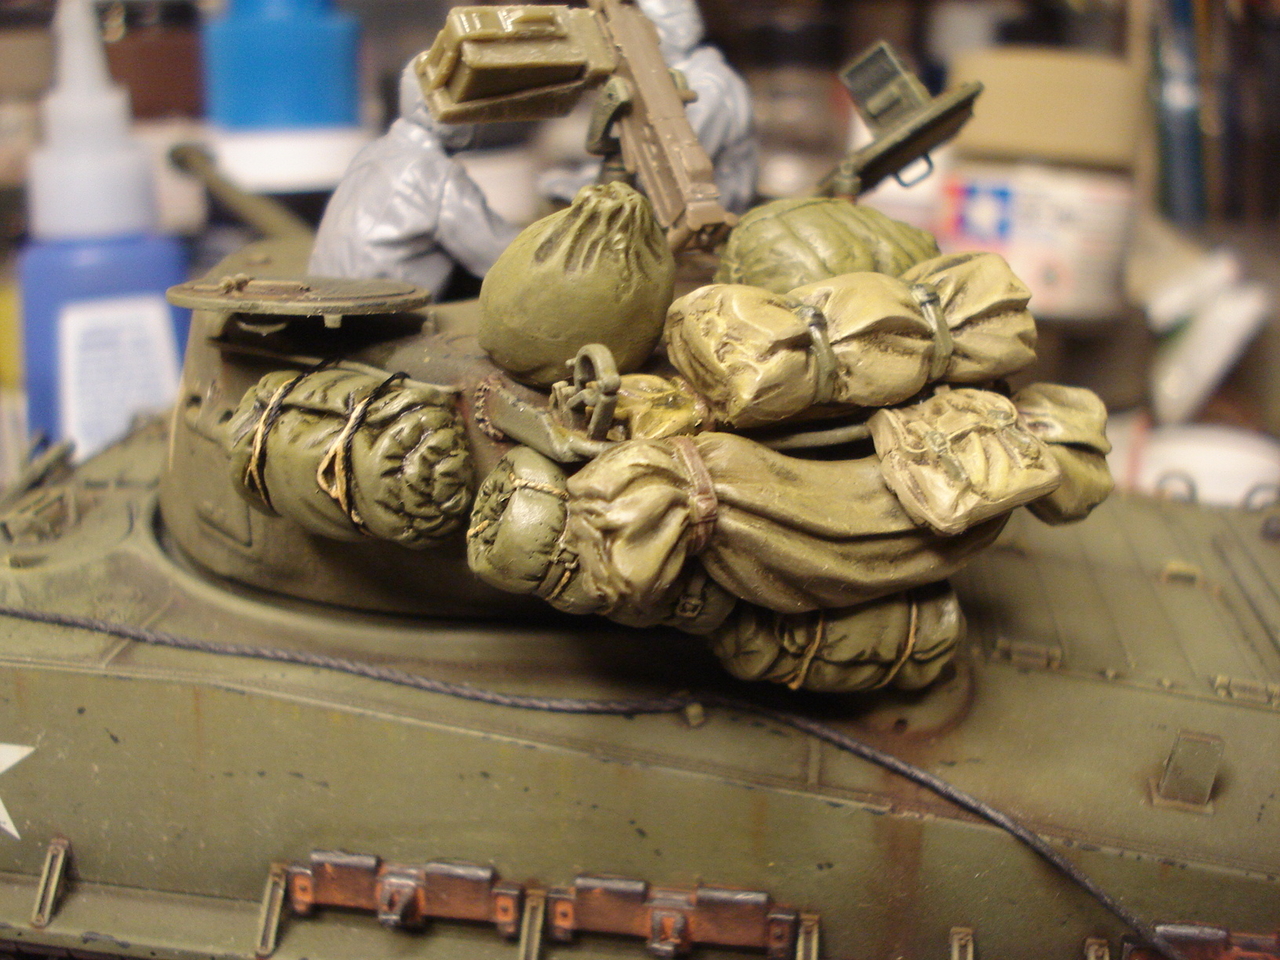
stowage preview....
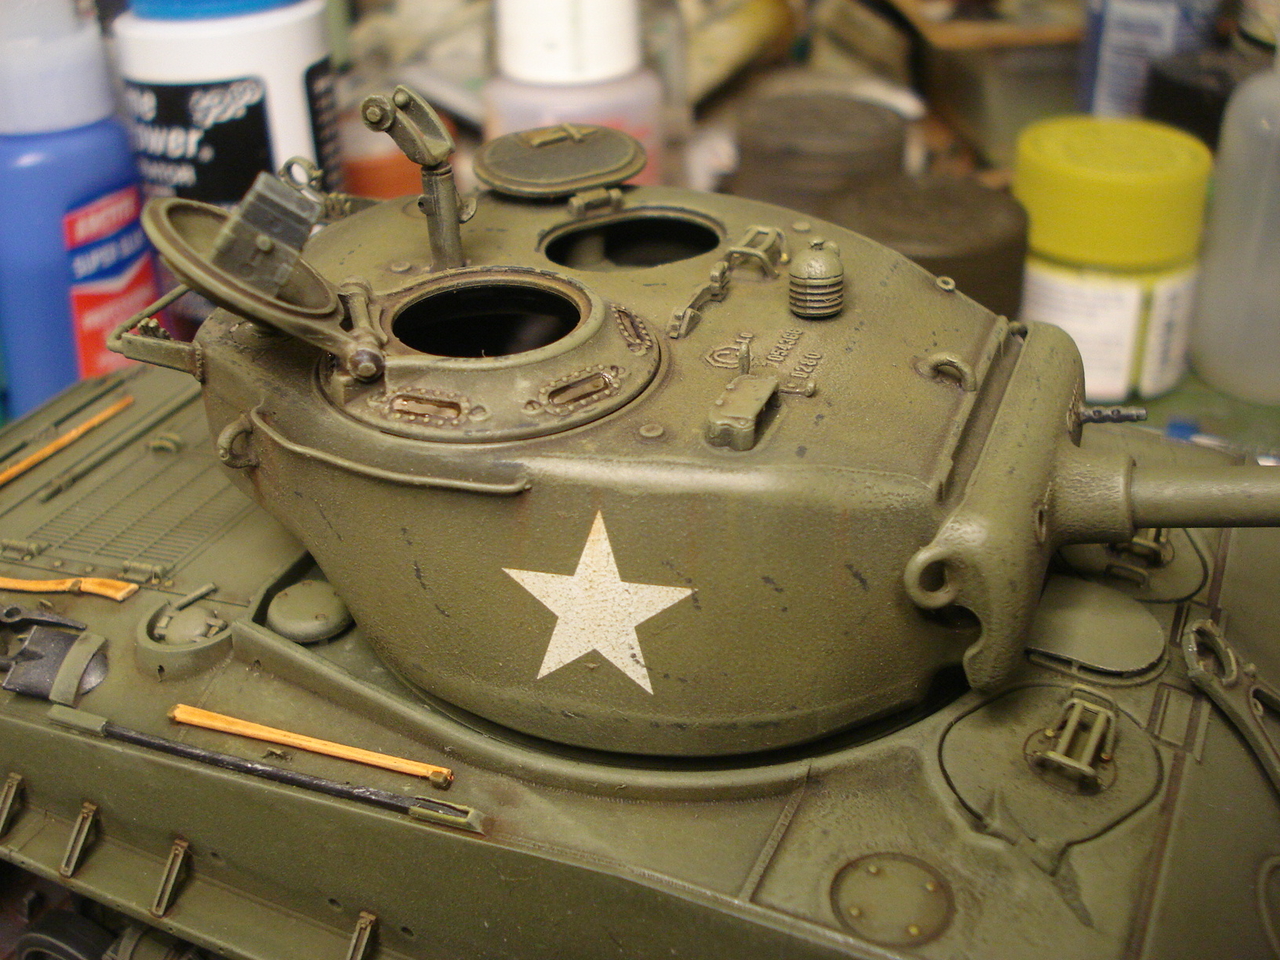
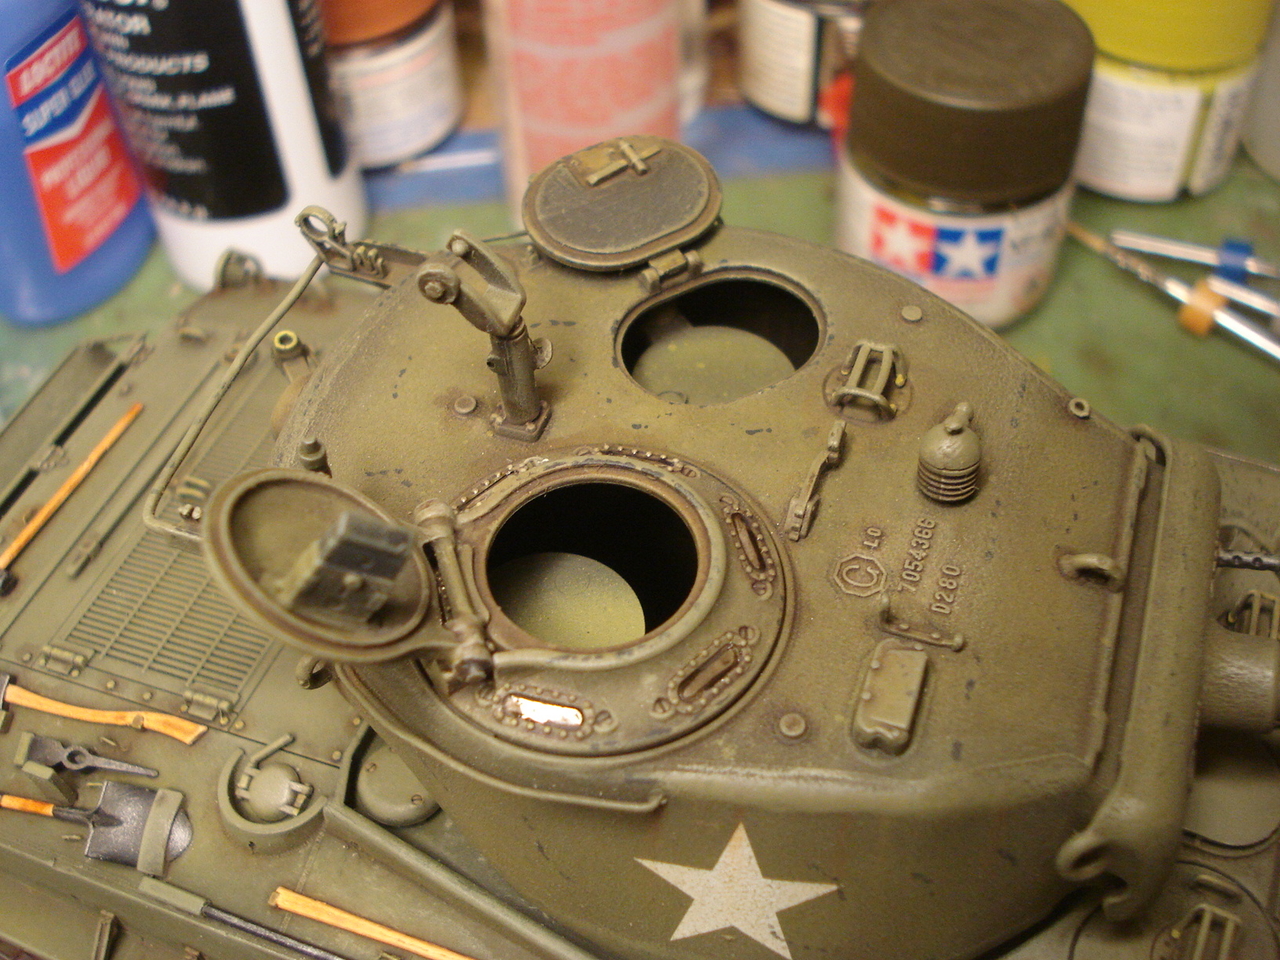
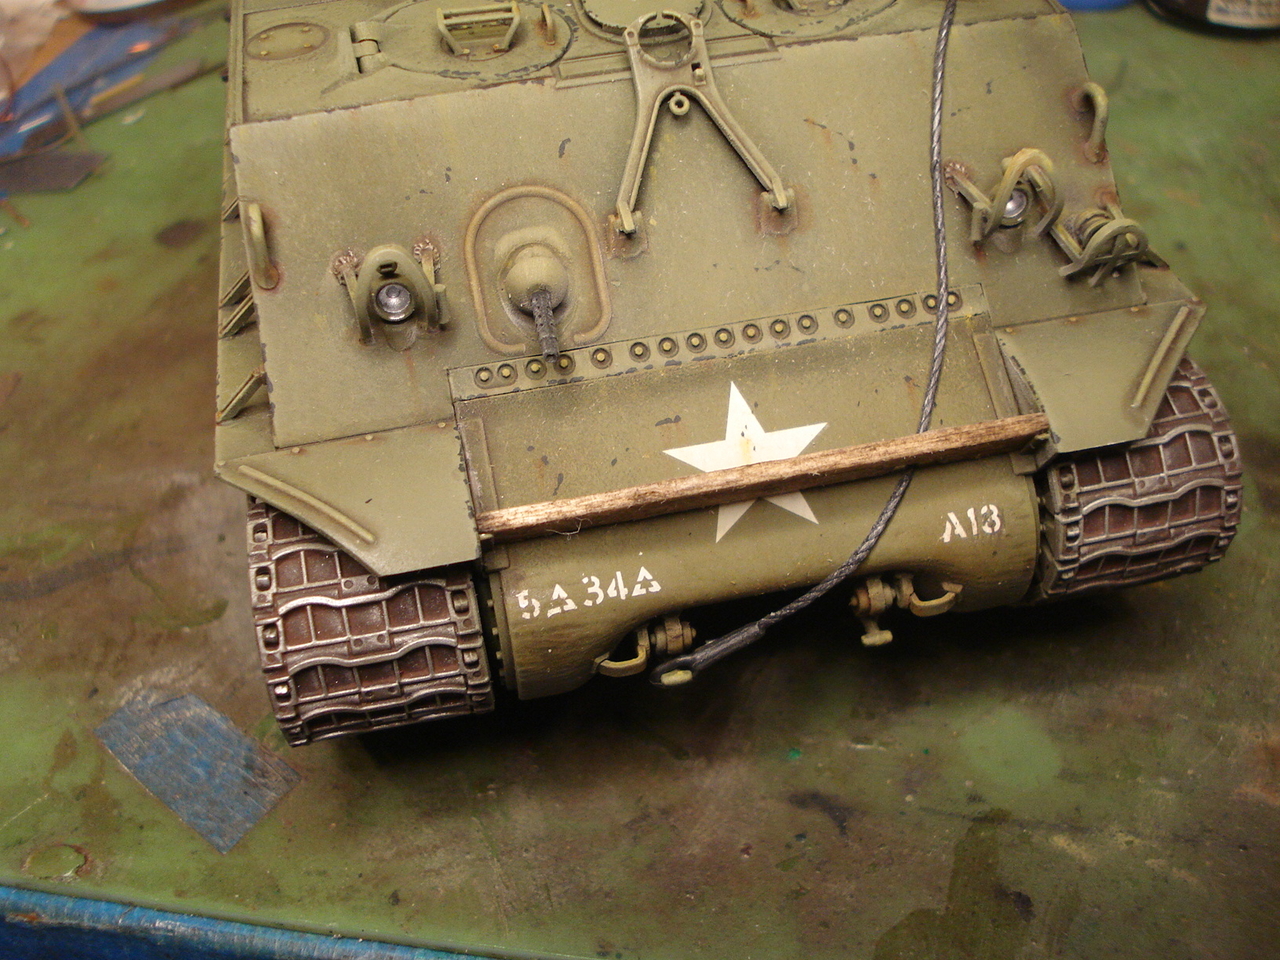
More markings and more weathering.

[
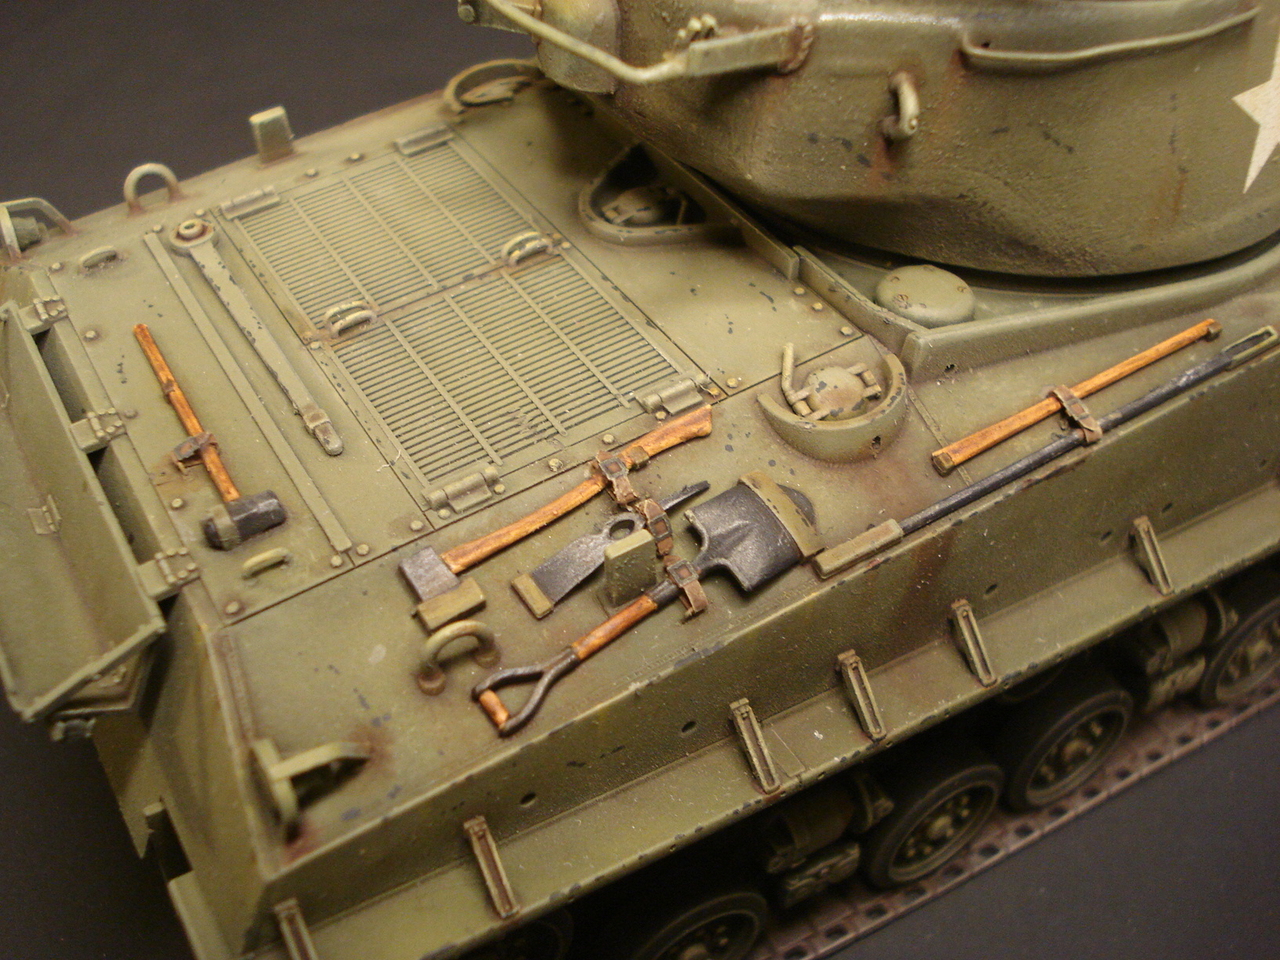
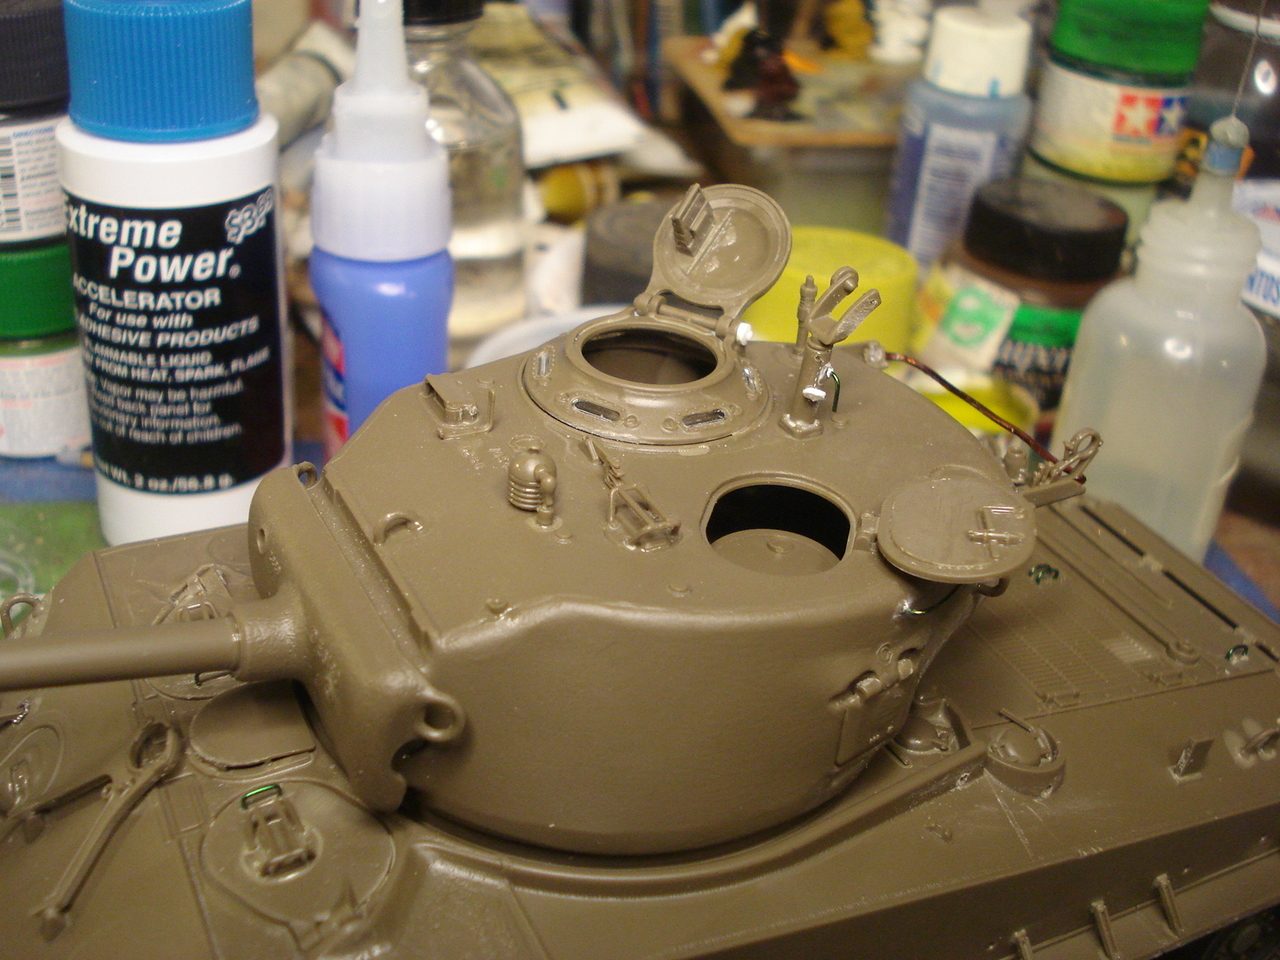
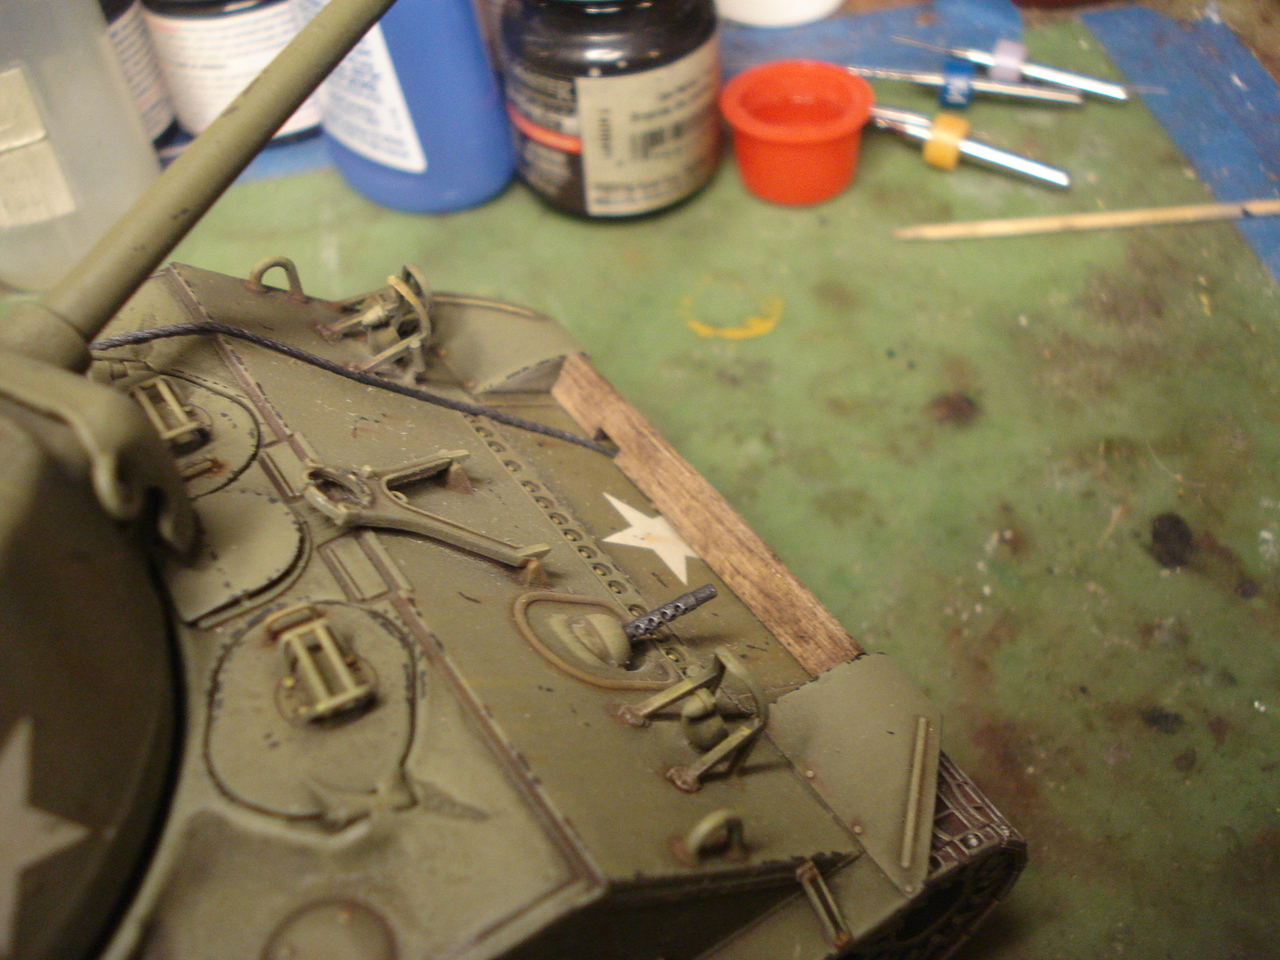
Almost ready for the stowage.
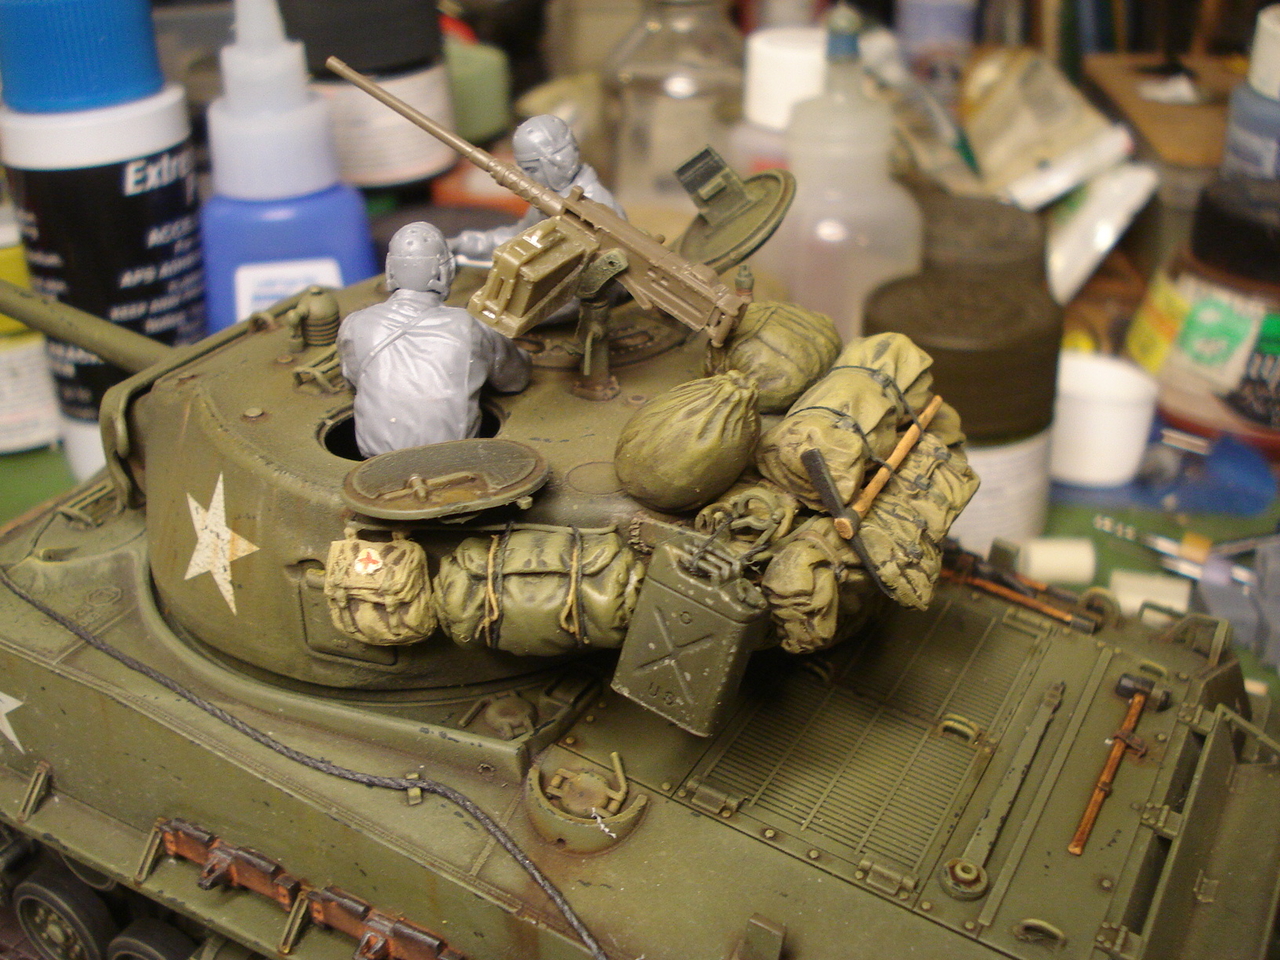
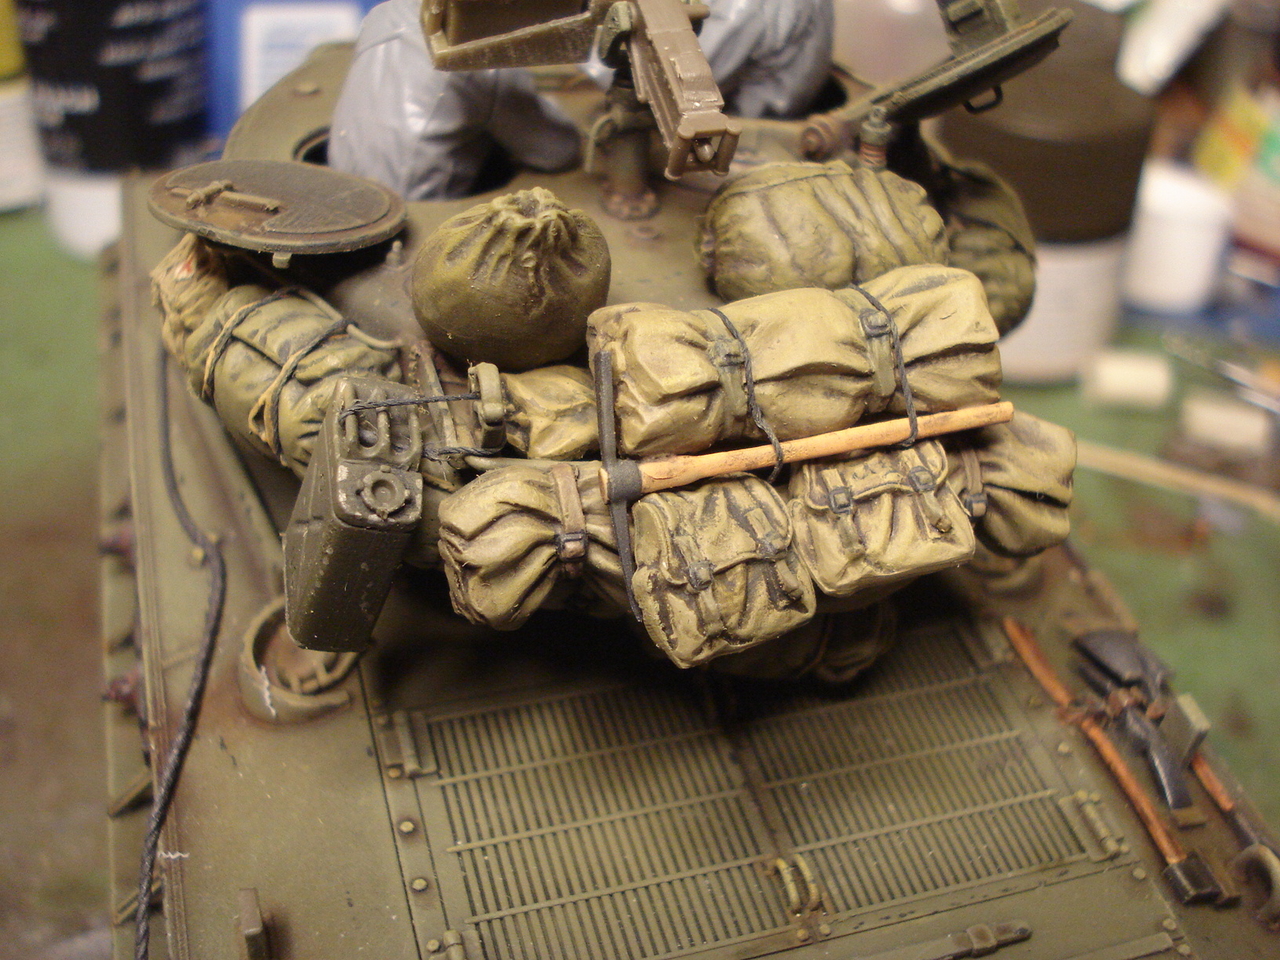
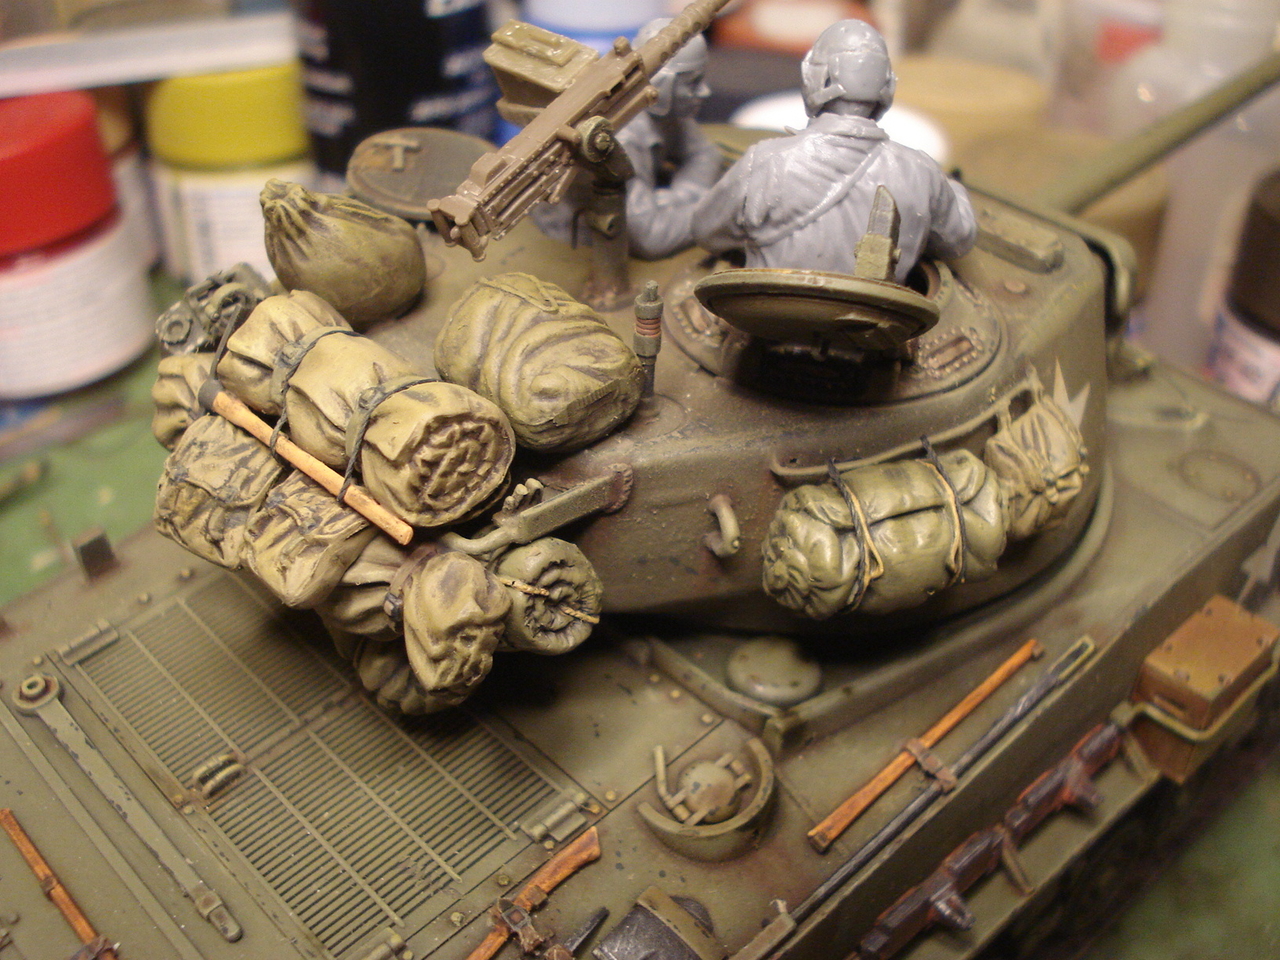
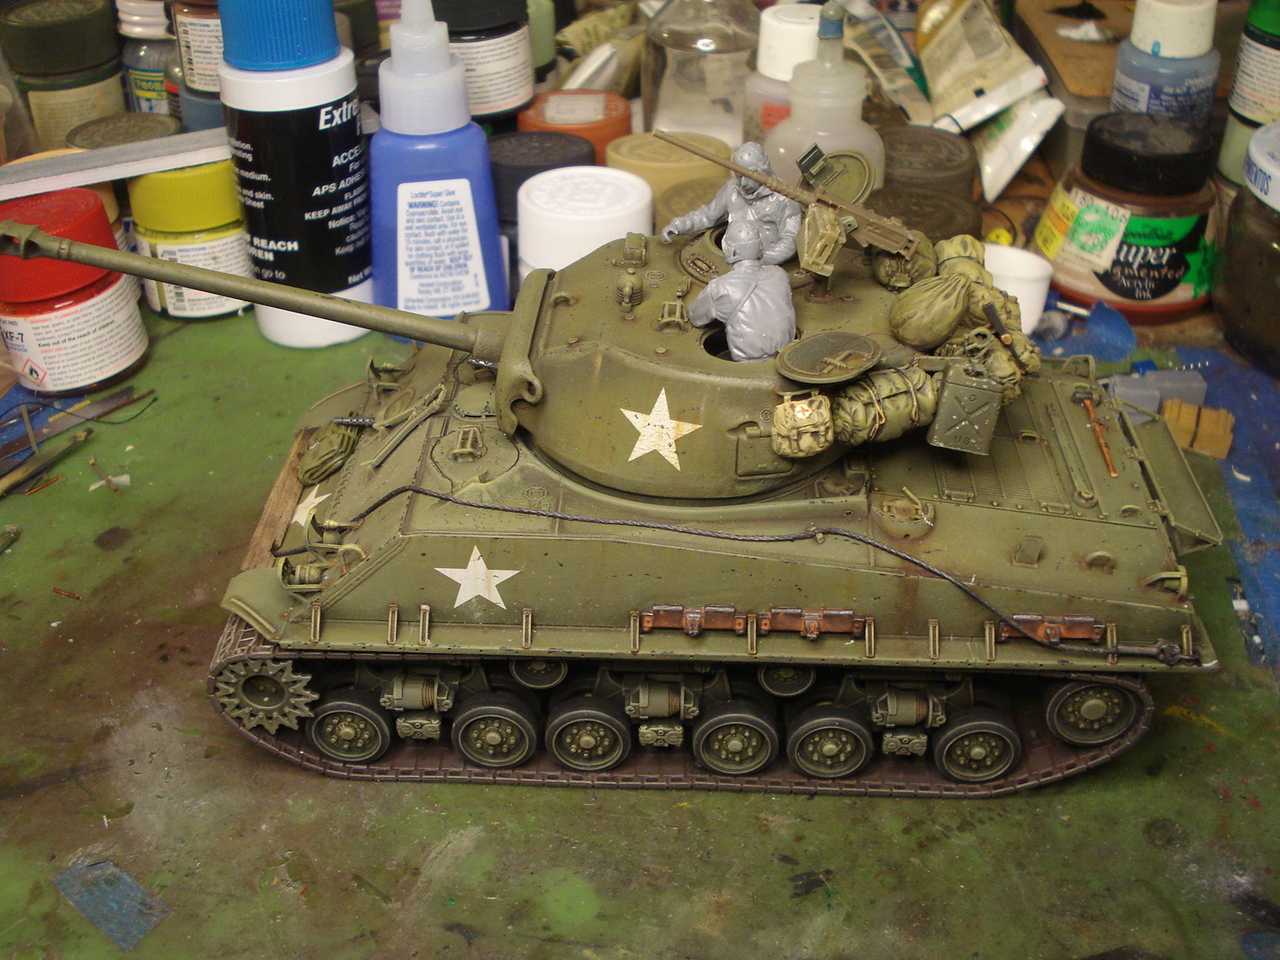
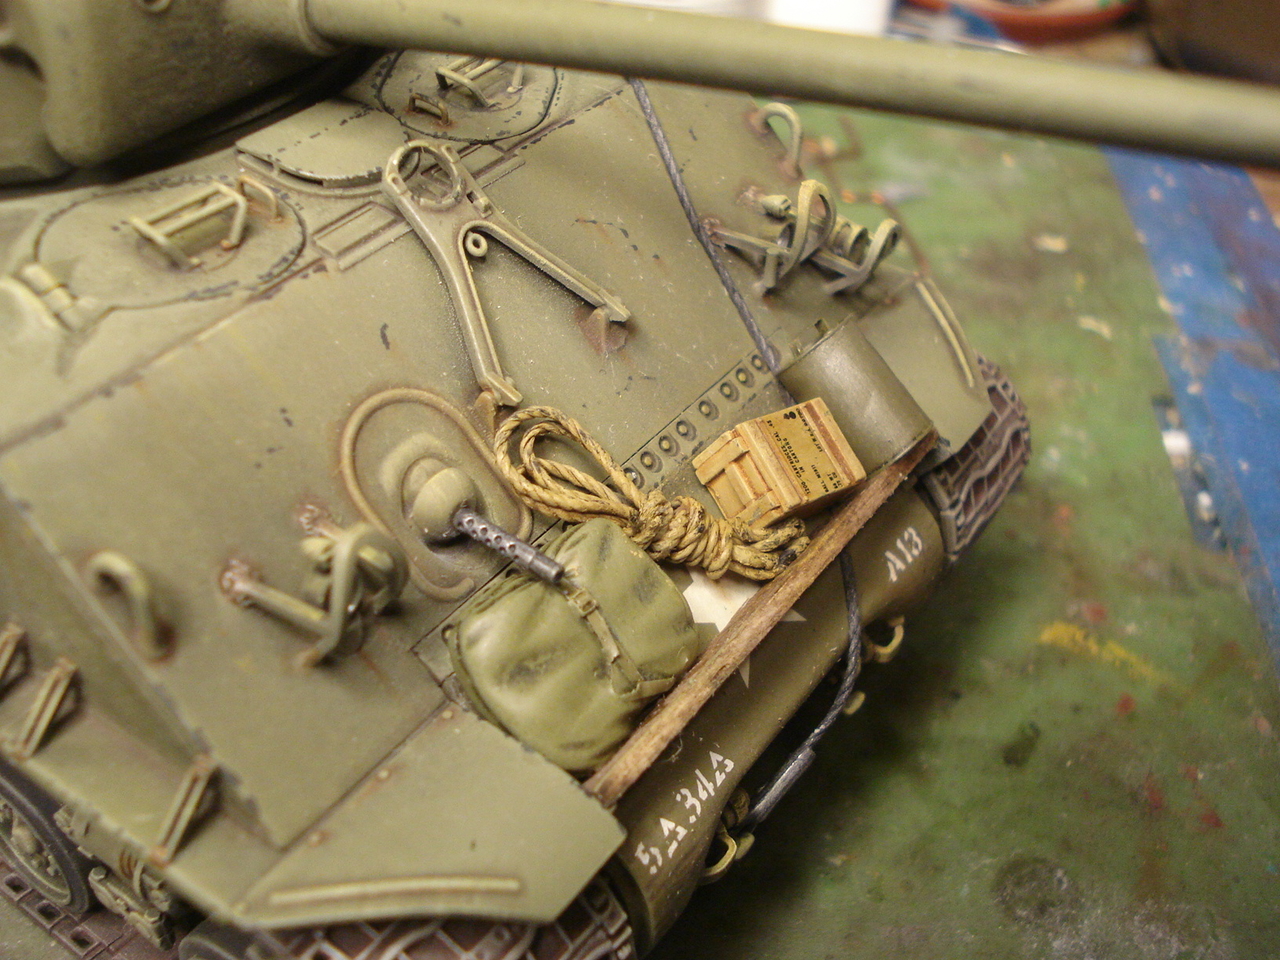
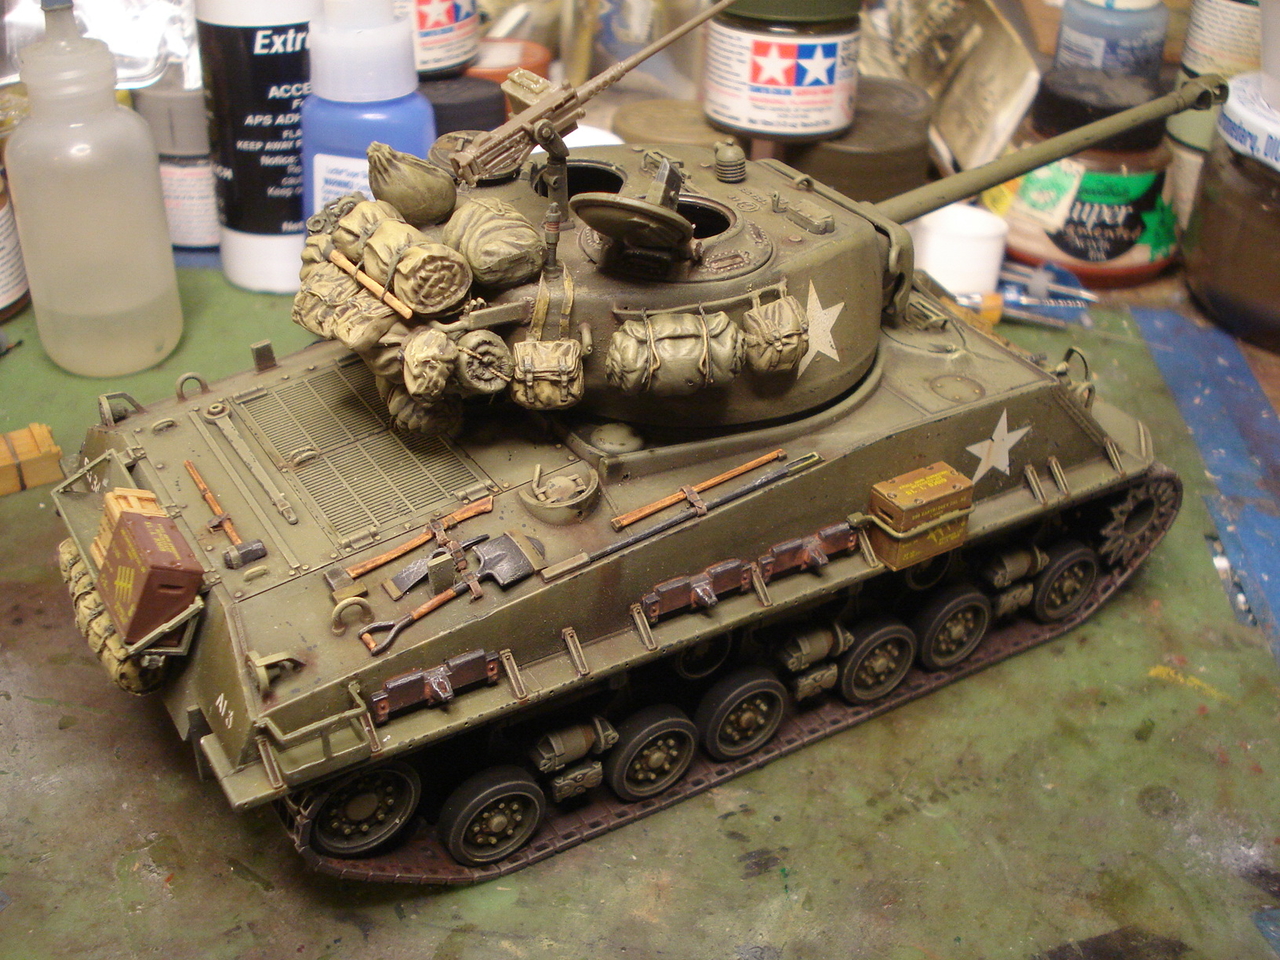
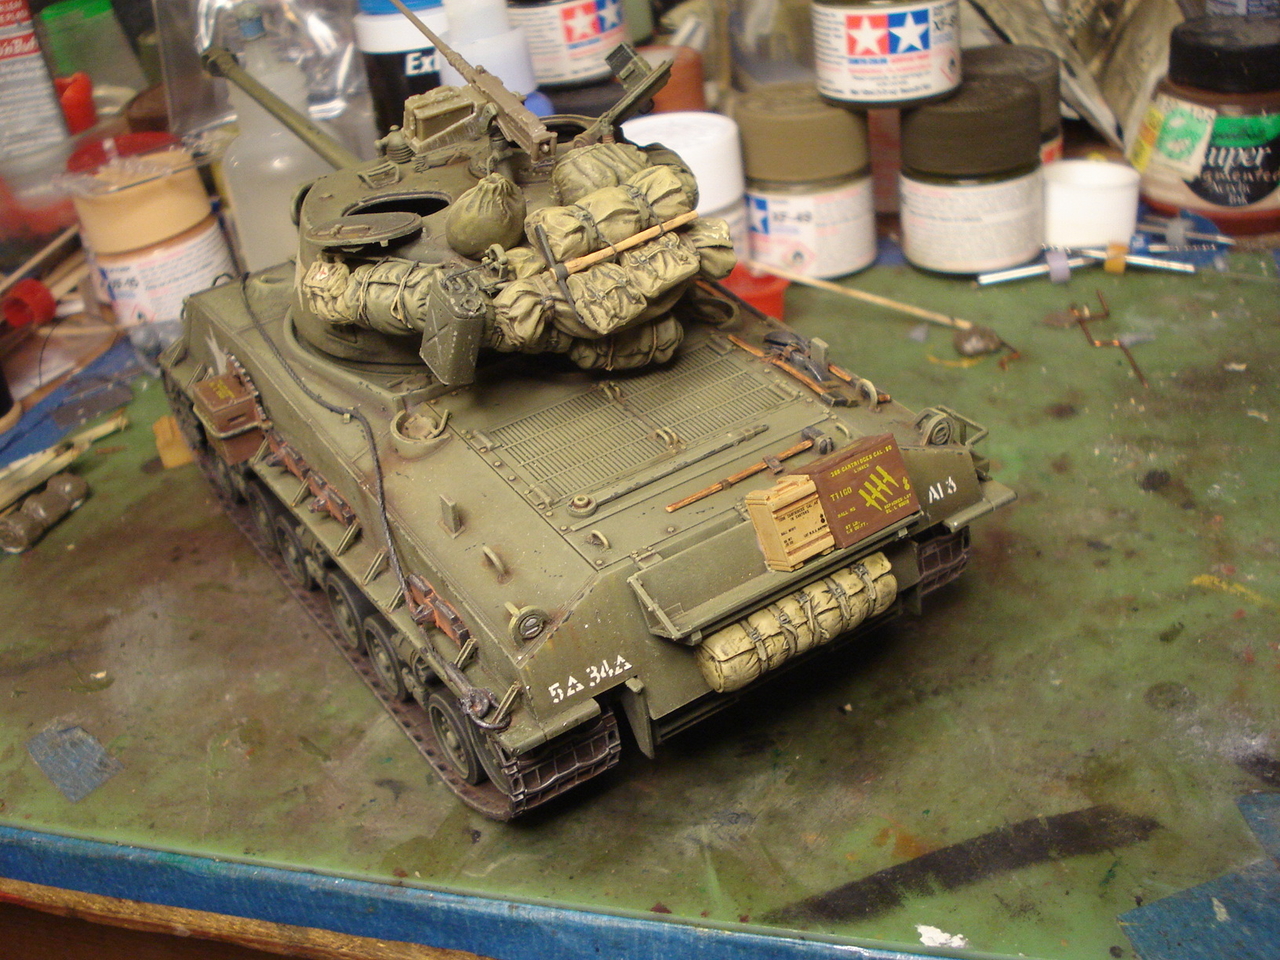
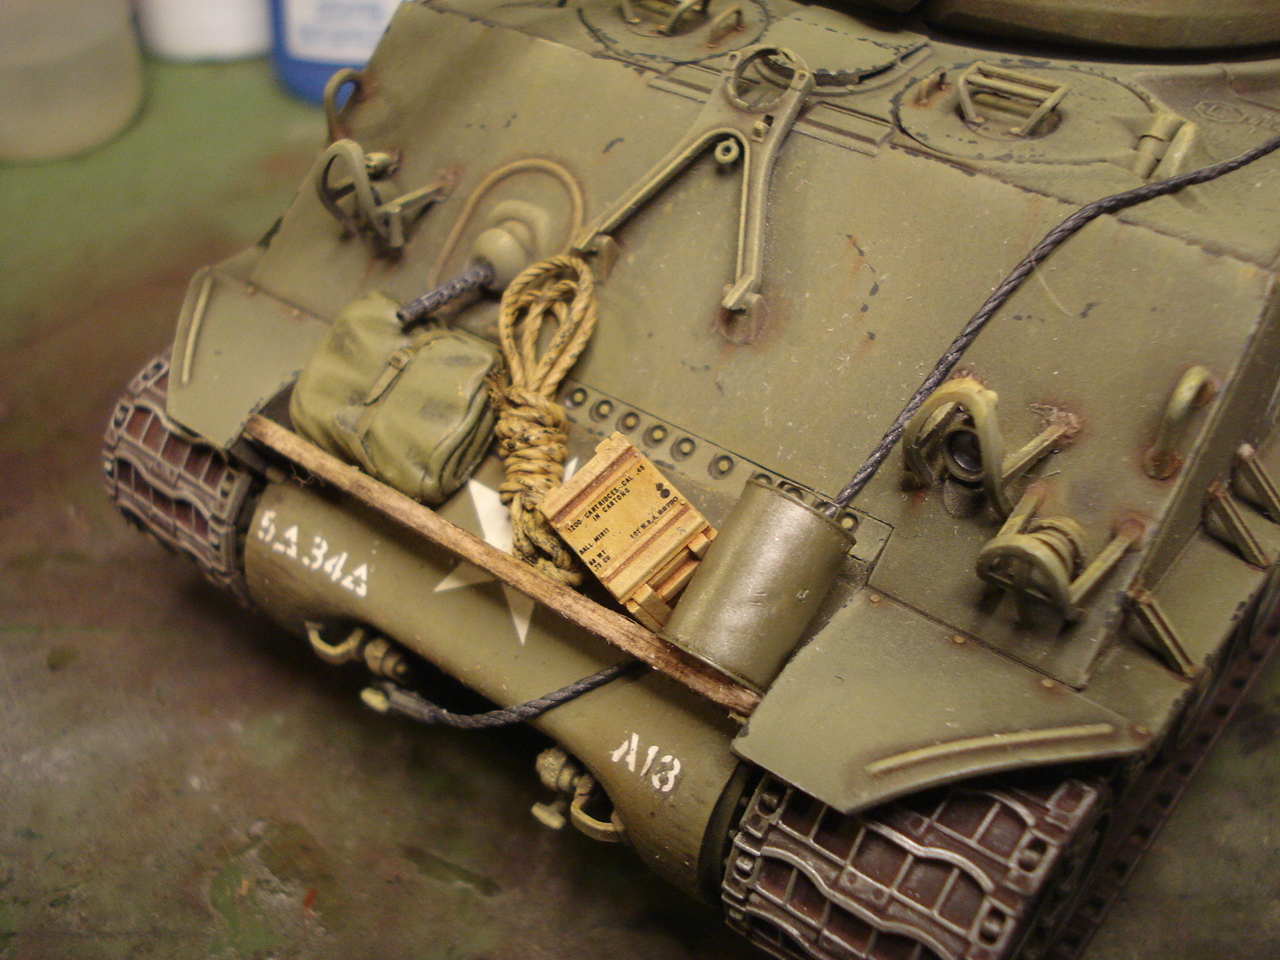
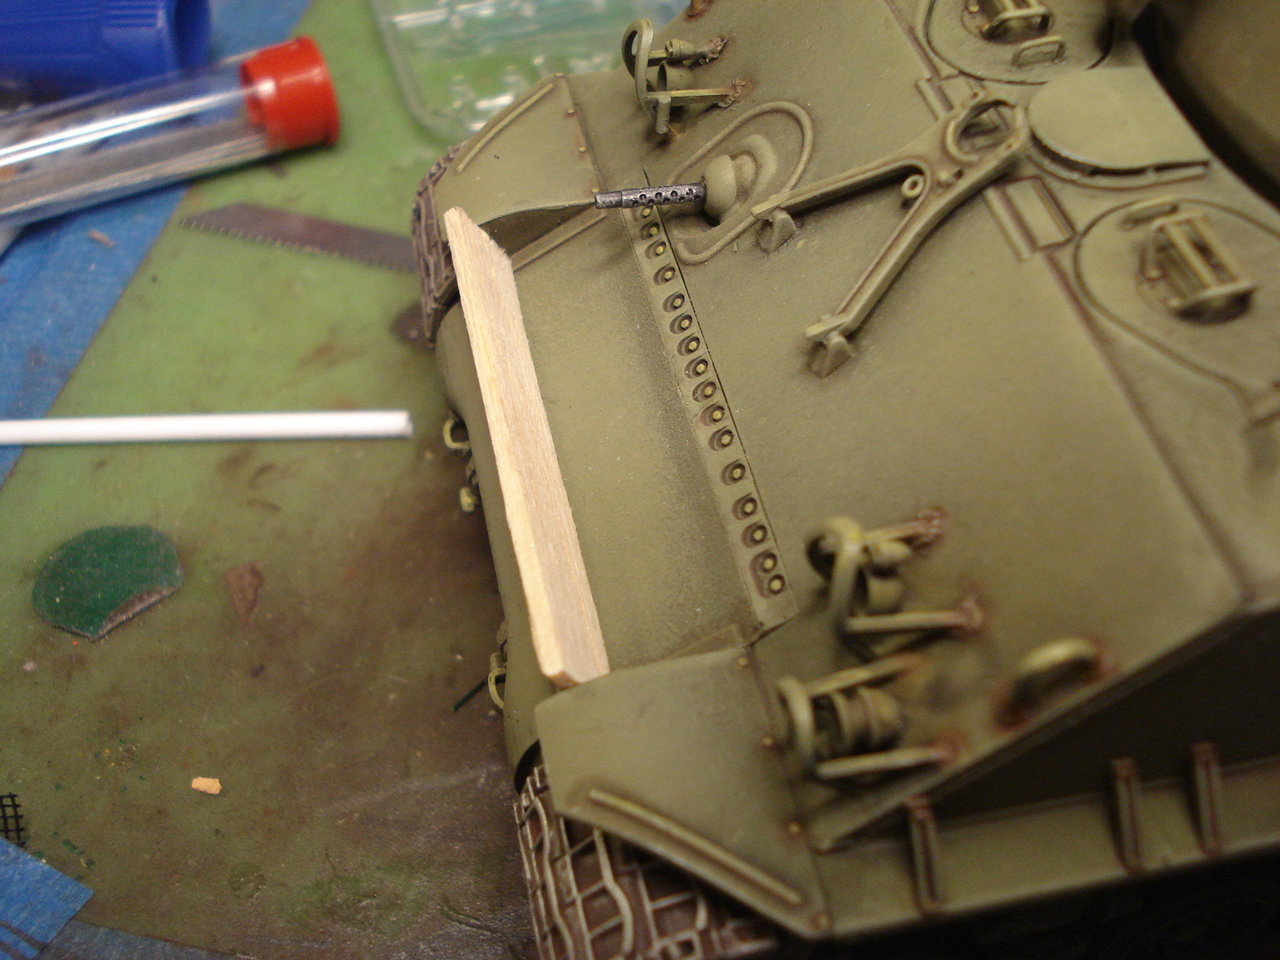
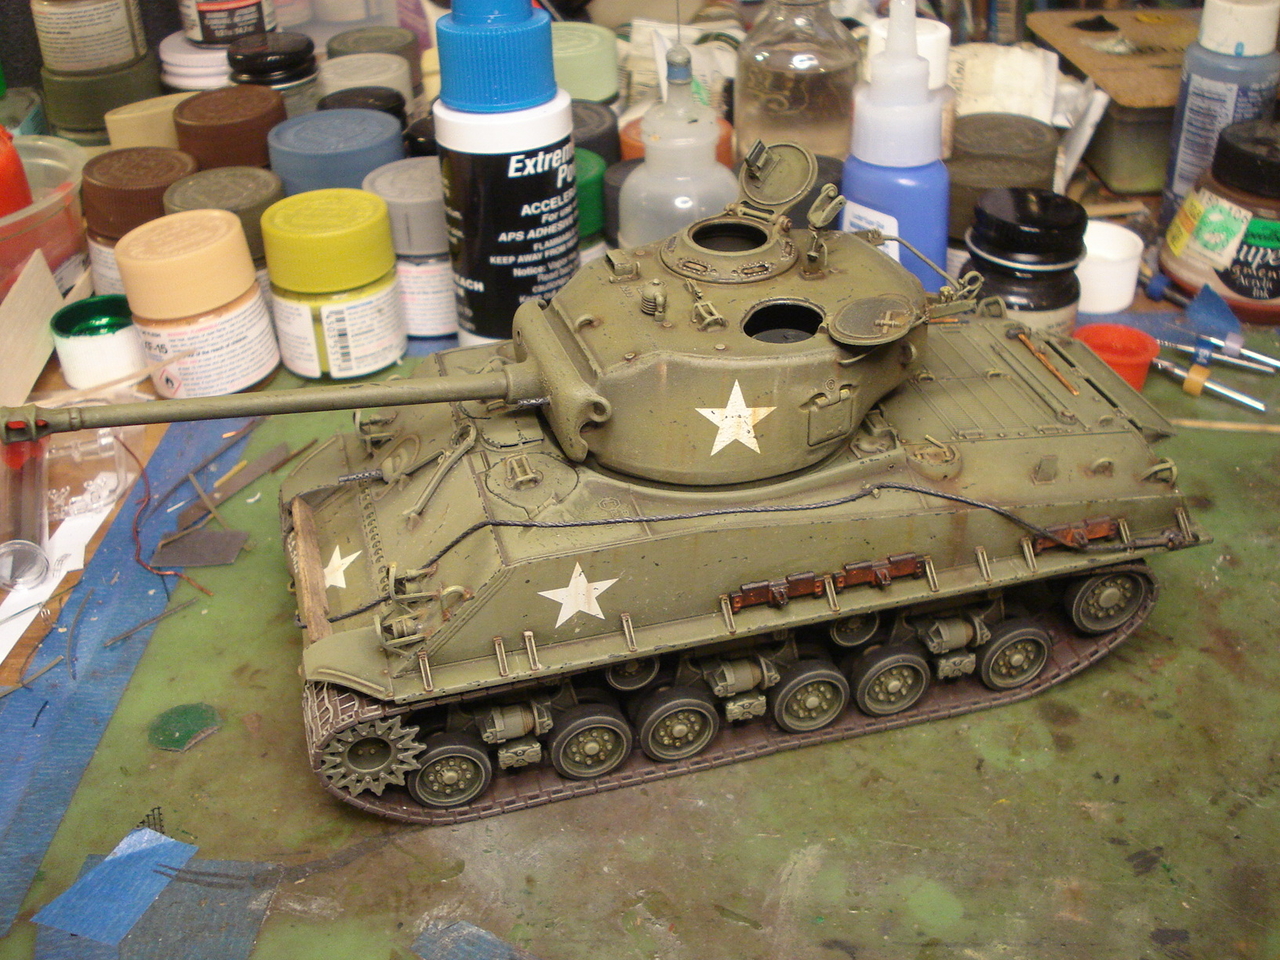
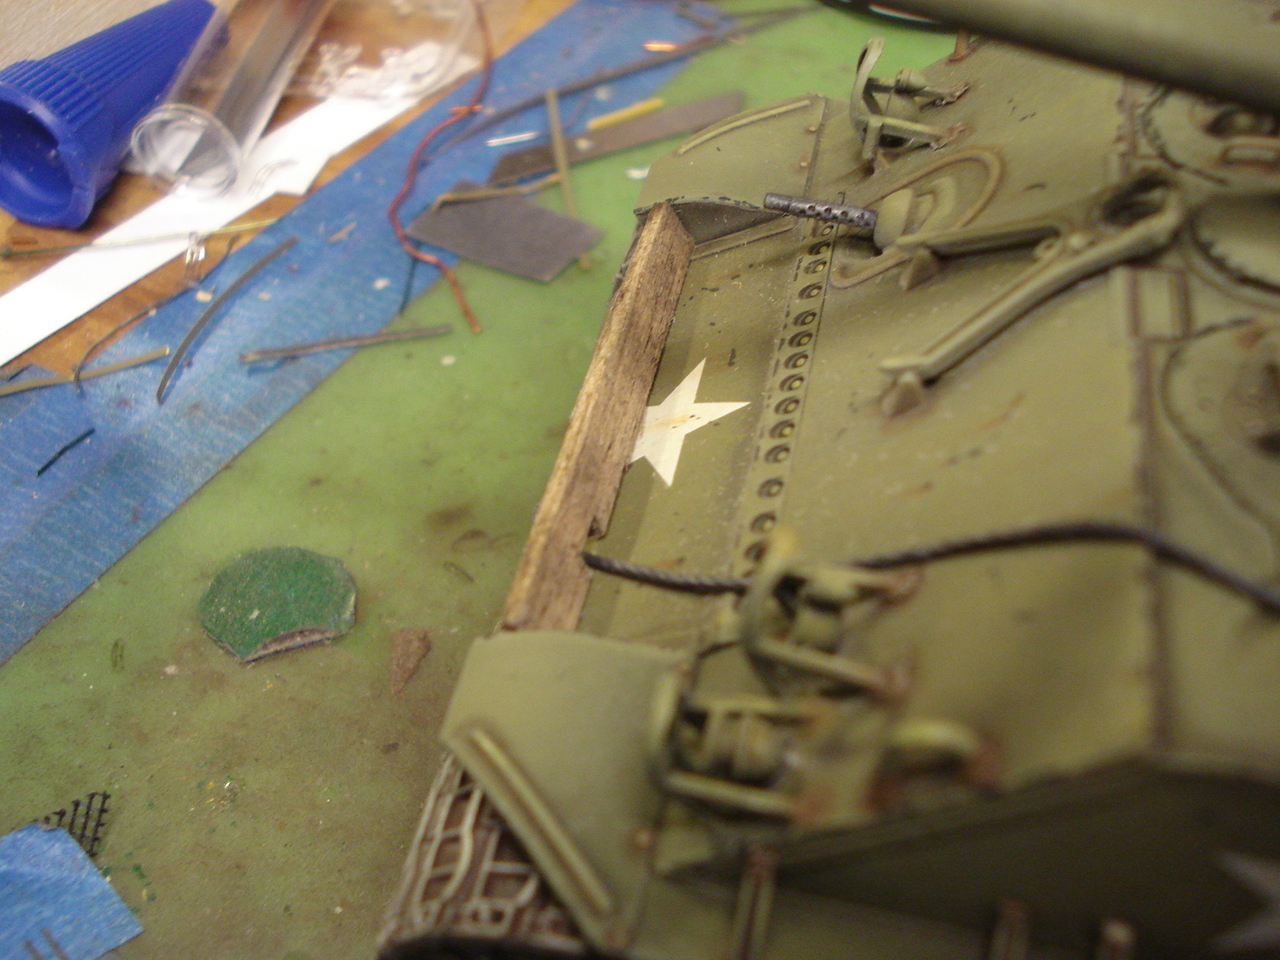
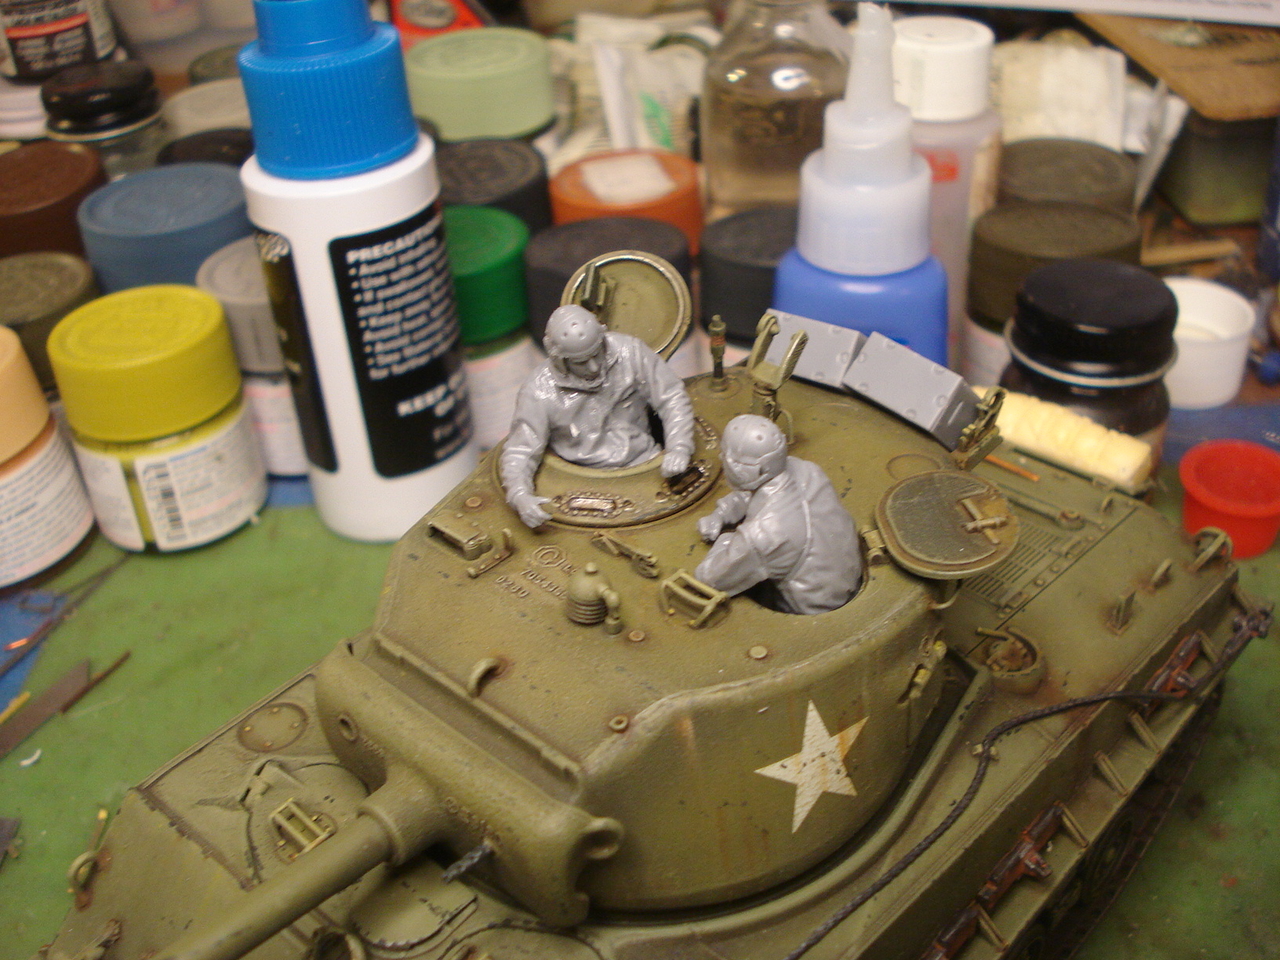
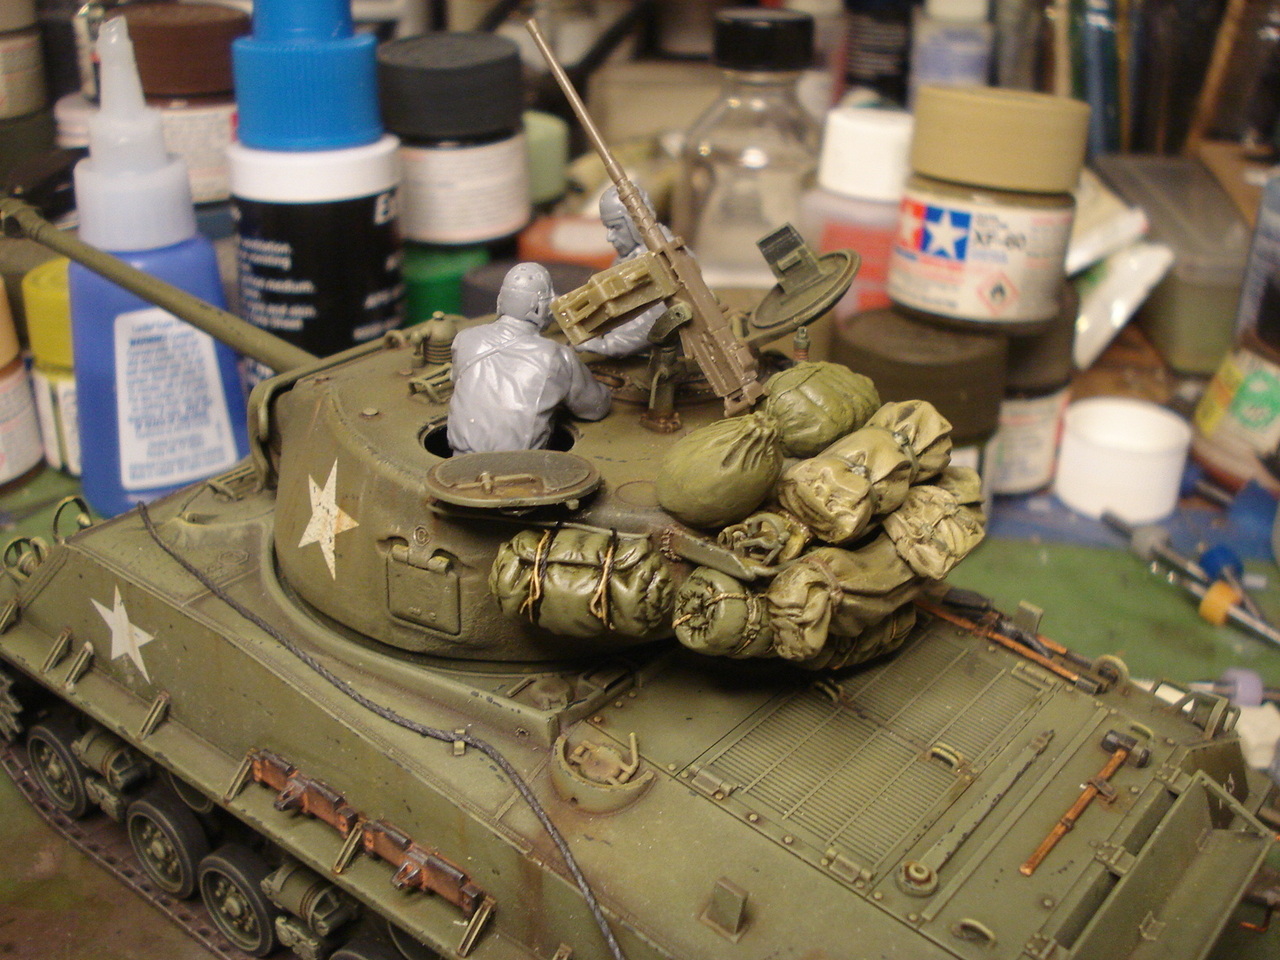
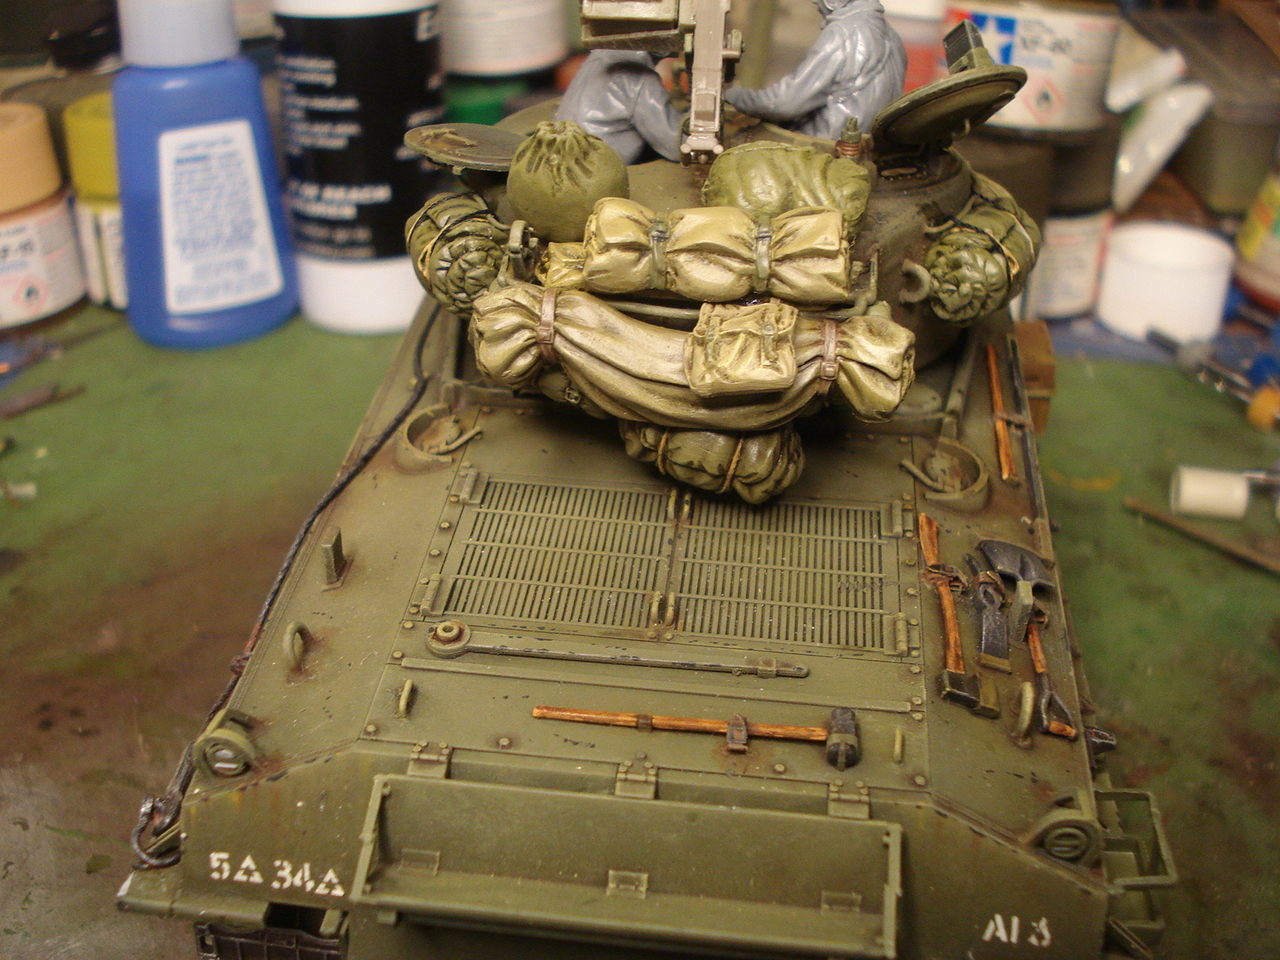
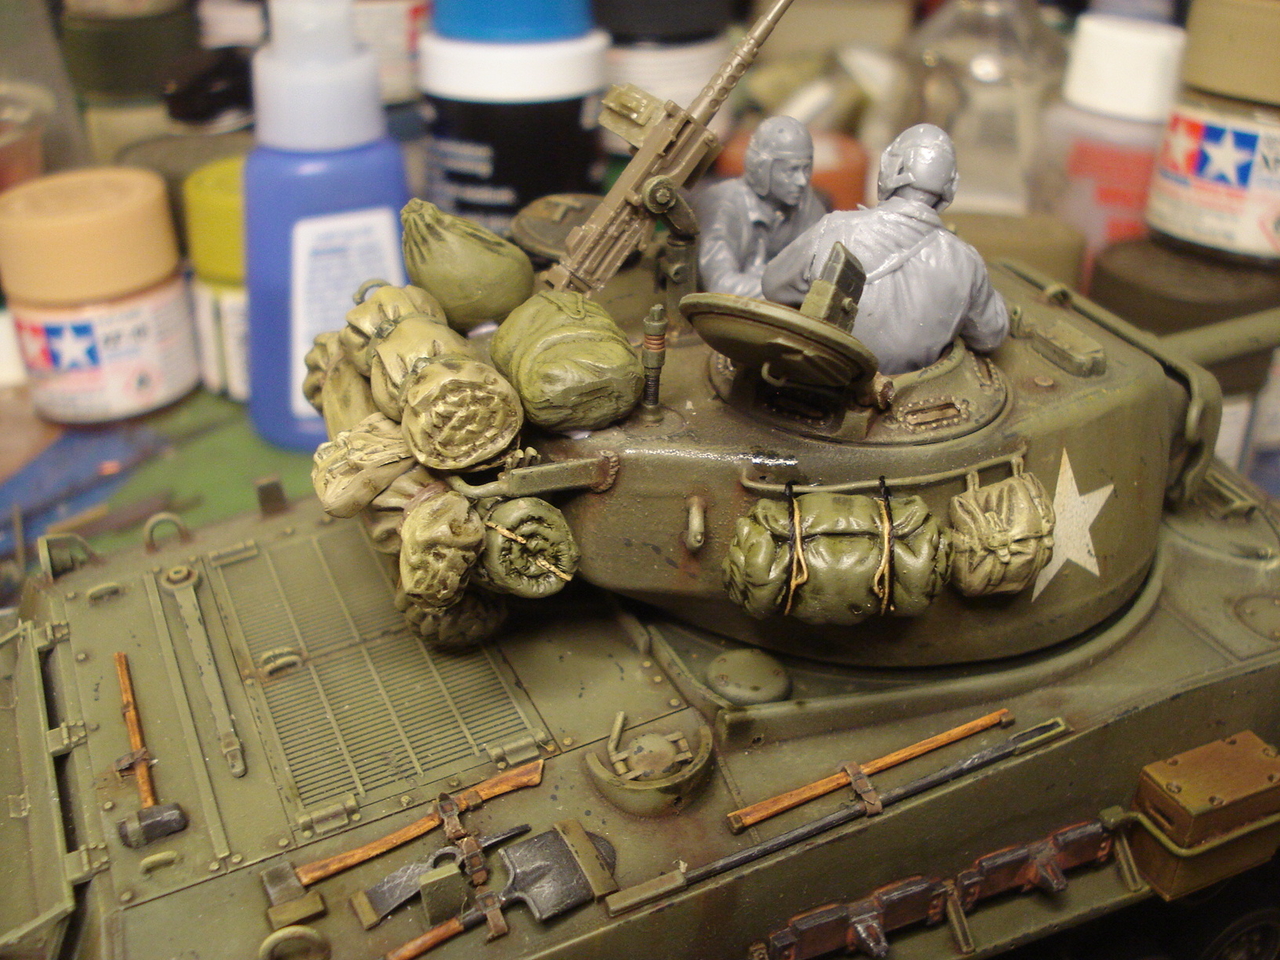
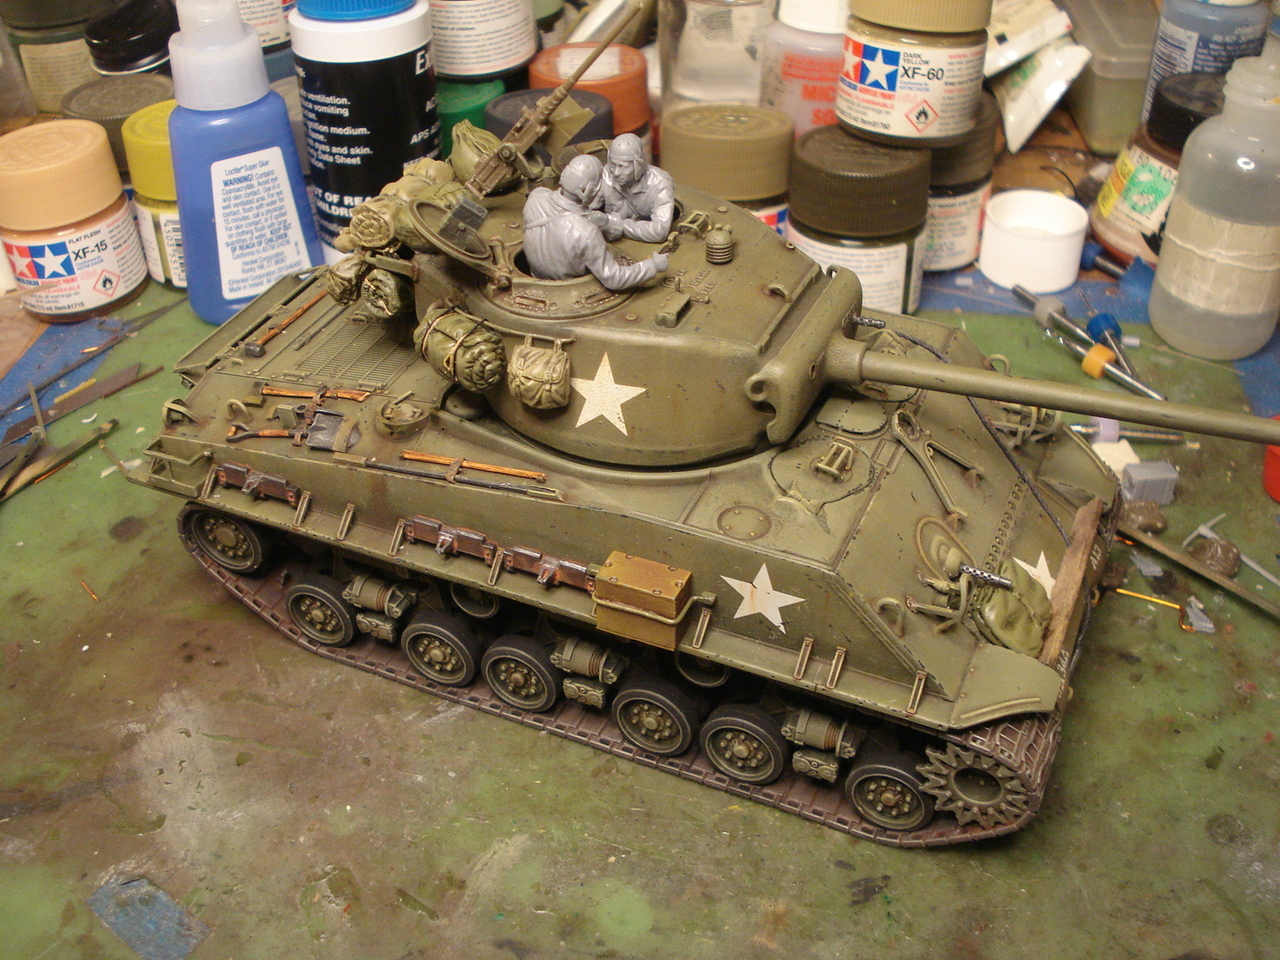
I have added the a tow cable, spare tracks and a wooden shelf between the front fenders. I have also started on the turret crew. The crew is from the new Sherman tank crew from Tamiya.


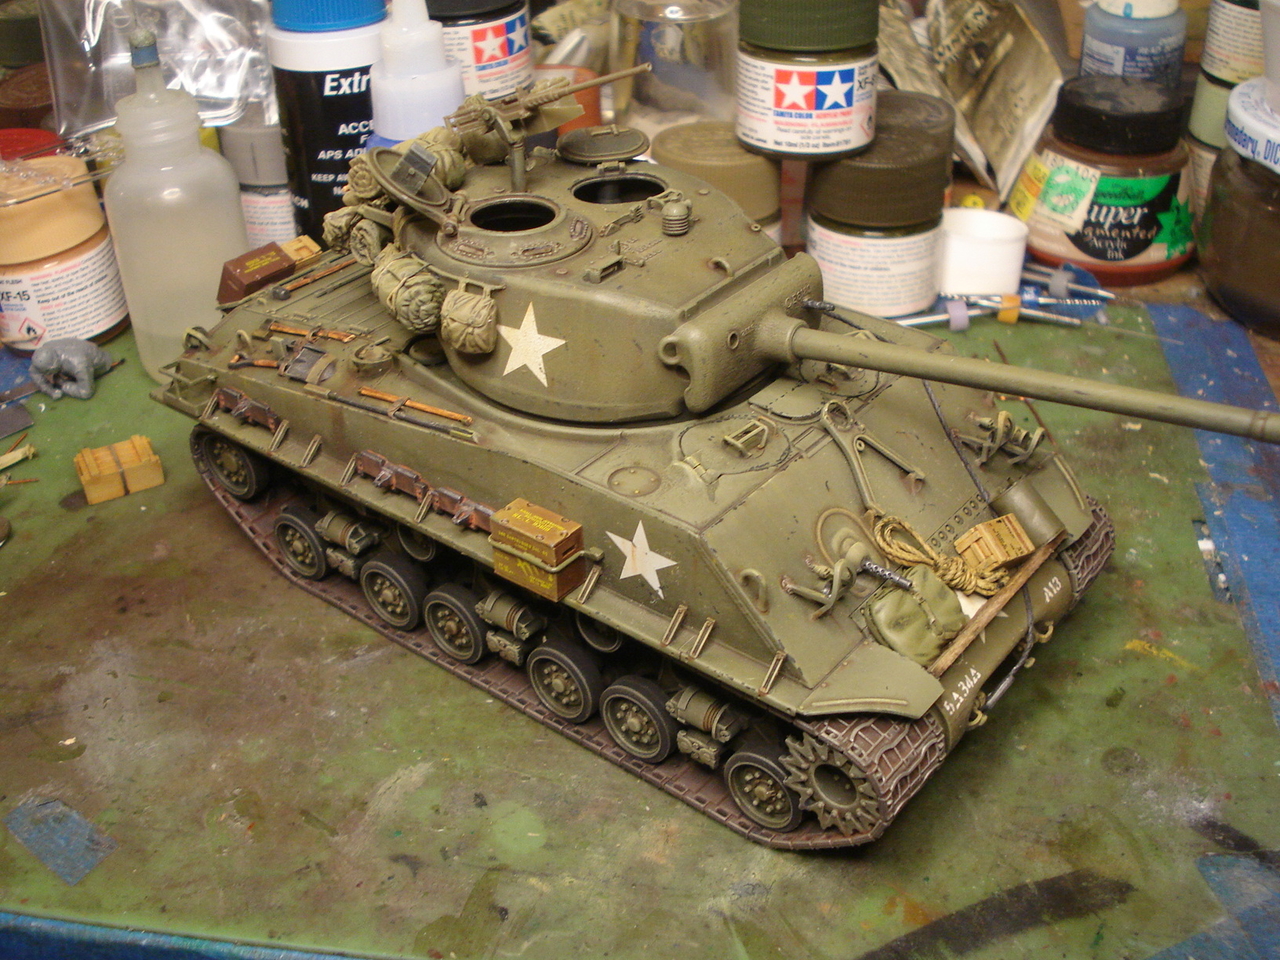
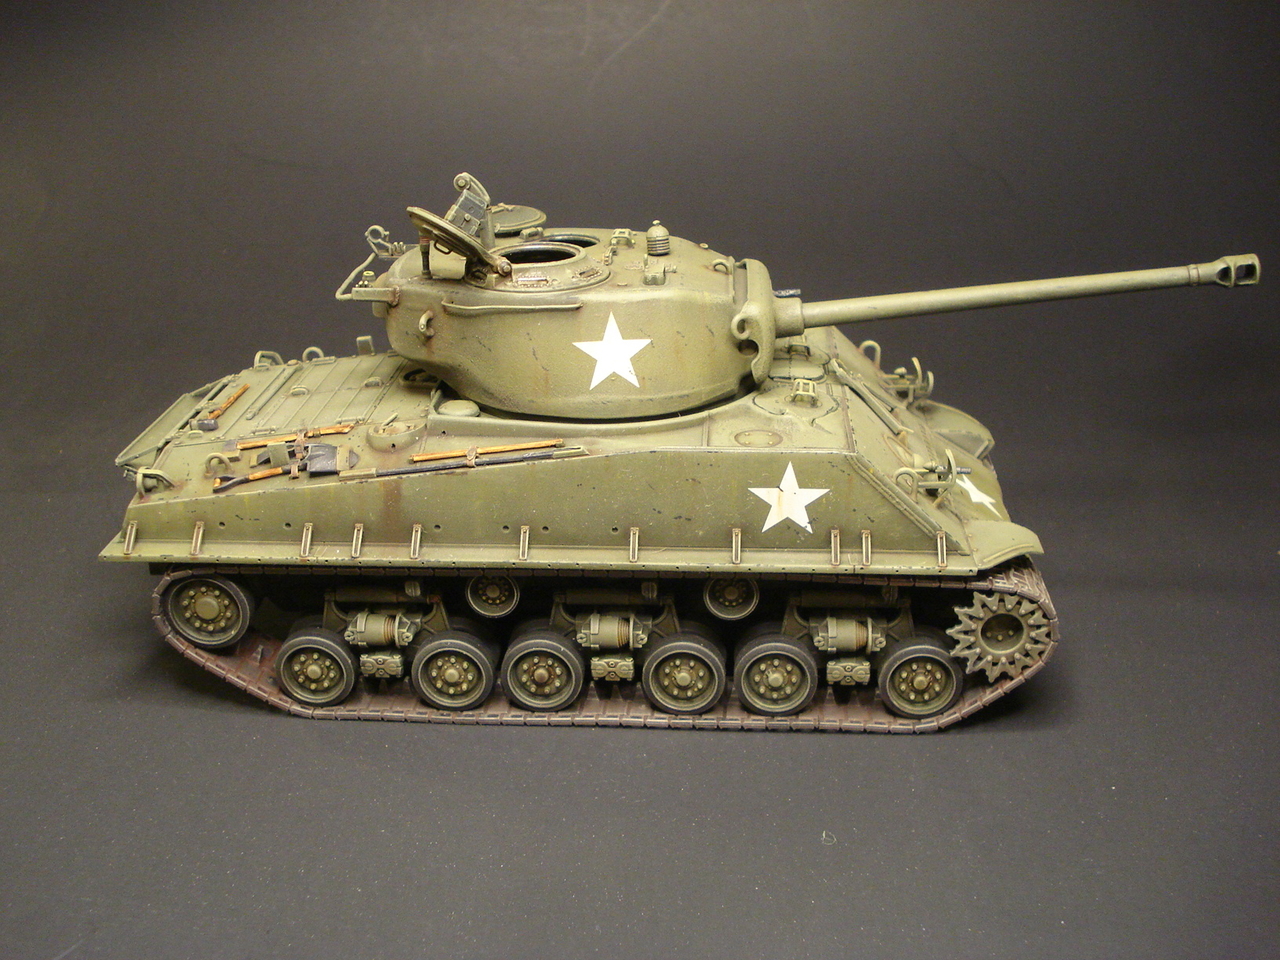
Here is a stowage update. The flat coat has not been added yet.

Sorry for the overload, but this has been running on a couple of other sites. I didn't want to bore you guys with a technique you have already seen. As always questions and comments are welcome and I think this brings things up to date.
Thanks for looking.
")
My friend Norm wanted to do a Sherman so here we are. I have been posting little progress shots in the "What's on the bench" forum, but thought maybe someone would want to see the blow by blow.Started this M4A3E8 Sherman from Tamiya. The lower hull is built and primed with Tamiya Nato Black. Let the painting begin.
Done some painting and shading. Put on a wash and some dry brushing.
The M4A3E8 has tracks now. I painted them with Tamiya Dark Iron and dry brushed with a little silver. Also added a pin wash to the running gear.
I have added a dark brown pigment wash to the tracks of my Sherman.
Added another pigment wash for the tracks and black oil wash to the tires. Now it's time to move on to the upper hull.
The upper hull is coming together. I replaced the molded on grab handles with wire ones and drilled the drain holes in the fuel cap guards.
Added the rest of the tools and upper hull kit parts. I added wire tie down loops and some additional details to the headlight guards. I added side skirt mounting holes to the side fenders. I will be adding some weld beads here and there as well.
sneek peek at the turret.
Ok most of the construction is complete except for some small details that I'm adding as I go along. Getting close to painting.
Let the painting begin...
Painted overall Tamiya Nato Black.
Then Black green...
Shading up ever lighter shades of green.
Highlights...
oil wash of olive green and burnt umber.....
Bry brushed with olive green, white, and yellow orcher oil paint.
More done on the hull and turret started.
Here is a little more. I think I'm about ready to apply the markings.
I added the markings for the turret and then did some chipping and more weathering.
stowage preview....
More markings and more weathering.
[
Almost ready for the stowage.
I have added the a tow cable, spare tracks and a wooden shelf between the front fenders. I have also started on the turret crew. The crew is from the new Sherman tank crew from Tamiya.
Here is a stowage update. The flat coat has not been added yet.
Sorry for the overload, but this has been running on a couple of other sites. I didn't want to bore you guys with a technique you have already seen. As always questions and comments are welcome and I think this brings things up to date.
Thanks for looking.