
Iron Mike
Master At Arms And Resident Curmudgeon
Lately, I've noticed an aversion to individual link tracks by modelers and couldn't help but wonder why? The old rubber band tracks were SO awful, what would cause folks to shy away from detailed, easy to assemble links? Maybe there's too many? Maybe it's the clean up of injector marks or attachment points? Fitting them together and keeping them that way? Well, maybe this can help ease that pain.
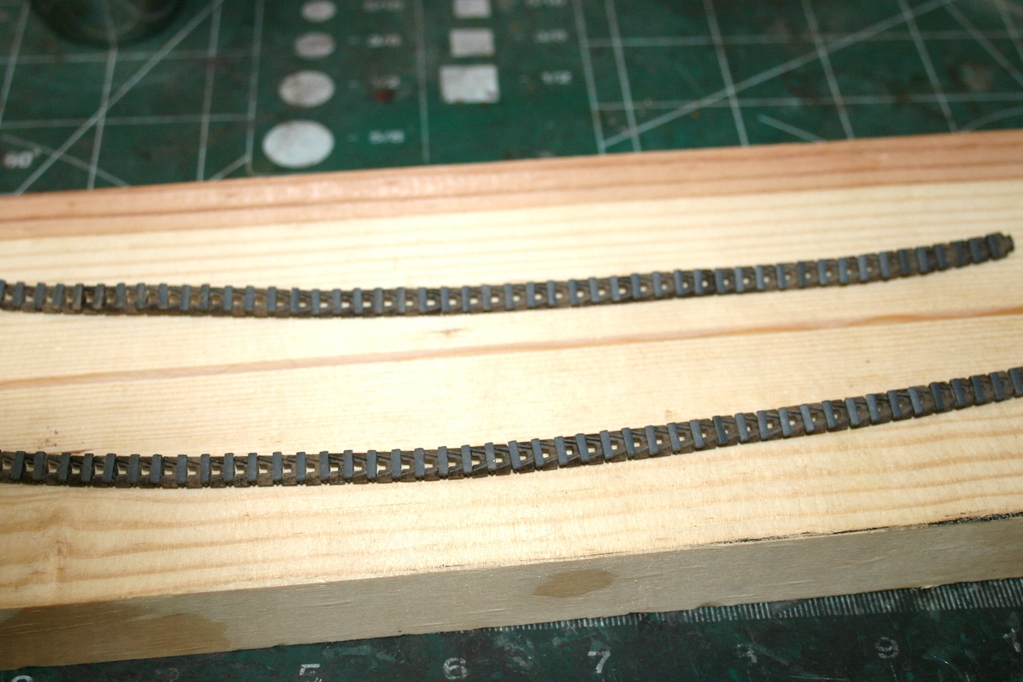
I am no expert, master or anything of the sort, but an old friend of mine who is shared his method with me some years ago. We'll use Dragon's Magic Tracks for the first example. A lot of Dragon's kits are supplied with left and right tracks, so we want to assemble them that way. How do we know how many per run? Here's an easy, surefire way to measure. 3M blue painter's tape is low tack and works well for this. Wrap a length of tape around the sprockets and returns where the tracks will fit, this gives us the length. Split the tape with your knife and attach it sticky side up to a piece of wood or your bench top. I like to use a length of 1x4 pine.

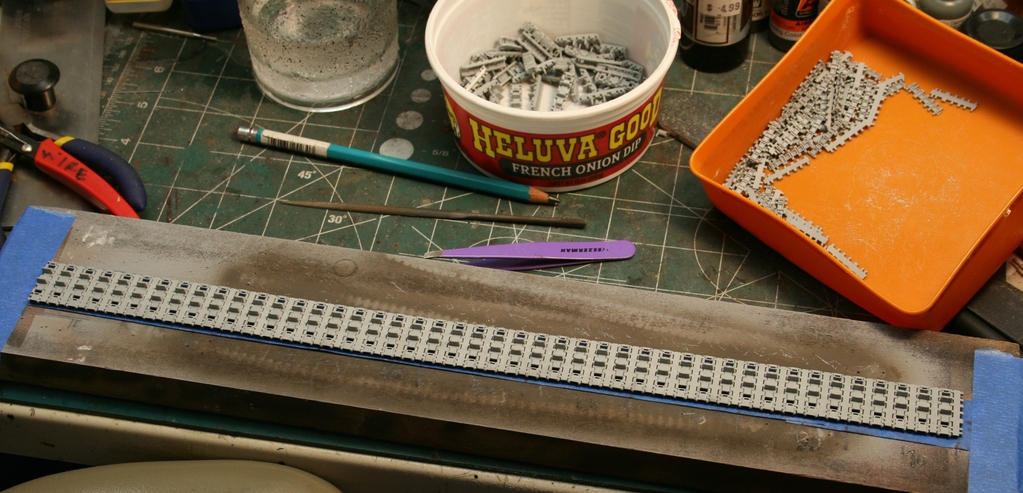
After cleaning up any ejector marks, you can start assembling the run, making sure you have the links firmly attached and square to each other. Maintaining the alignment goes a long way to easy installation. B)
I like to work in lots of 10 at a time, helps me keep track of where I am and doesn't seem to be as daunting as a run of 100. :laugh:
I usually assemble both runs, but you can work one at a time if so desired.
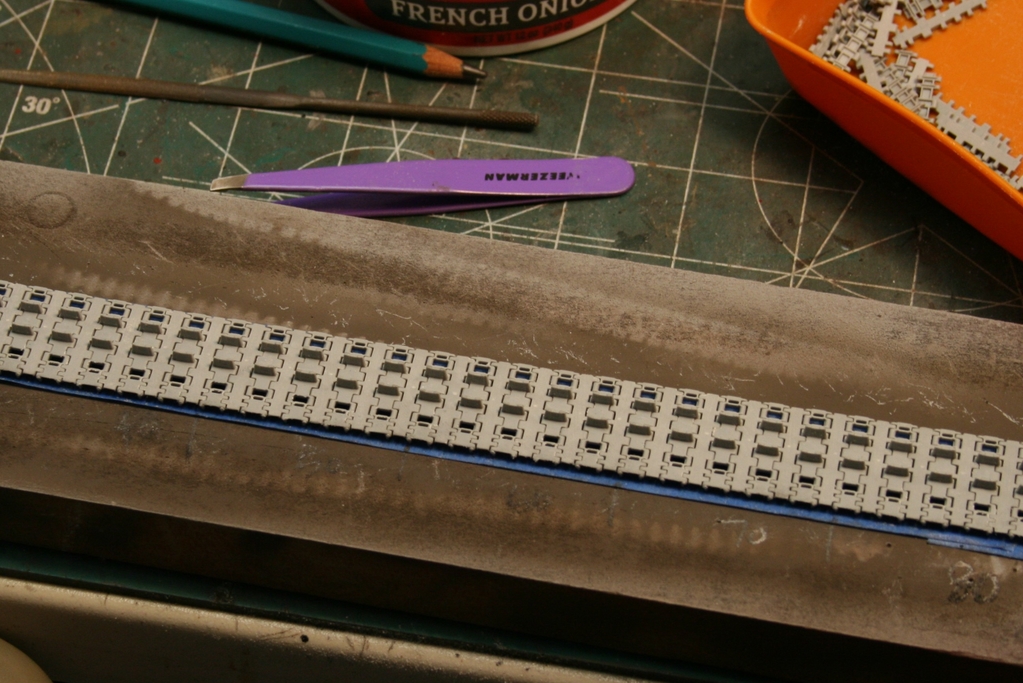
Once all assembly is done and alignment checked, a liberal coat of Testors Liquid Cement is brushed on the inside surfaces of the links. This adhesive gives you a good bond and stays workable for 10-15 minutes, plenty of time to shape the tracks to the vehicle.
Let the glue set about 10 minutes. I like to paint my tracks before installation, use the colors of your choice, but a quick drying paint works best for me.
This is a base coat of paint, so don't worry about getting it perfect, we need to move quickly.
Liberate the tracks from the tape with your hobby knife (carefully) and add glue to any links that might be loose.
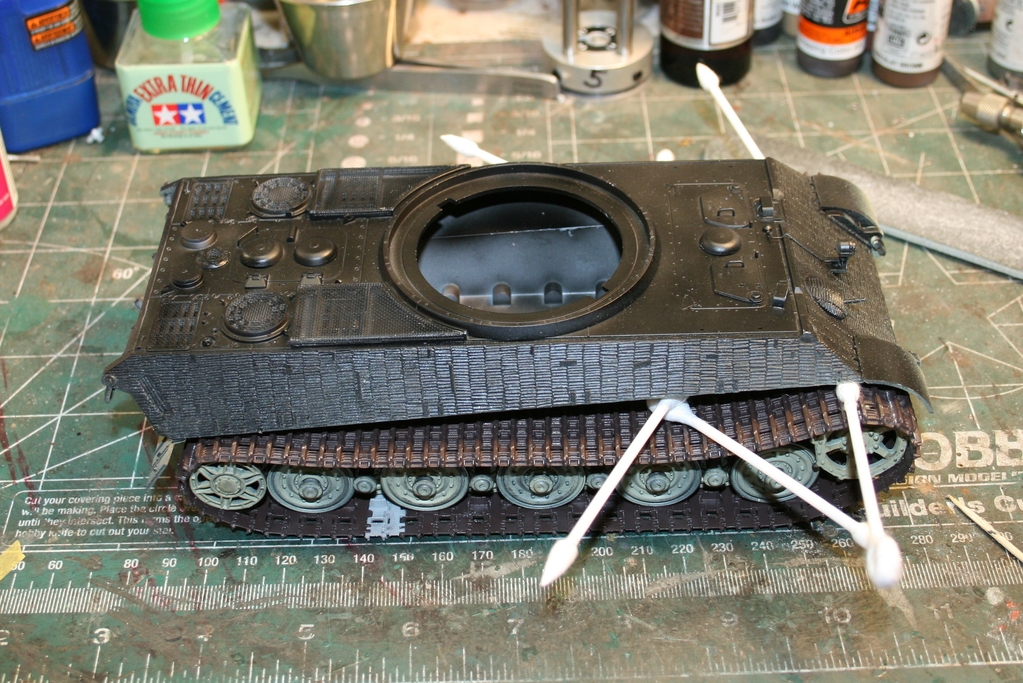
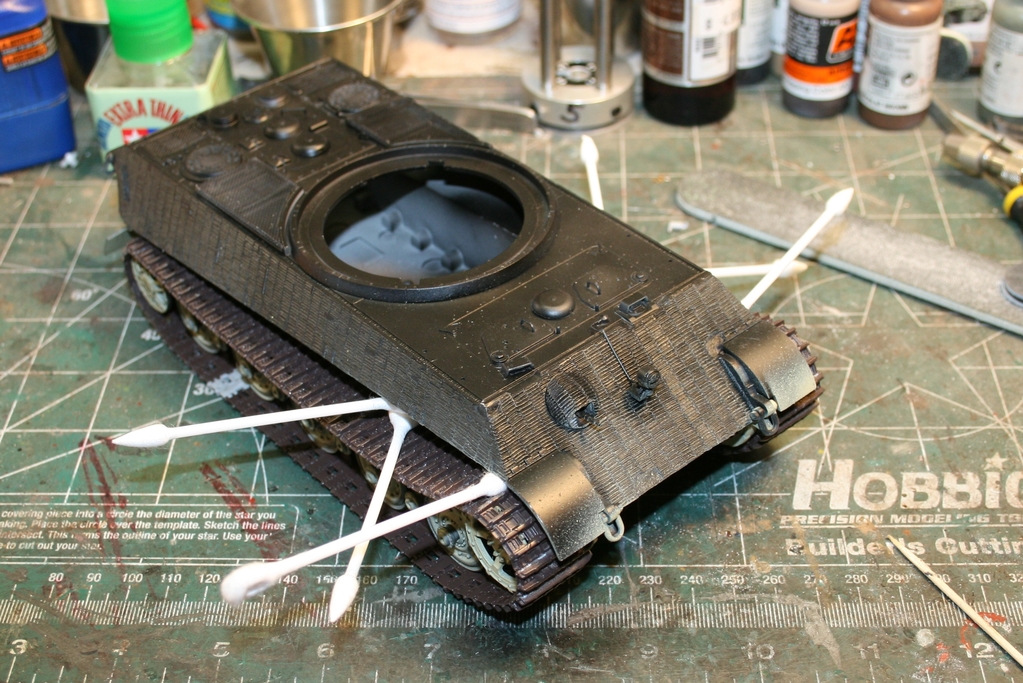
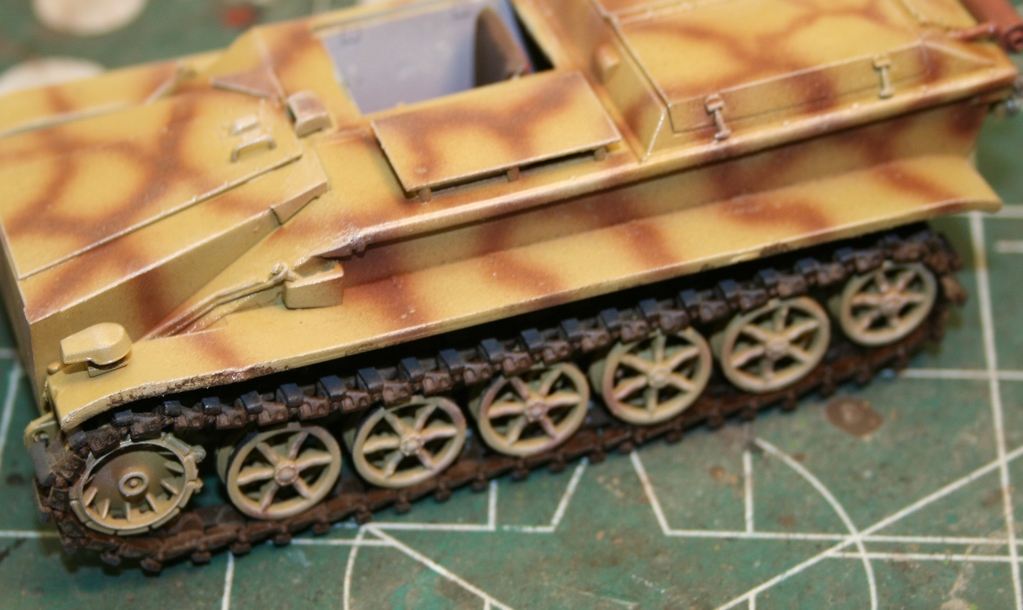
Wrap the run around the sprocket, making sure the teeth engage. Tracks are heavy, so any floating will ruin the effect and we don';t want that! Go over the idlers and returns, meeting in the approximate middle of the bottom run. Make sure the tracks engage with each other, remove or add a link if necessary. Any gaps between the track links renders the track useless and ruins the build. Take care here. Adjust the sag, if any with cotton swabs, shims, sprue or whatever to get it right.
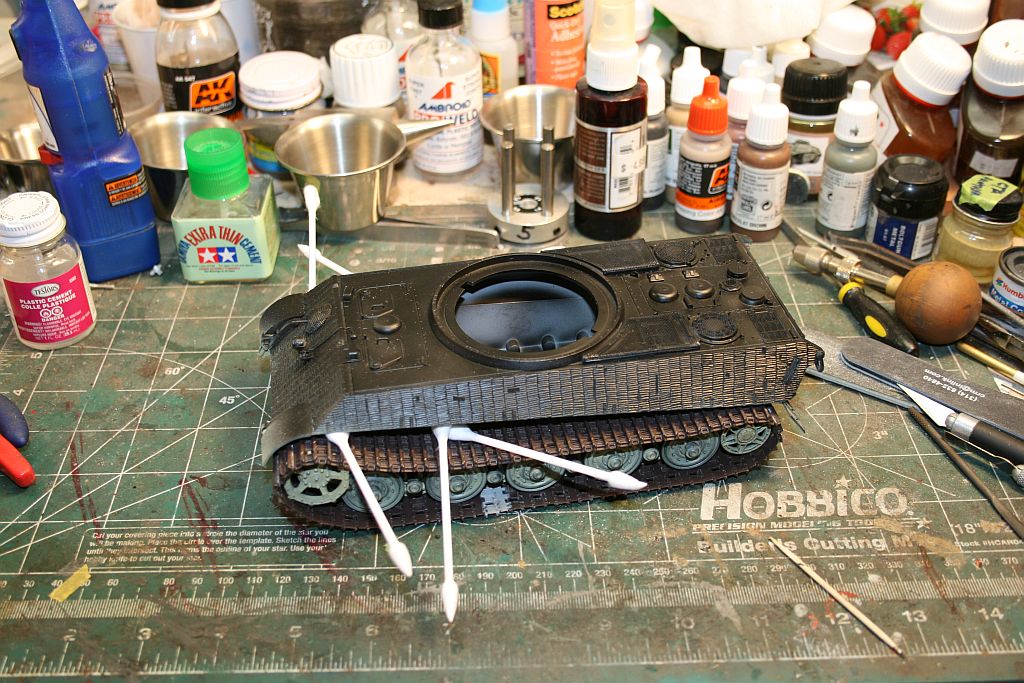
The reason I like to do both runs is so the vehicle will sit level with both installed. Think of walking around with one shoe off.
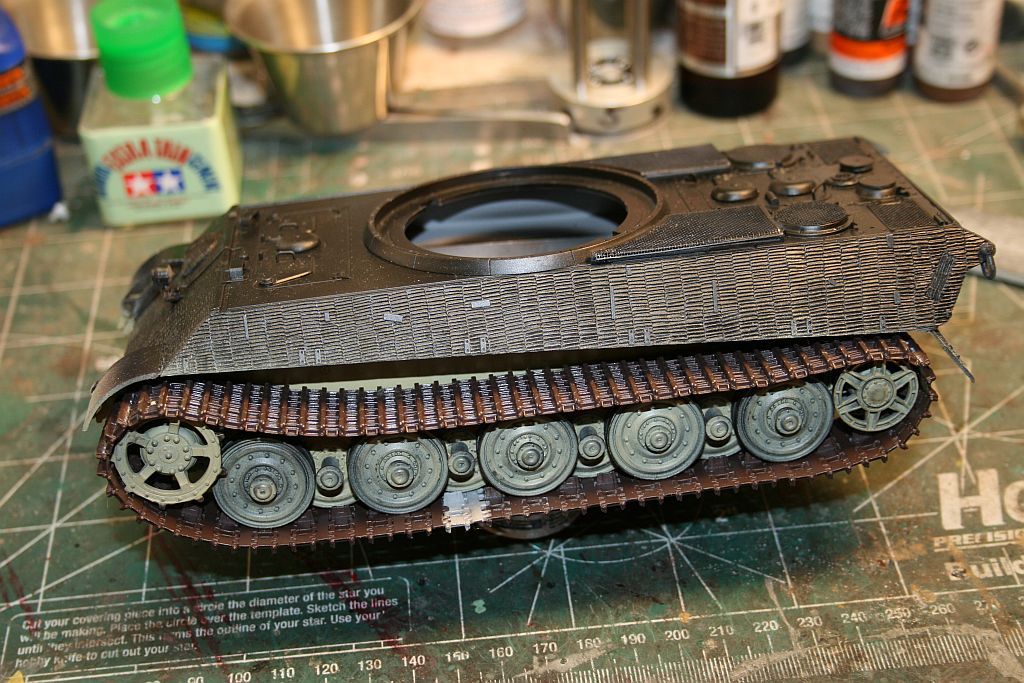
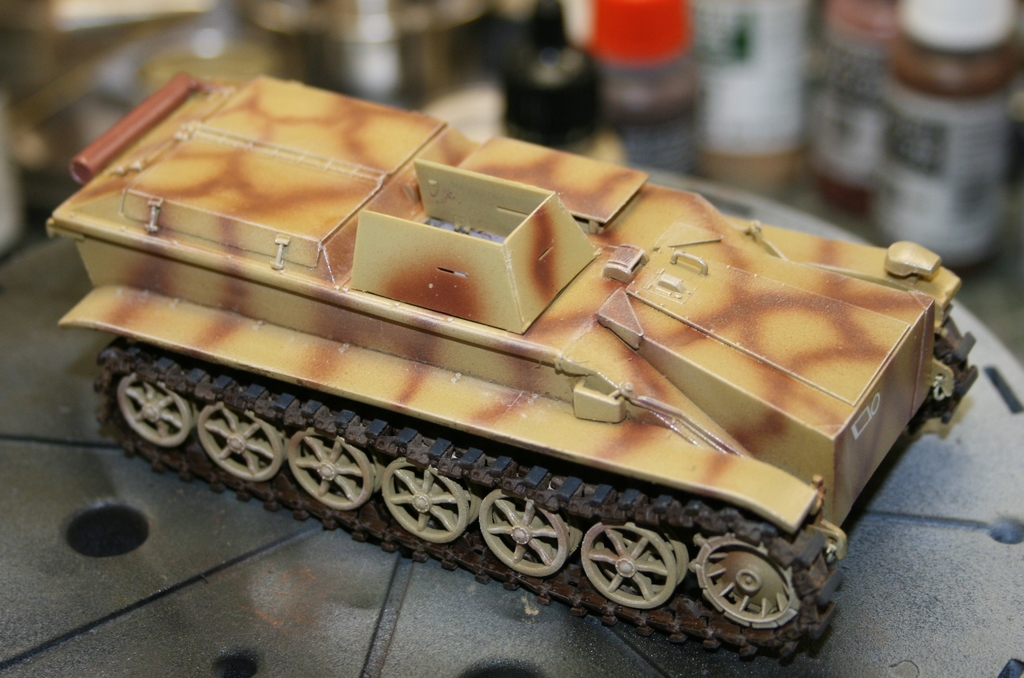
If we did it correctly, we now have a good looking tracked vehicle.
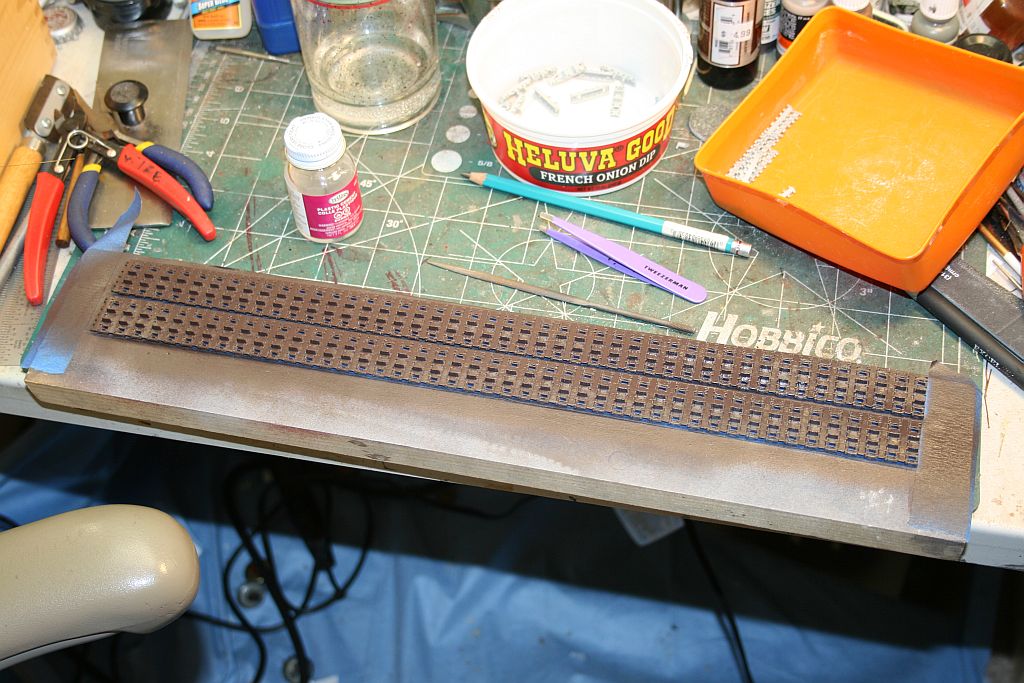
A second technique is necessary for tracks that employ links and pads, like German half tracks.
I like to use a length of 1x4 pine again, this time with a groove I milled into it with my table saw.
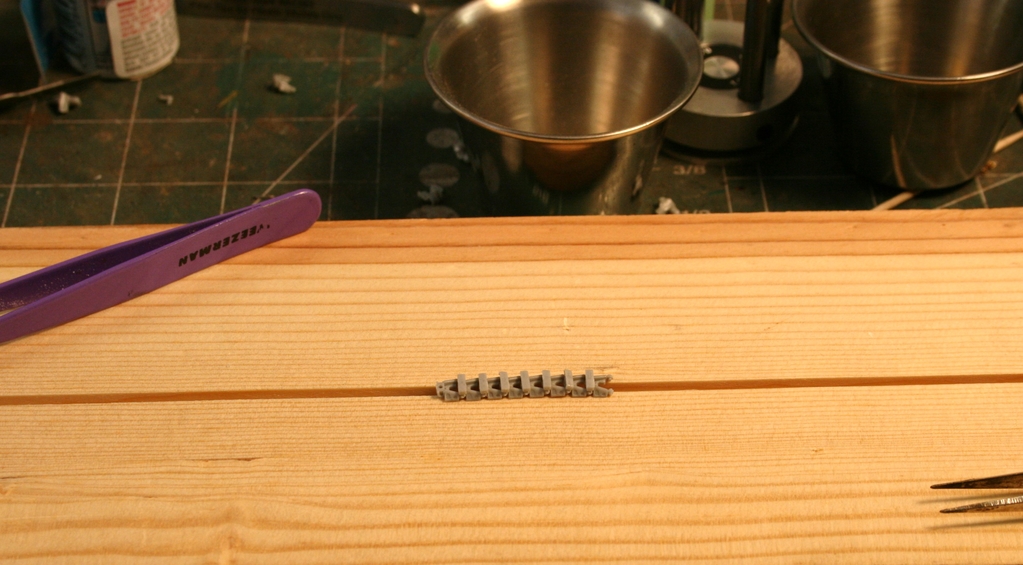
If you don't have a saw, you can make a jig from strips of wood or styrene, you just need the groove to align the links.
Set the links together with the pins engaged, then carefully glue the pad over the teeth, being careful not to glue the pins. This holds the links together, while leaving the tracks somewhat workable.

Paint the tracks, then pick out the rubber pads with your favorite rubber color with a brush. Install as earlier described, taking care with the engagement of the teeth.
Here's a link to a previously shared video, should you want more info.
https://www.modelersalliance.com/forum/sprue-u-tips-and-techniques/150367-making-magic-tracks-easier
I built the DML ISU-152 using rubber cement on the tracks, it worked well, but I prefer the liquid cement method. Hoping this makes track building easier and more fun. Thanks for looking.
:drinks
I am no expert, master or anything of the sort, but an old friend of mine who is shared his method with me some years ago. We'll use Dragon's Magic Tracks for the first example. A lot of Dragon's kits are supplied with left and right tracks, so we want to assemble them that way. How do we know how many per run? Here's an easy, surefire way to measure. 3M blue painter's tape is low tack and works well for this. Wrap a length of tape around the sprockets and returns where the tracks will fit, this gives us the length. Split the tape with your knife and attach it sticky side up to a piece of wood or your bench top. I like to use a length of 1x4 pine.
After cleaning up any ejector marks, you can start assembling the run, making sure you have the links firmly attached and square to each other. Maintaining the alignment goes a long way to easy installation. B)
I like to work in lots of 10 at a time, helps me keep track of where I am and doesn't seem to be as daunting as a run of 100. :laugh:
I usually assemble both runs, but you can work one at a time if so desired.
Once all assembly is done and alignment checked, a liberal coat of Testors Liquid Cement is brushed on the inside surfaces of the links. This adhesive gives you a good bond and stays workable for 10-15 minutes, plenty of time to shape the tracks to the vehicle.
Let the glue set about 10 minutes. I like to paint my tracks before installation, use the colors of your choice, but a quick drying paint works best for me.
This is a base coat of paint, so don't worry about getting it perfect, we need to move quickly.
Liberate the tracks from the tape with your hobby knife (carefully) and add glue to any links that might be loose.
Wrap the run around the sprocket, making sure the teeth engage. Tracks are heavy, so any floating will ruin the effect and we don';t want that! Go over the idlers and returns, meeting in the approximate middle of the bottom run. Make sure the tracks engage with each other, remove or add a link if necessary. Any gaps between the track links renders the track useless and ruins the build. Take care here. Adjust the sag, if any with cotton swabs, shims, sprue or whatever to get it right.
The reason I like to do both runs is so the vehicle will sit level with both installed. Think of walking around with one shoe off.
If we did it correctly, we now have a good looking tracked vehicle.
A second technique is necessary for tracks that employ links and pads, like German half tracks.
I like to use a length of 1x4 pine again, this time with a groove I milled into it with my table saw.
If you don't have a saw, you can make a jig from strips of wood or styrene, you just need the groove to align the links.
Set the links together with the pins engaged, then carefully glue the pad over the teeth, being careful not to glue the pins. This holds the links together, while leaving the tracks somewhat workable.
Paint the tracks, then pick out the rubber pads with your favorite rubber color with a brush. Install as earlier described, taking care with the engagement of the teeth.
Here's a link to a previously shared video, should you want more info.
https://www.modelersalliance.com/forum/sprue-u-tips-and-techniques/150367-making-magic-tracks-easier
I built the DML ISU-152 using rubber cement on the tracks, it worked well, but I prefer the liquid cement method. Hoping this makes track building easier and more fun. Thanks for looking.
:drinks

 hyeah B)
