randy_ditton
Master at Arms
Hello Everyone, My first post here and forgive me if you have seen this elsewhere....
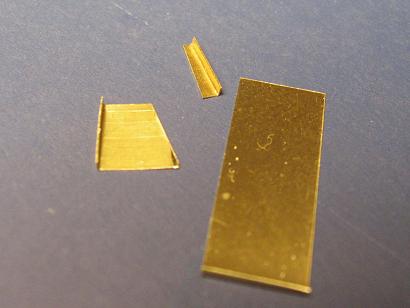
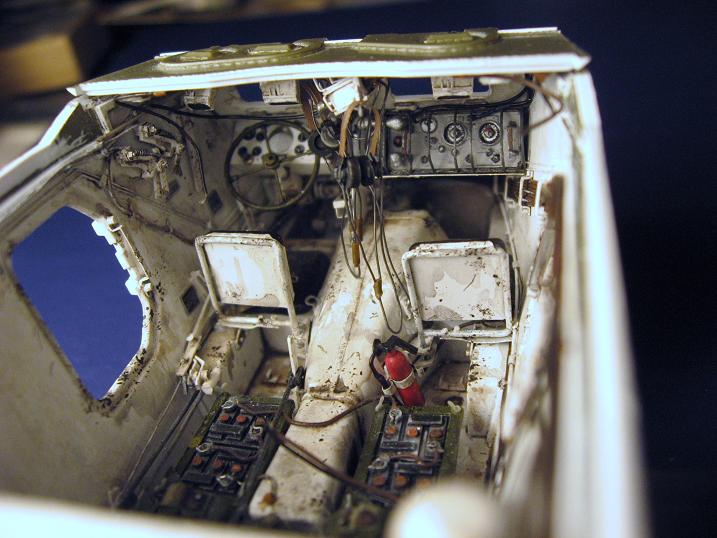
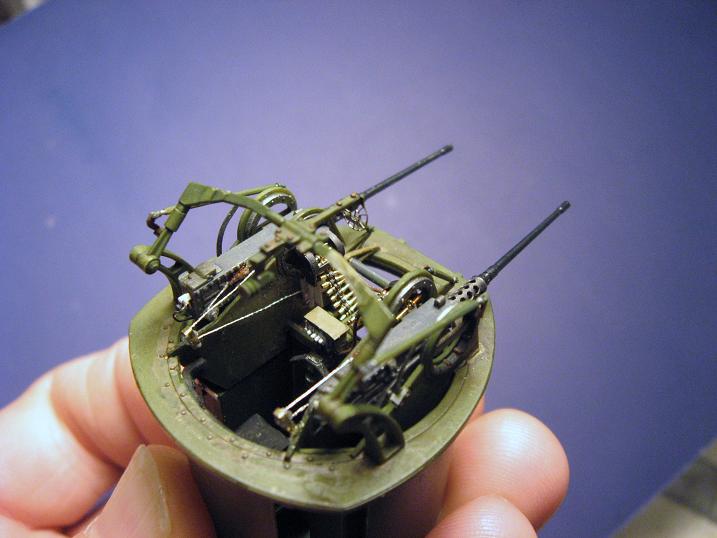
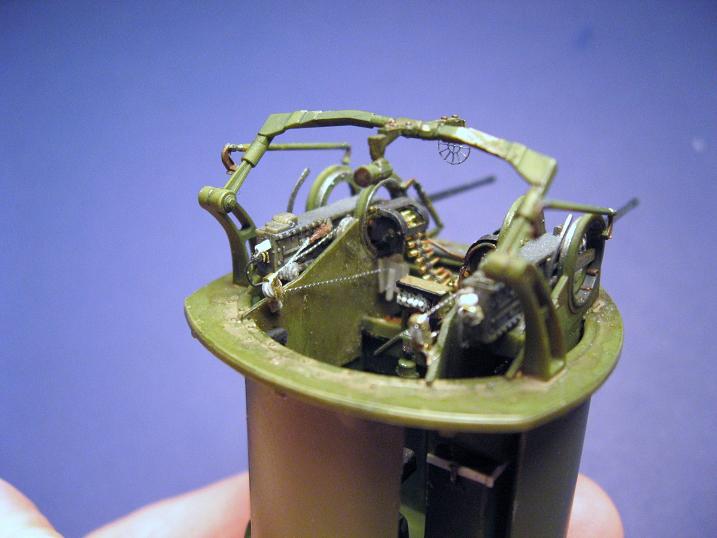
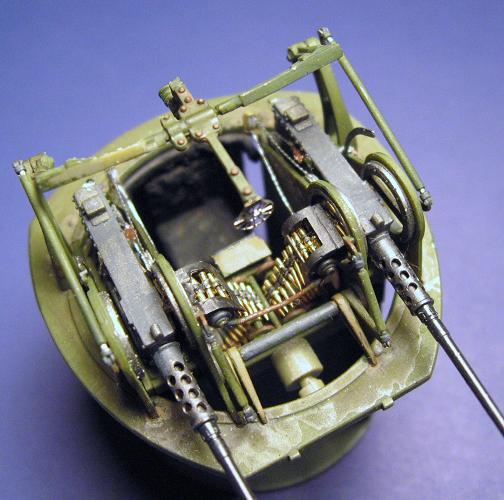
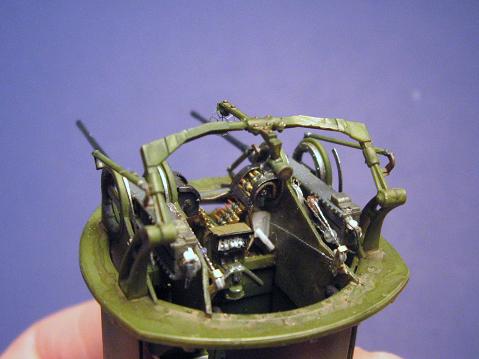
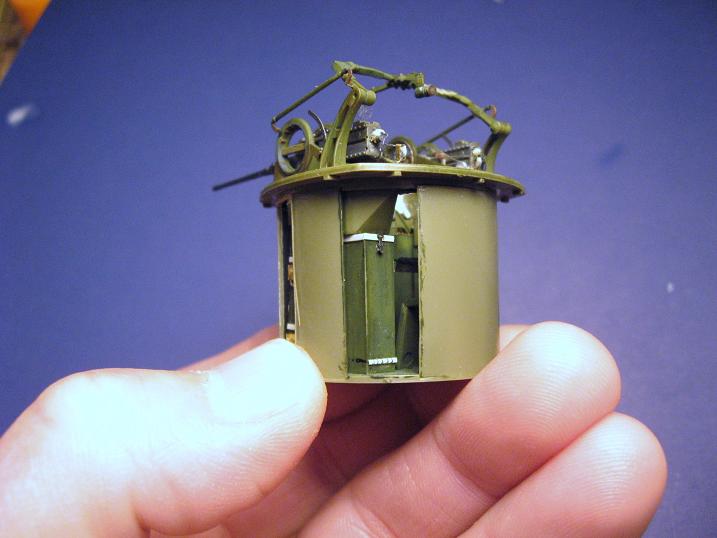
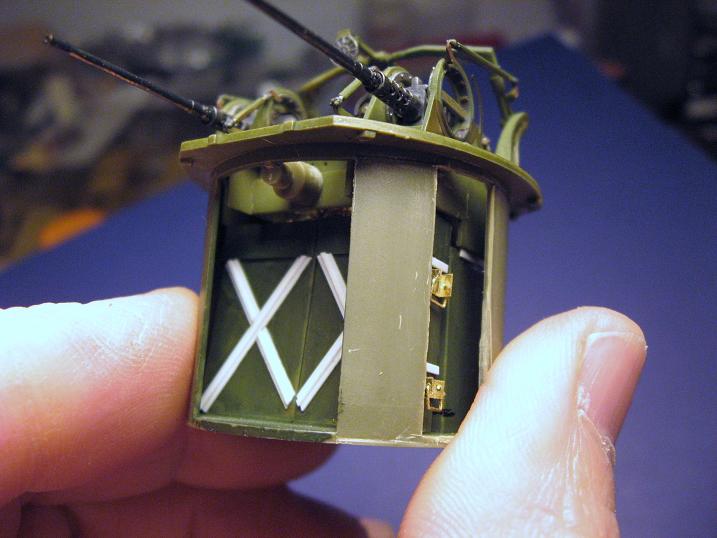
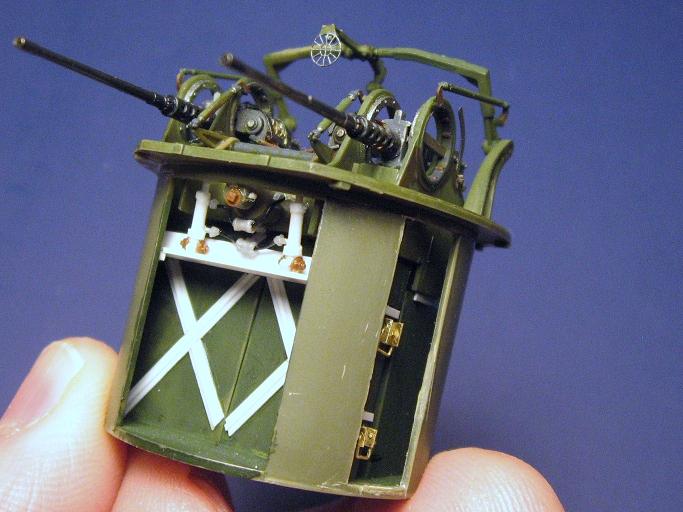
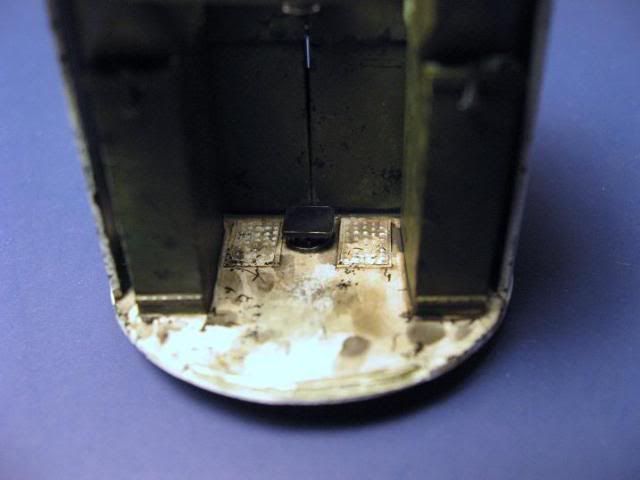
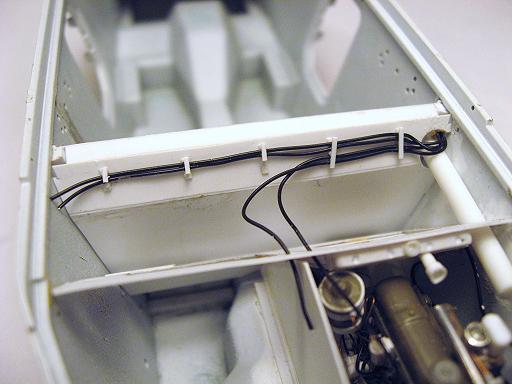
Bronco has made a fine kit here but no interior. Decided to add one....
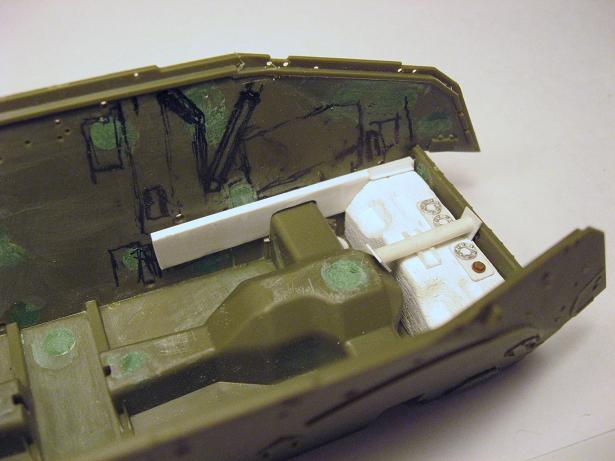
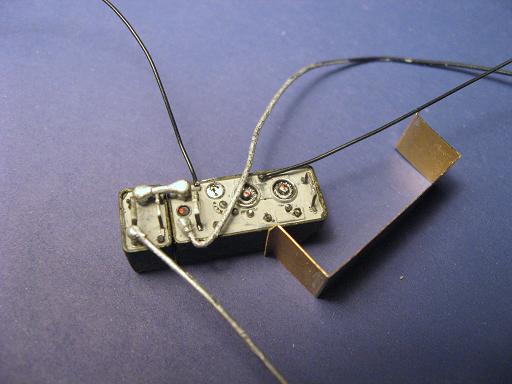
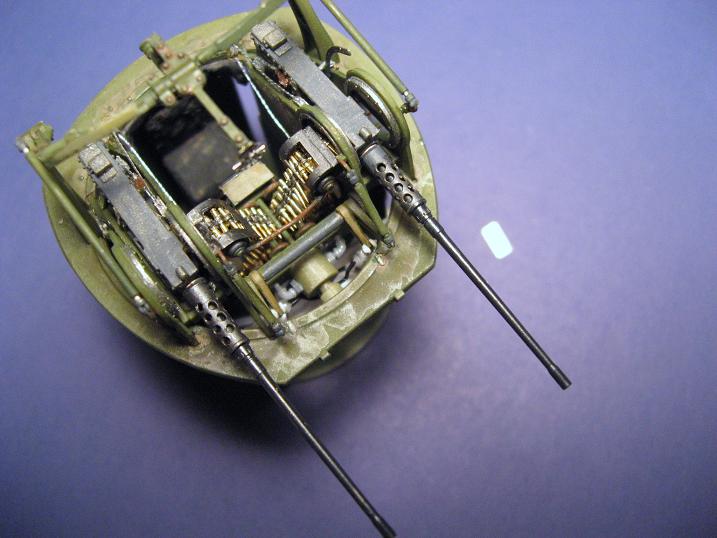
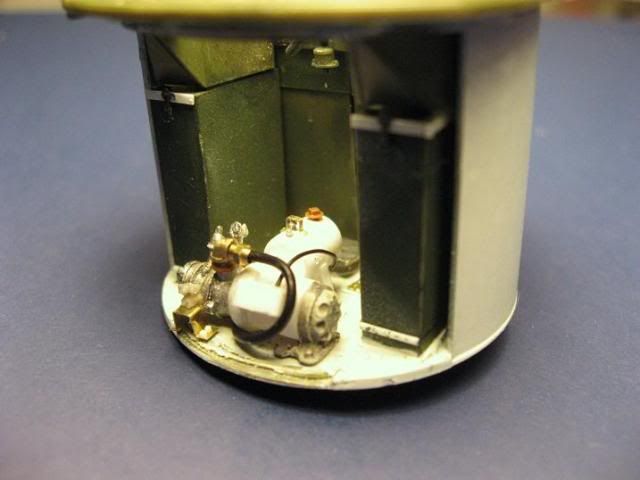
Adding some partions and the motor.
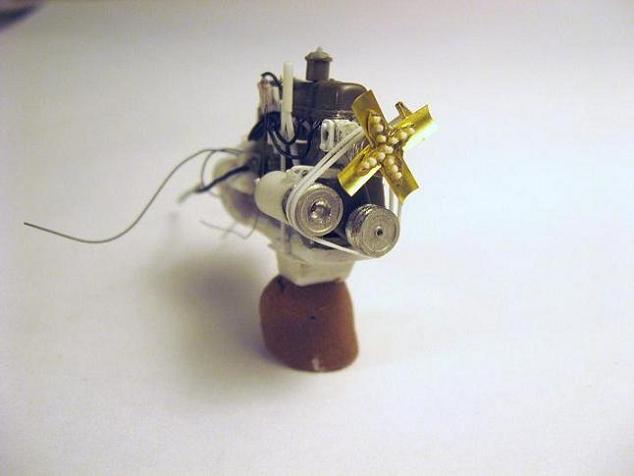
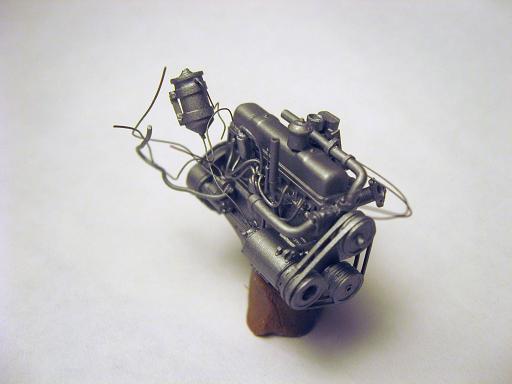
These cars use the GMC six-cylinder 217 hp motor so I could steal the engine block from the Tamiya 2 1/2 ton truck kit for a starting point....
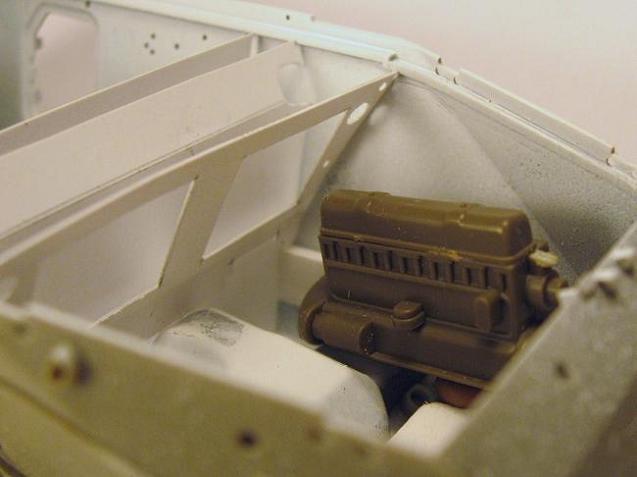

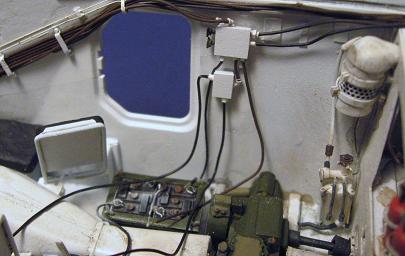
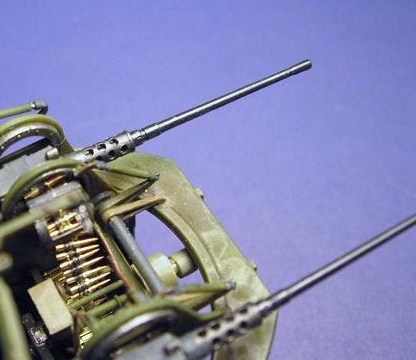
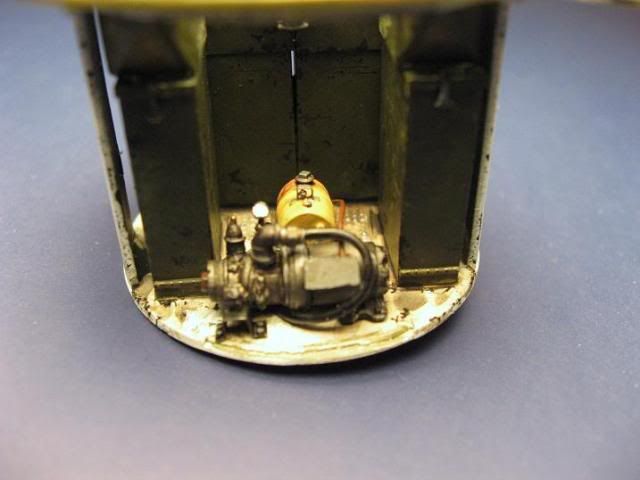
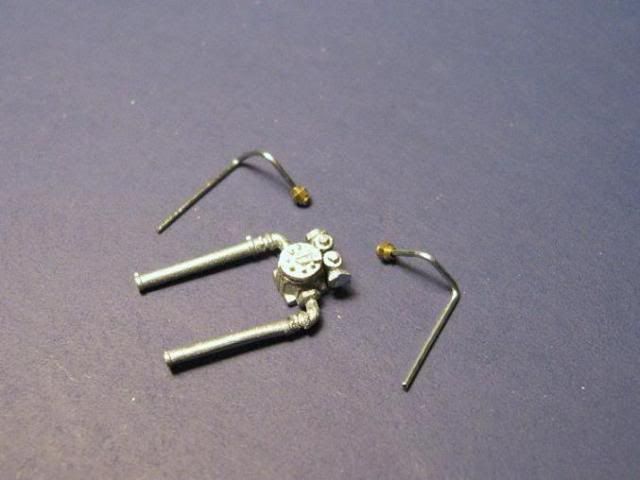
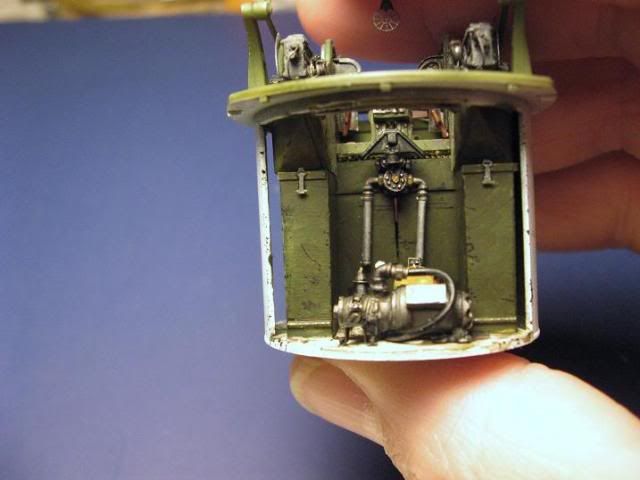
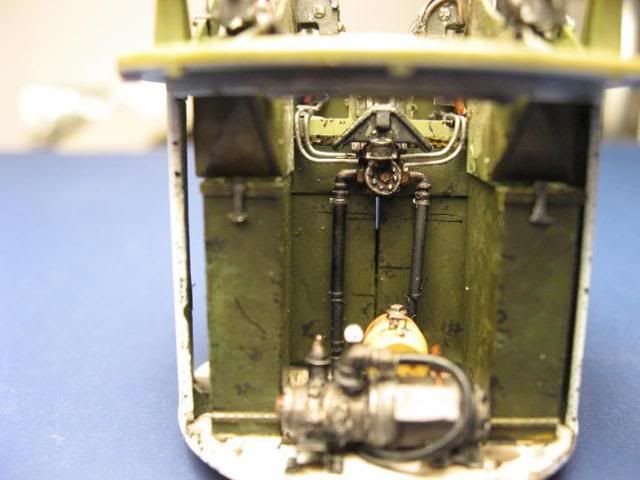
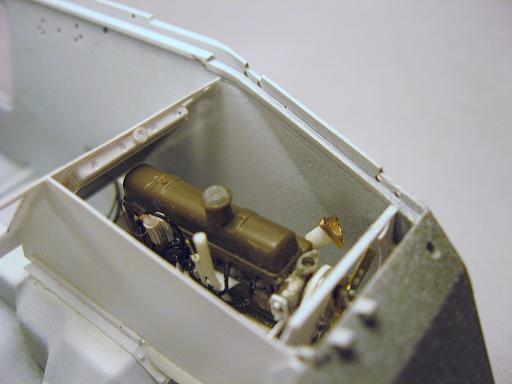
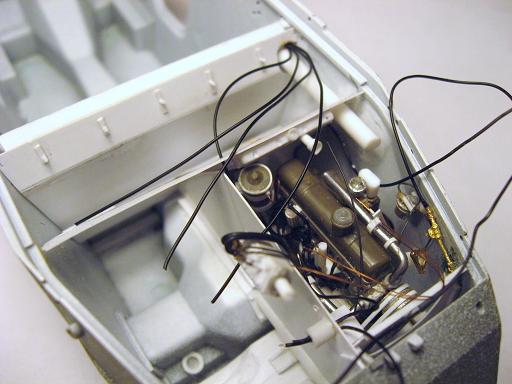
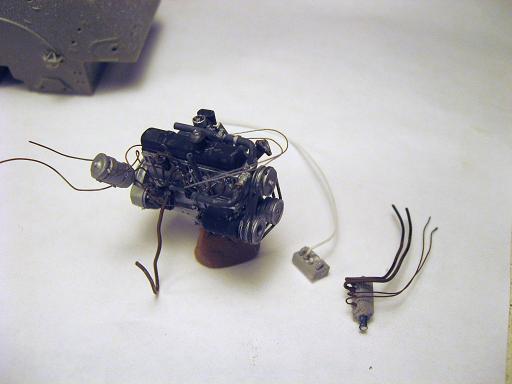
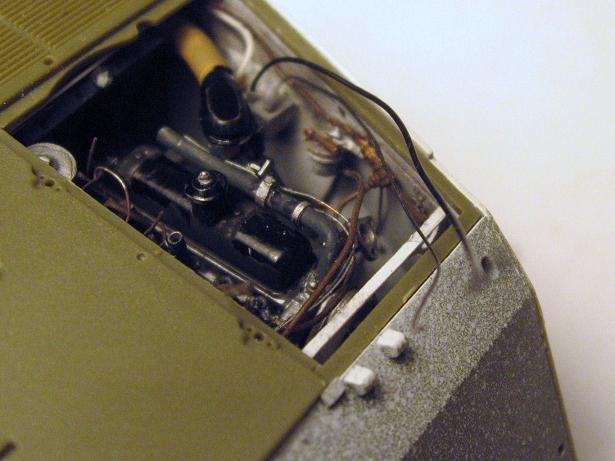
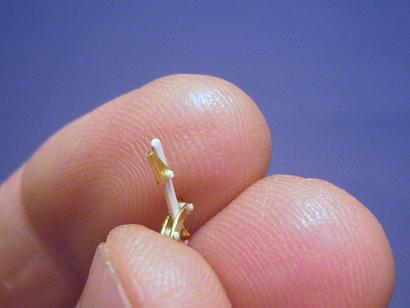
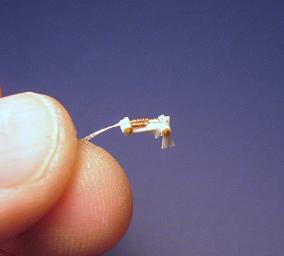
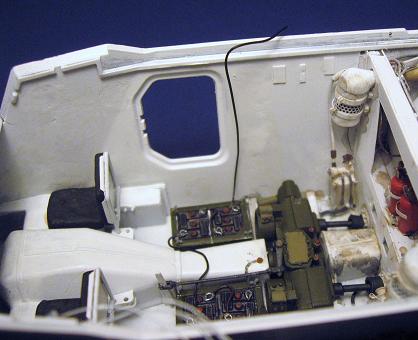
This car used two motors side by side in the rear compartment, wimped out and will only model one engine and keep the other door shut. Adding more plumbing for fuel and fire suppression and other details...
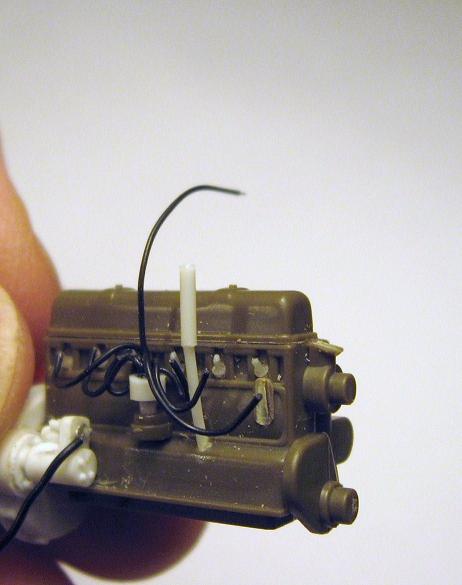
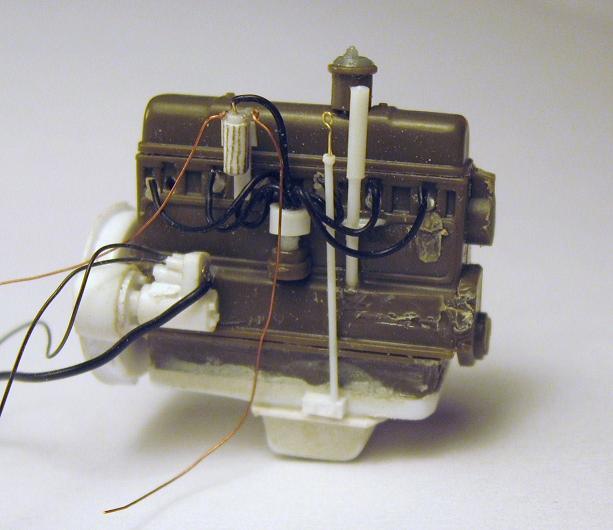
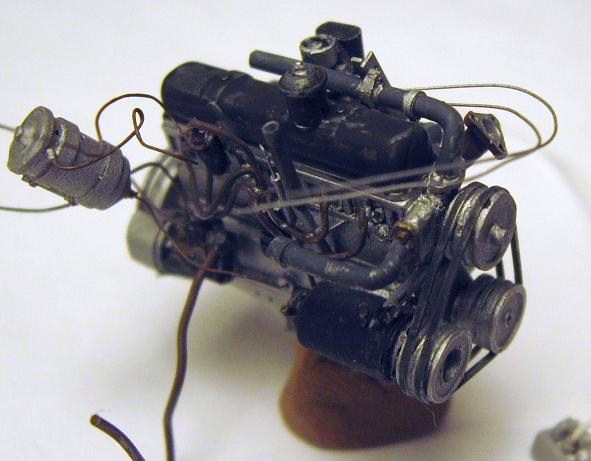
Put some paint on the engine while I still can...
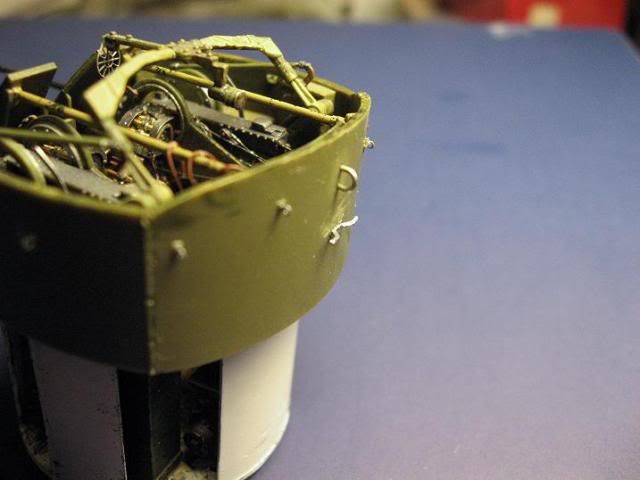
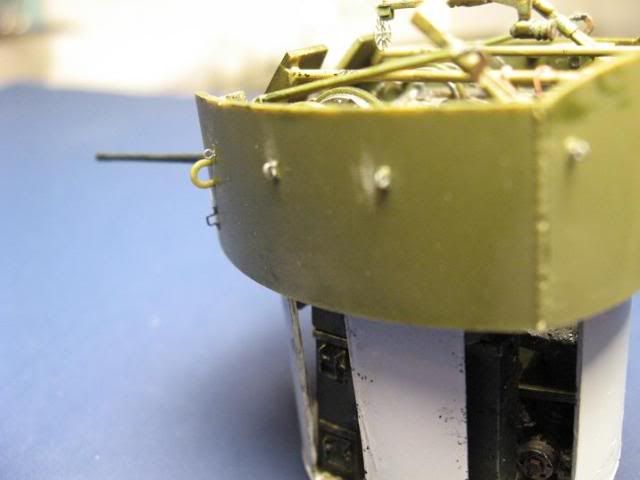
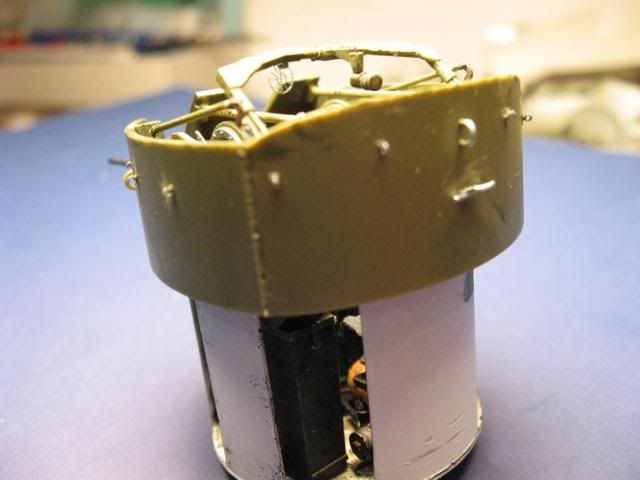
A test of the top....
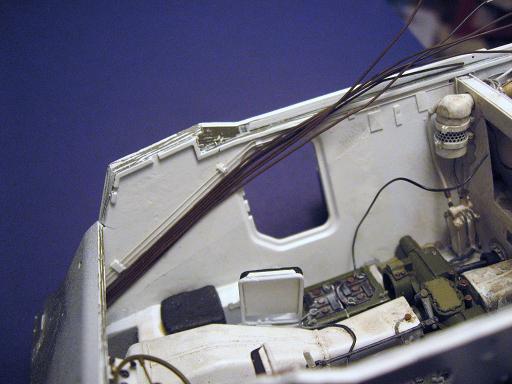
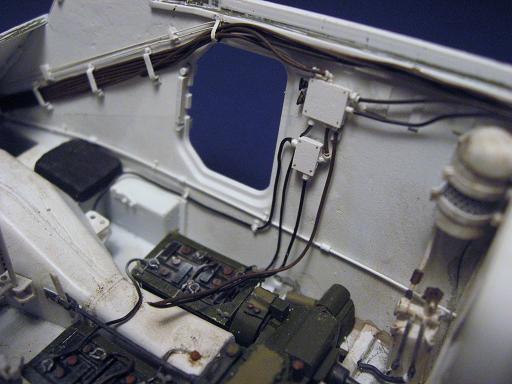
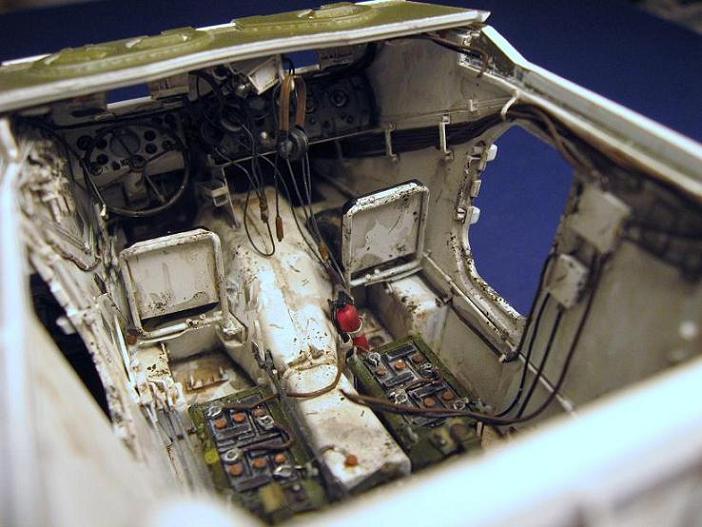
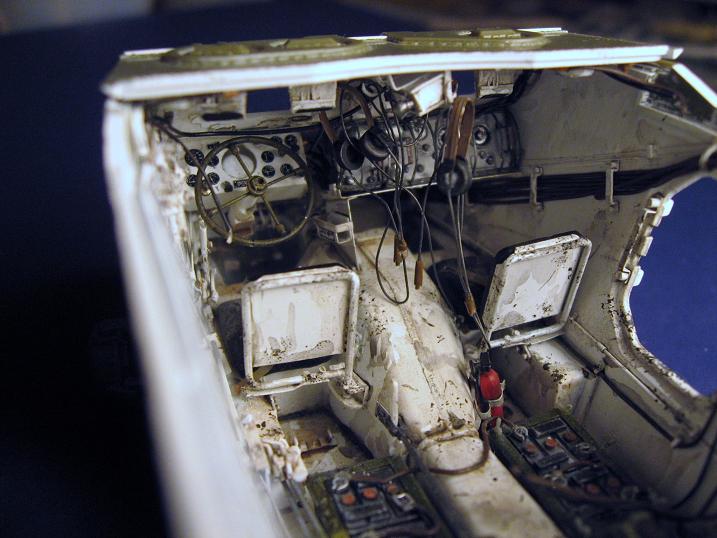
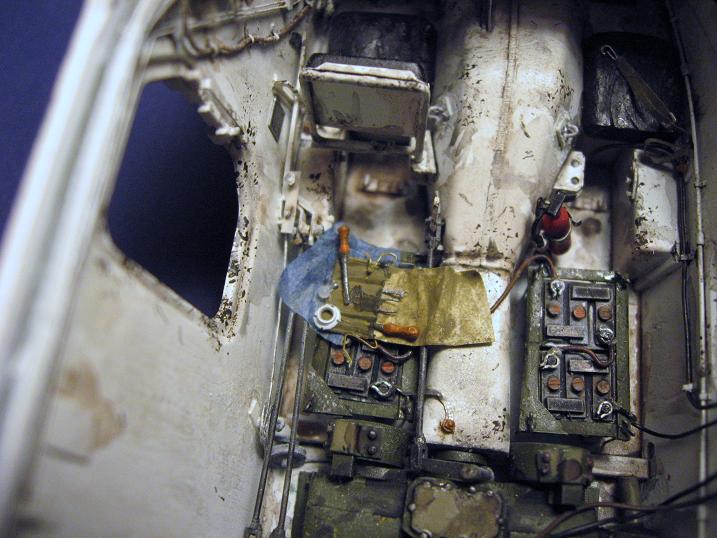
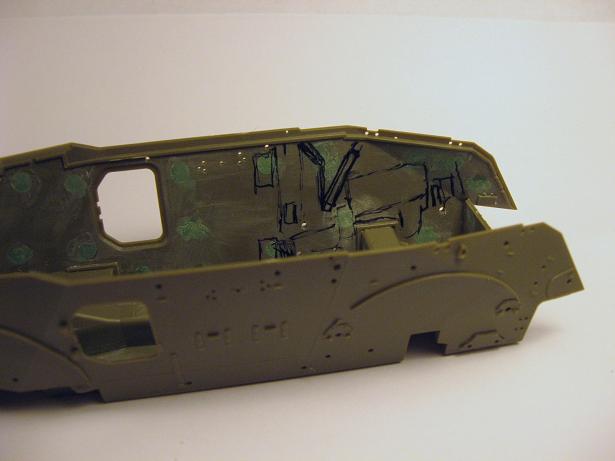
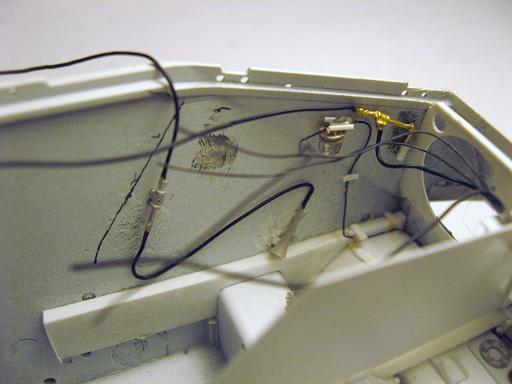
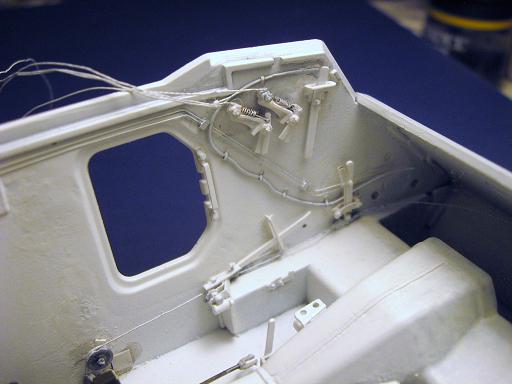
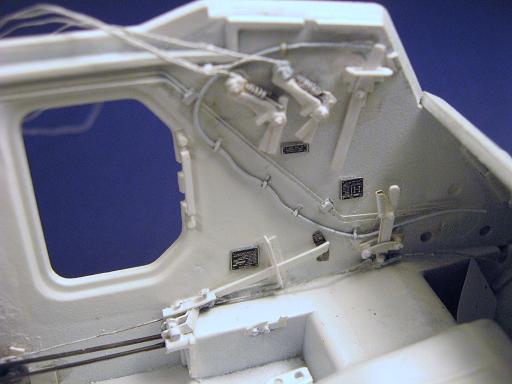
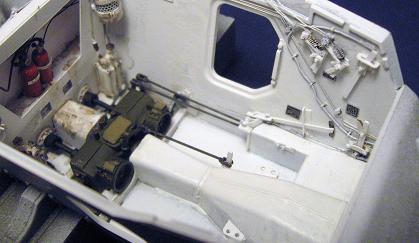
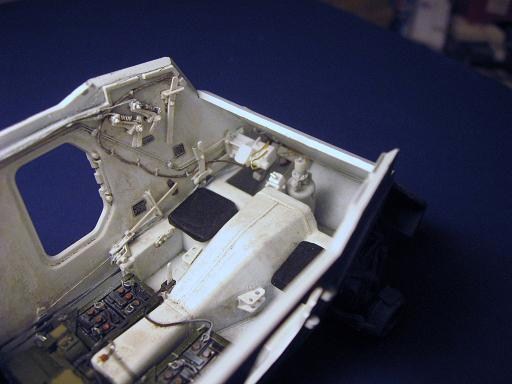
The other two-thirds of the interior is one compartment....

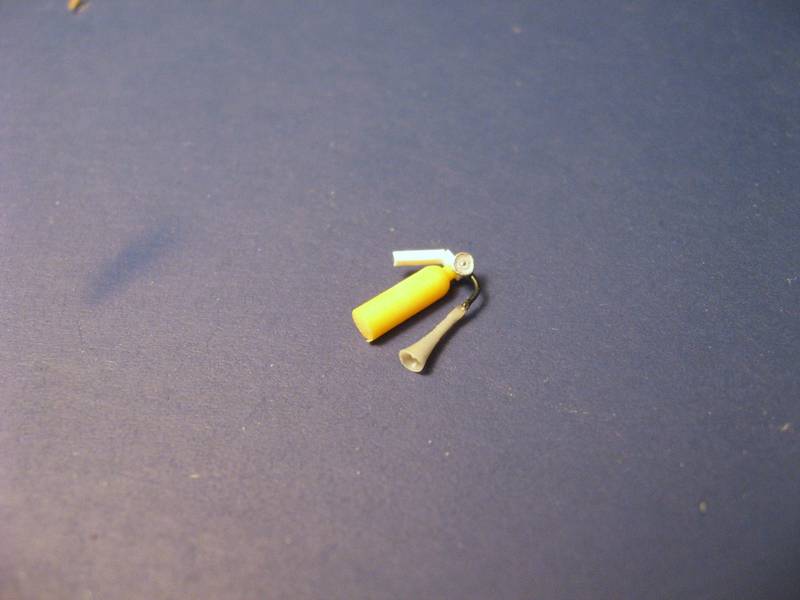
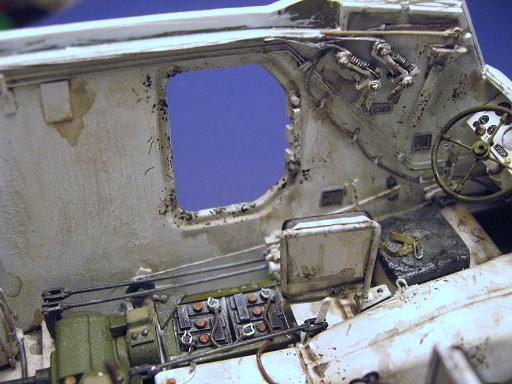
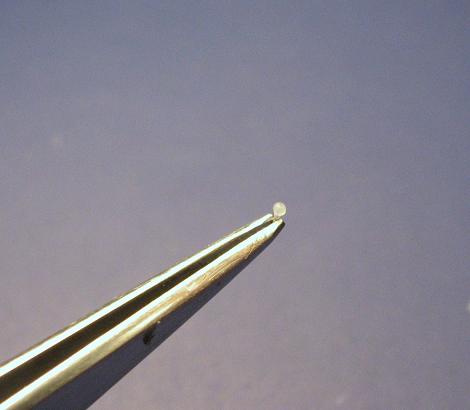
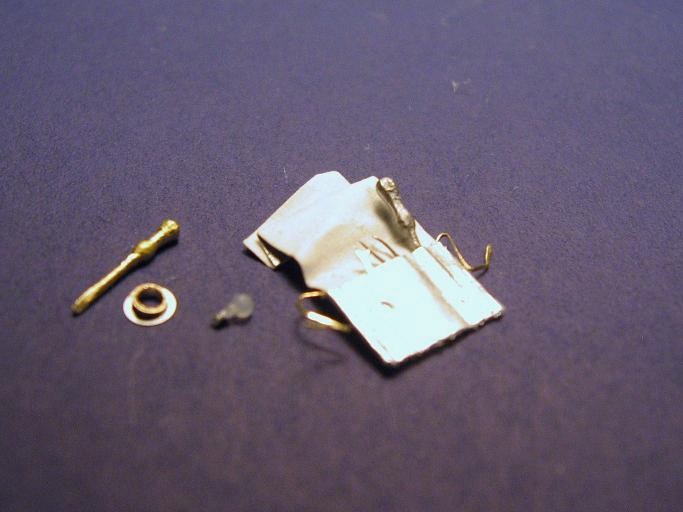
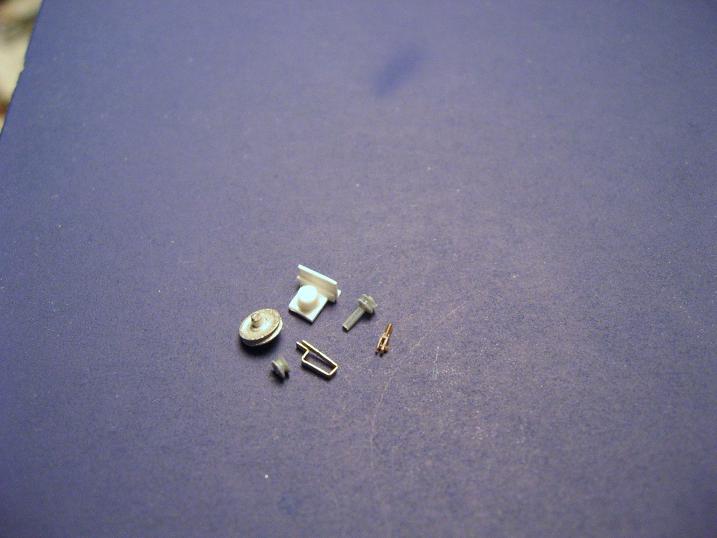
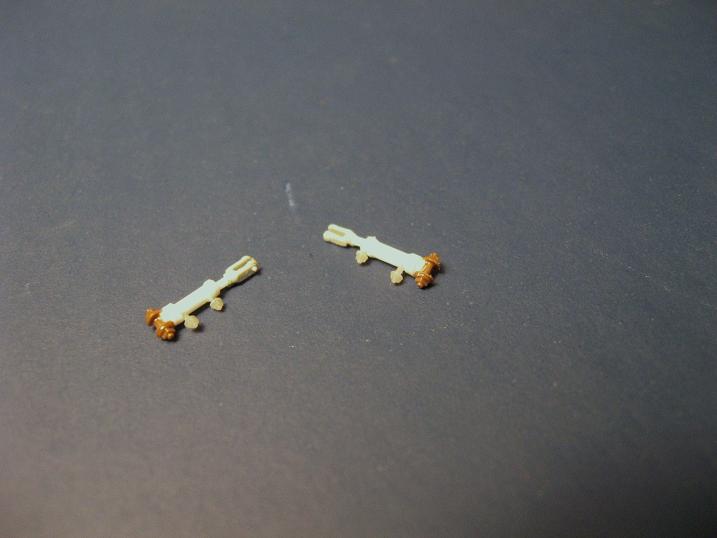
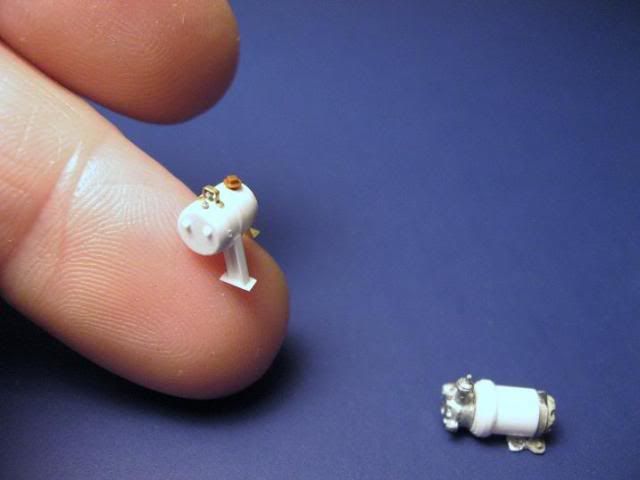
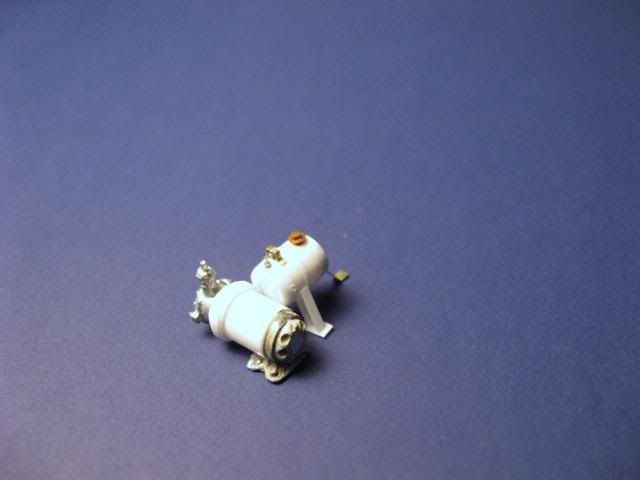
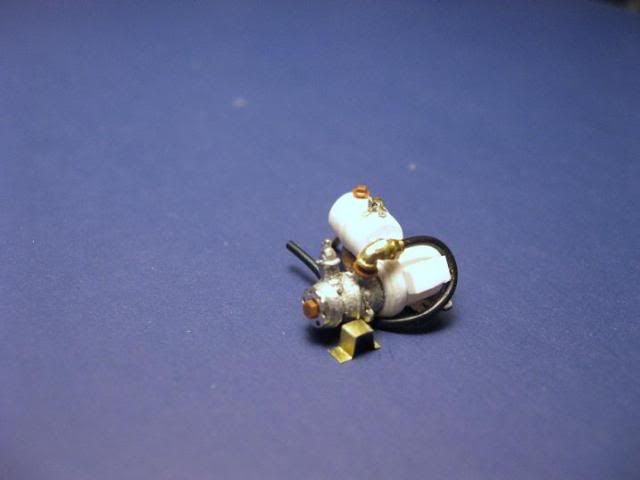
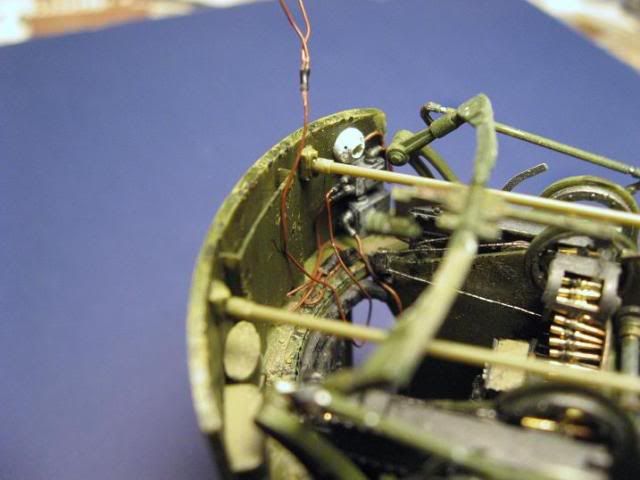
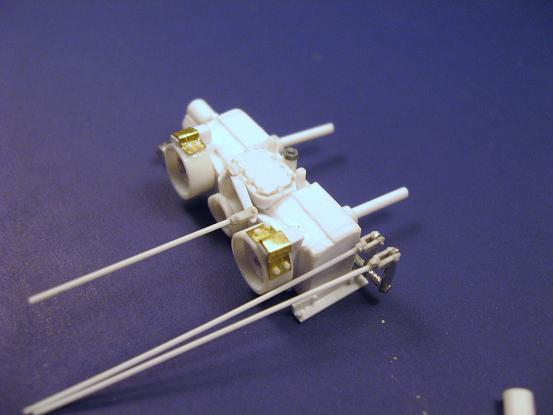
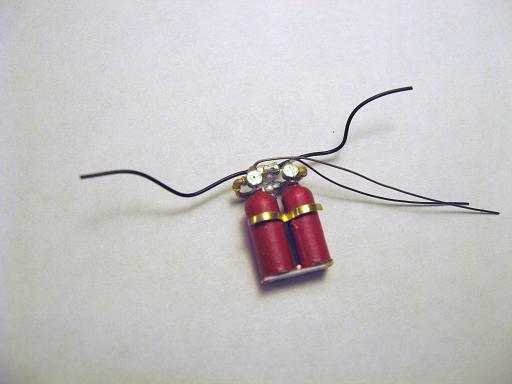
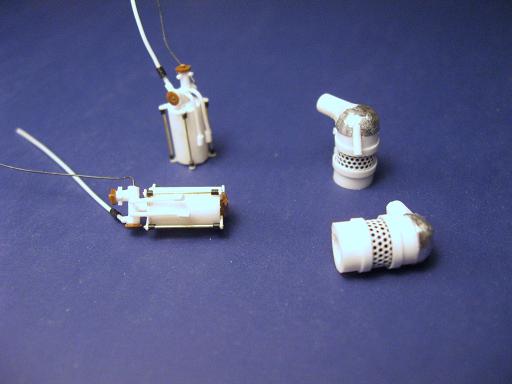
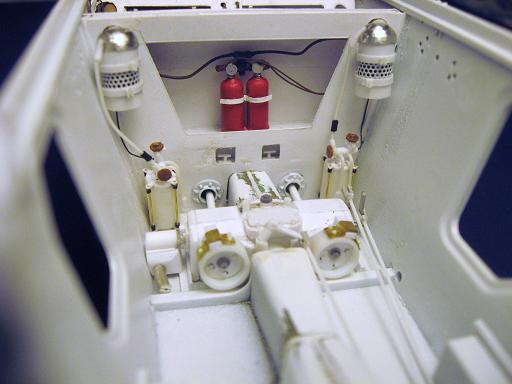
Parts needed for the middle section include the transfer case connecting the two transmitions, two air cleaners in the corners and fire extingushers on the shelf...
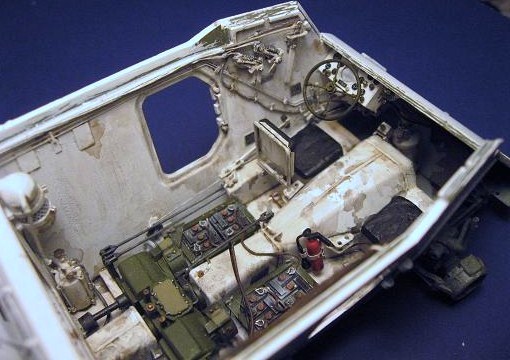
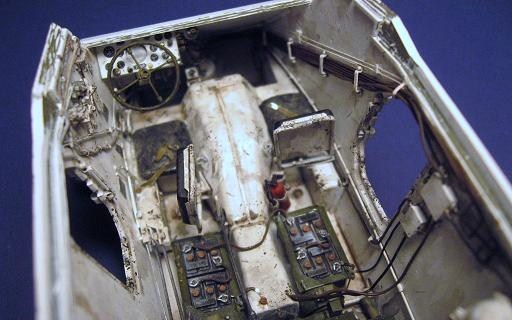
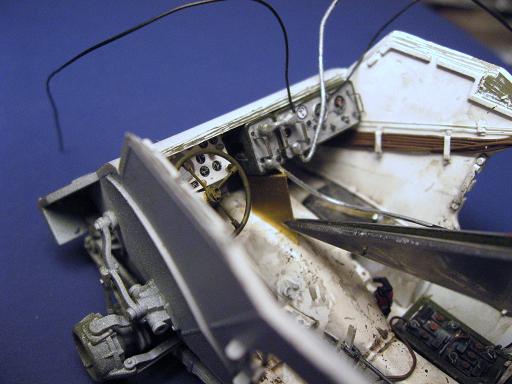
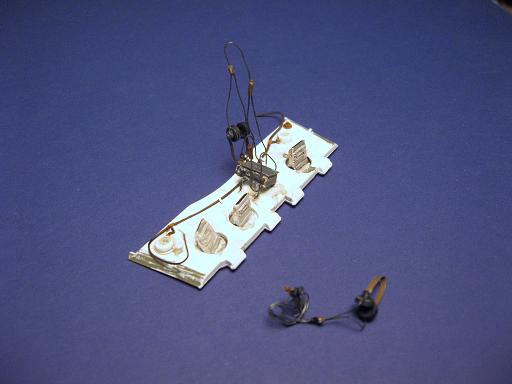
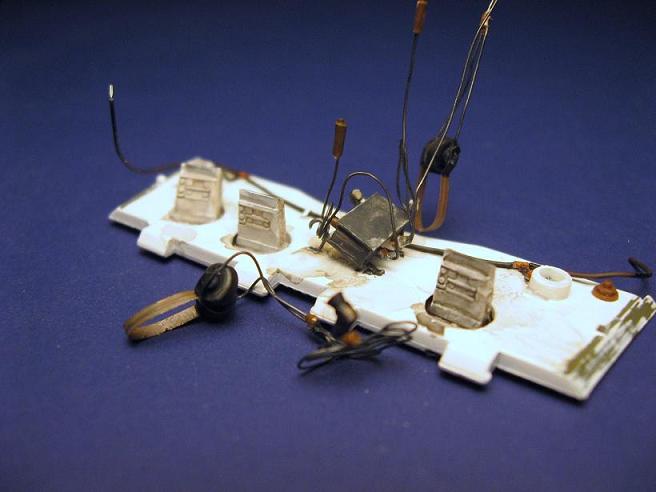
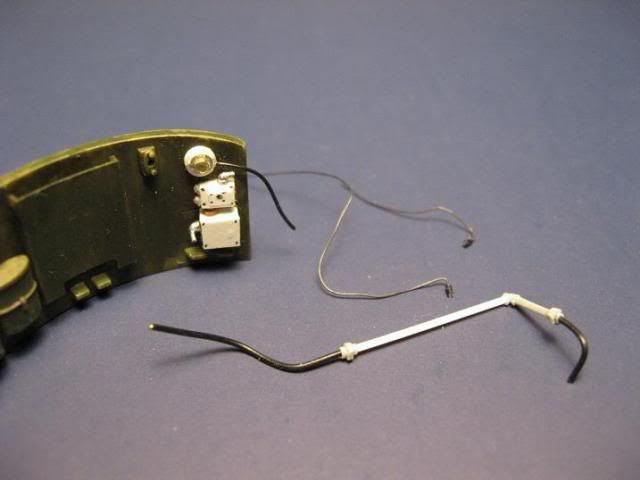
Moving forward, putting in the drivers controls for the trannys and engines....

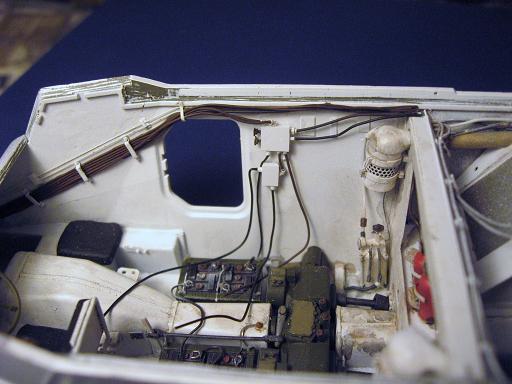
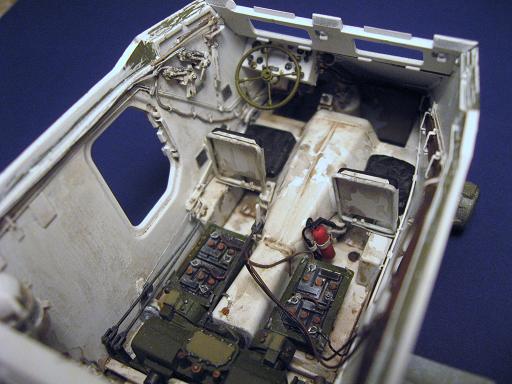
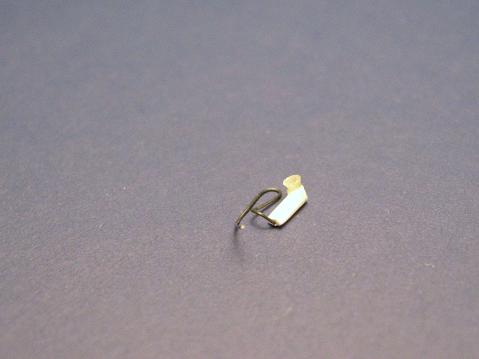
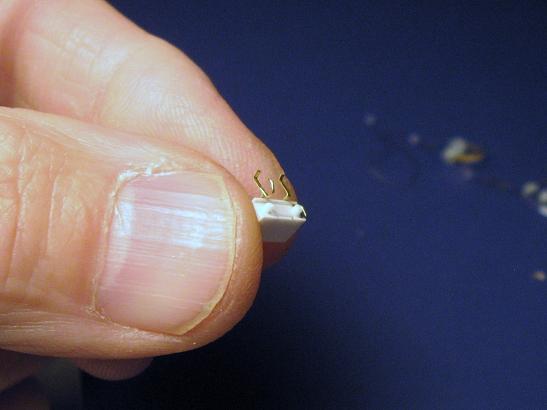
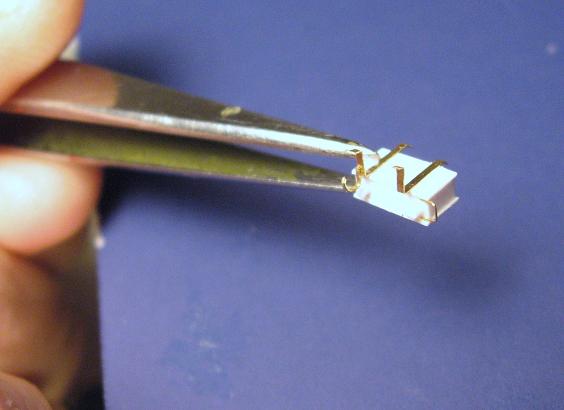
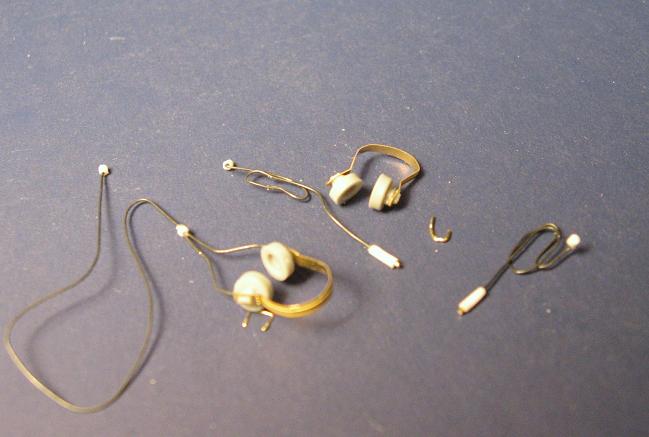
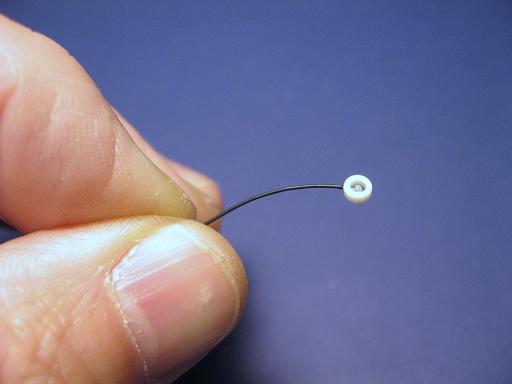
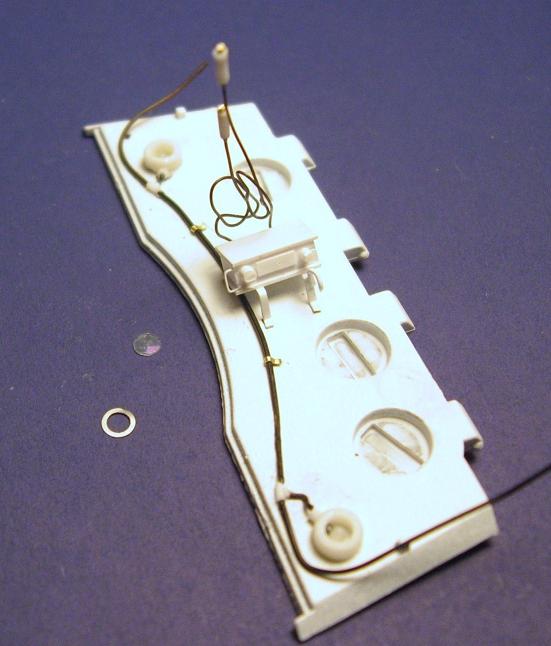
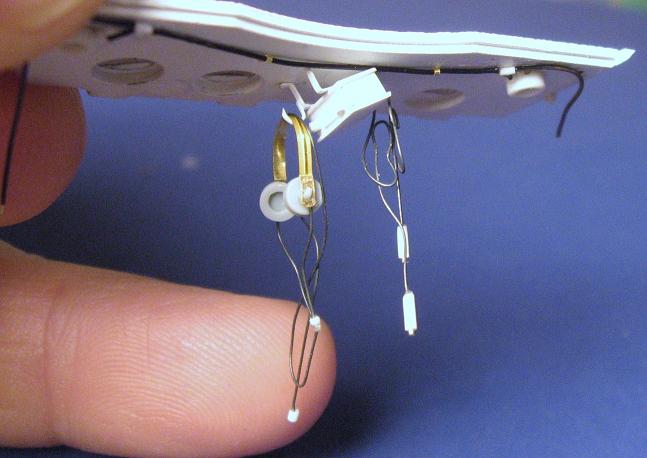
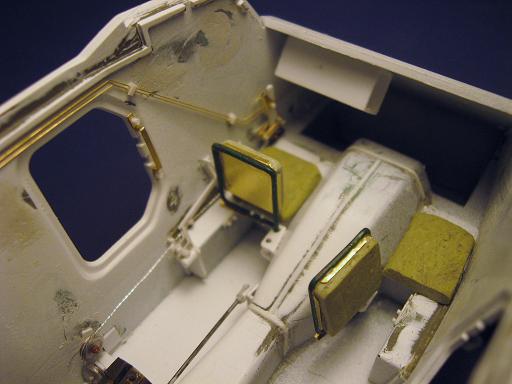
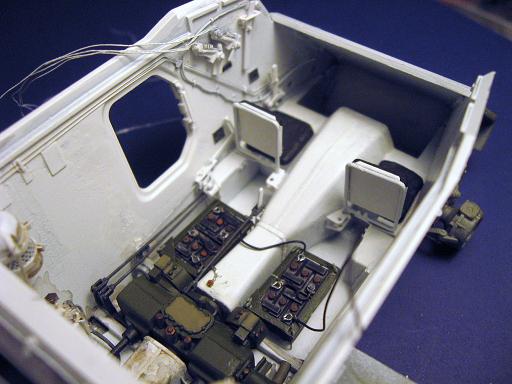
Needed some seats for driver and radio man.....
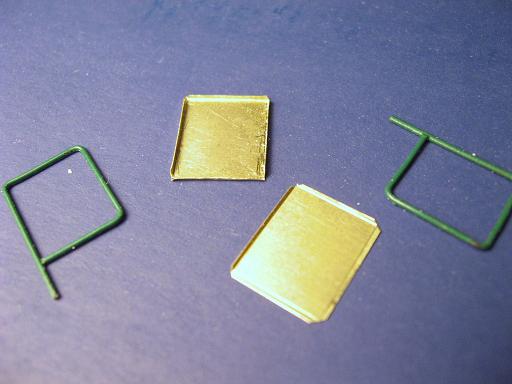
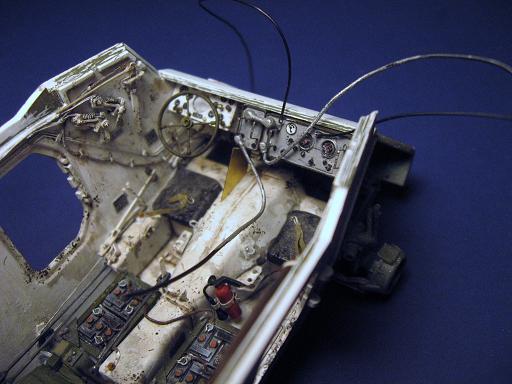
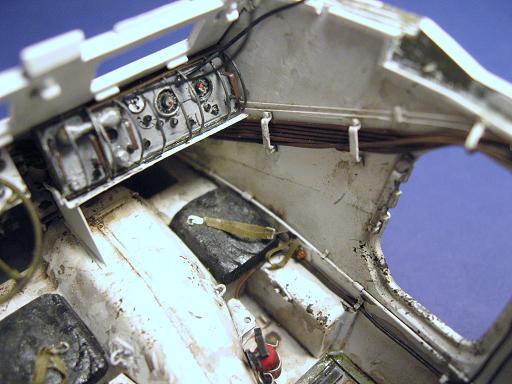
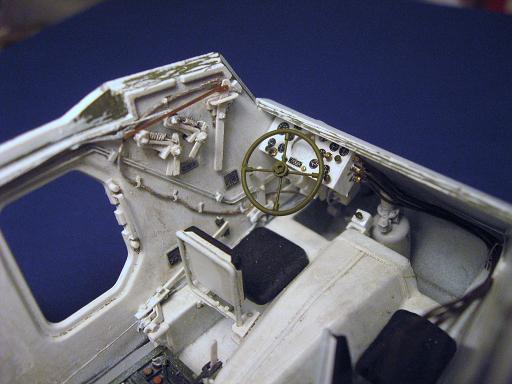
Seats ,added some weld seams and test fitting the dash, and other details...
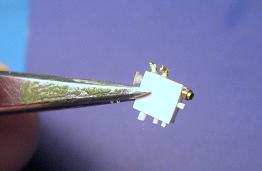
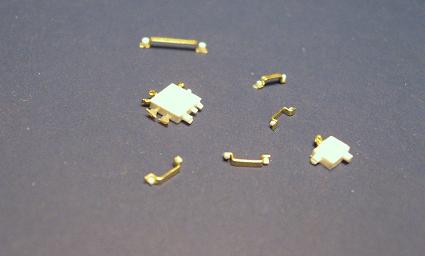
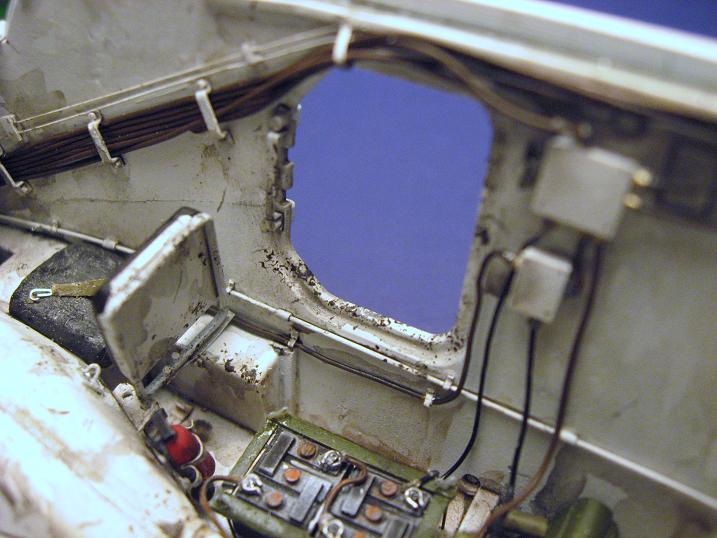
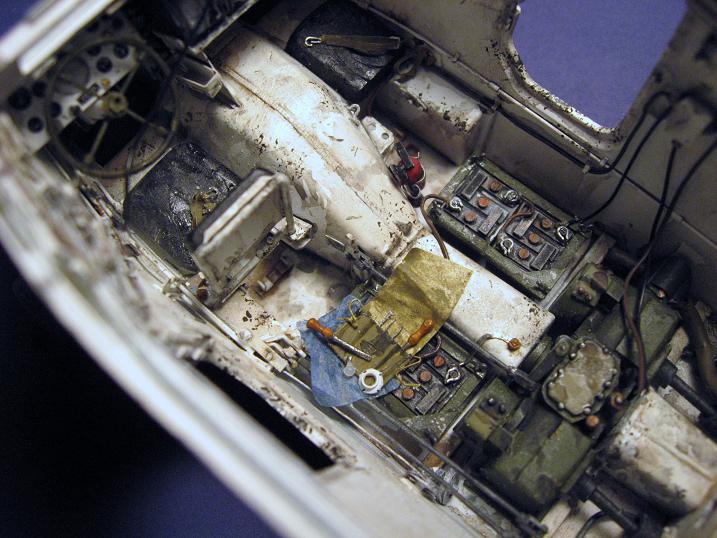
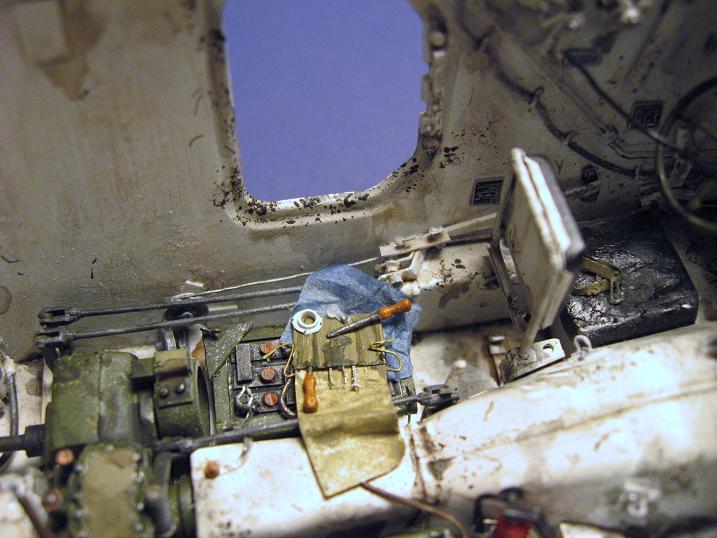
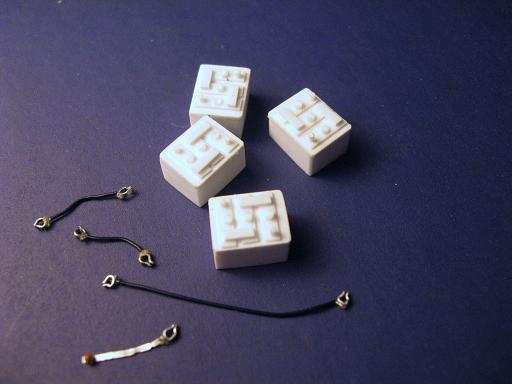
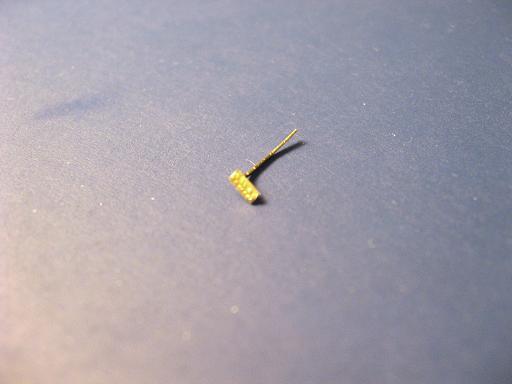
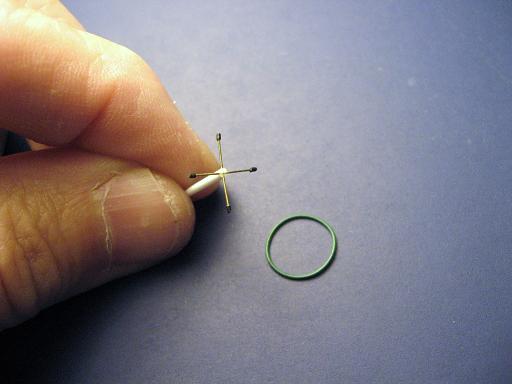
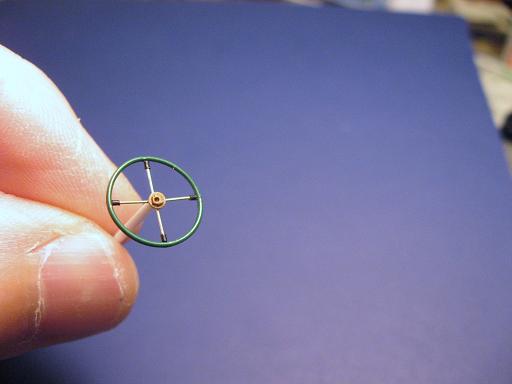
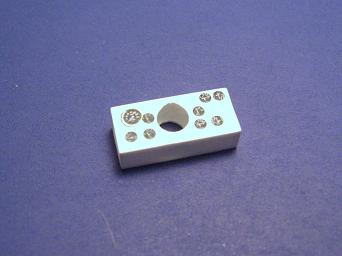
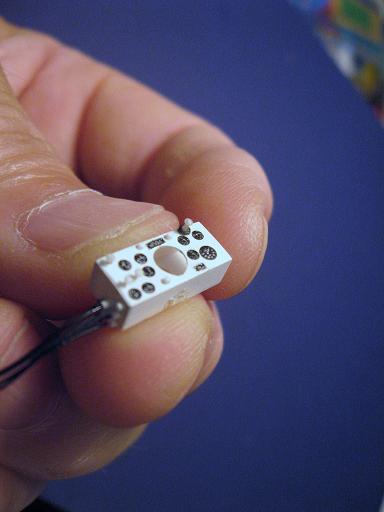
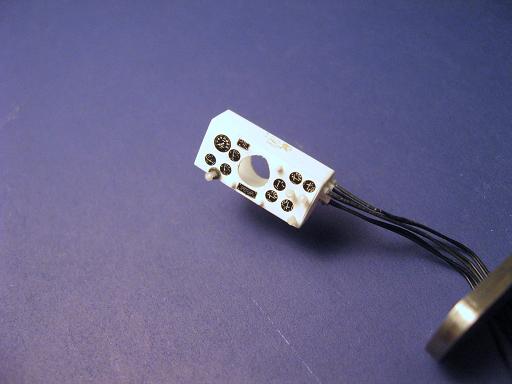
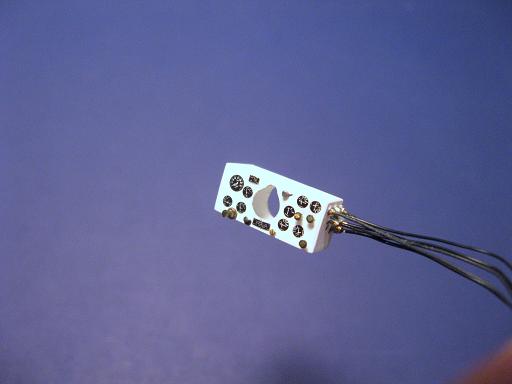
Next are batteries, some painting,foot pedals, dashboard, power steering stuff in the front of the driver.....


I will give all you kind folks a break and will post more tommorrow. I always appreciate comments of any kind. Thank you , Randy(still in the corner) Ditton
Bronco has made a fine kit here but no interior. Decided to add one....
Adding some partions and the motor.
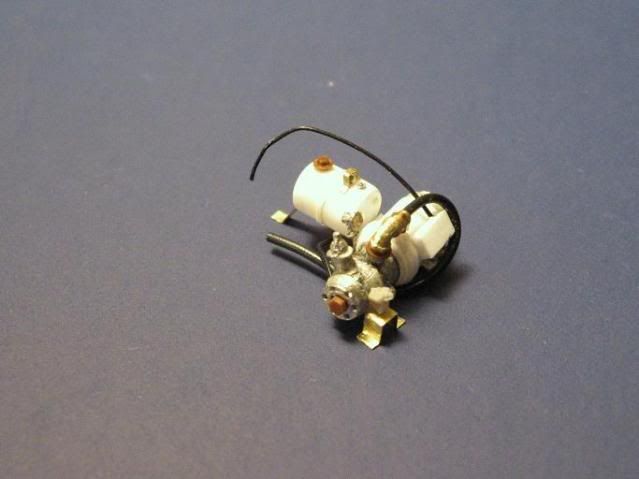
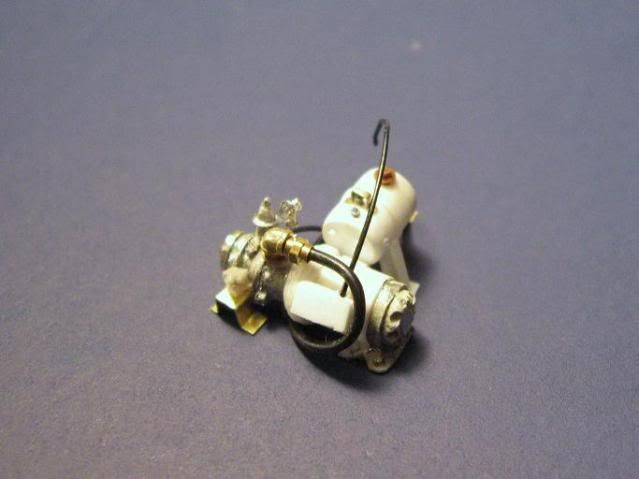
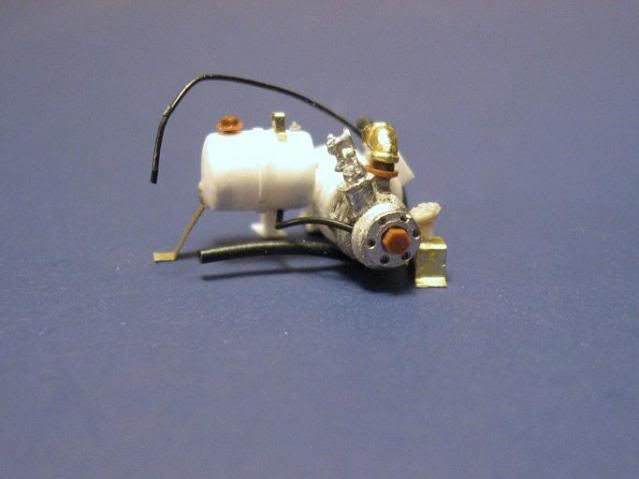
These cars use the GMC six-cylinder 217 hp motor so I could steal the engine block from the Tamiya 2 1/2 ton truck kit for a starting point....
This car used two motors side by side in the rear compartment, wimped out and will only model one engine and keep the other door shut. Adding more plumbing for fuel and fire suppression and other details...
Put some paint on the engine while I still can...
A test of the top....
The other two-thirds of the interior is one compartment....
Parts needed for the middle section include the transfer case connecting the two transmitions, two air cleaners in the corners and fire extingushers on the shelf...
Moving forward, putting in the drivers controls for the trannys and engines....
Needed some seats for driver and radio man.....
Seats ,added some weld seams and test fitting the dash, and other details...
Next are batteries, some painting,foot pedals, dashboard, power steering stuff in the front of the driver.....
I will give all you kind folks a break and will post more tommorrow. I always appreciate comments of any kind. Thank you , Randy(still in the corner) Ditton
 hmy: That is amazing work , love the details . You must have some awesome reference on the stag to go to this level too