
Adam Baker
Active member
So my birthday was at the end of May, and my mom surprised me with a 3D Printer kit. I have to say that I've been having an absolute blast with this thing. It's definitely be very frustrating at times, but overall it's been very enjoyable working with it, and watching it make the parts.
The printer is an Anet A8, which is a clone of the Prussa Mk3 printer. It was a kit that I had to assemble myself, which took 18-20 hours since I took it very slowly, over the course of about a week.
My plan/goal for the future is to use this to make parts for my models, but I'm still a long way from that I think. I think I should be able to do it, but this will always be well below anything that I could get from Shapeways or similar, but I think it'll be more fun to make things myself.
Here are some pic's I took during the process.
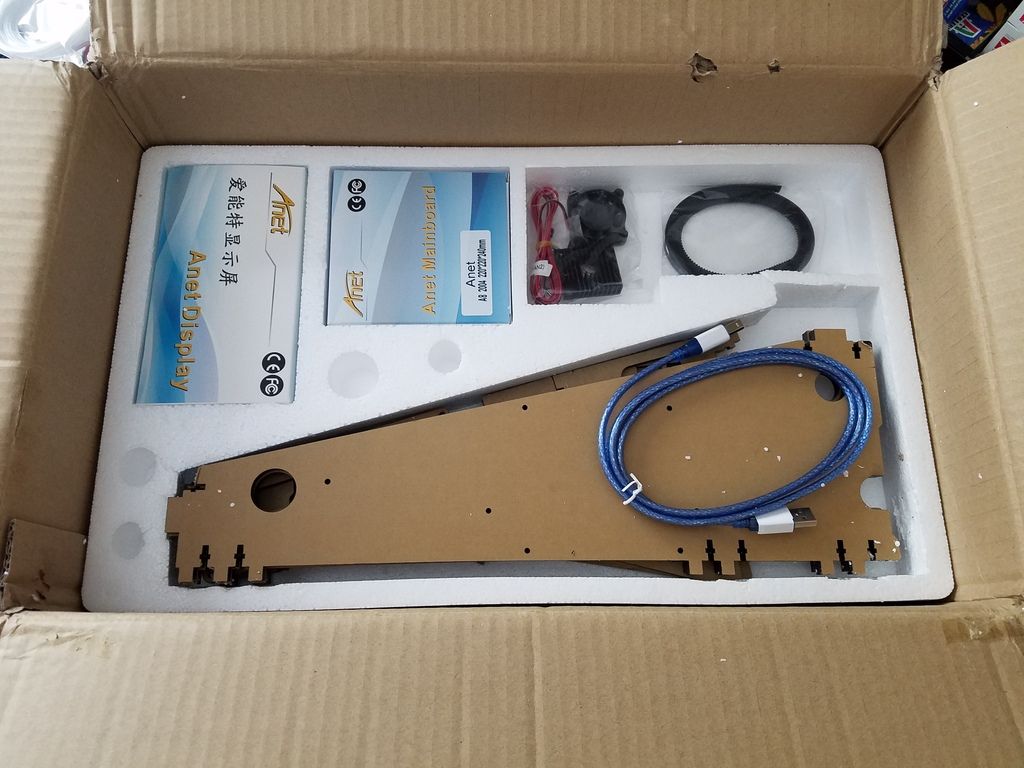
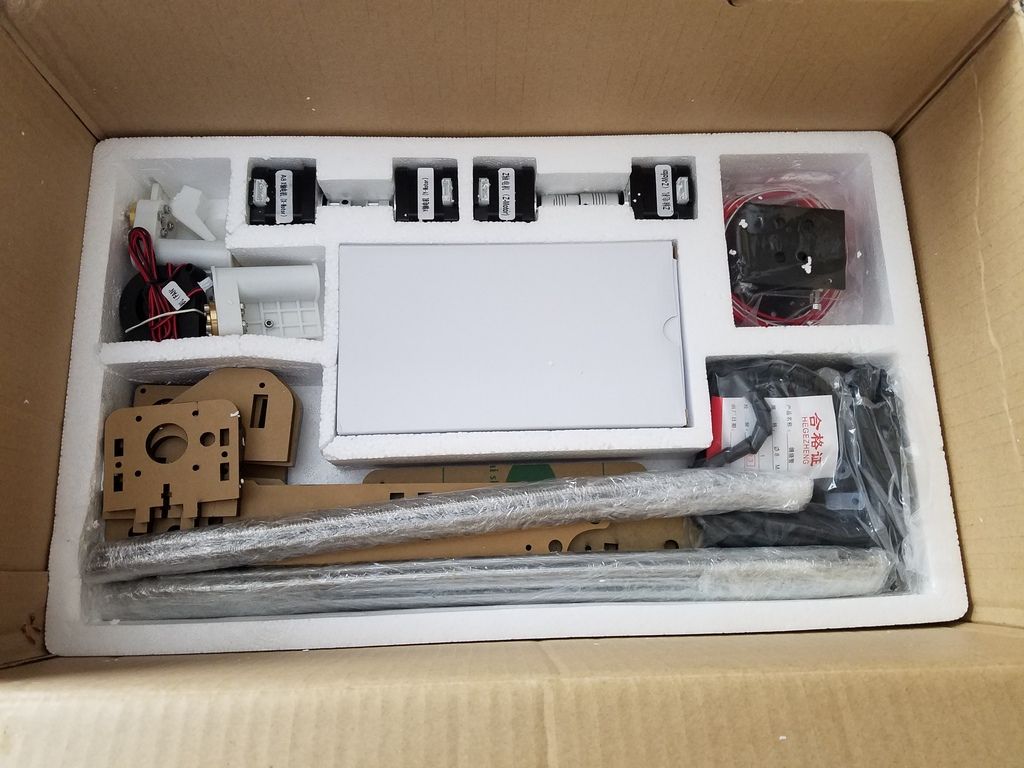
A couple shots before I started unpacking everything, just to give an idea of what I had to start with. Frame is completely acrylic, looks to be about 1/4" thick.
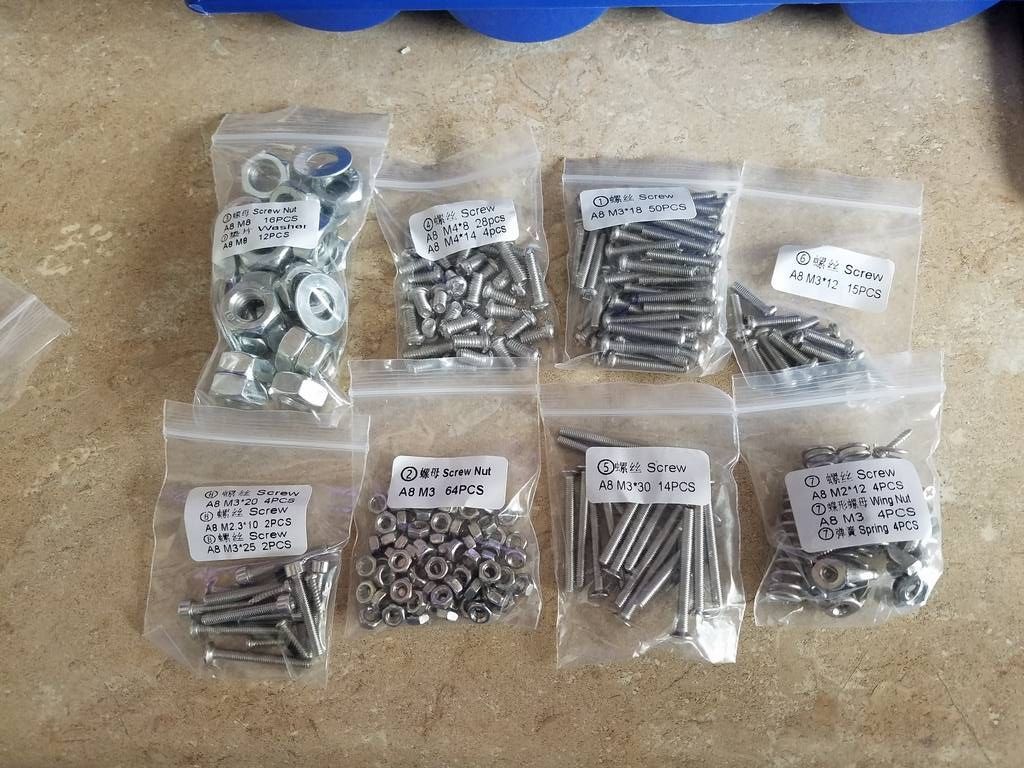
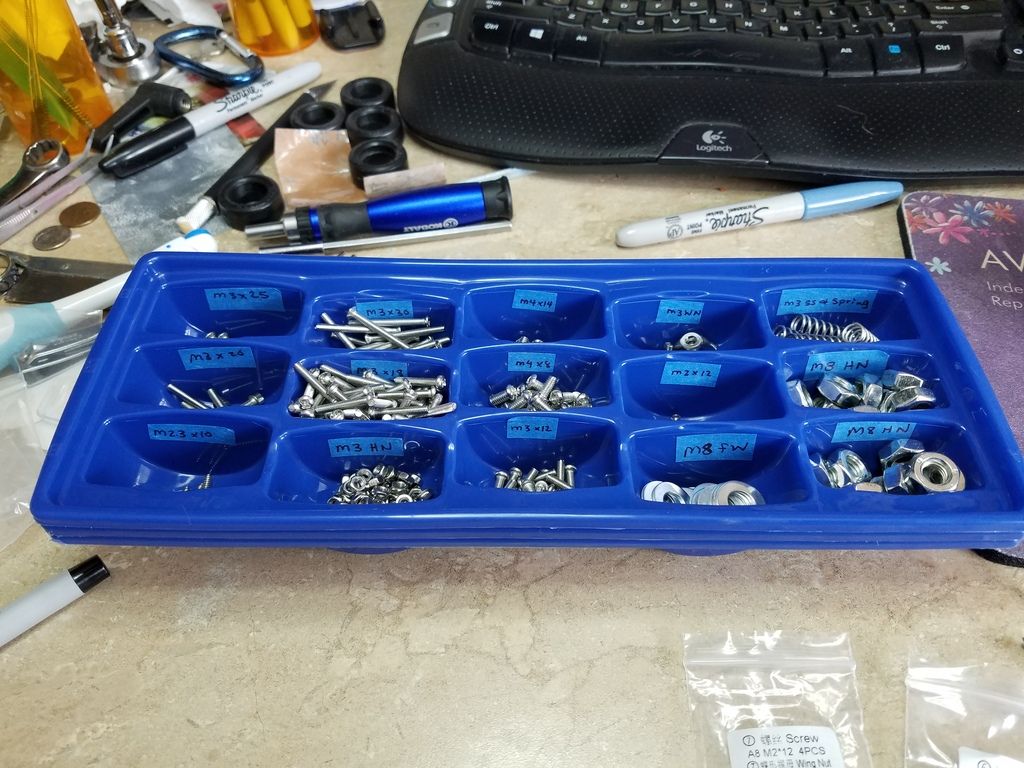
Lots of hardware to deal with! Easiest way to deal w/ it was to buy some cheap ice cube trays to sort it all out. Big spender here, lol, 99 cents for 3 ice cube trays from Big Lots.
And then just some various assembly shots. I took pictures after every step, kinda chronicling my adventure, lol.
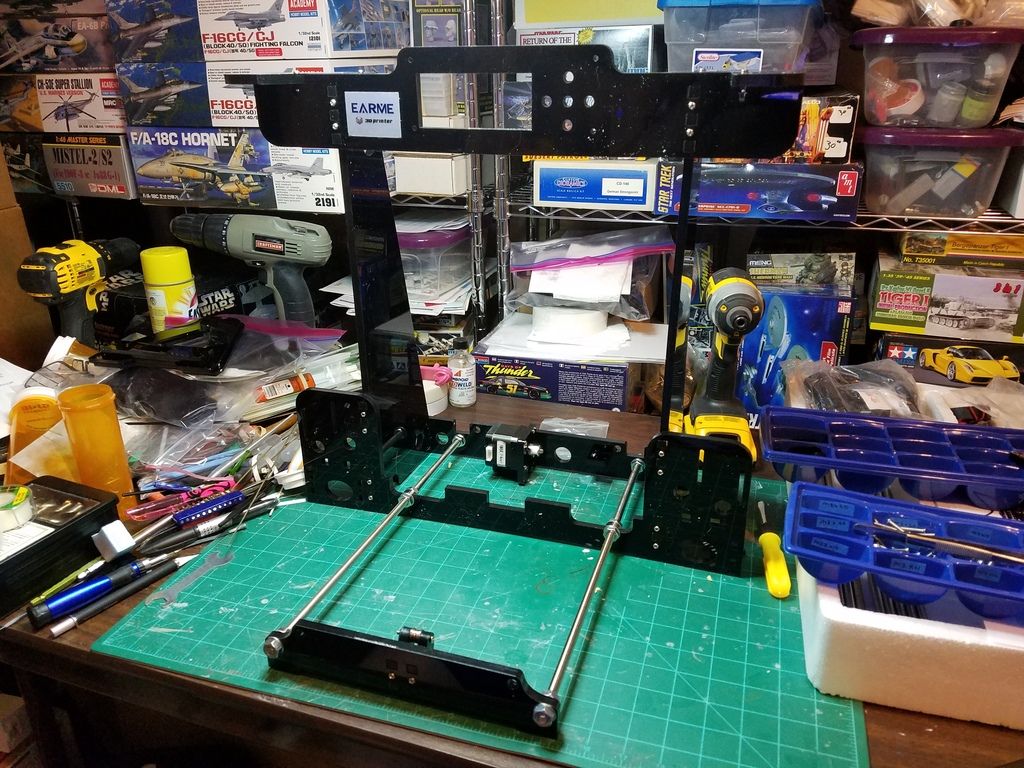
Frame assembled
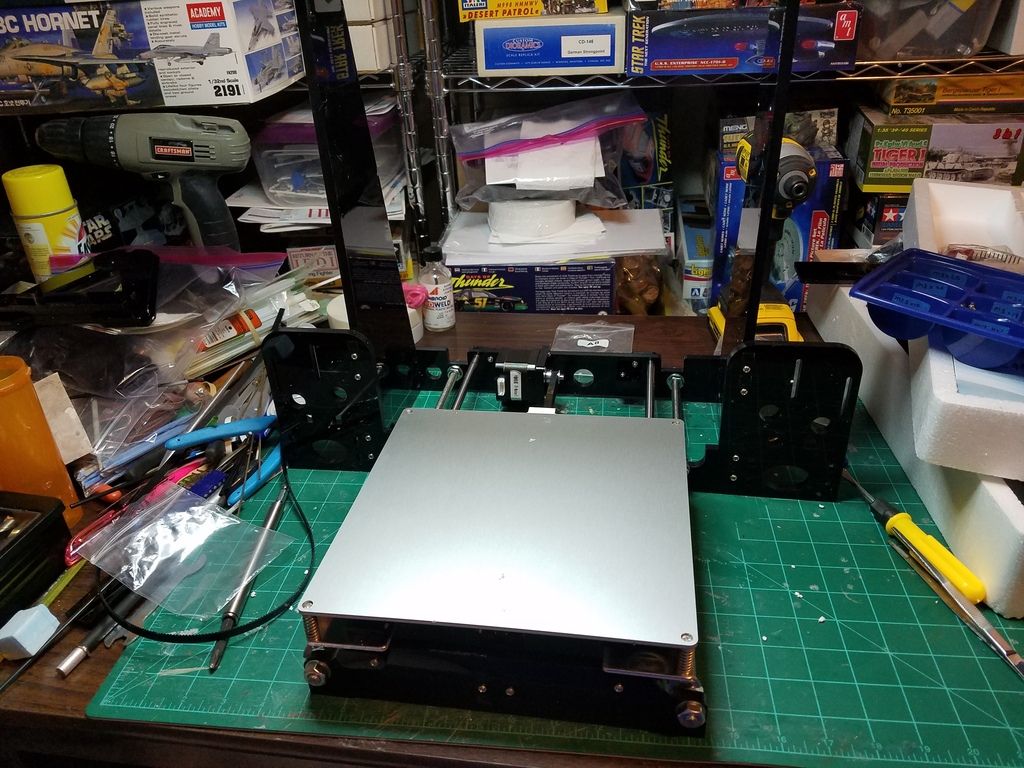
Y axis/Print bed installed
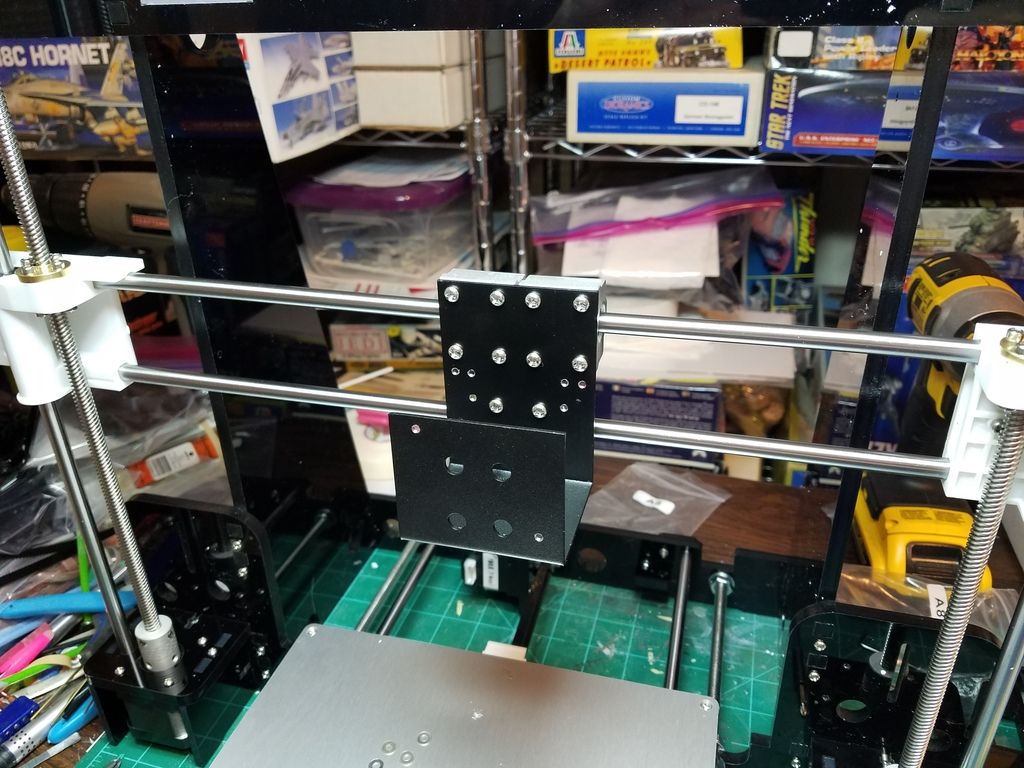
X & Z axes installed.
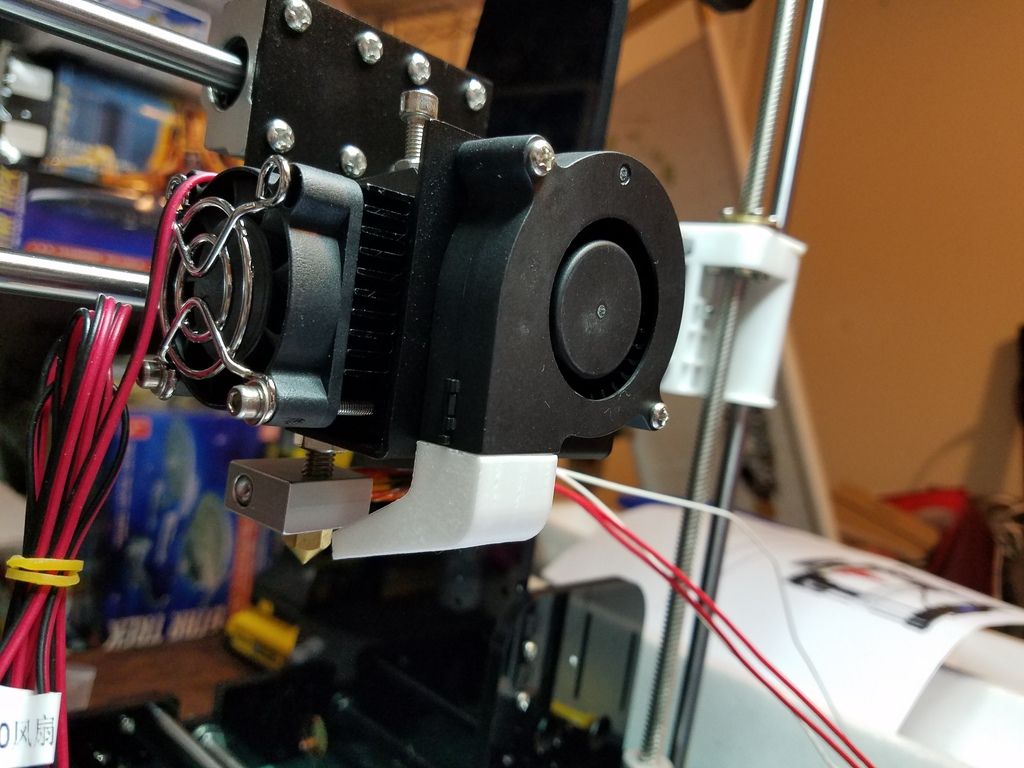
Extruder/Print head installed
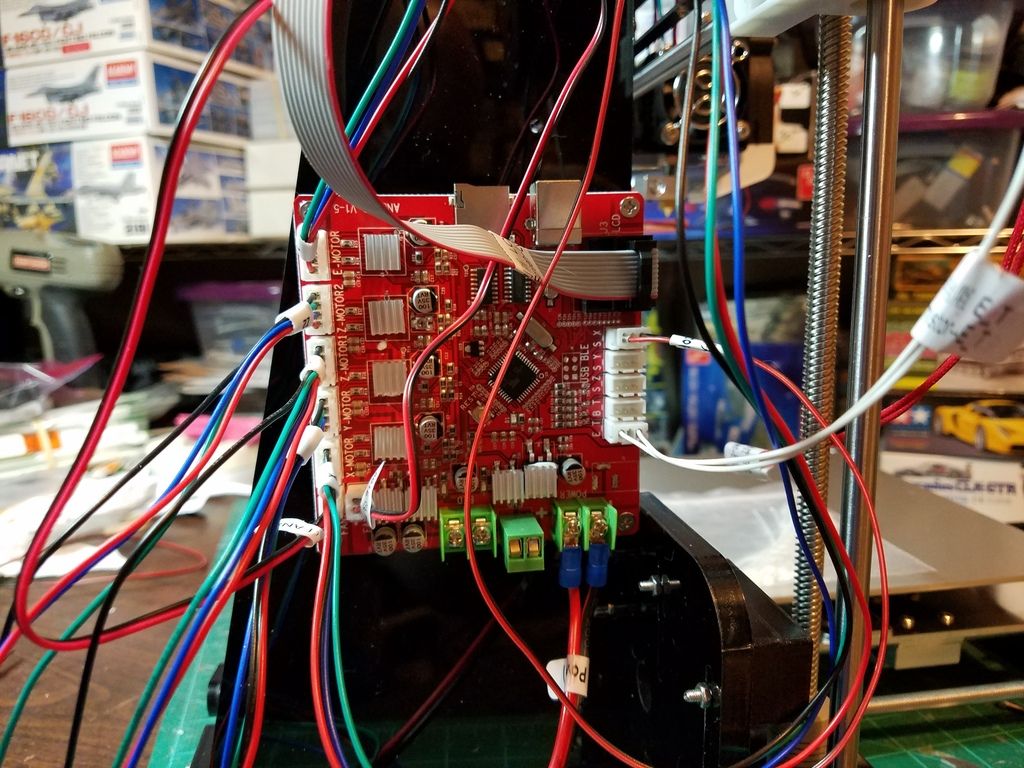
Wiring up the processor board. Stepper motors are plugged in down the left side of the board, power connections across the bottom, and then the limit switched for each axis are on the right side.
Included w/ the printer is a flash card with test files, and here are the first 2 prints I did.
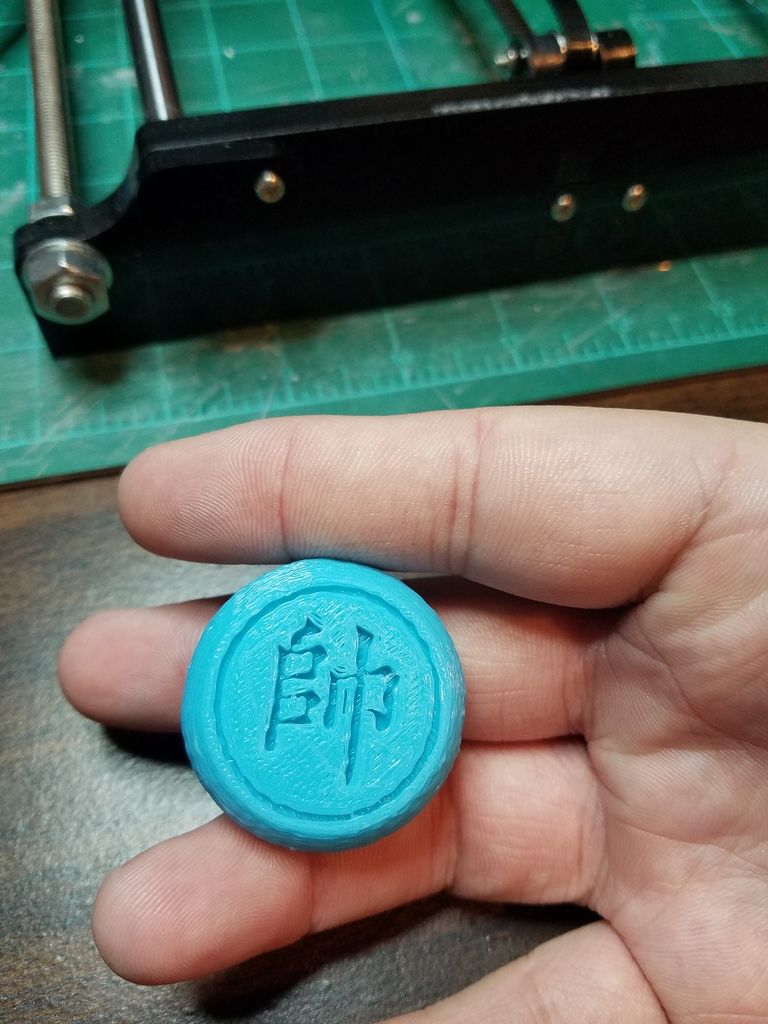
Fist print is a token for Chinese Chess. The symbol on it apparently translates to General, which is supposed to be equivalent to a King in western chess.
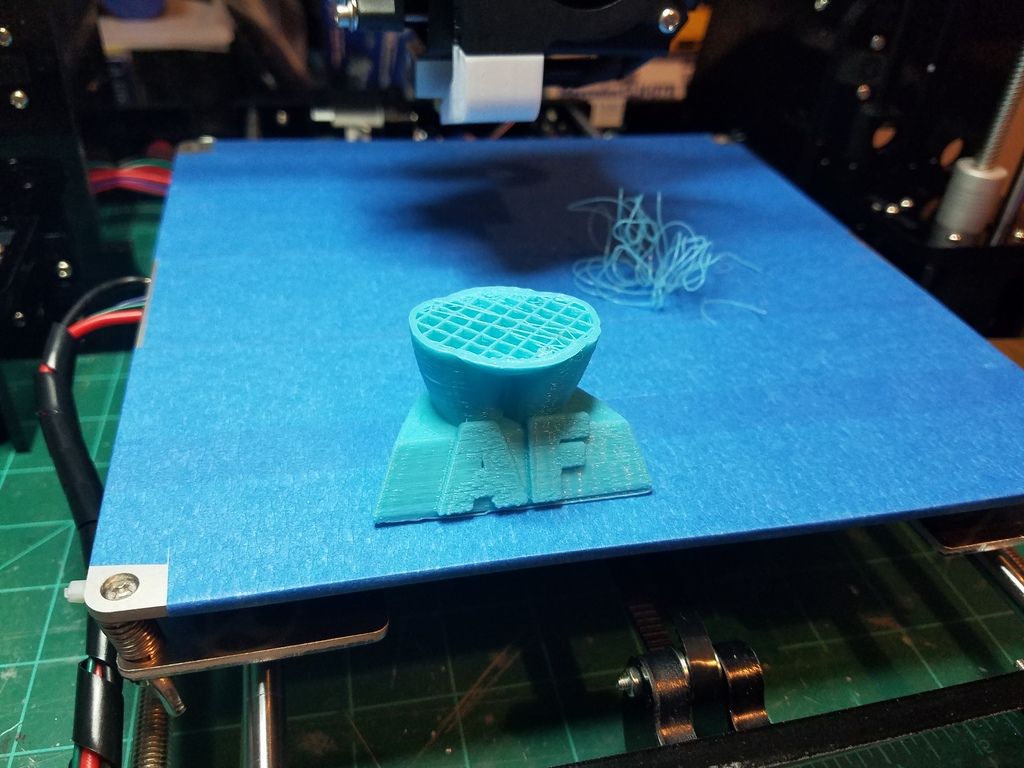
The 2nd print is a figure of Baymax from the Big Hero 6 movie. I was about 1/3 of the way through the print when it popped loose from the print bed, effectively killing the print, but with it only being the second print, I was still pretty happy w/ the progress.
Now I'm working on various upgrades & improvements to the printer. It has a reputation for being less than reliable, and apparently they are actually known to catch fire due to possibly marginal wire sizing, and for how the power is routed through the main processor board to the print bed & the extruder.
The printer is an Anet A8, which is a clone of the Prussa Mk3 printer. It was a kit that I had to assemble myself, which took 18-20 hours since I took it very slowly, over the course of about a week.
My plan/goal for the future is to use this to make parts for my models, but I'm still a long way from that I think. I think I should be able to do it, but this will always be well below anything that I could get from Shapeways or similar, but I think it'll be more fun to make things myself.
Here are some pic's I took during the process.
A couple shots before I started unpacking everything, just to give an idea of what I had to start with. Frame is completely acrylic, looks to be about 1/4" thick.
Lots of hardware to deal with! Easiest way to deal w/ it was to buy some cheap ice cube trays to sort it all out. Big spender here, lol, 99 cents for 3 ice cube trays from Big Lots.
And then just some various assembly shots. I took pictures after every step, kinda chronicling my adventure, lol.
Frame assembled
Y axis/Print bed installed
X & Z axes installed.
Extruder/Print head installed
Wiring up the processor board. Stepper motors are plugged in down the left side of the board, power connections across the bottom, and then the limit switched for each axis are on the right side.
Included w/ the printer is a flash card with test files, and here are the first 2 prints I did.
Fist print is a token for Chinese Chess. The symbol on it apparently translates to General, which is supposed to be equivalent to a King in western chess.
The 2nd print is a figure of Baymax from the Big Hero 6 movie. I was about 1/3 of the way through the print when it popped loose from the print bed, effectively killing the print, but with it only being the second print, I was still pretty happy w/ the progress.
Now I'm working on various upgrades & improvements to the printer. It has a reputation for being less than reliable, and apparently they are actually known to catch fire due to possibly marginal wire sizing, and for how the power is routed through the main processor board to the print bed & the extruder.
")