Iron Mike
Master At Arms And Resident Curmudgeon
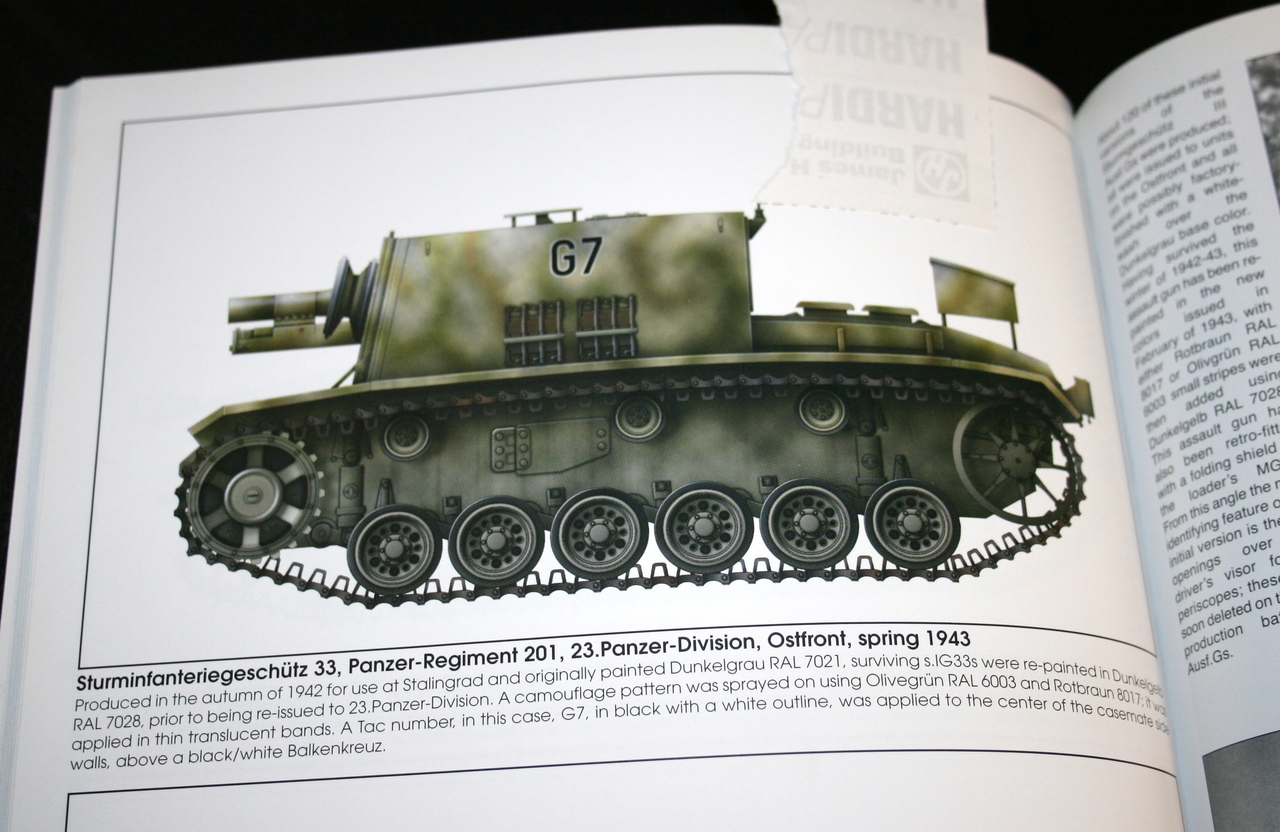
15cm Sturminfanteriegeschutz 33 COMPLETE!
Hello armor fans! This is a kit I've been wanting to build for several years now, blame it on Unca Tony! This hot rod shoe box on tracks packs a 15cm punch, it's going to be loaded down and ready to rumble. Let's get started!
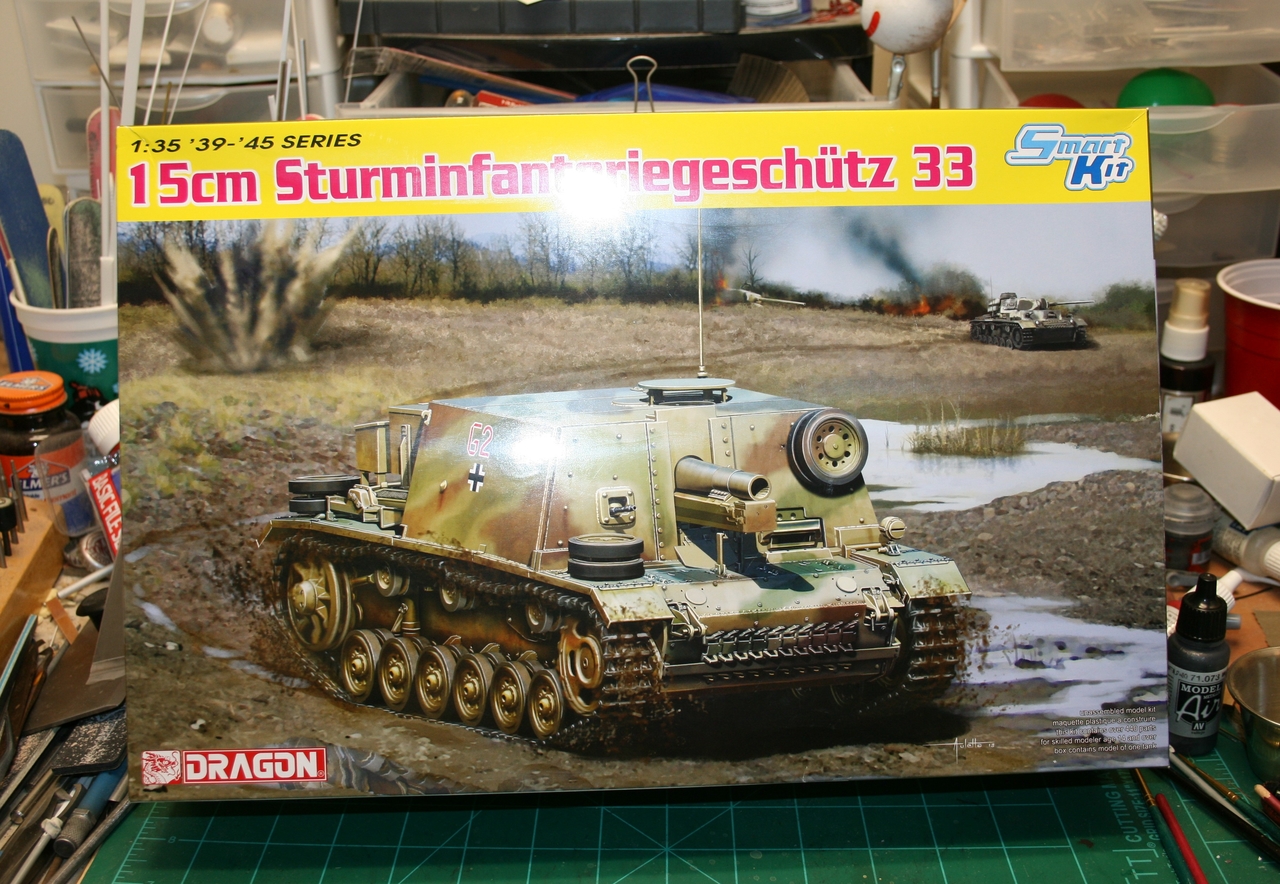
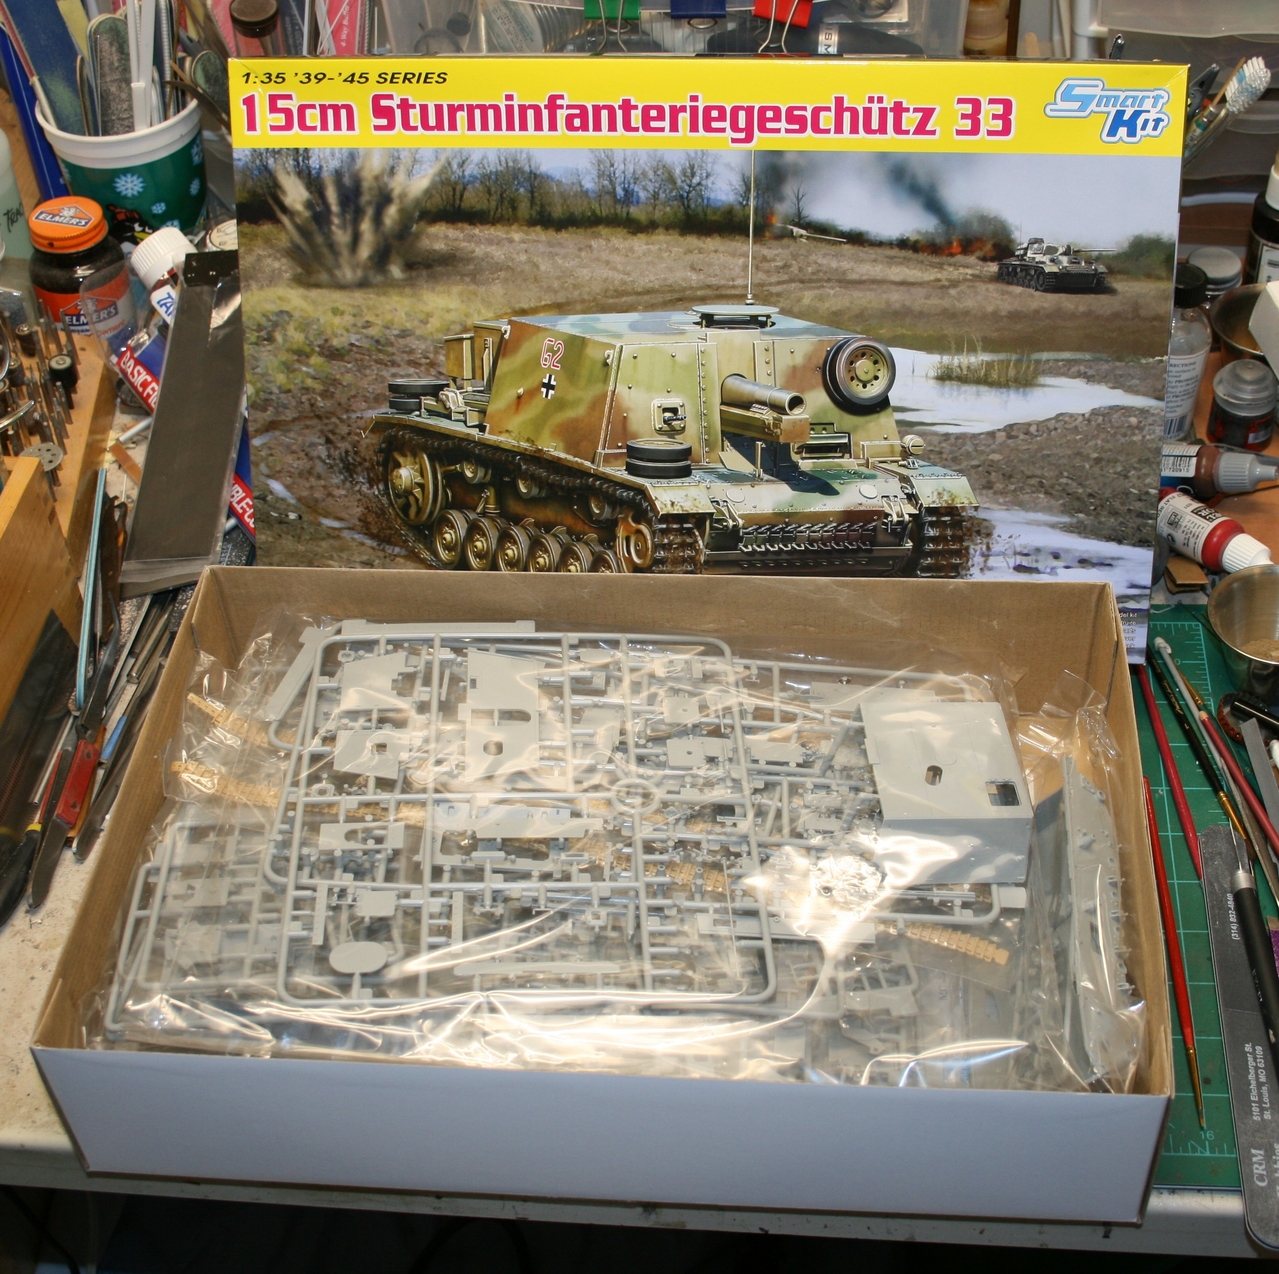
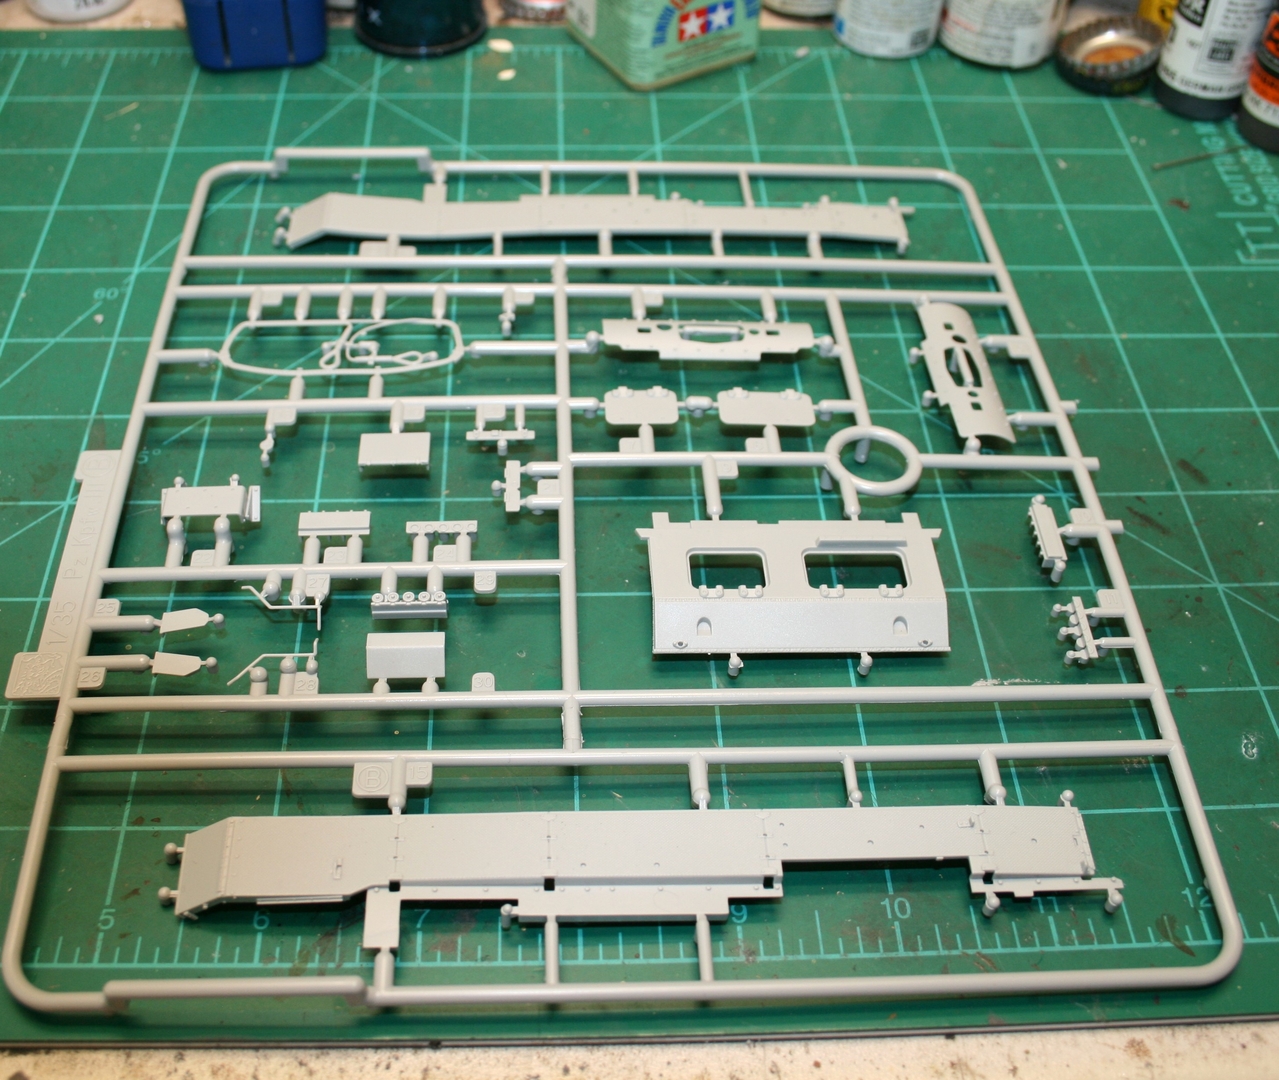
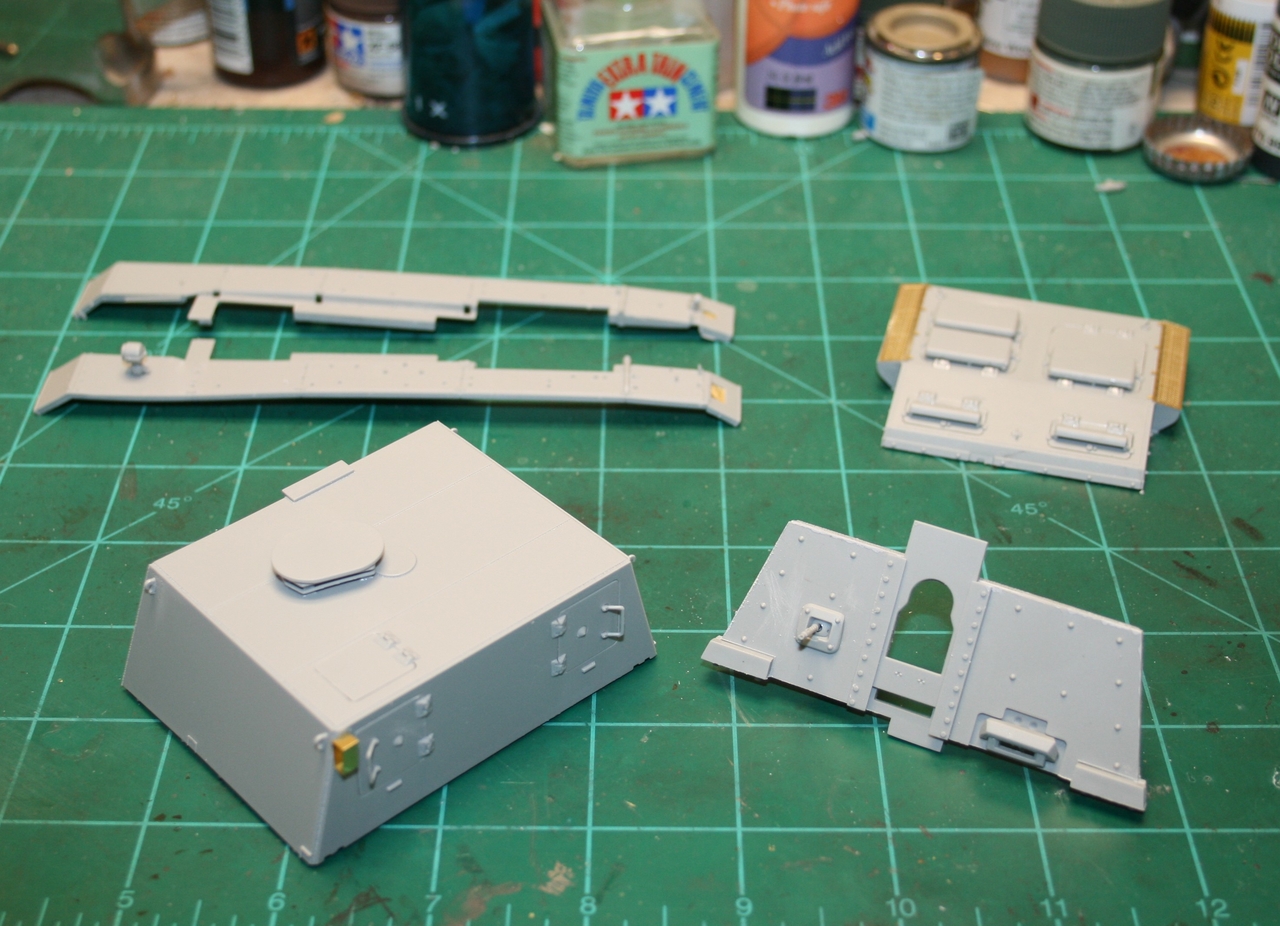
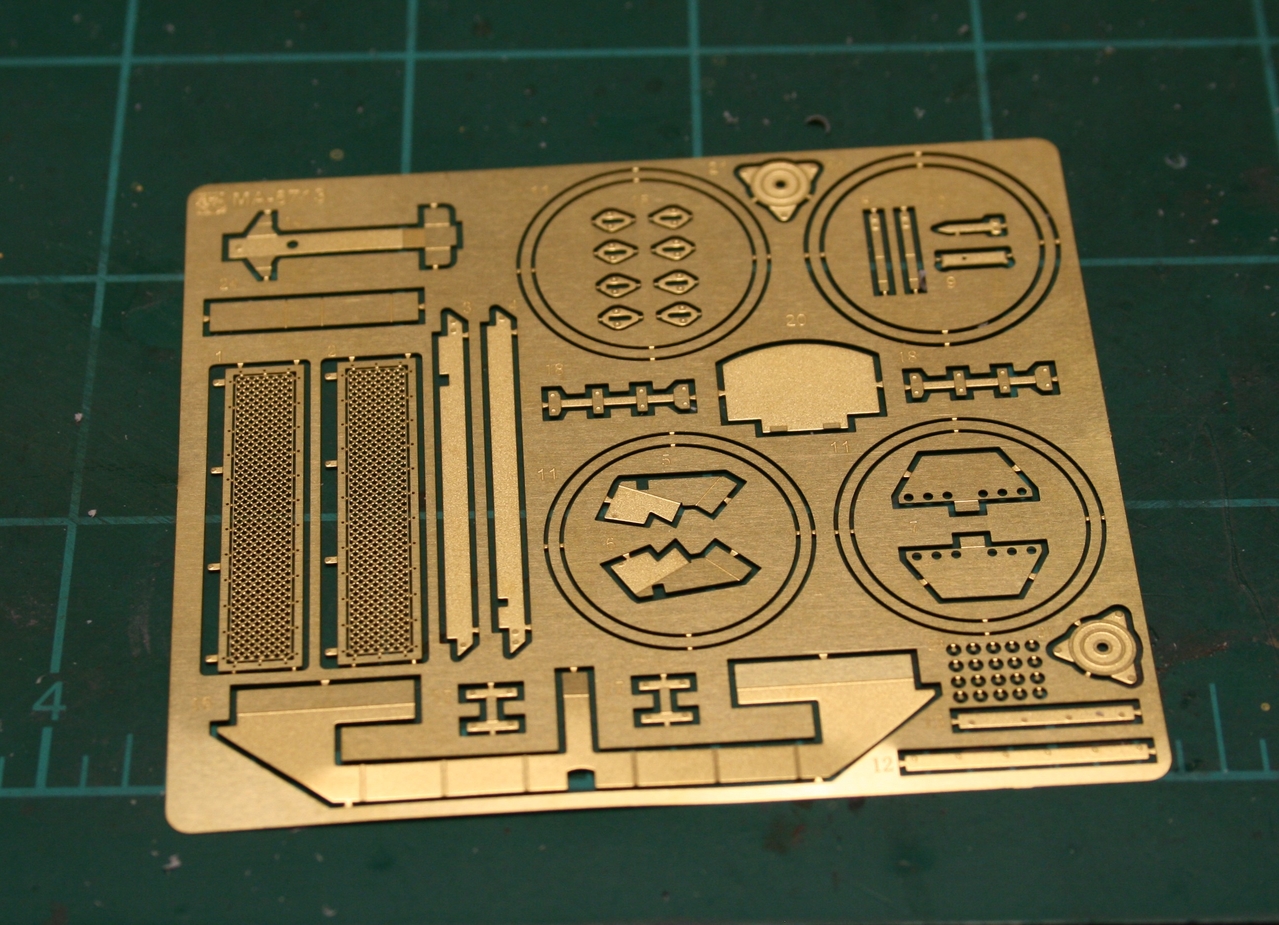
The box is chock full of parts, Dragon included many of the missing parts from previous issues, so we ought to be able to build it from the box, but why do that???? hyeah
hyeah
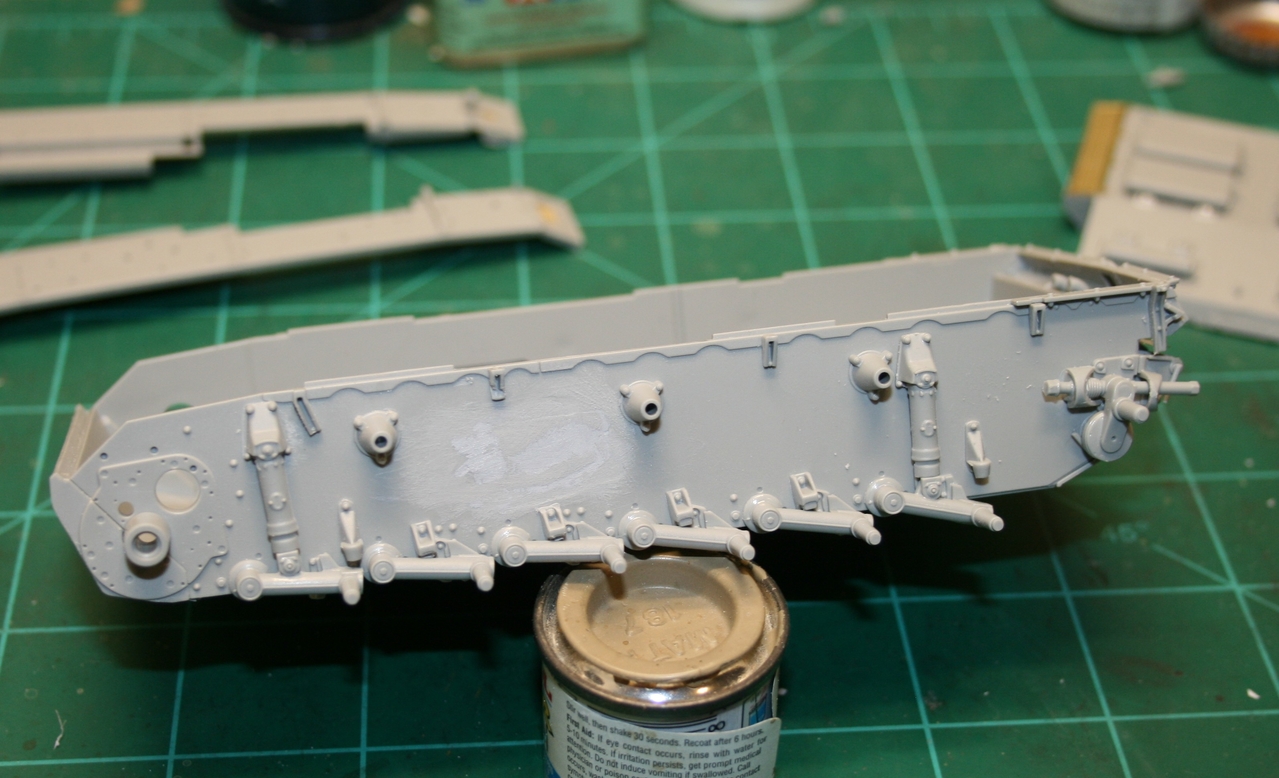
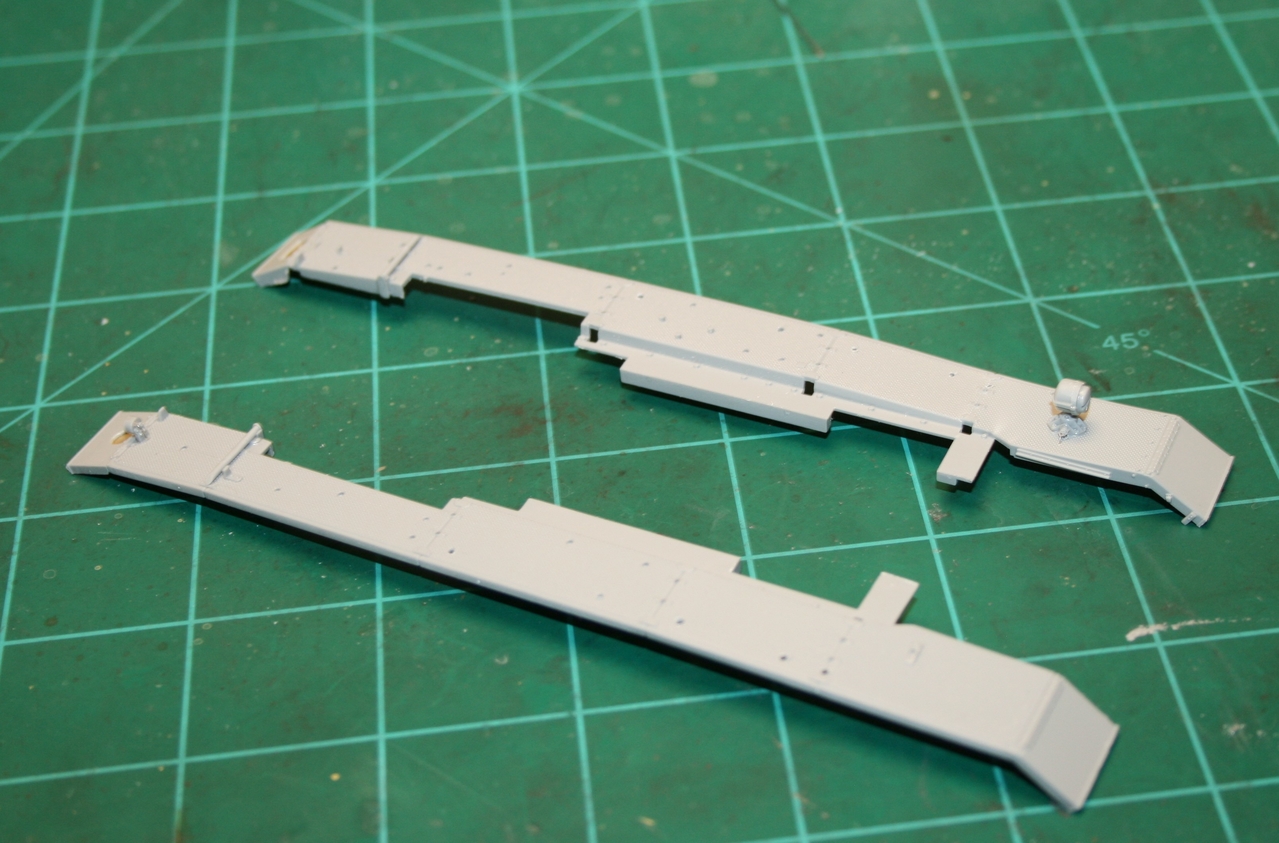
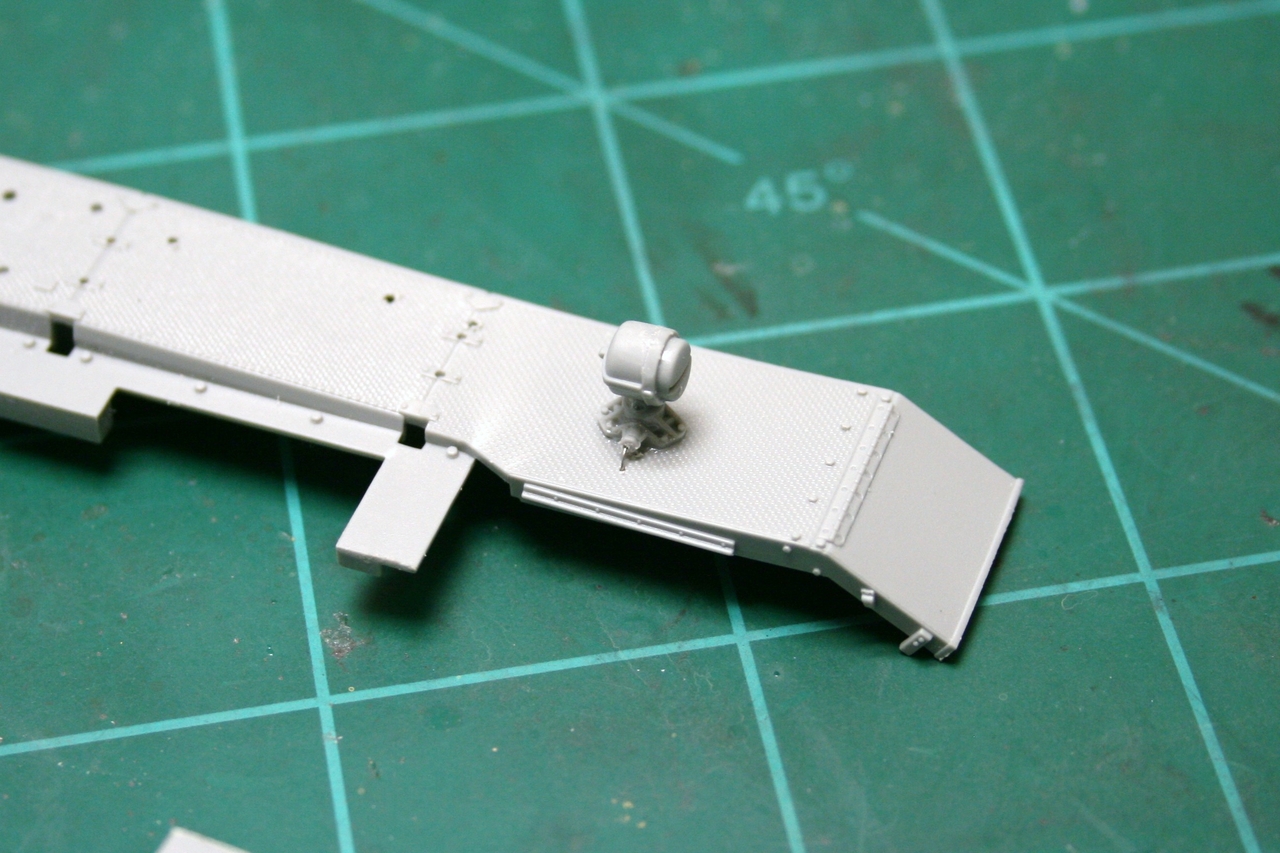
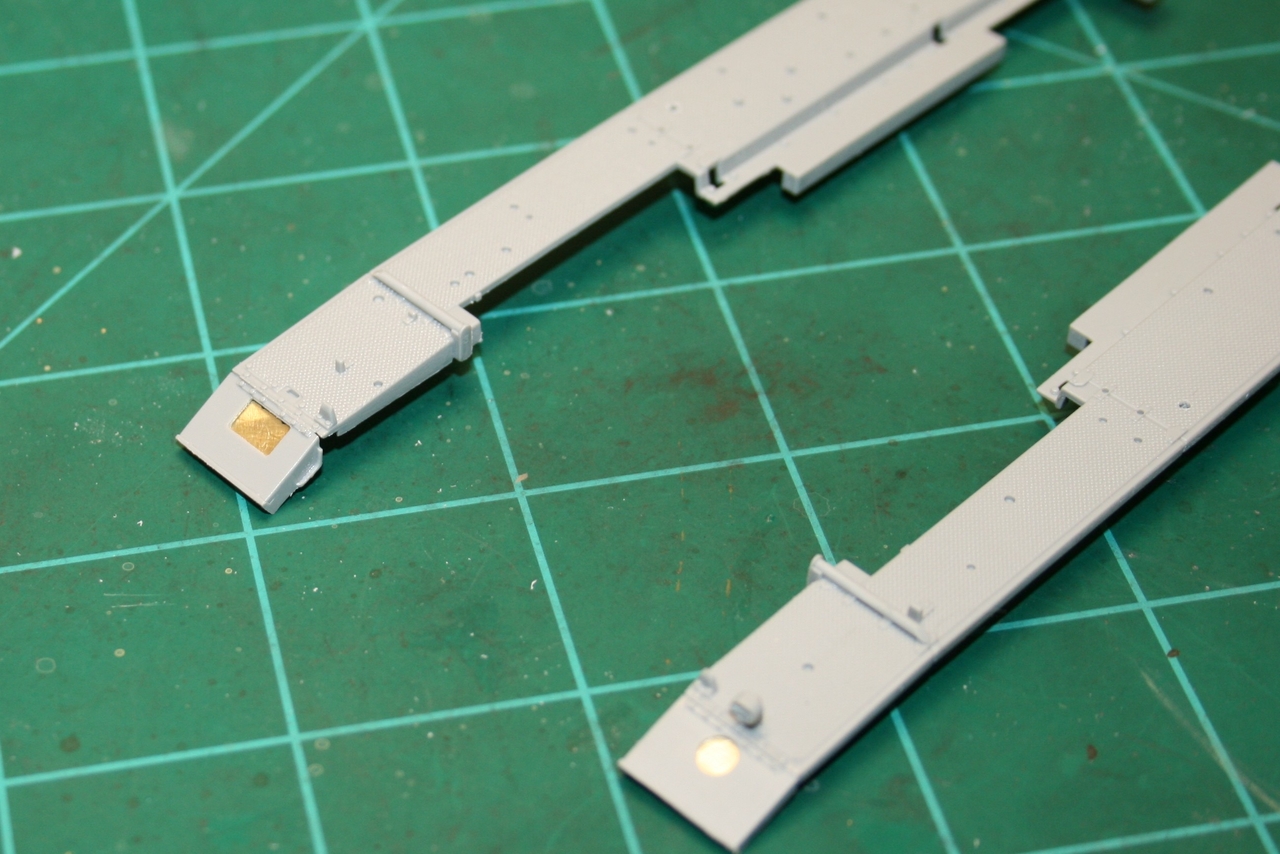
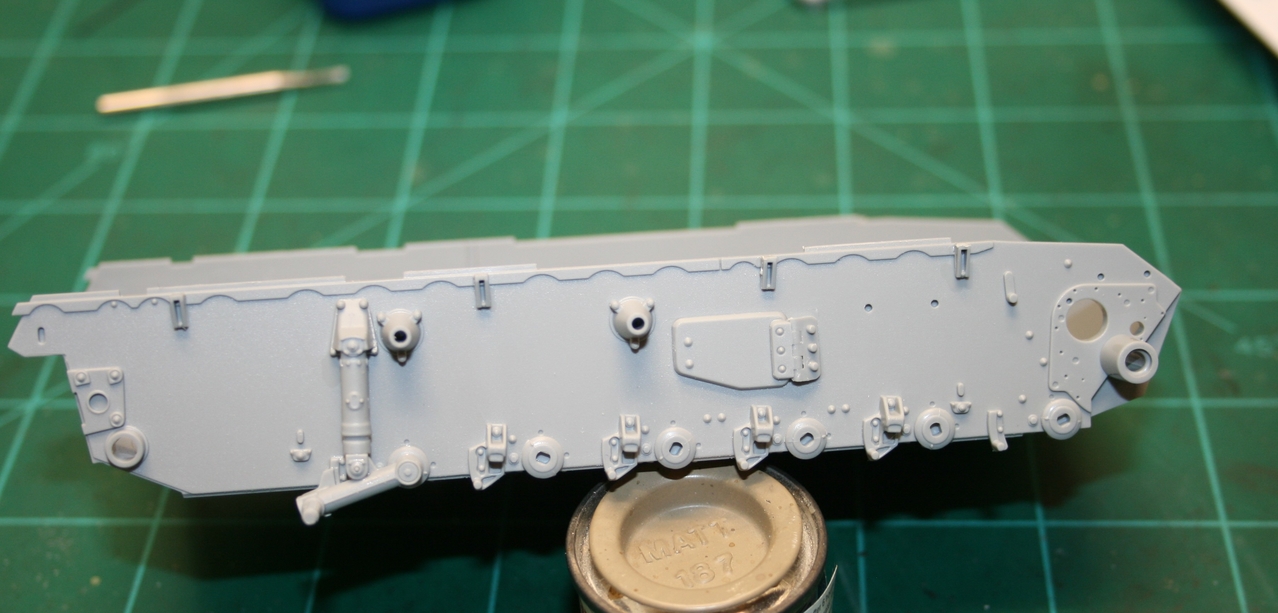
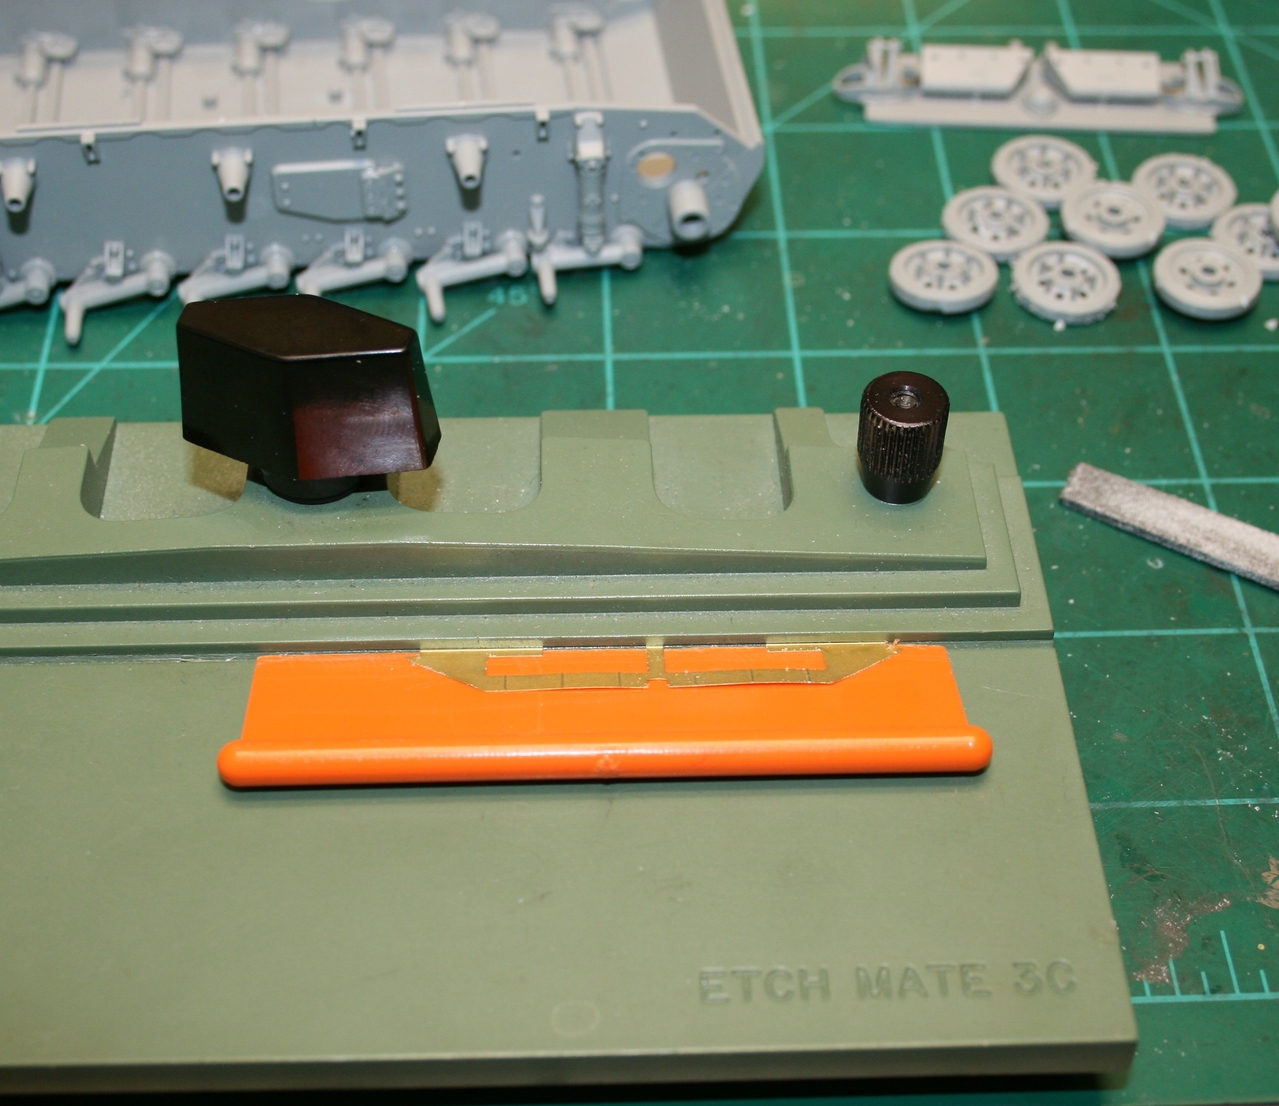
Our build is going to be nose heavy, so we need to modify the suspension to get it to sit just right.
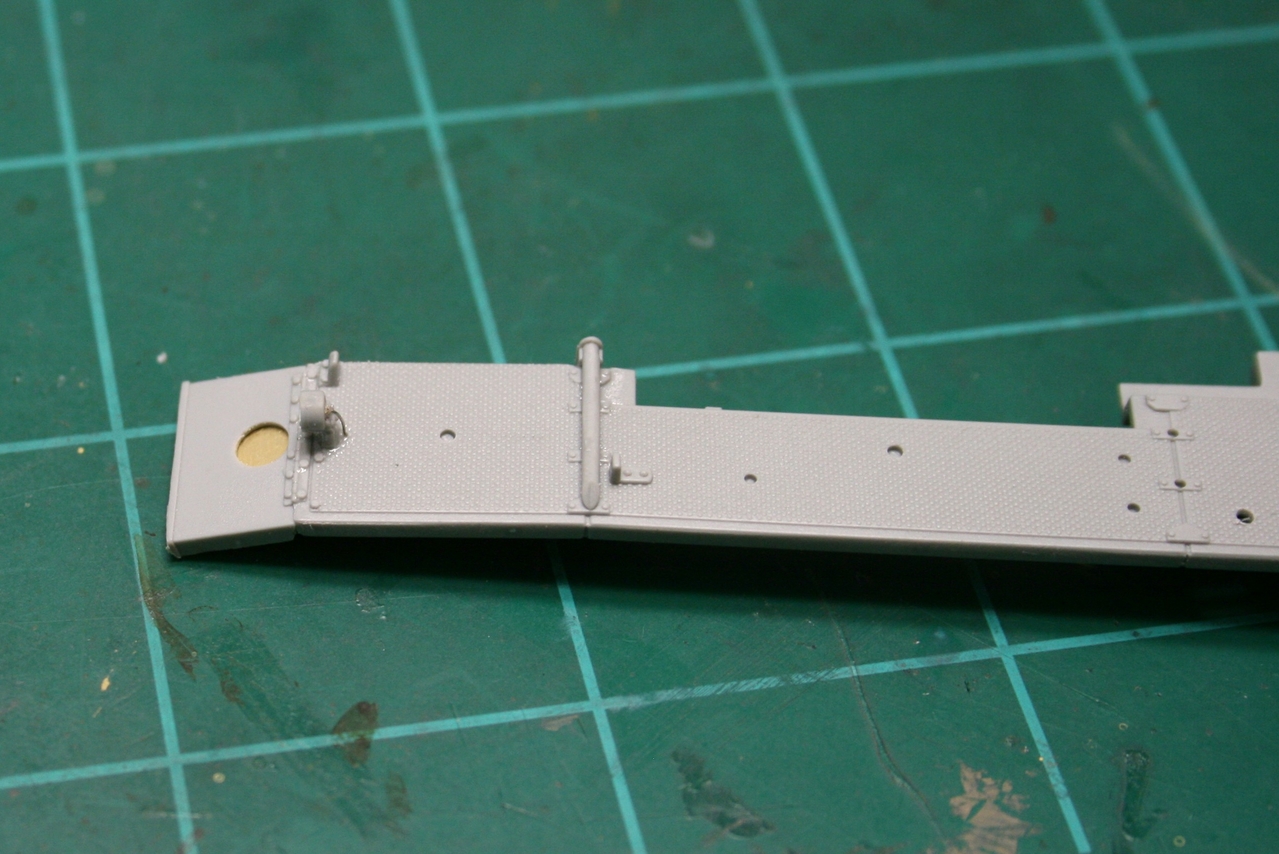
Start by installing the rear swing arms at the stock position.
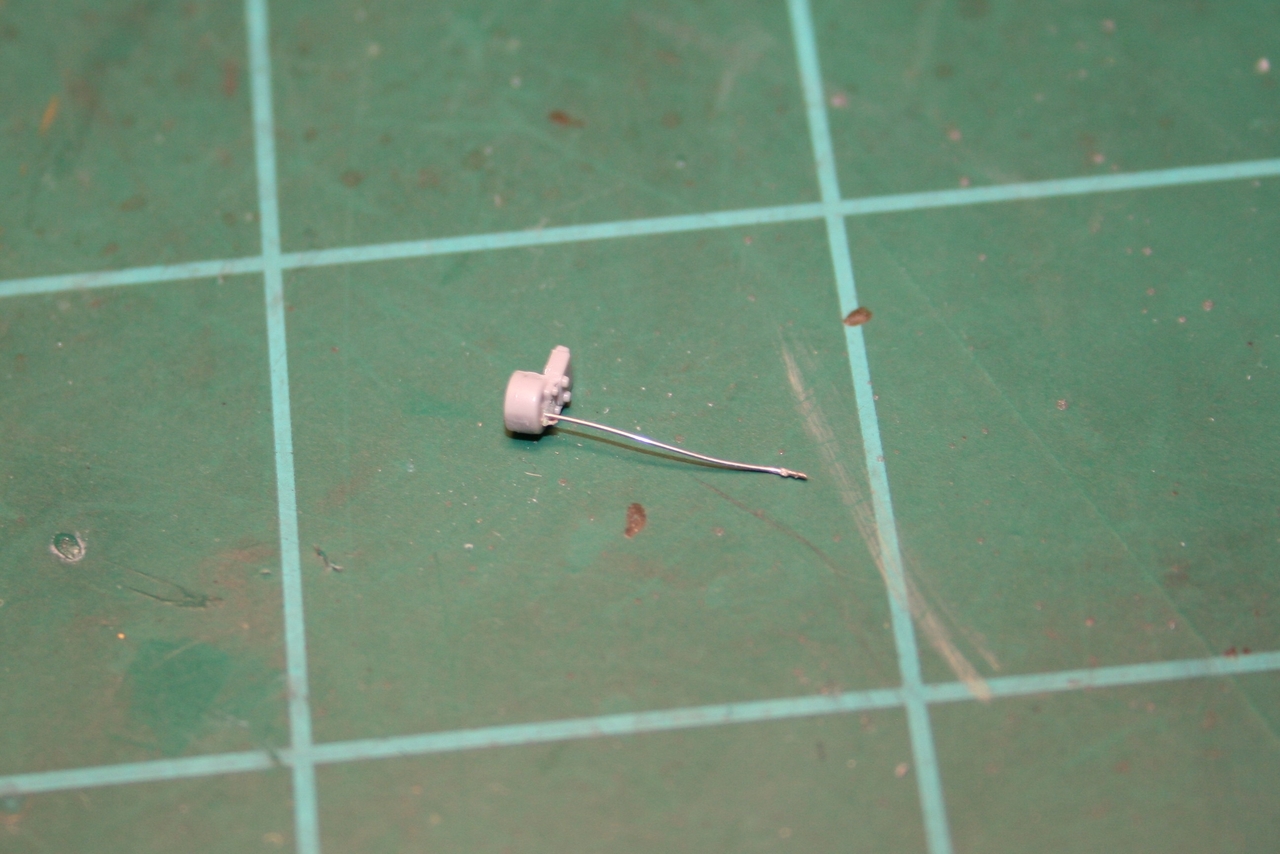
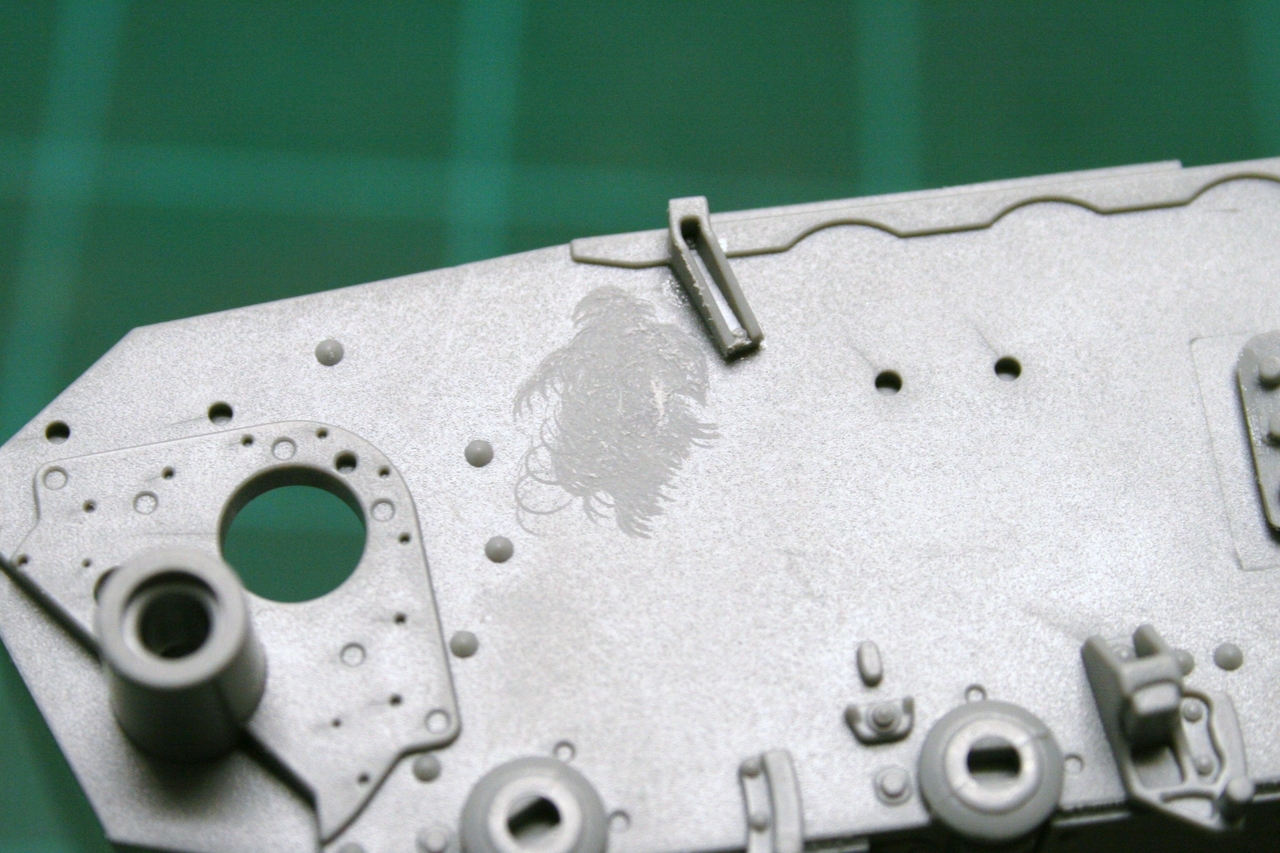
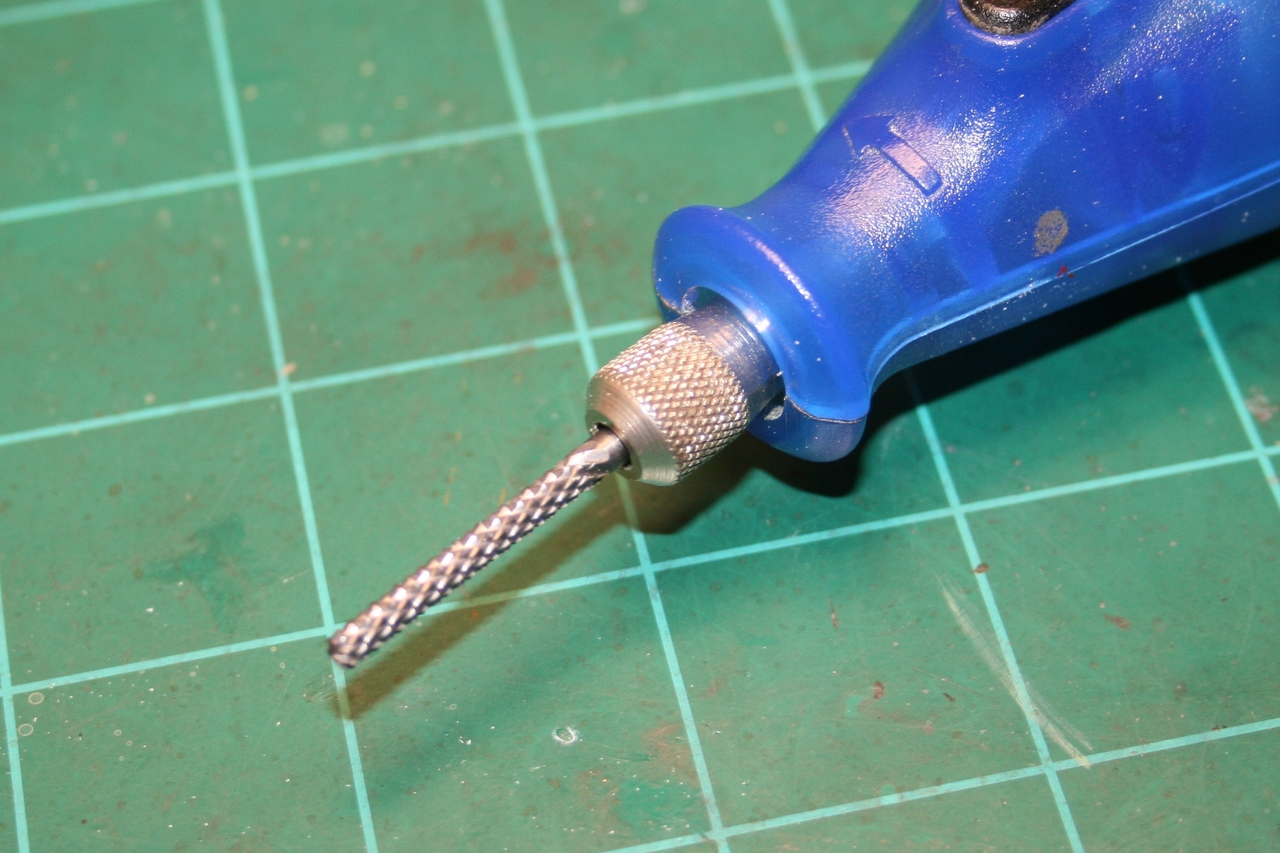
This is the stock height locating pin, we need to remove that. I clipped it close with the sprue cutter, then finished it with the Dremel and a flat ended burr.
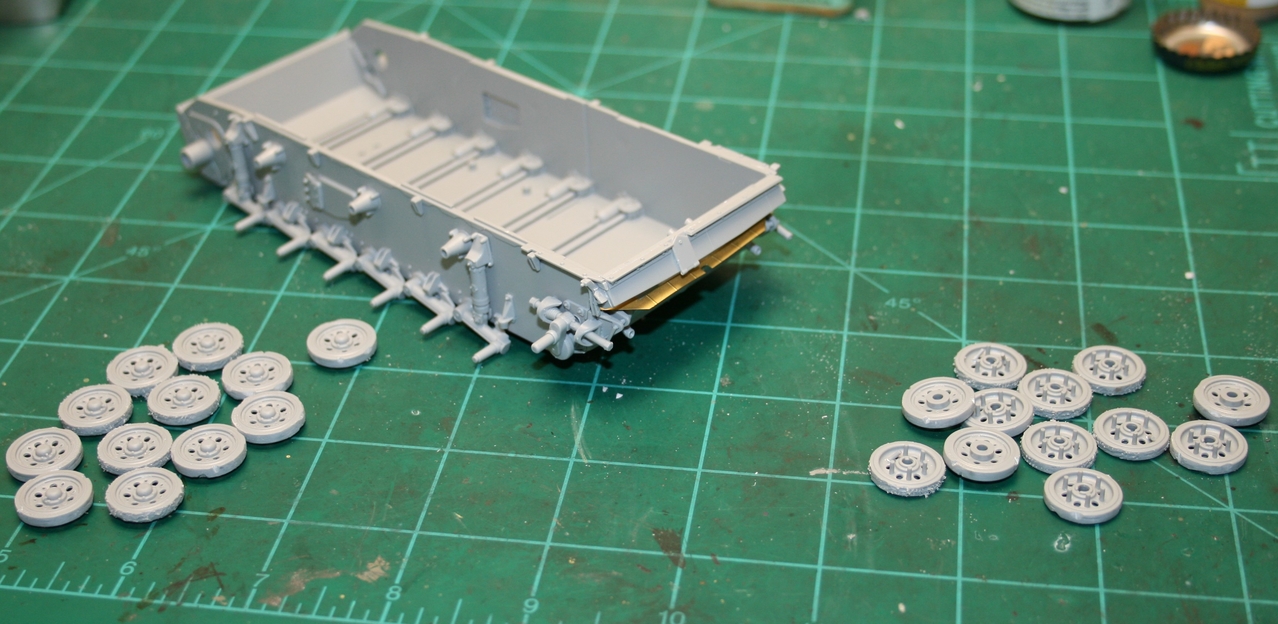
The rest of the suspension installs so all the arms and wheels touch the ground, you'll have to remove the backing pins, but there's enough surface area for gluing.
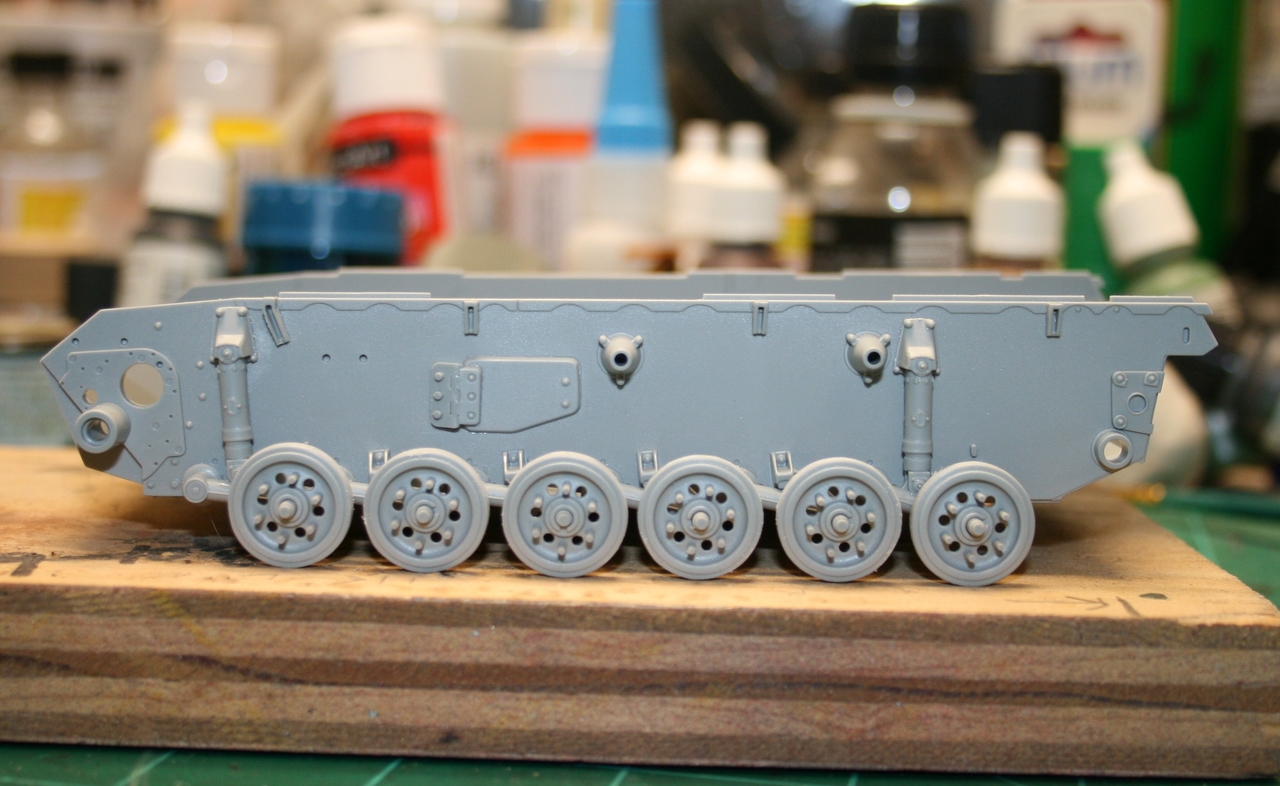
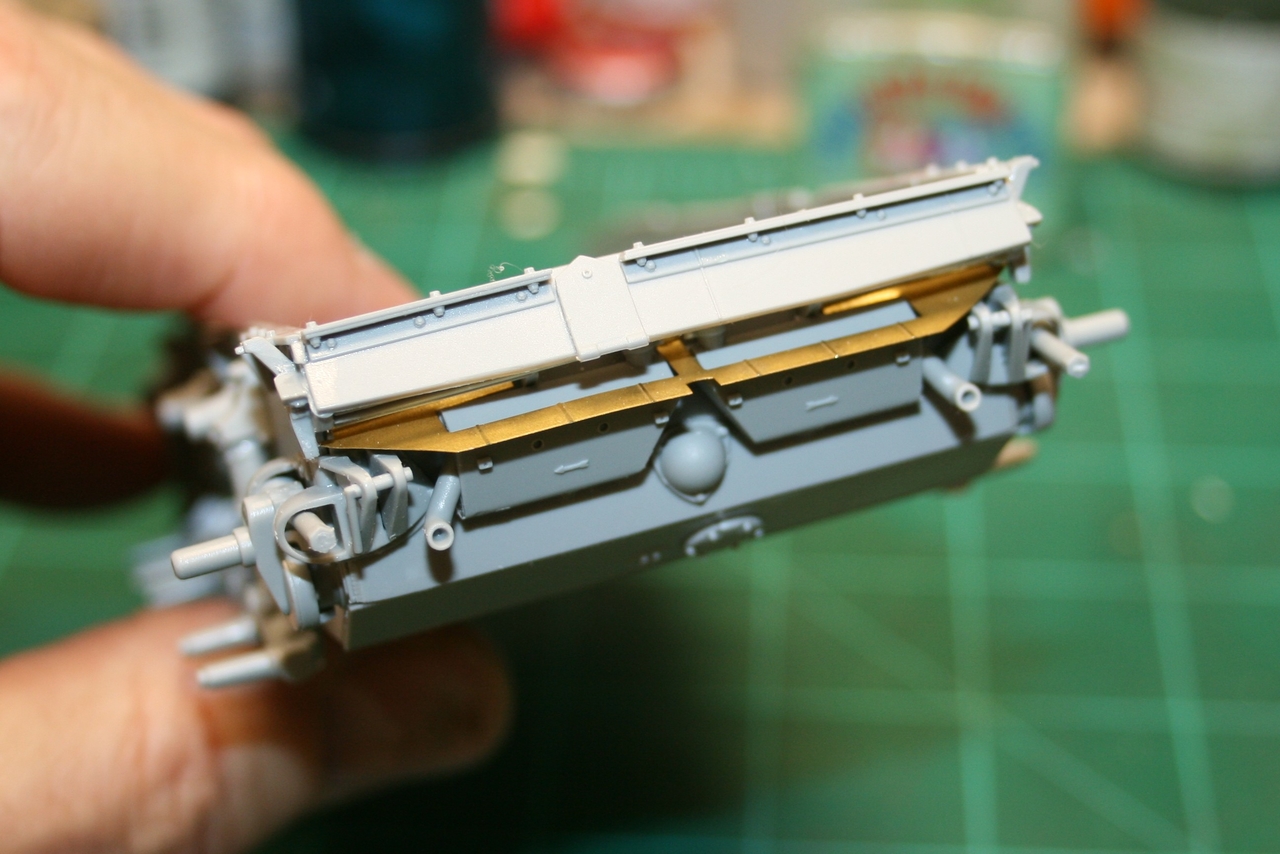
As you can see on the box art, the vehicle has a downward rake and ours should look HEAVY!
:drinks
Hello armor fans! This is a kit I've been wanting to build for several years now, blame it on Unca Tony! This hot rod shoe box on tracks packs a 15cm punch, it's going to be loaded down and ready to rumble. Let's get started!
The box is chock full of parts, Dragon included many of the missing parts from previous issues, so we ought to be able to build it from the box, but why do that????
hyeahOur build is going to be nose heavy, so we need to modify the suspension to get it to sit just right.
Start by installing the rear swing arms at the stock position.
This is the stock height locating pin, we need to remove that. I clipped it close with the sprue cutter, then finished it with the Dremel and a flat ended burr.
The rest of the suspension installs so all the arms and wheels touch the ground, you'll have to remove the backing pins, but there's enough surface area for gluing.
As you can see on the box art, the vehicle has a downward rake and ours should look HEAVY!
:drinks
Last edited:

 Yep ! Looks like that could be Tony's fault .
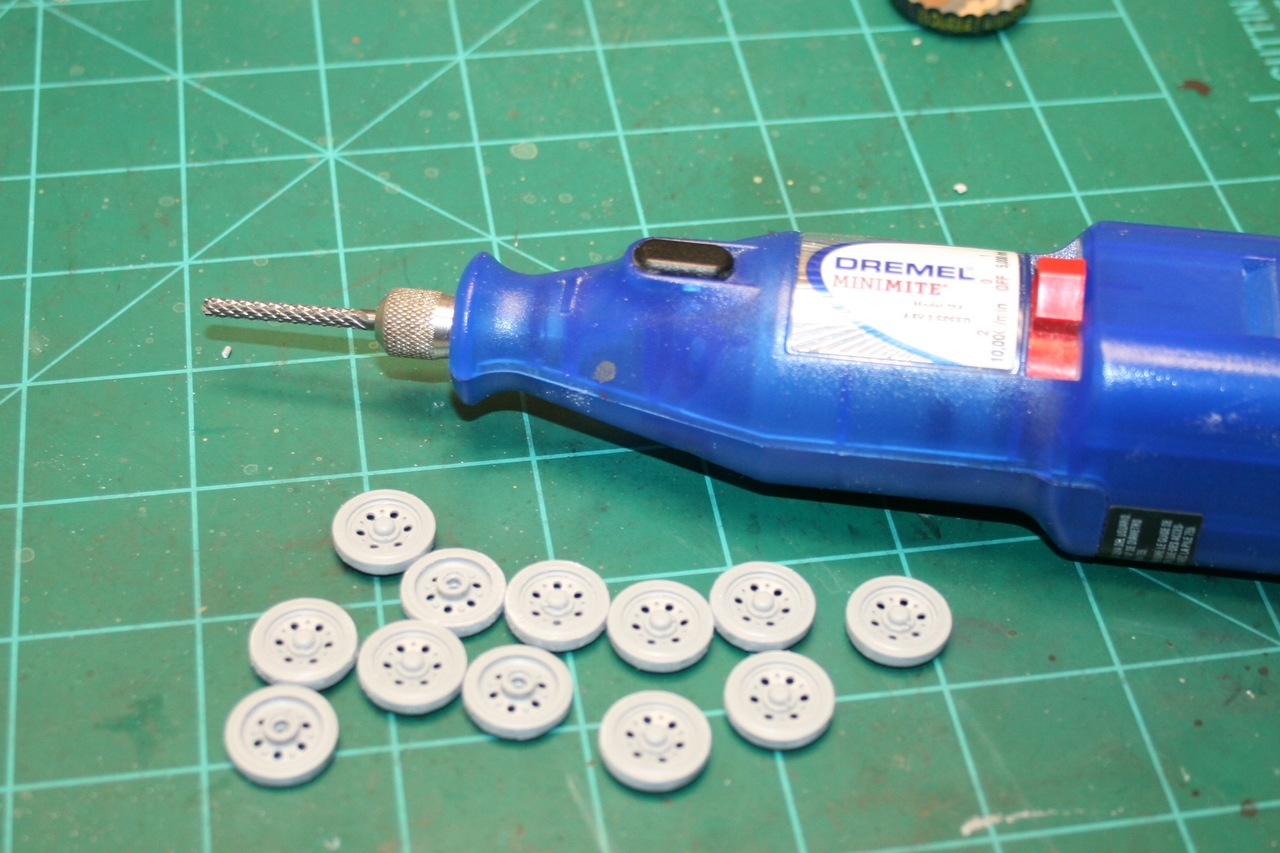


 :salute