
Luc Klinkers
Member
Mud for modelling is available as a ready to use product from several brands. Usually it is good stuff. But I like to make my own. This way I can vary with colors and consistency. Above all, it is much cheaper, and more fun!!
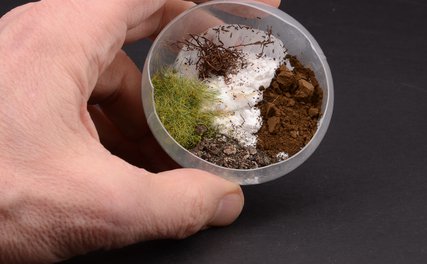
The picture below shows the ingredients:
Wall filler, any brand will do. You need the ready to use, paste like stuff, with the sand mixed in. Here in Holland I use a brand called Alabastine. Some years ago Porion plaster from Henkel was good stuff. But here it is no longer available.
Sand / dirt. Just the simple stuff from outside. Take your broom, clean your terrace or the side walk in front of your house. That is the stuff you need, all these different sized grains.
Plants / roots. Stuff from your garden, well dried, small stuff. Not the big branches!
Static grass. Use the longer fibres.
Pigment powder. You can use the well known brands (Mig, Vallejo, etc). I buy mine in big quantities from an art supply store. They are cheap! I use the conventional earth tones, umber, sienna, ochre.

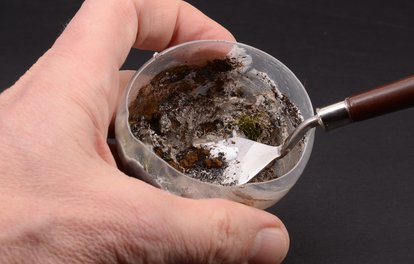
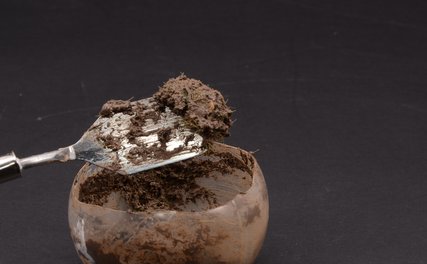
Time to mix all this stuff. The amount of the ingredients is a matter of personal preference and experimenting. Make your own colors. If the mass is to dry, mix in some water. But be careful. If it is too dry, the mud won't stick. If it is too wet, you get a mess.
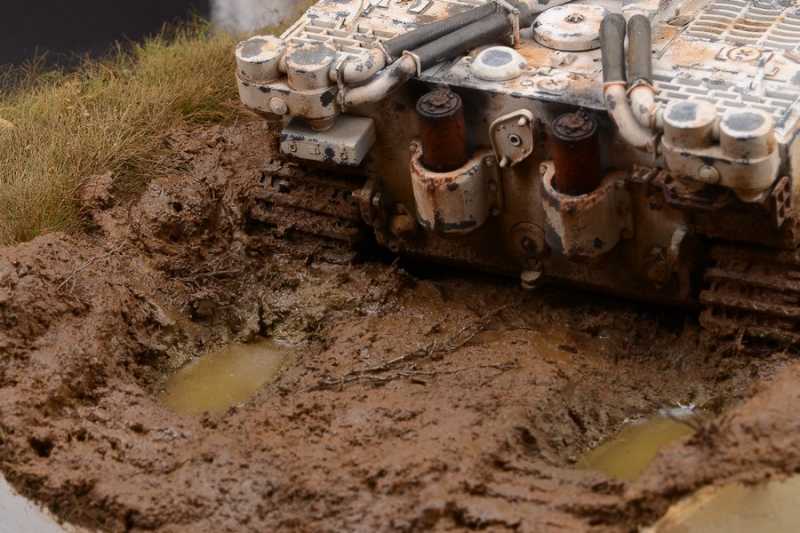
After mixing properly, you can place the mixture on to your base. In this case it is a small base for a 1/16 scale figure. Spread out the mud with a tool and shape the groundwork to your personal preference.

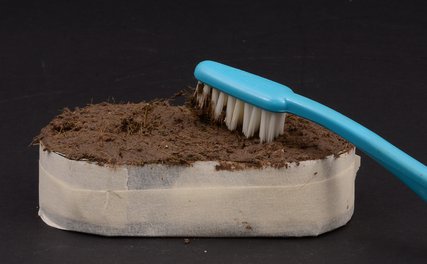
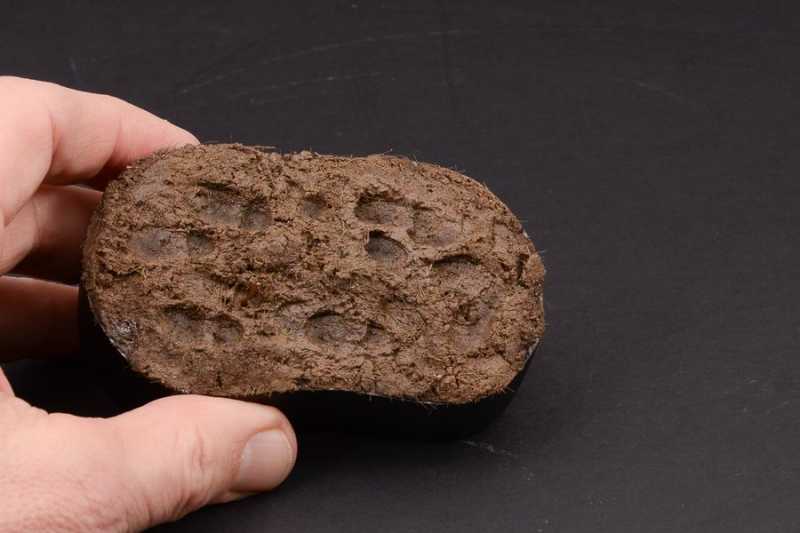
Before the mixture sets, give the groundwork some natural texture. An old tooth brush will do the job. Any big, stiff brush will work. Than it is time to add tire marks, foot prints or anything you like. In this case I only added foot prints, using the unpainted figure.

Leave the base to dry, at least a day or so. It depends on the size of your diorama and the thickness of your mud layer. It has to be completely dry. When dry, you will end up with a very matt looking earth work. It that is your aim: than its OK. You will have dry mud. If you want a more moist looking soil, you need to spray on some high gloss varnish. I use thinned Tamiya X22. If you spray on the varnish, the soil will also get a darker appearance. Using a well thinned mixture gives a good control over the process.

Finished!!

")
