• Modelers Alliance has updated the forum software on our website. We have migrated all post, content and user accounts but we could not migrate the passwords.
    This requires that you manually reset your password.
    Please click here, http://modelersalliance.org/forums/login to go to logon page and use the "Forgot your Password" option.

Cessna 195 on floats

uros

Active member
Hi everyone!
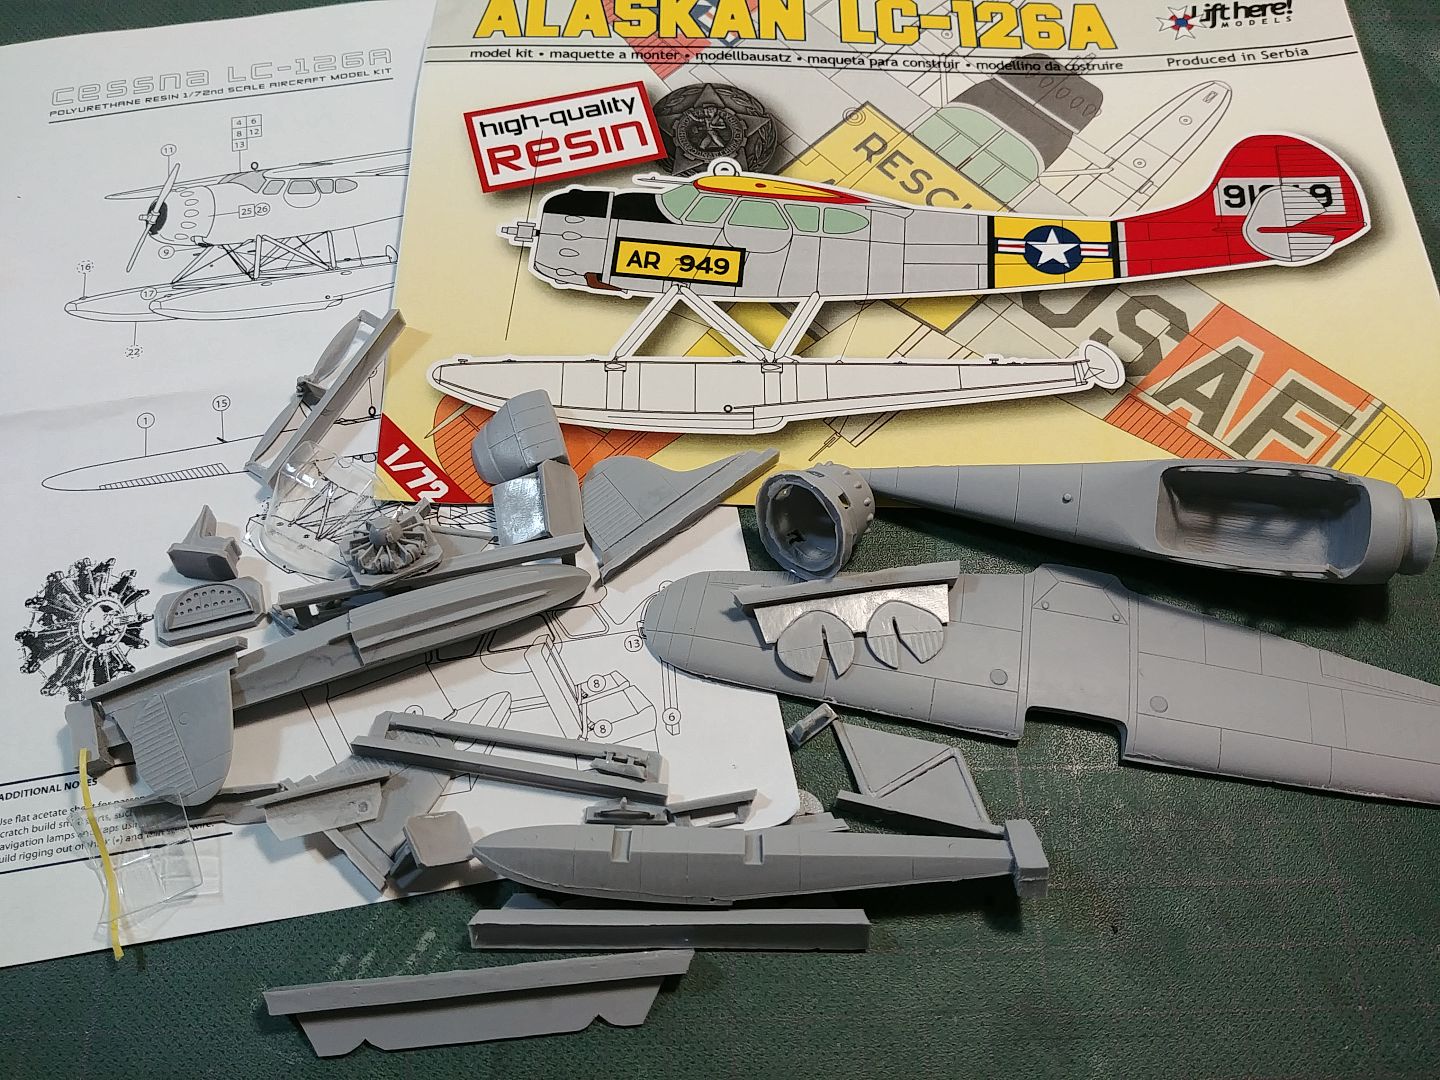
This is my next project. I've been looking at Stoneboats floatplanes and they have really grown on me. Over the years, I hve bouhgt some kits, but never built any. It's time to change that!

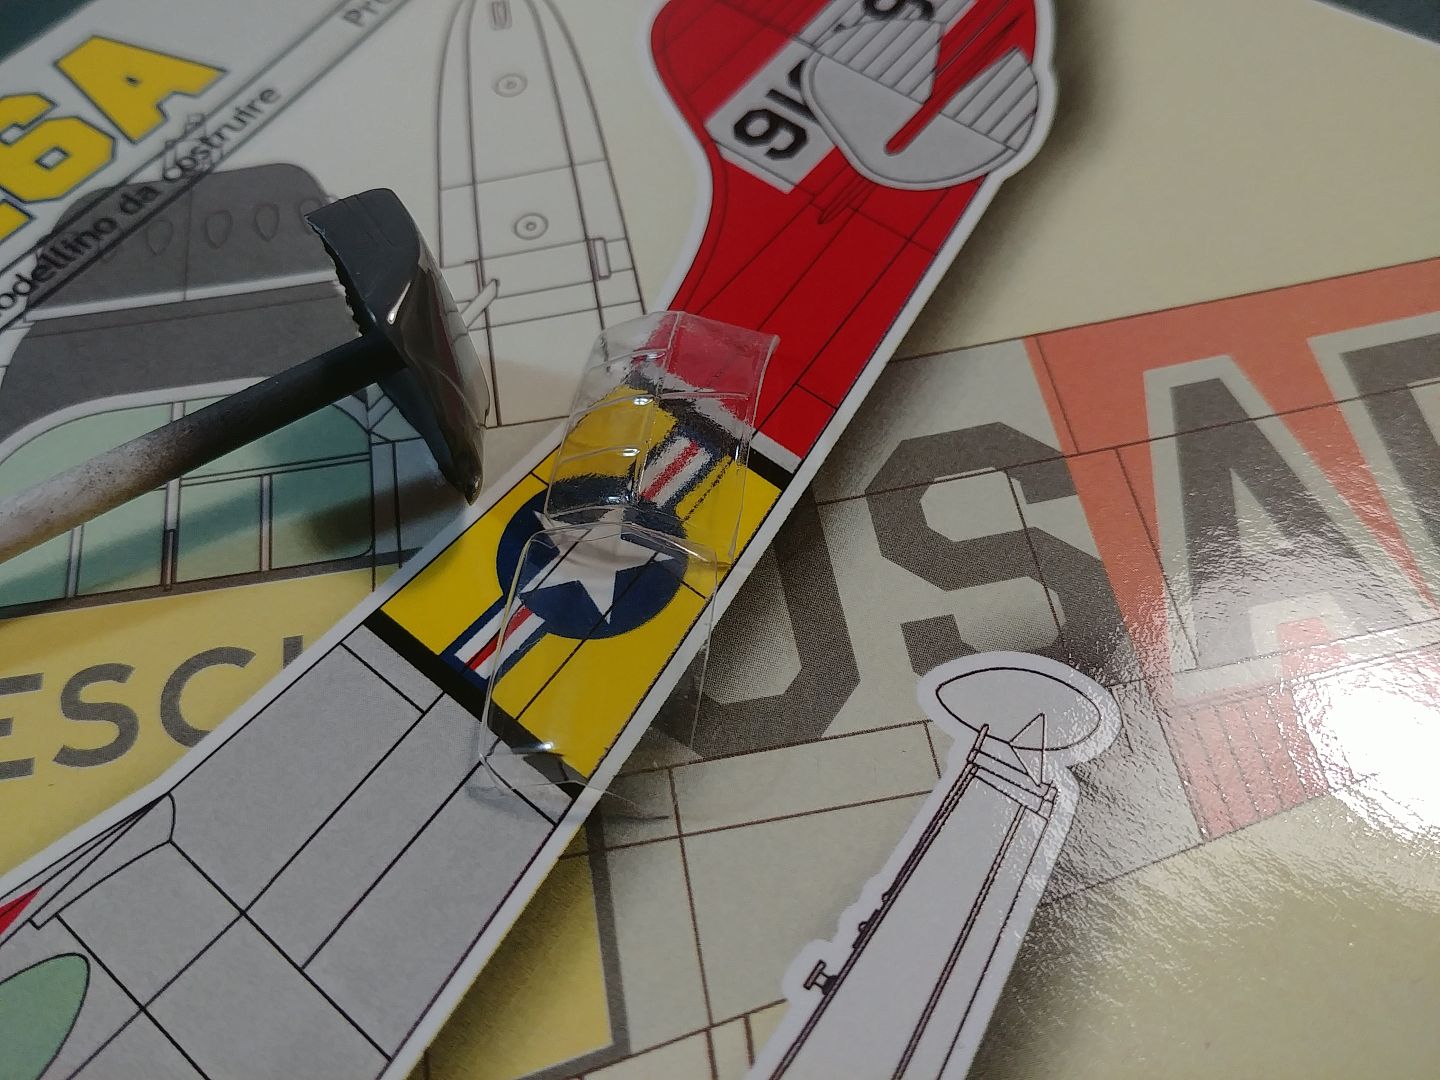
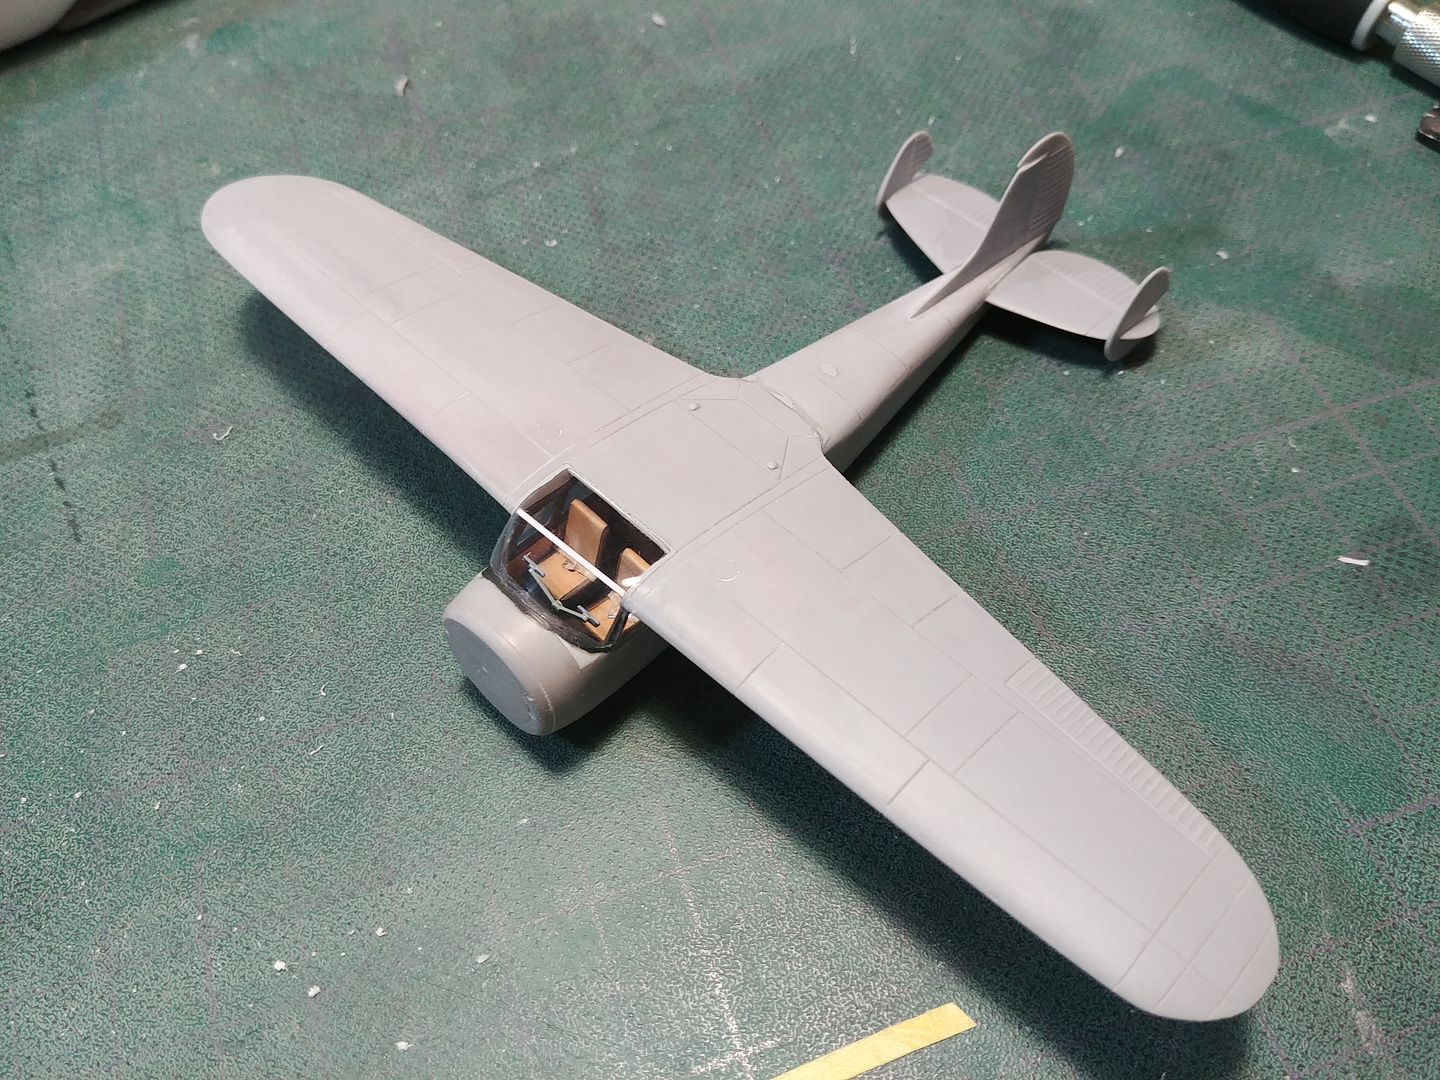
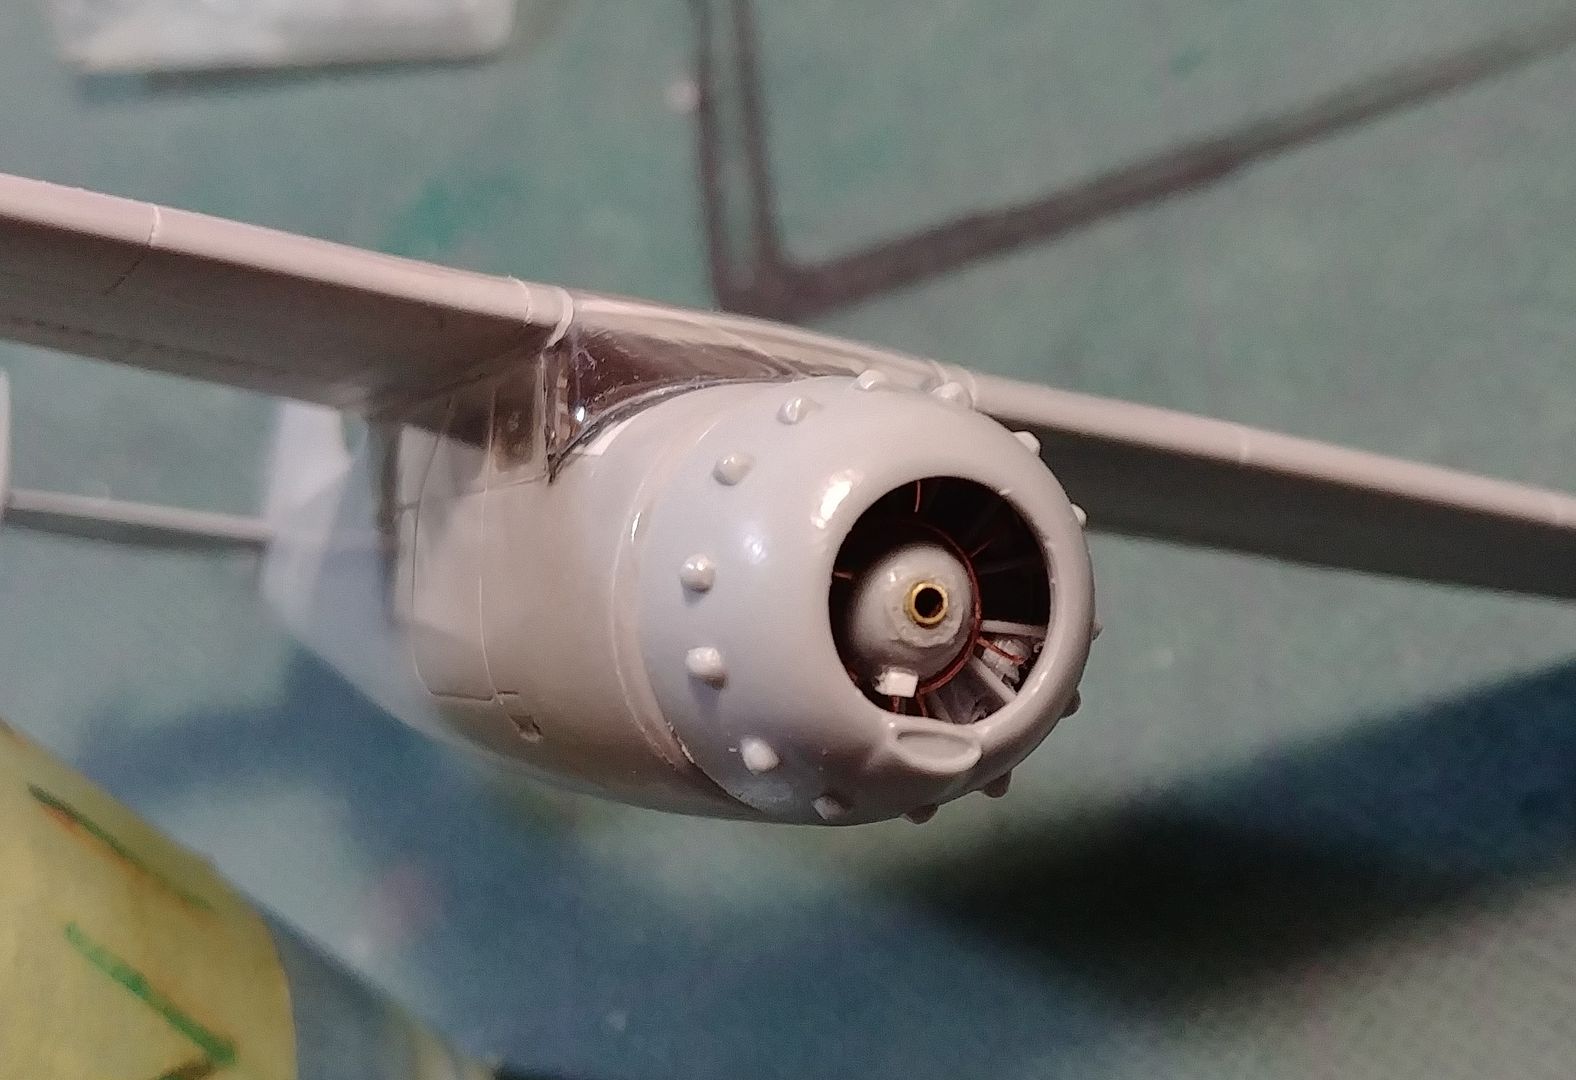
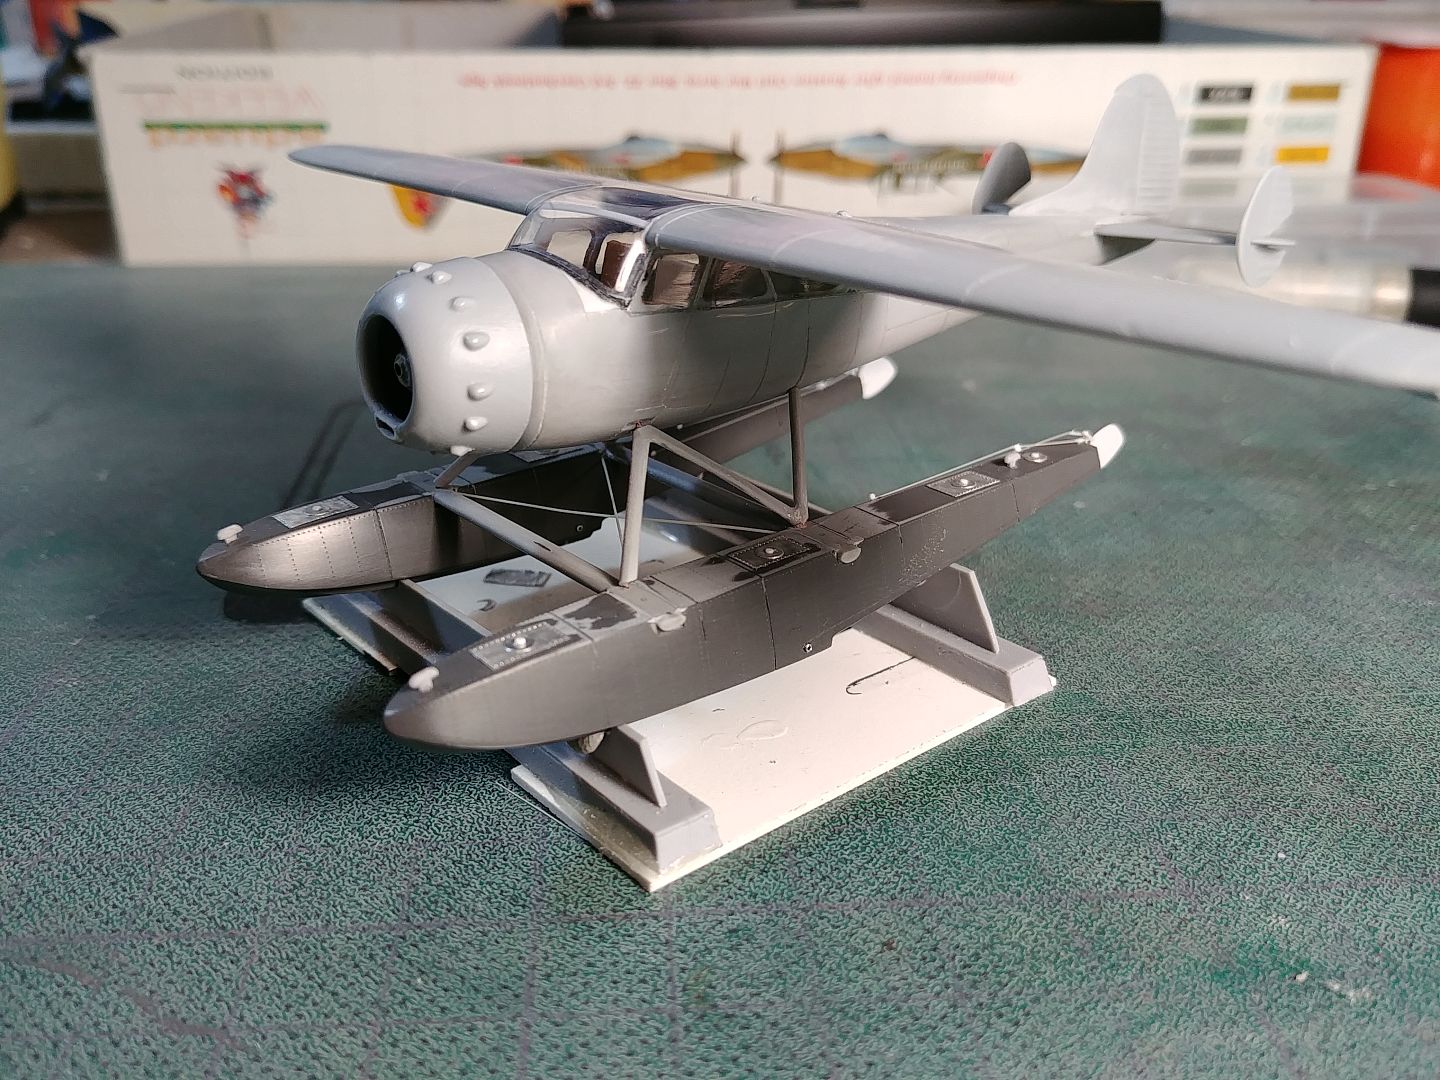
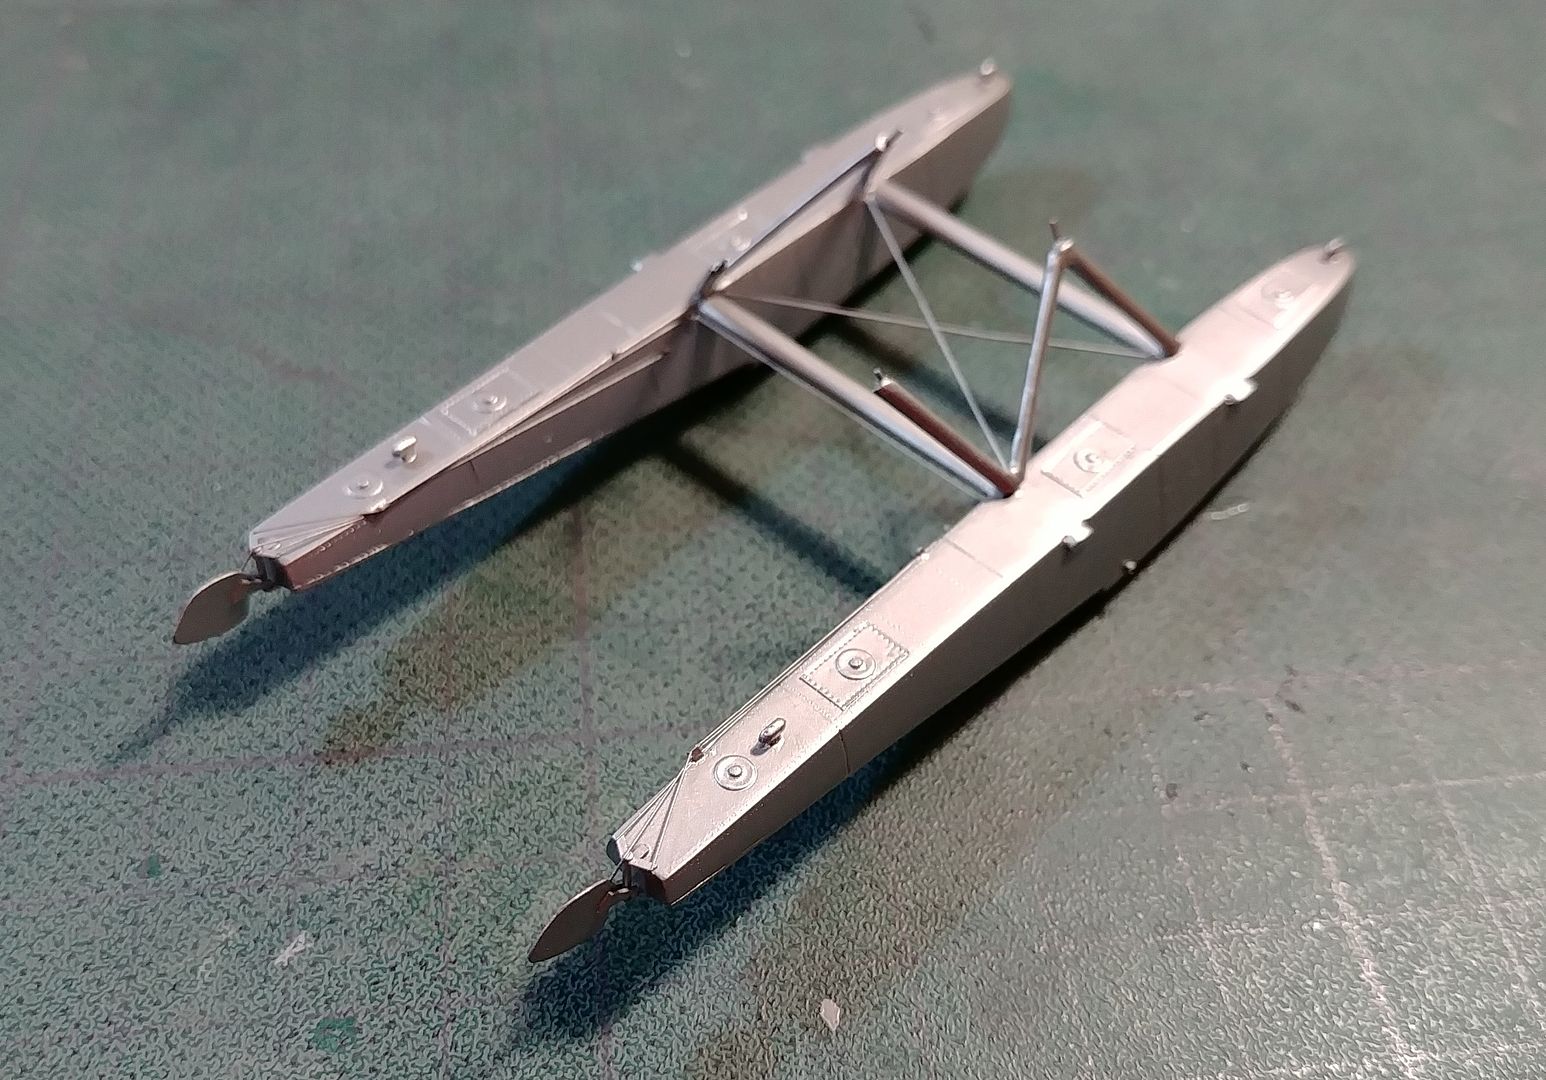
This is a resin kit from Lift here resin in 1/72nd scale. I want to put it on a water base, so this will be something new for me. We'll see how it goes.

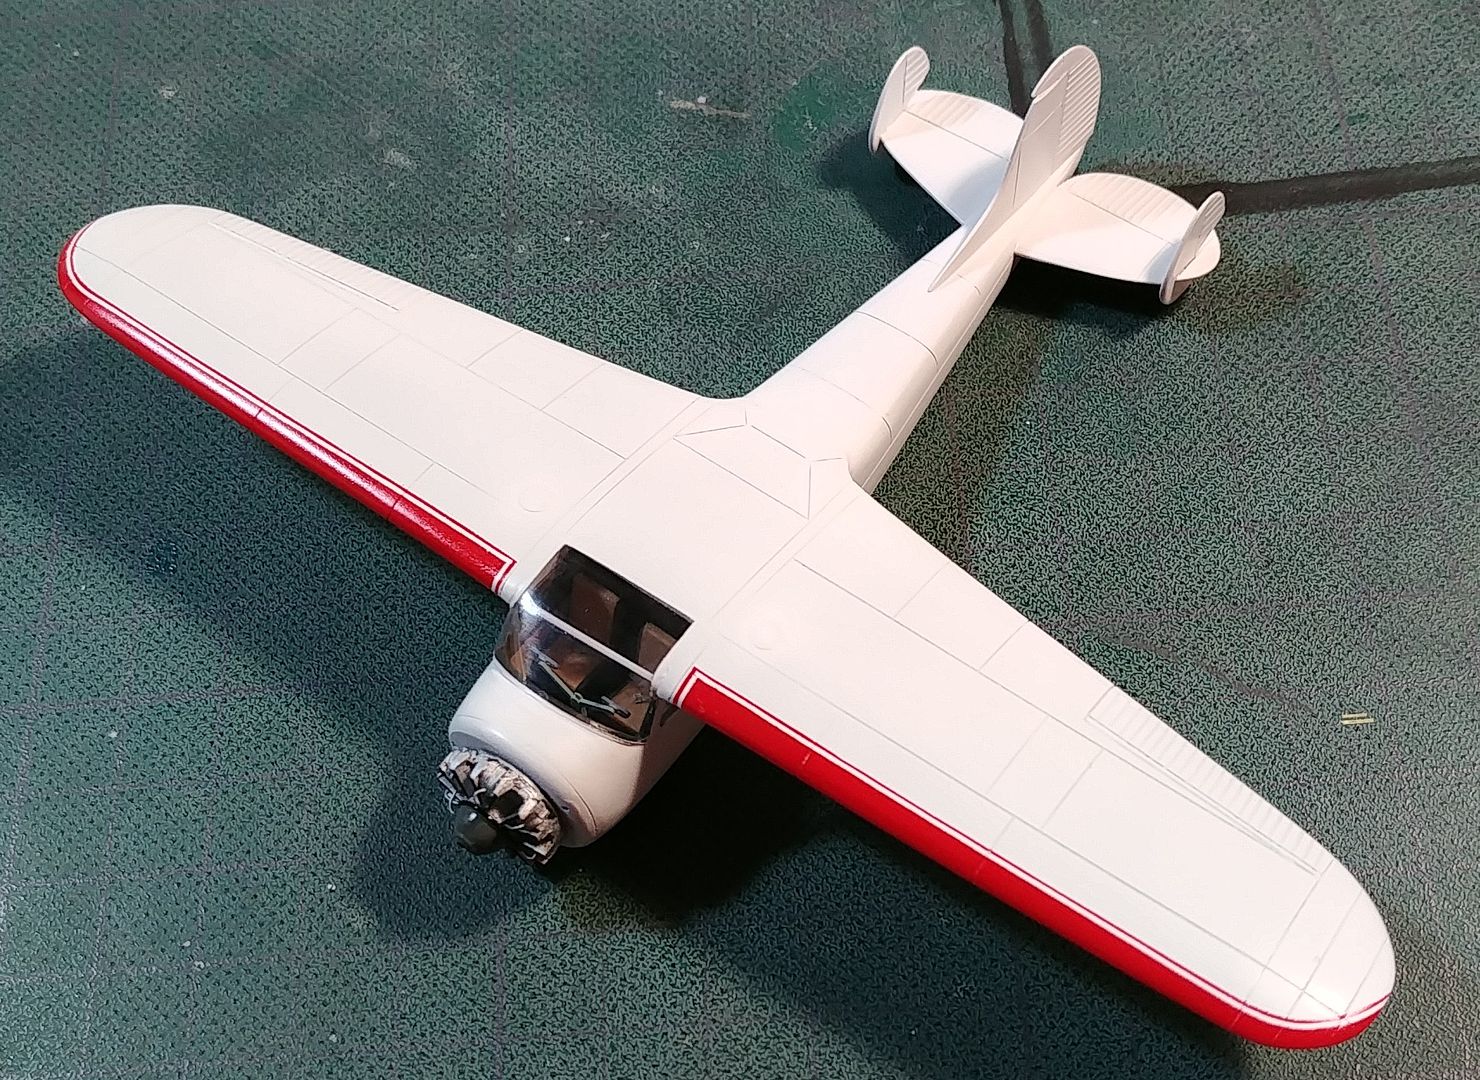
I will make a civil version of this.
20180820_113317_zpsyffeqexn.jpg


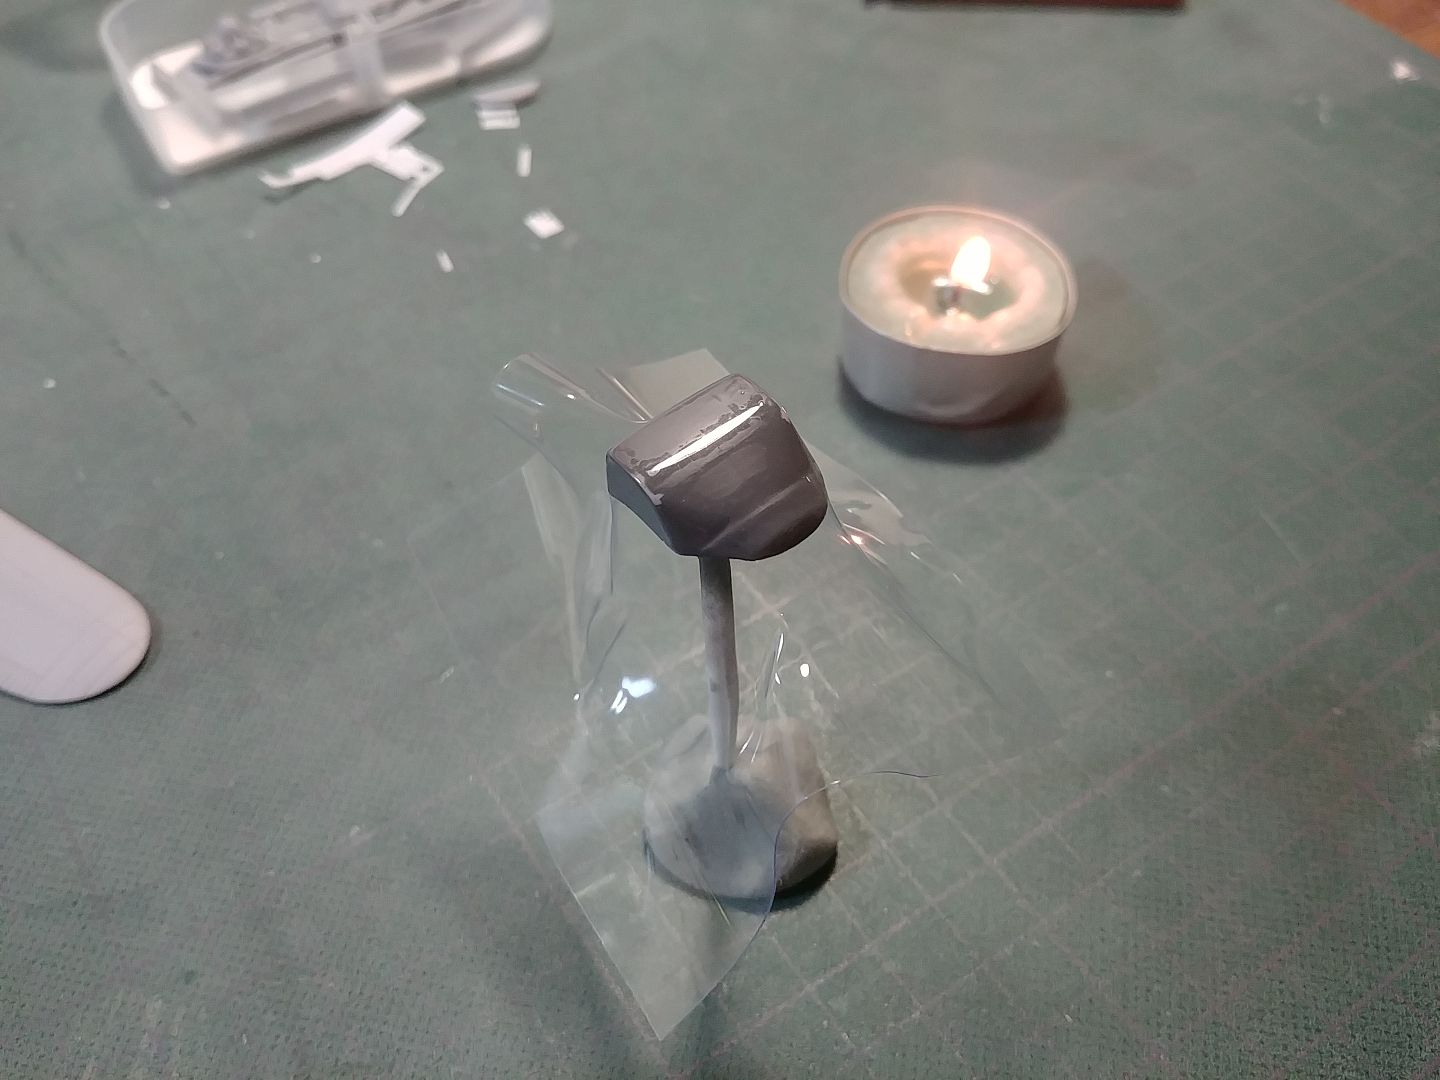
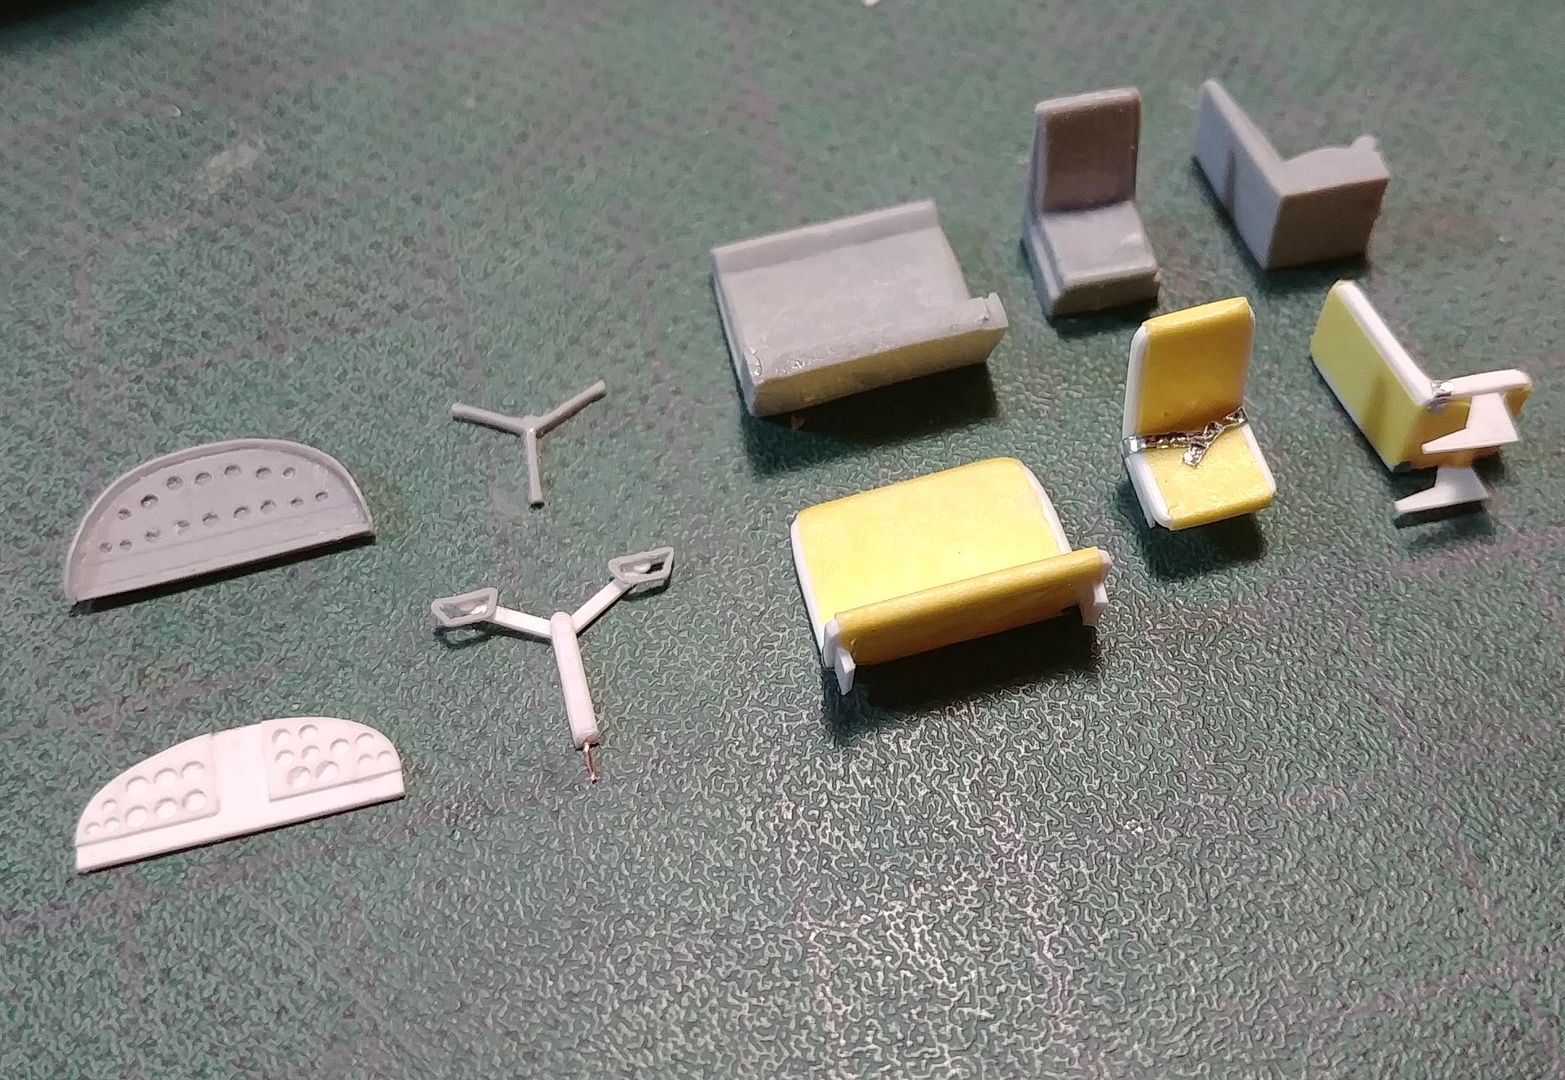
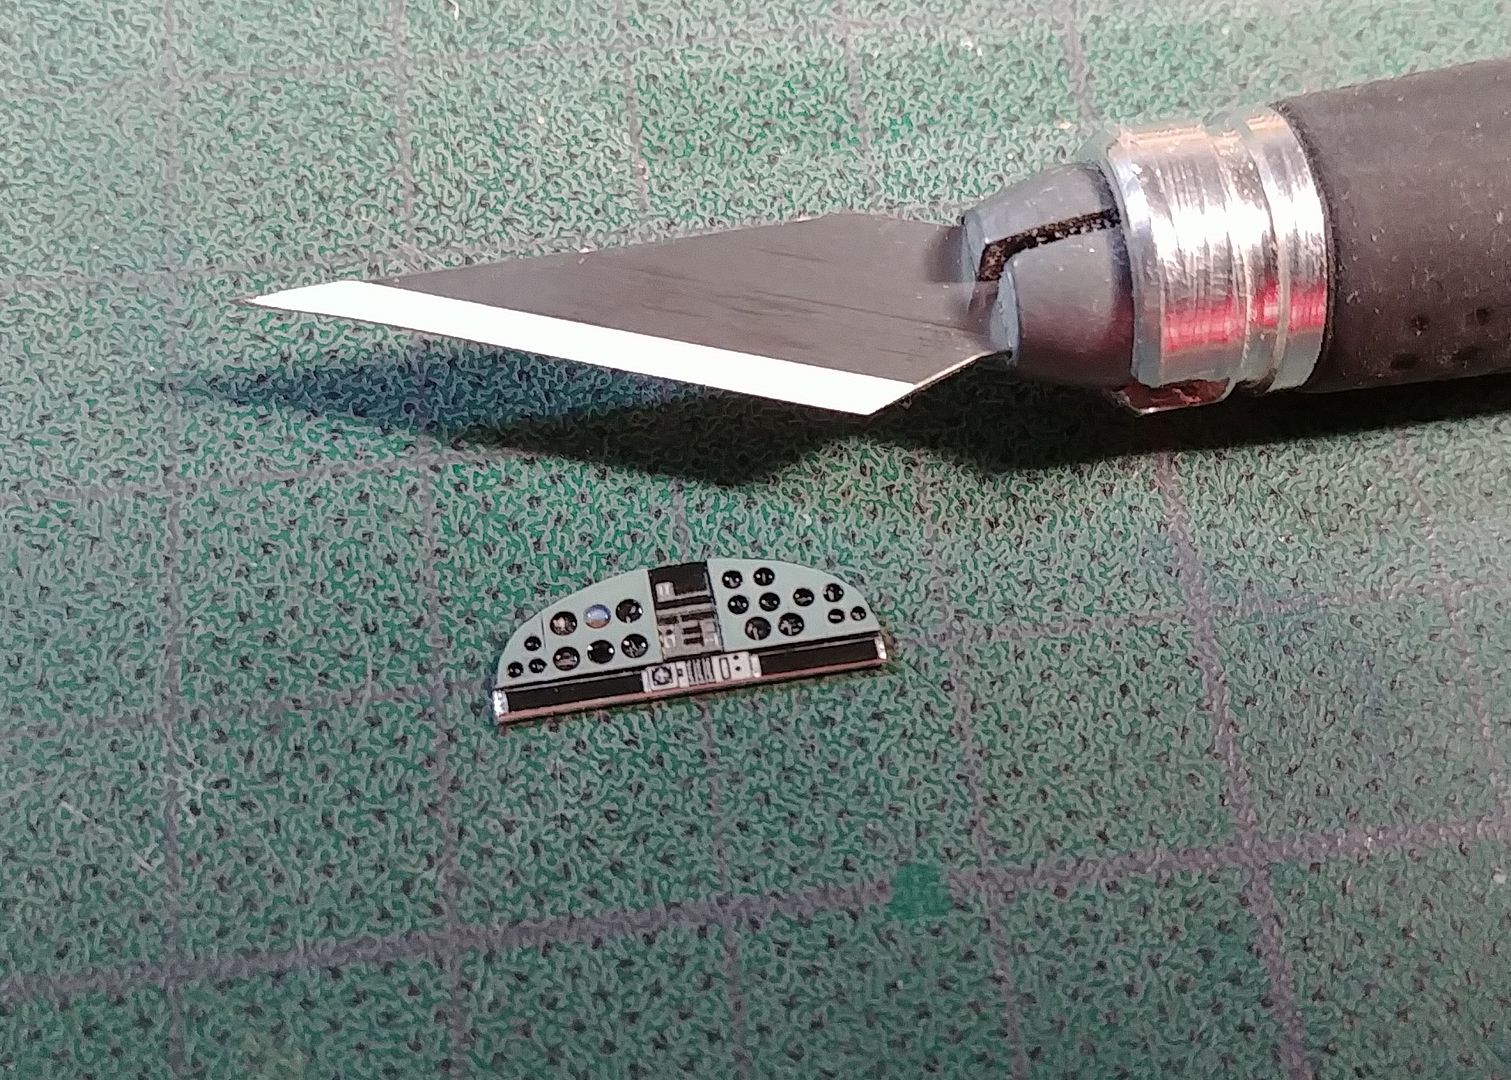
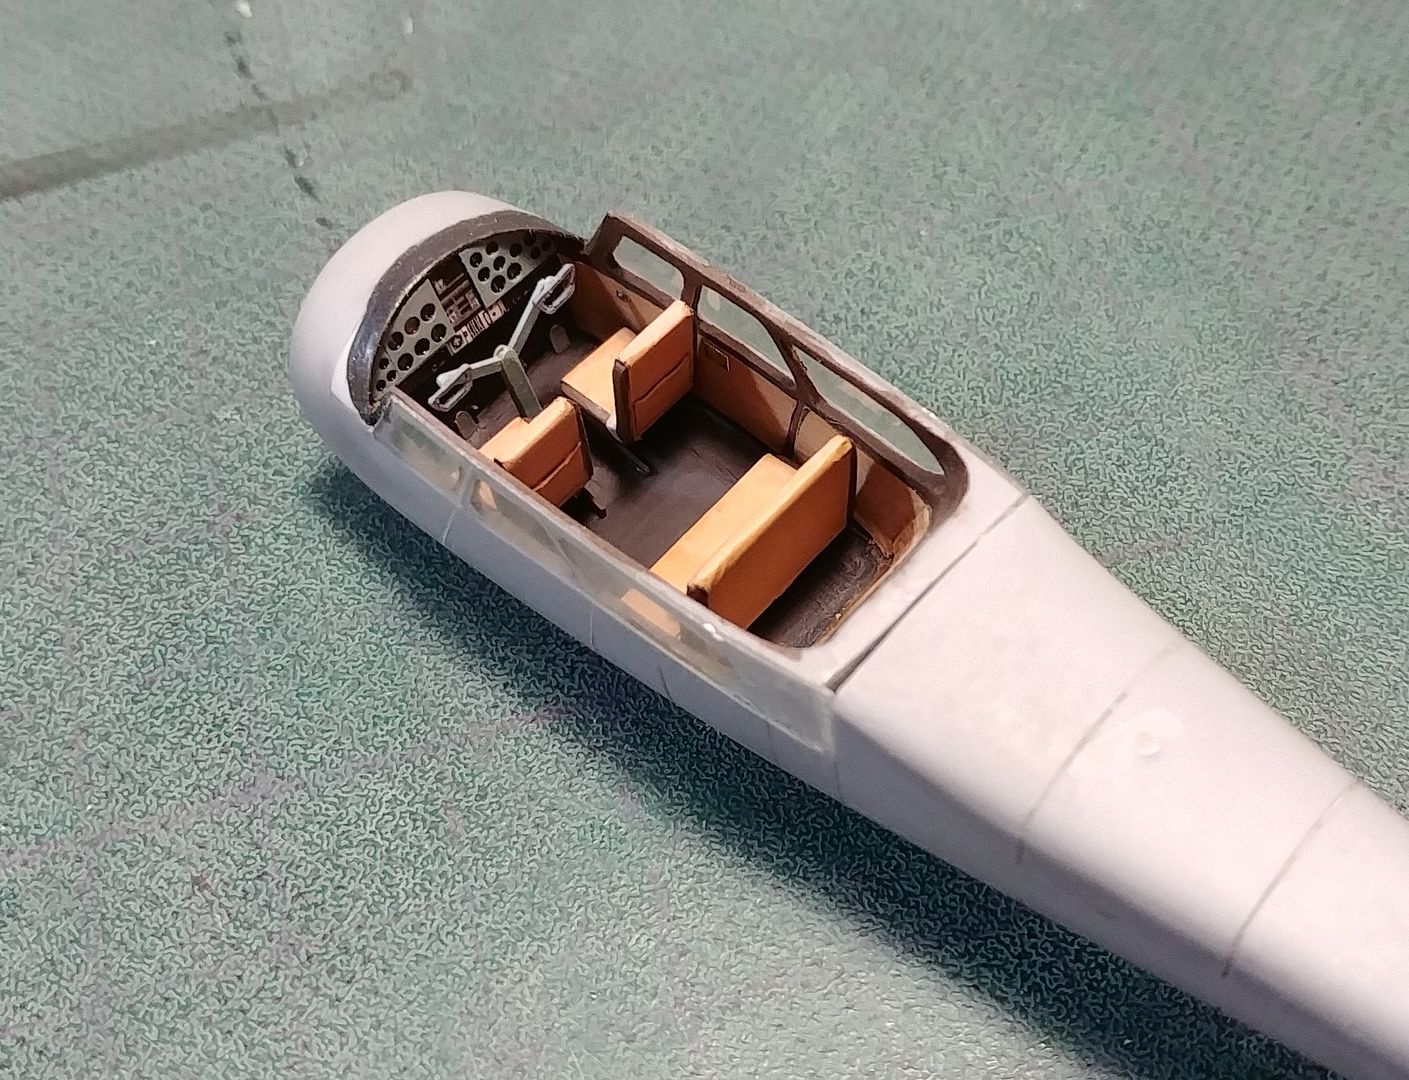
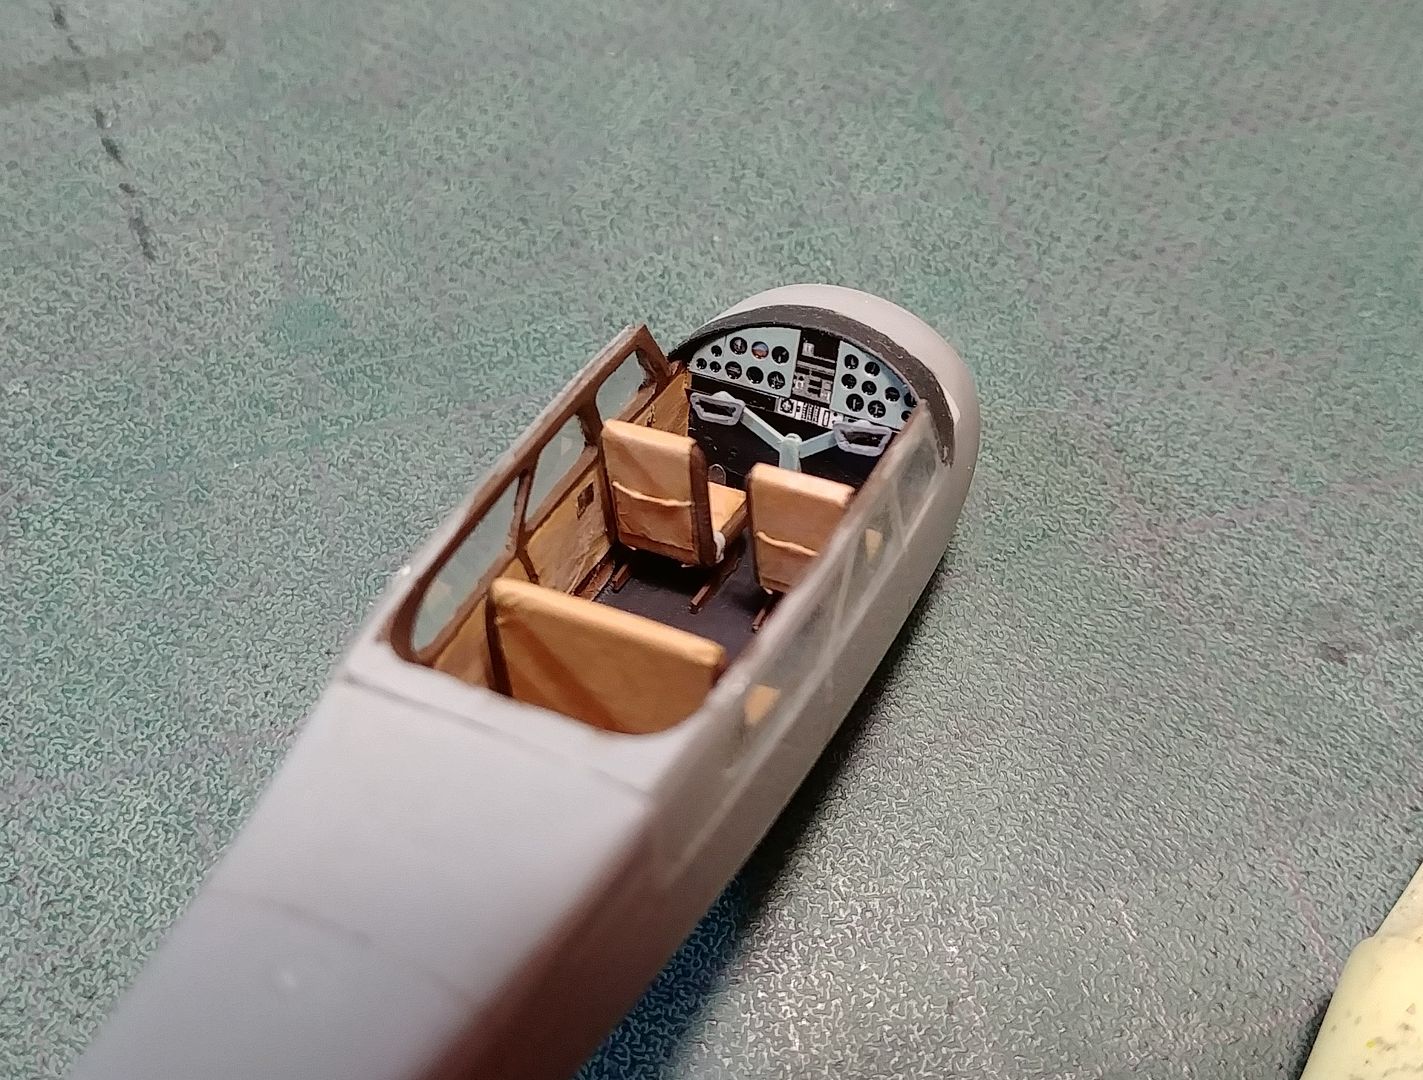
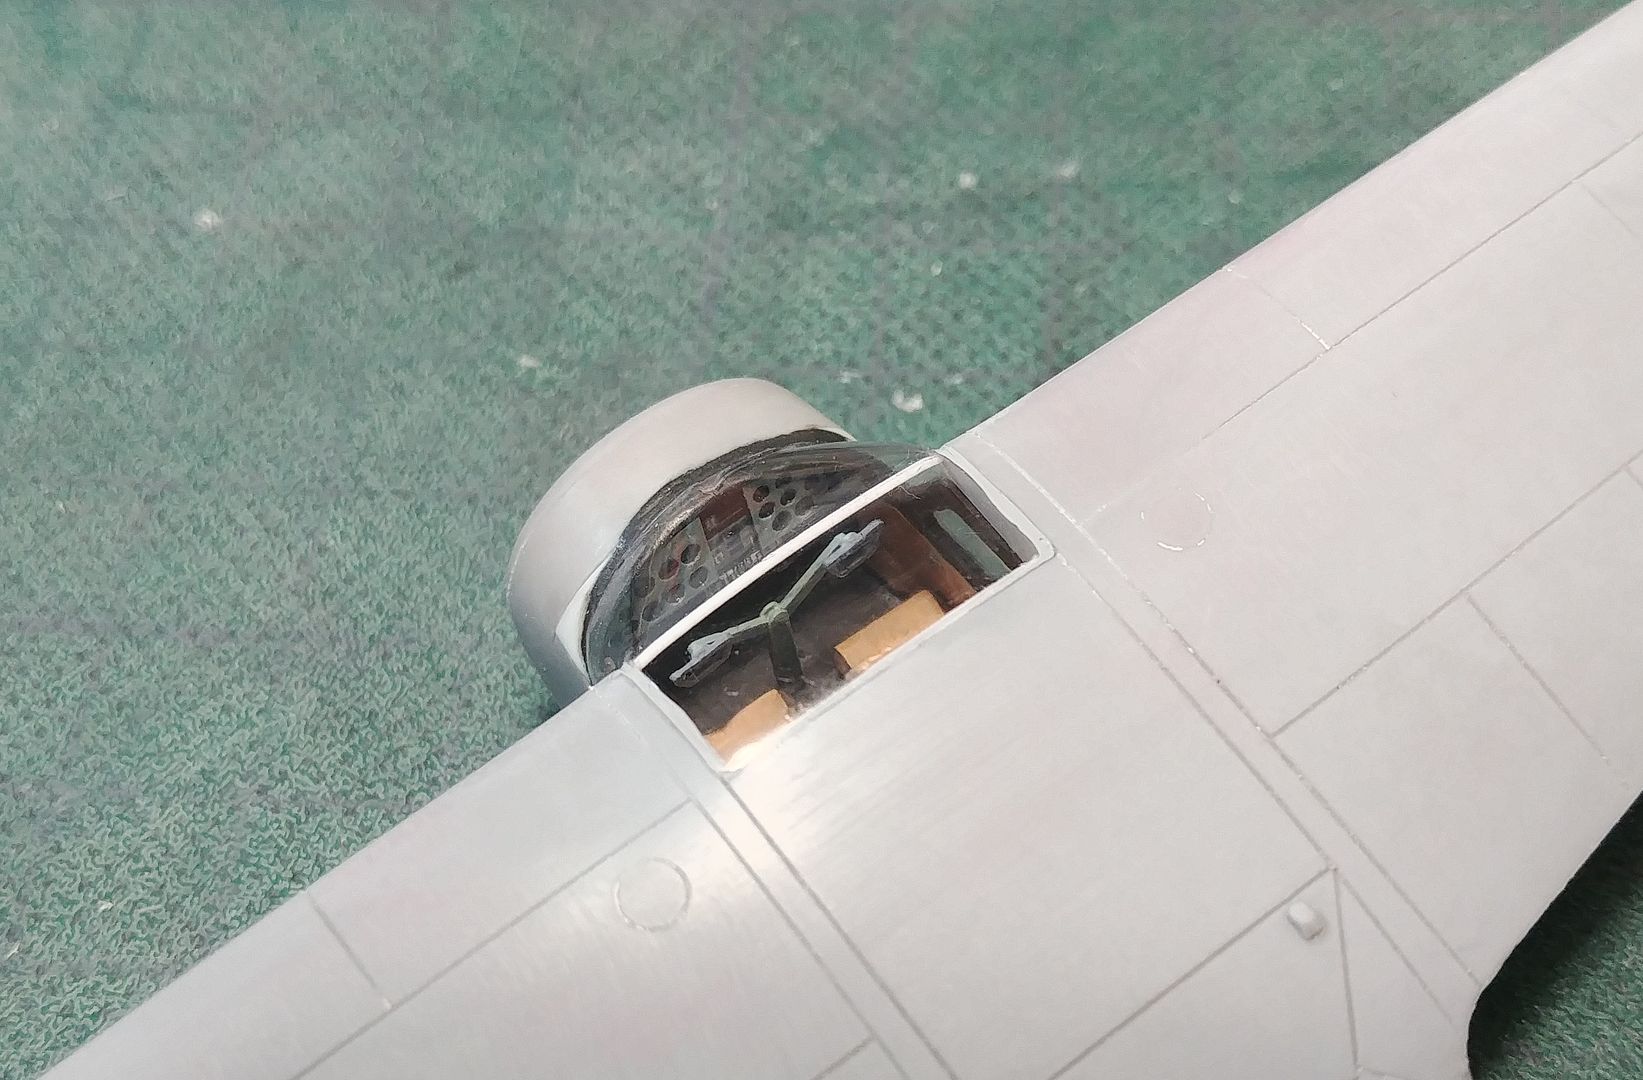
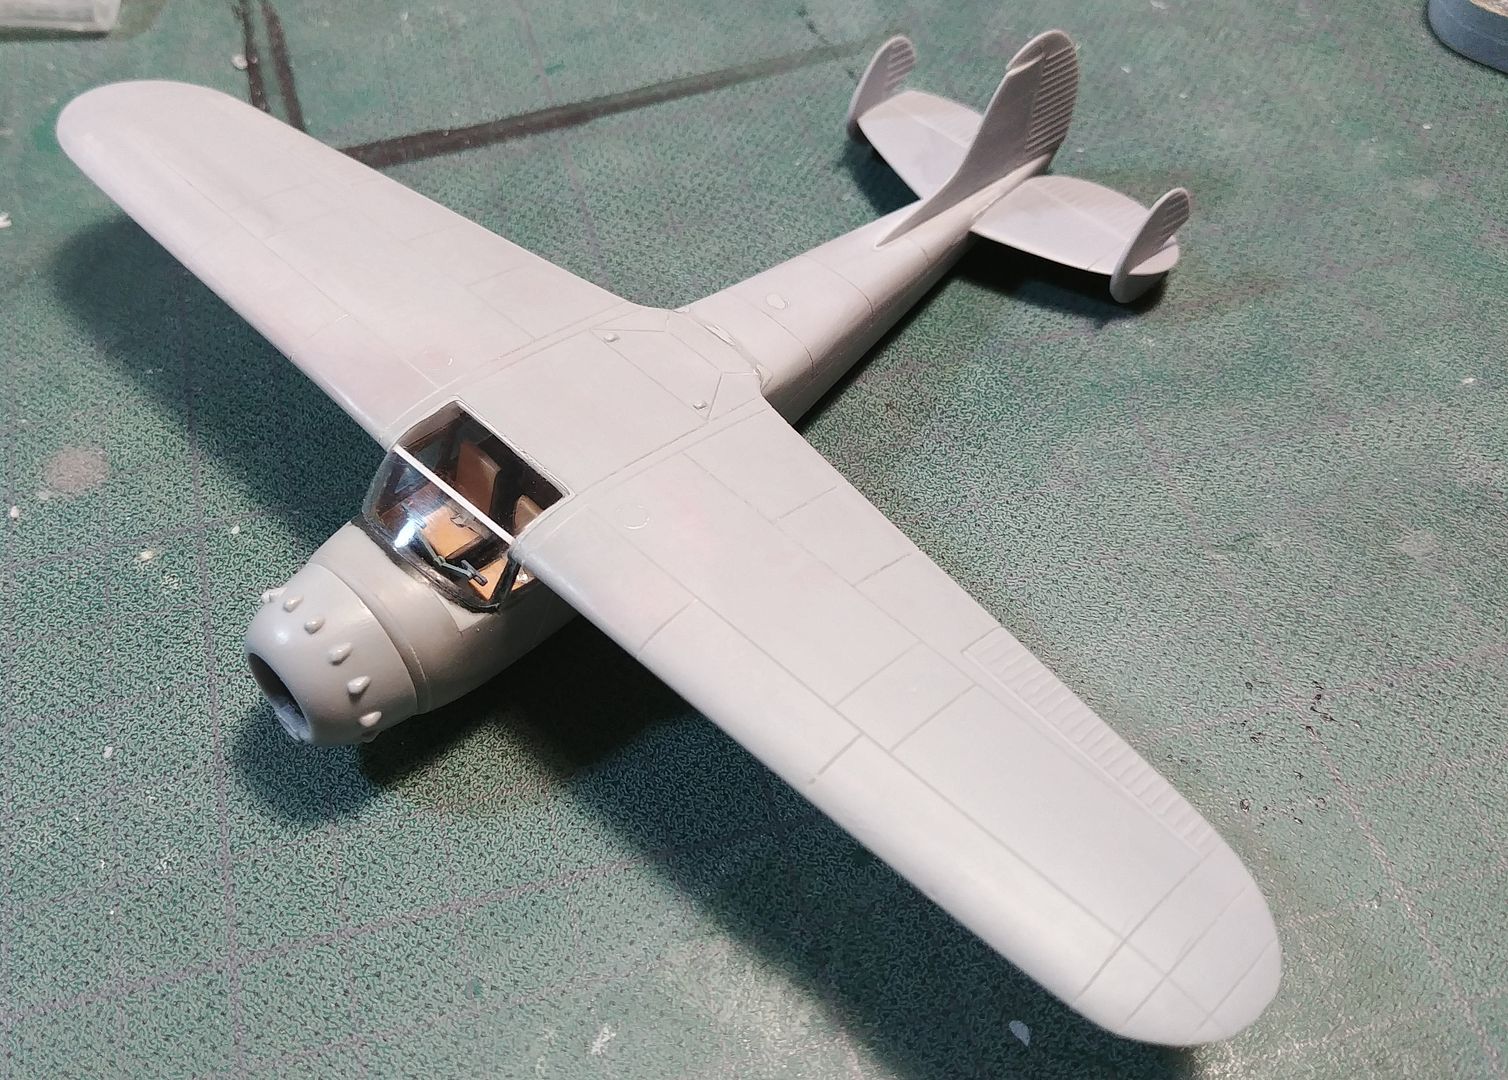
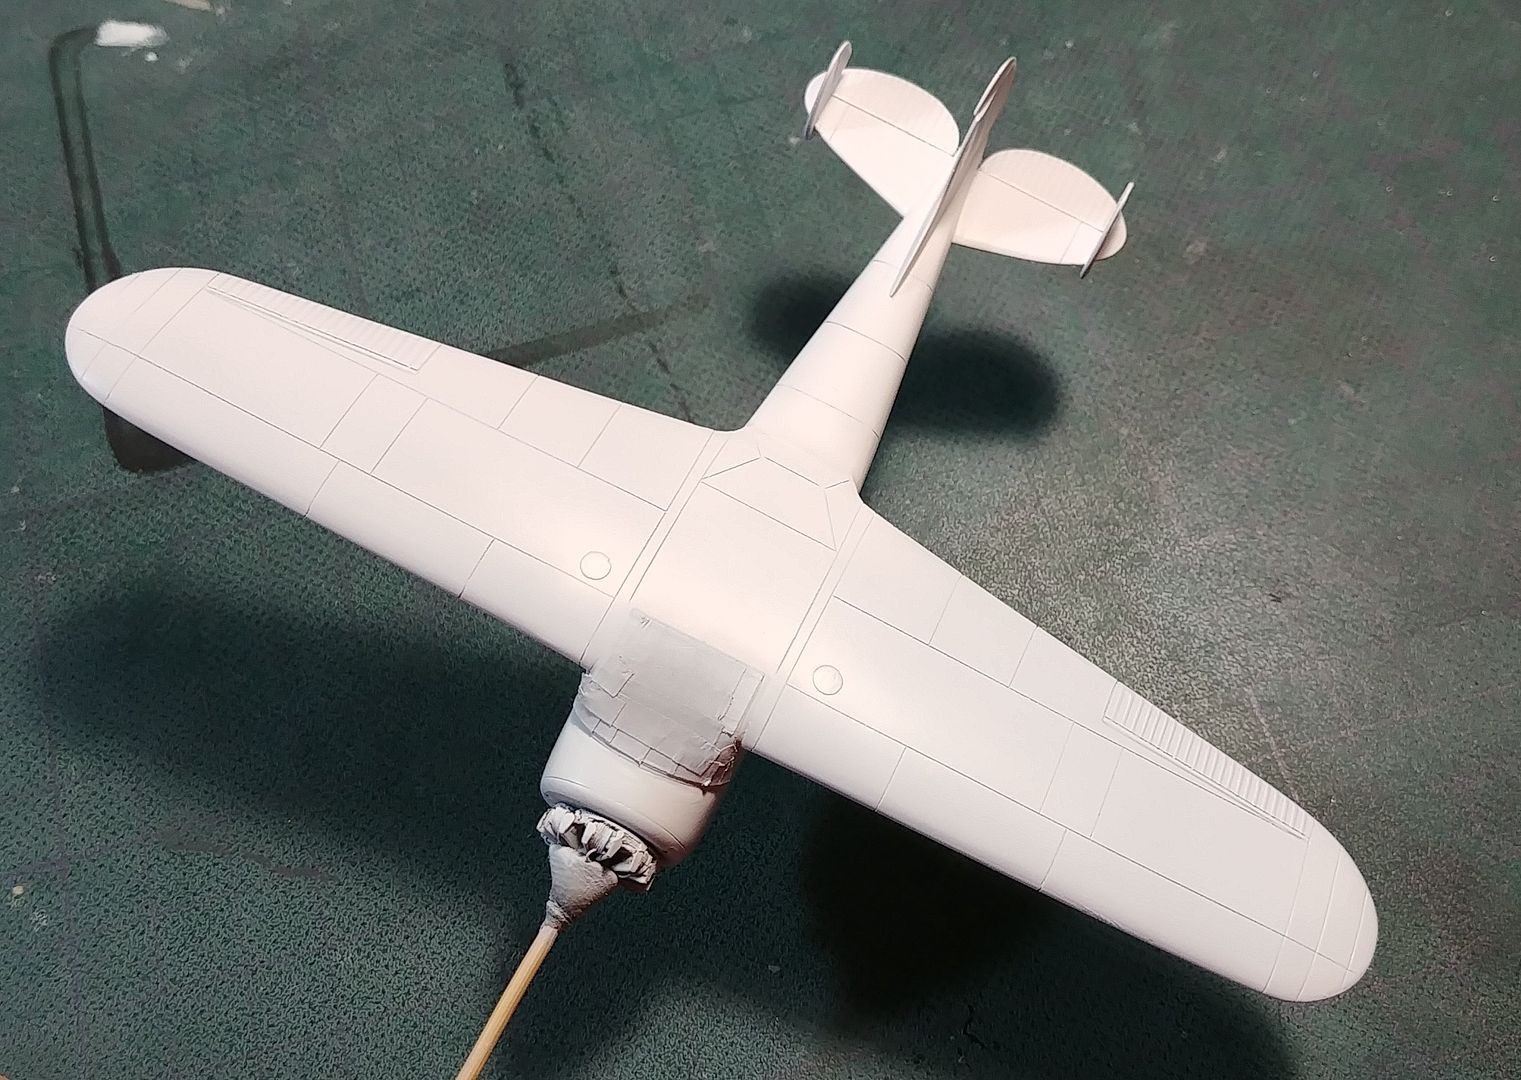
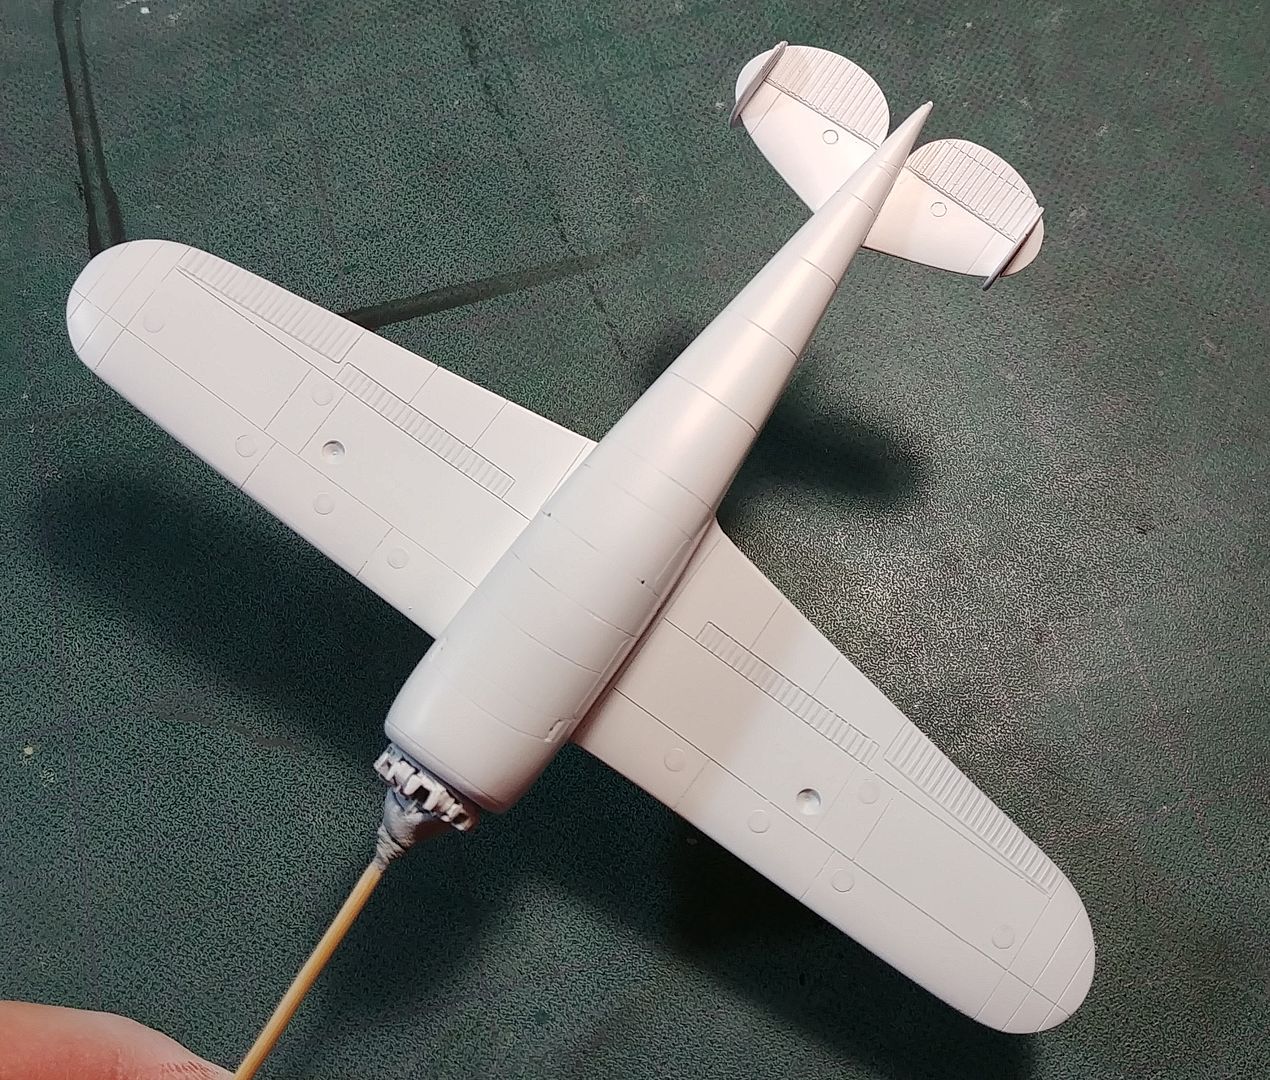
I started with side windows.
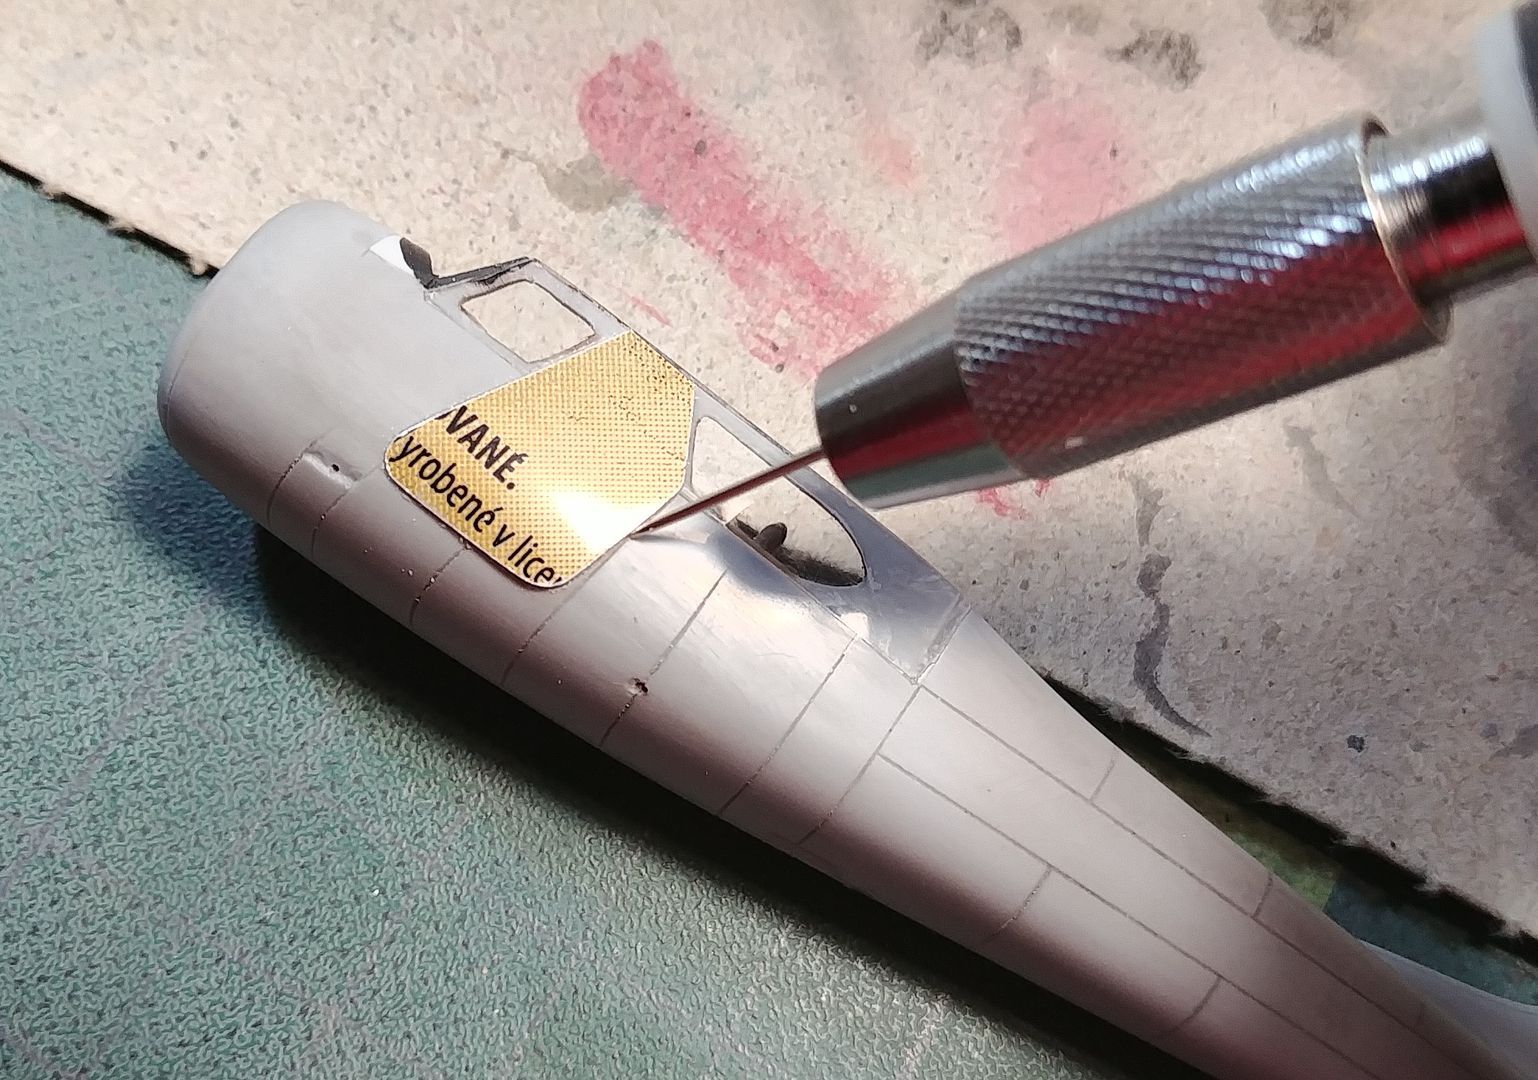
I cut out entire side panel,
20180820_115620_zpsmgrjr0z0.jpg

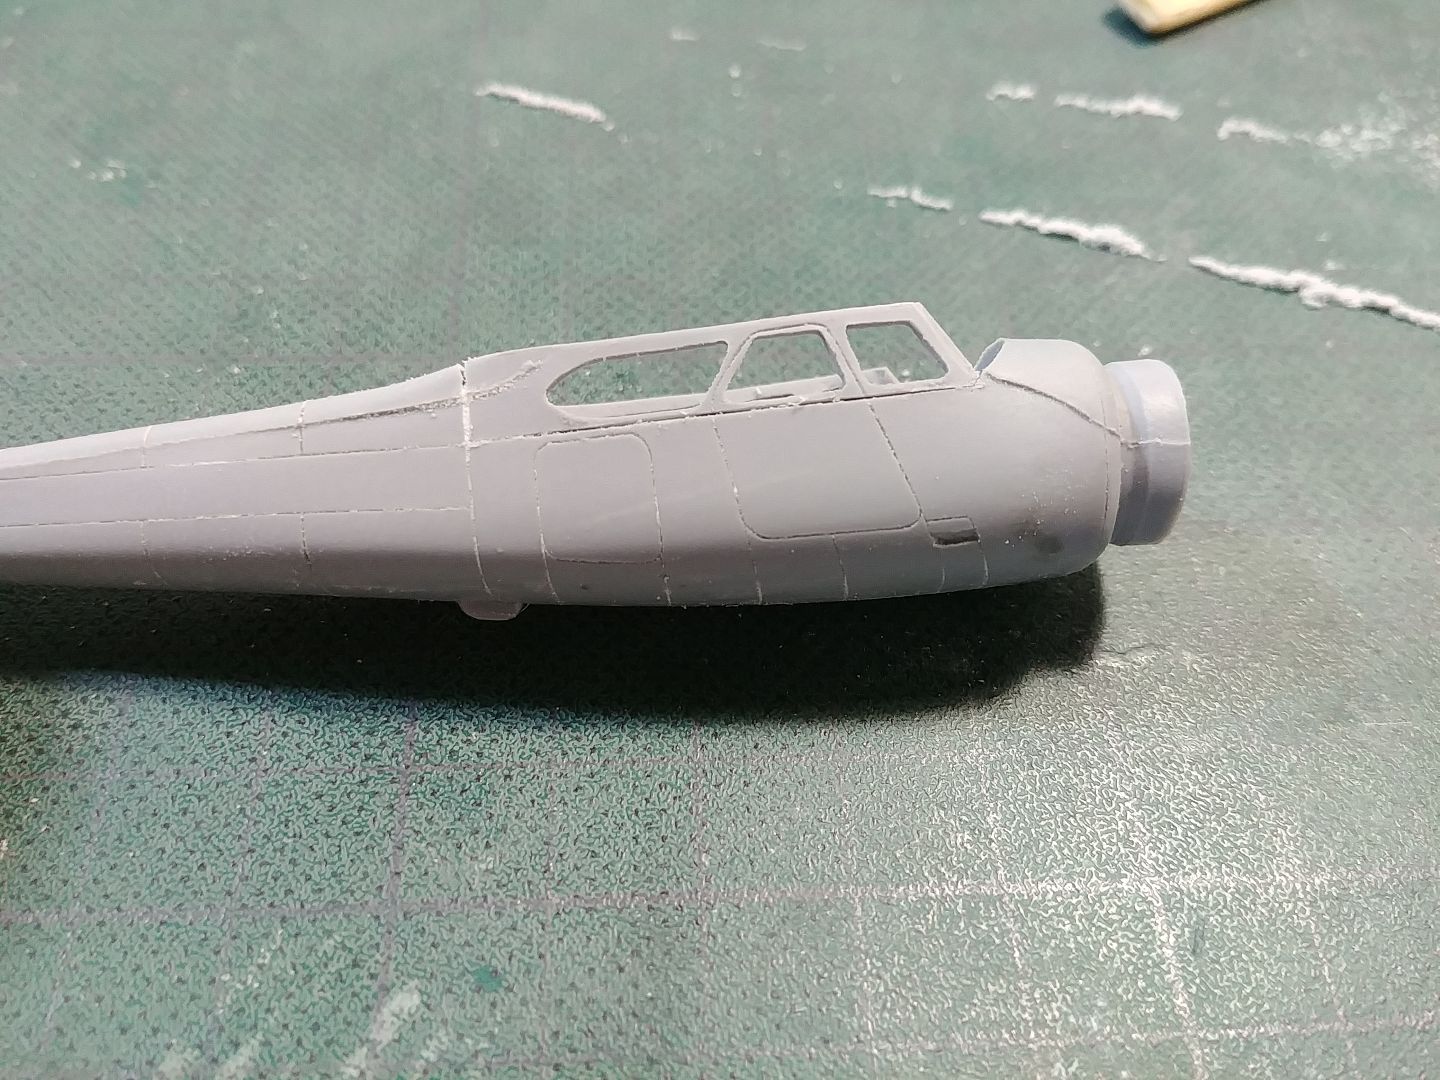
and sanded it on the side,
20180820_124335_zpsajo7jvvq.jpg

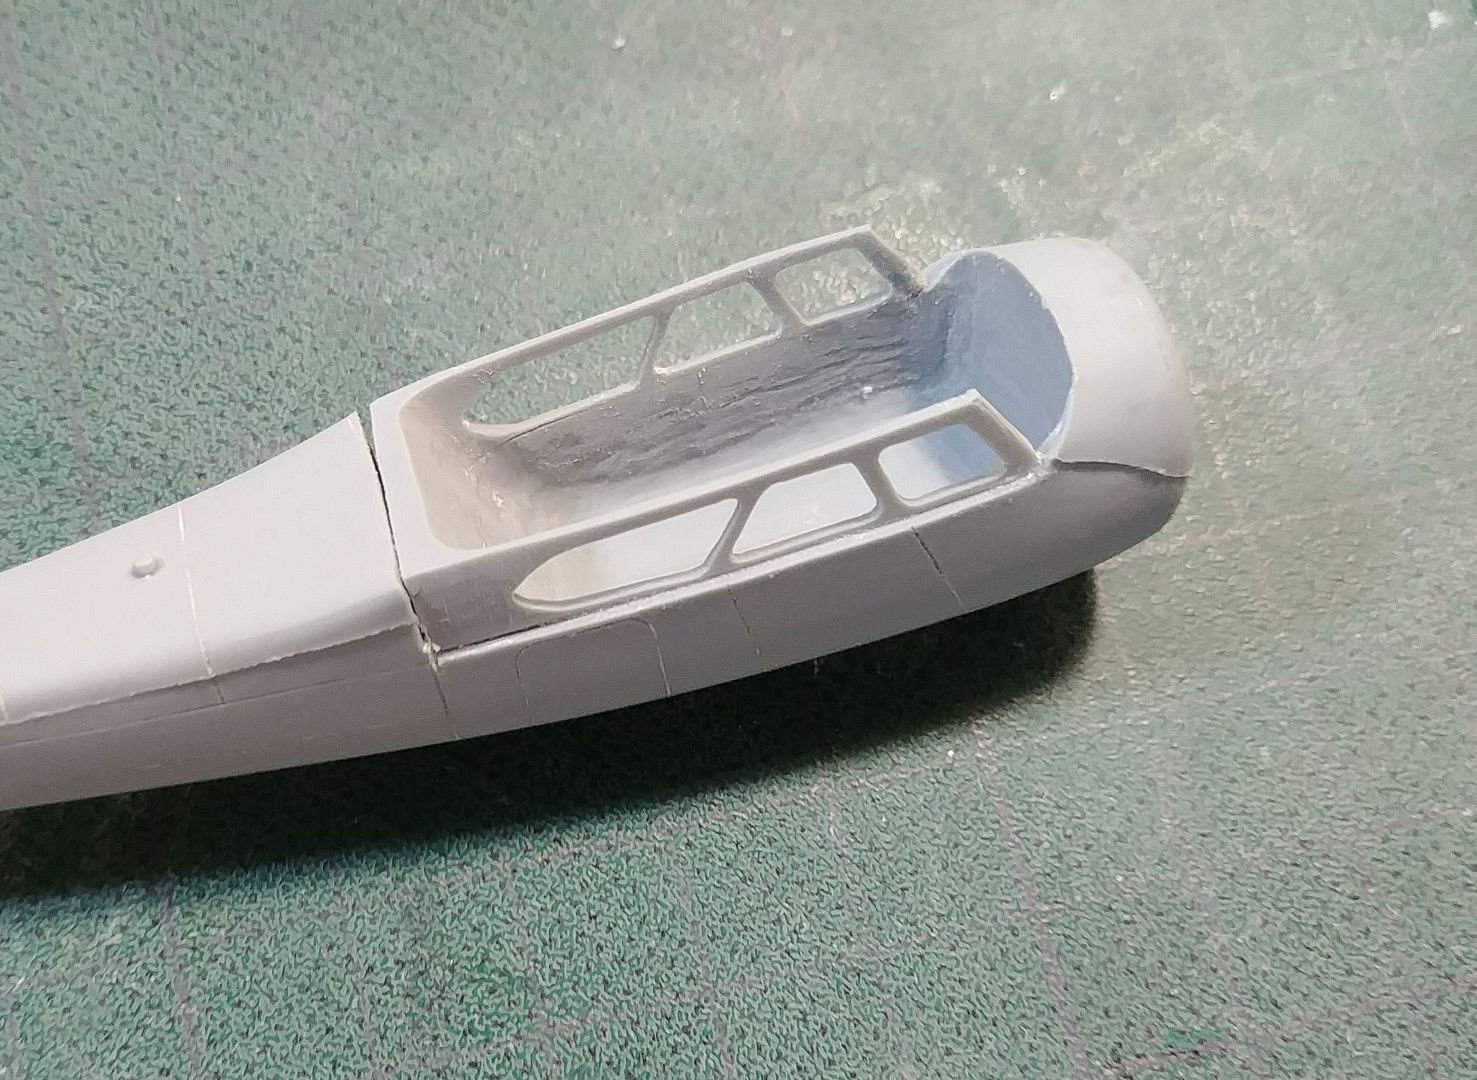
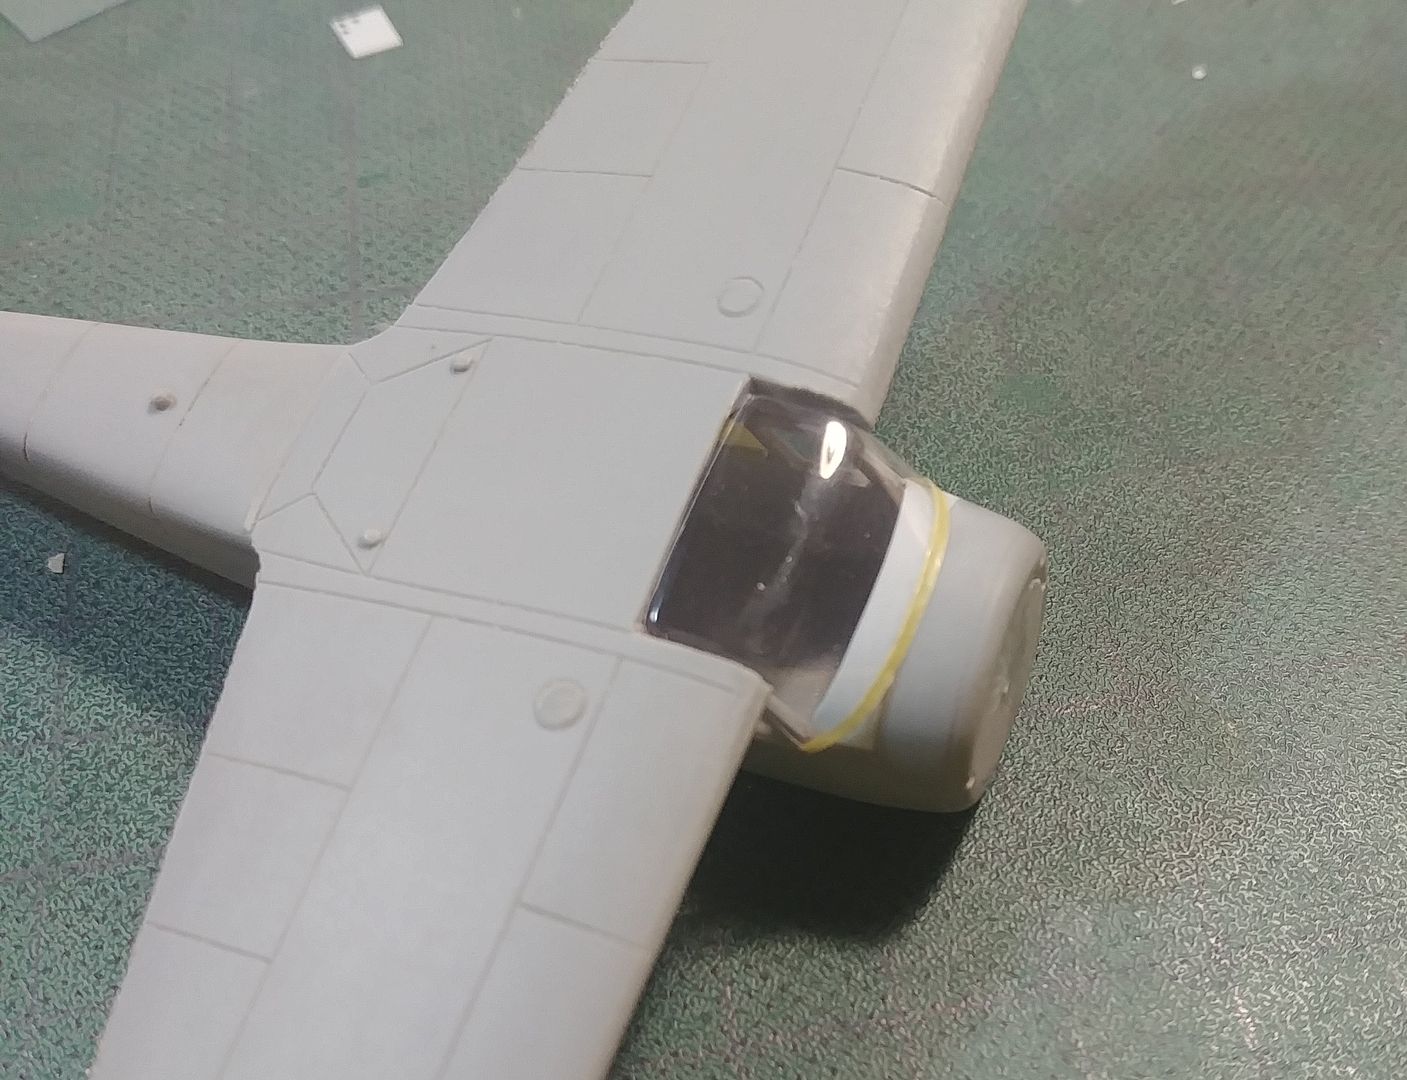
to insert clear styrene.
20180820_125903_zpsjzlys6a2.jpg

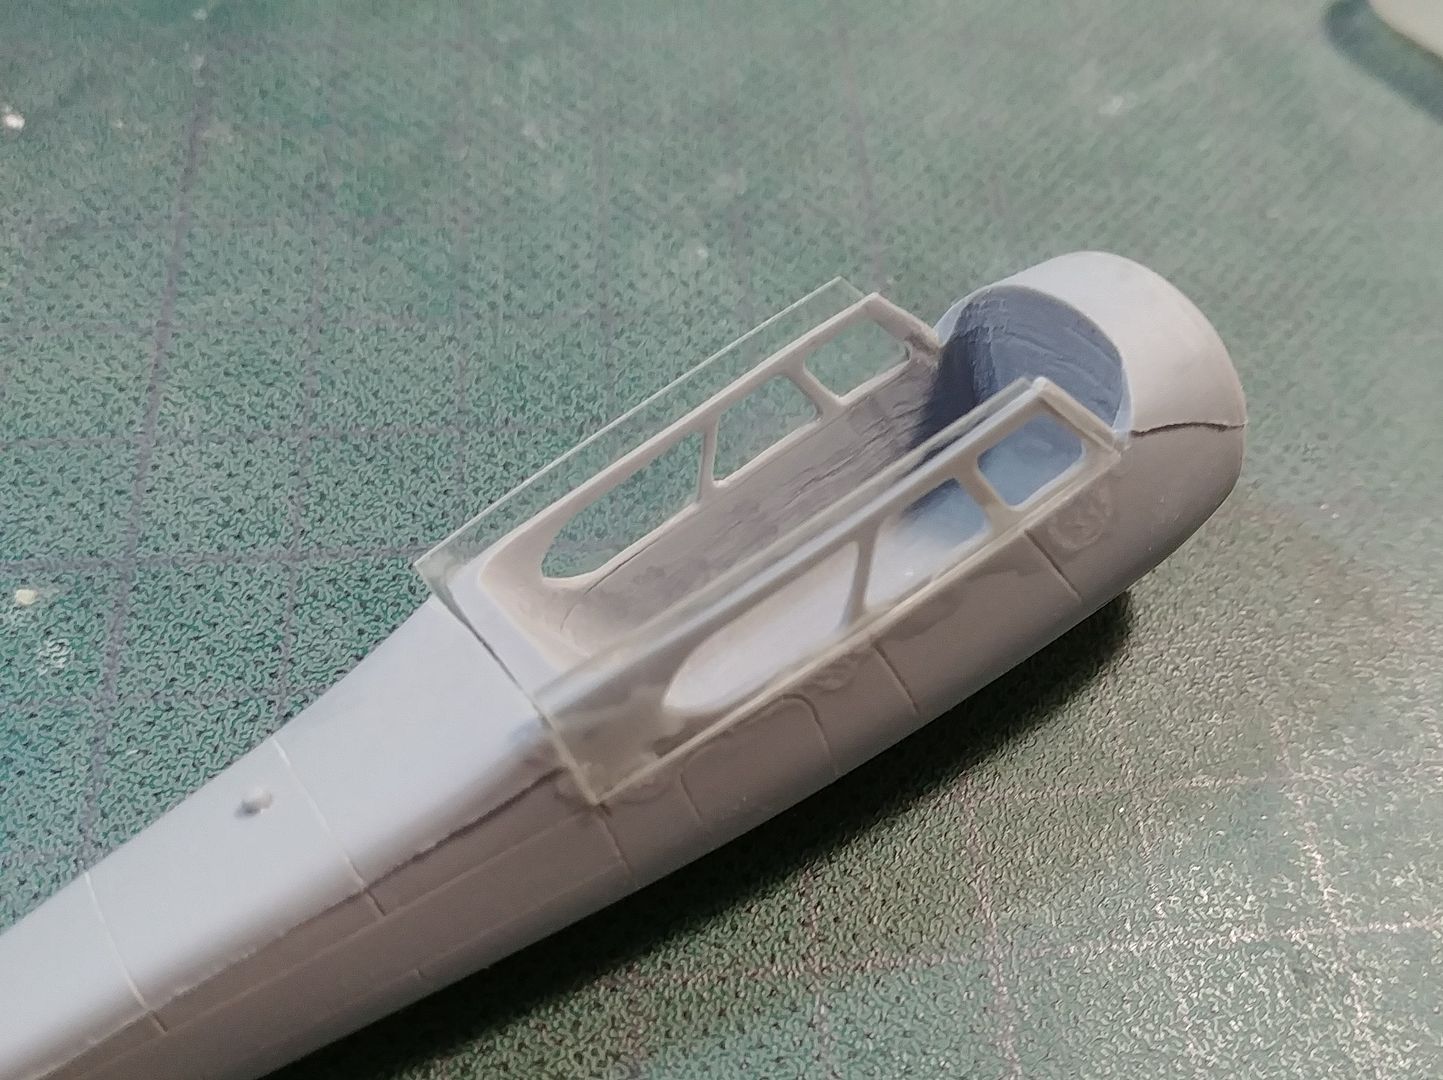
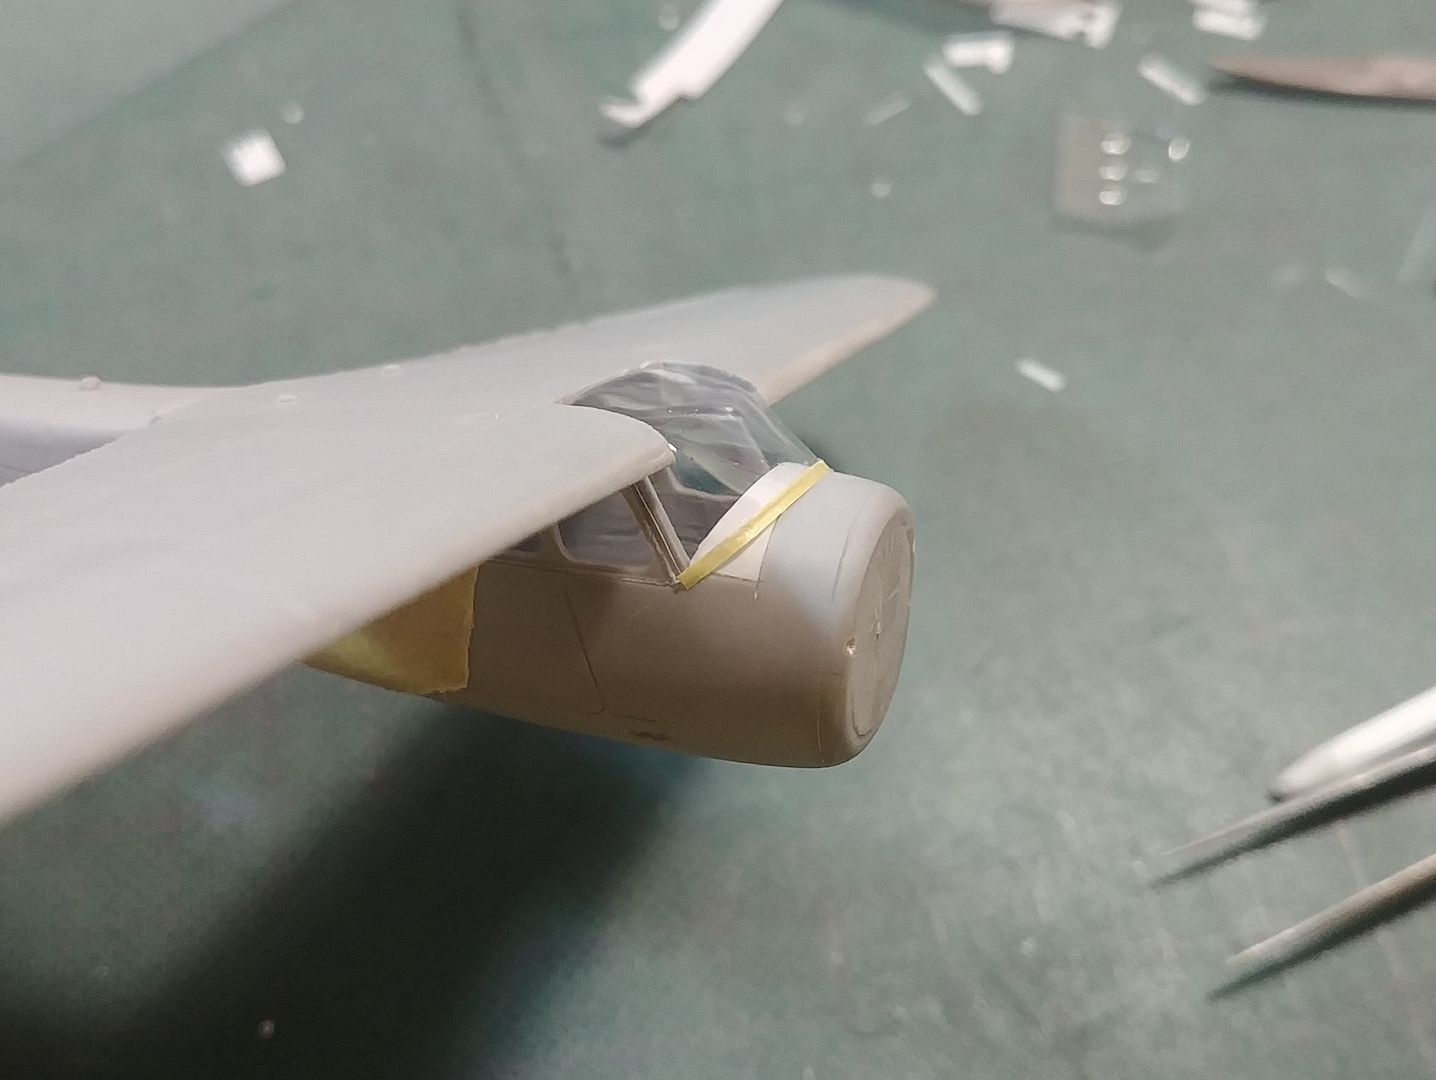
I glued it with superglue and sanded it flush.
20180820_133133_zpsugadtnf7.jpg

Next I will tackle the windshield...

Till next time!
Thank you for looking in!
 
Off to a great start Uros.
Check out Currier's Flying Service on FB, they operate two 195's on floats from a base in Greenville, Maine. Roger Currier would be more than pleased to answer any questions you may have, I'm sure. (As an aside, I used to fly the Beaver they also operate, 50 years ago when it was CF-HNM.)
 
Jim, I was considering to build one of Currier's Cessnas, but decided it was too much work with painting in this scale. I found another scheme that is easier to paint, but is still atractive.

So here is what I have for now.
I thermoformed new windshield. I used the form provided in the box. I just sanded and polished it. Two original windshields were not clear enough.
20180822_181614_zps0wdsgufk.jpg

20180822_211944_zpsheggf2el.jpg

20180822_213328_zpsiv8ecrn7.jpg

20180822_213424_zpshvfqi2pf.jpg

It took me only four tries to get it right :laugh:
I schratched new parts for the interior. Originals are ok, but theese are better.
20180826_214952_zpsrcqfbhqi.jpg

20180826_214449_zpsmnwszjbj.jpg

20180826_214456_zps9mbchwc3.jpg

20180826_214601_zpsgre8mxis.jpg

Dials on the IP were paited black and schratched with a neddle to make pointers. With a drop of Future I made "glass" on them. Decals from spares box vere used to make the radio.
20180901_175901_zpszmcgv2cb.jpg

Everything paited before I glued the wing piece over it.
20180901_184133_zps21vmsjsy.jpg
20180901_184200_zpsuxwm4tdz.jpg

Ceesna that I am doing has doors on both sides, so I made template and scribed them.
20180901_183021_zpsupxajo0p.jpg


Wings are glued on now, more of that next time.

Thanks for looking in!
 
Fine work, Uros. (y)
I forgot to ask you on FB, but what did you use for those seat belts? They look far more realistic than my masking tape efforts.
 
Sensational work! Man, that interior looks amazing. I am most impressed with that instrument panel! Way to go, can't wait to see more.
 
Thanks guys!
Jim, I used strips of aluminium insulation tape. It's easy to bend and selfadhesive.

So, wings are on, all gaps puttied and lost panel lines rescribed.
20180909_171652_zpsu1rr91g5.jpg
20180909_171720_zpsk6bvycyd.jpg
20180909_171744_zpsskqdyjyh.jpg

Tail pieces assembled. I repositioned control surfaces.
20180909_171804_zpsiuyzqyfq.jpg

I added a bit of details to the engine. Jim said it leaks oil so I will ad some grime whe I paint it.
20180909_181931_zpsxb4tzude.jpg

20180909_192541_zps4qftgx6l.jpg

And this is how it looks at the moment.
20180909_192503_zpsaglnrlv0.jpg


I didn't fell like masking windows, so I started with floats asemlby but have nothing to show yet.

Thank you for looking in!
 
Thank you very much guys, much apreciated!

I've been able to work on this model here and there, and finaly found some time to post an update. Nobody told me, having kids is so exhausting. :gogo

Floats are completed. I added some details and rivets. Just don't count them.
20180921_205043_zpsnfddz5gu.jpg

20180921_205423_zpshvl7sh44.jpg

I added two more cables for rudder tillers and now I think I got it right. Floats are painted in Alclad aluminium and will recive light weathering.
20180930_222241_zpsnmdjnjph.jpg

Transparent parts were maskedd and a few coats of primer sprayed. first grey and then white.
20180930_222125_zpsocpzbkrh.jpg

20180930_222115_zpslviotmag.jpg

And then it was time to start painting.
20181003_213648_zpsakdhnxce.jpg

20181003_220539_zpseq4h1xnb.jpg
20181003_220553_zpsd27aocbv.jpg

This is just a start, there is a lot more to mask and paint, but wings are done.

Thanks for looking in!
 
Back
Top