
JamesOLeary
Master at Arms
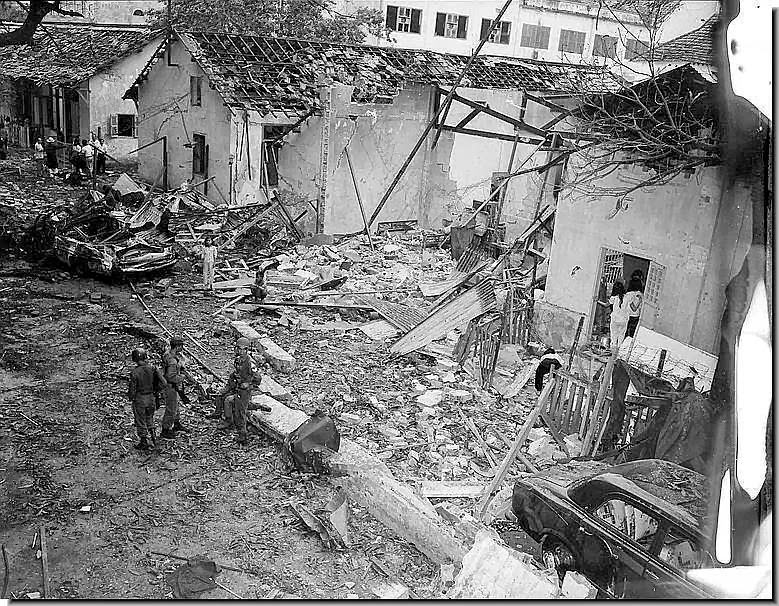
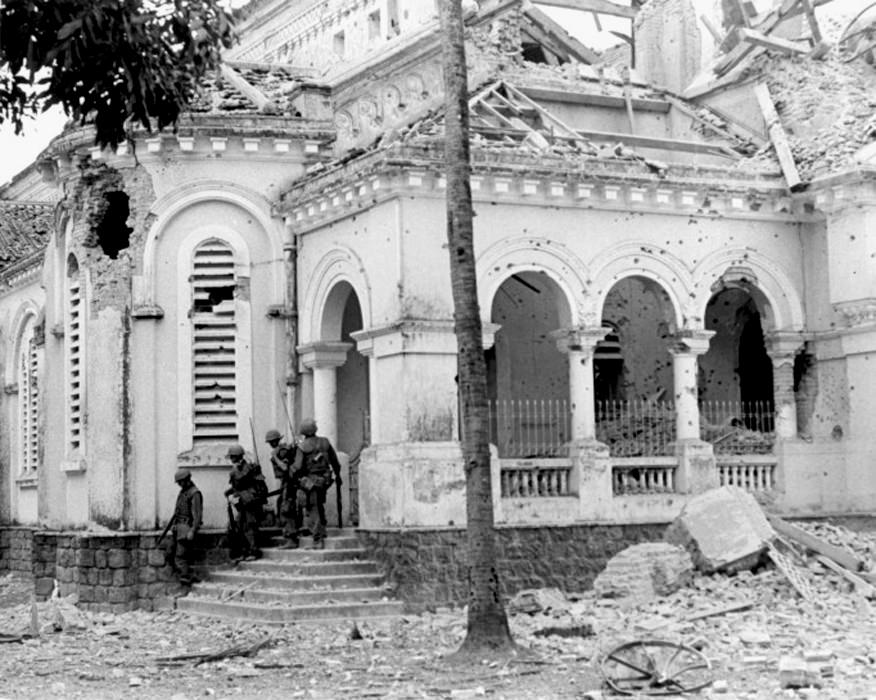
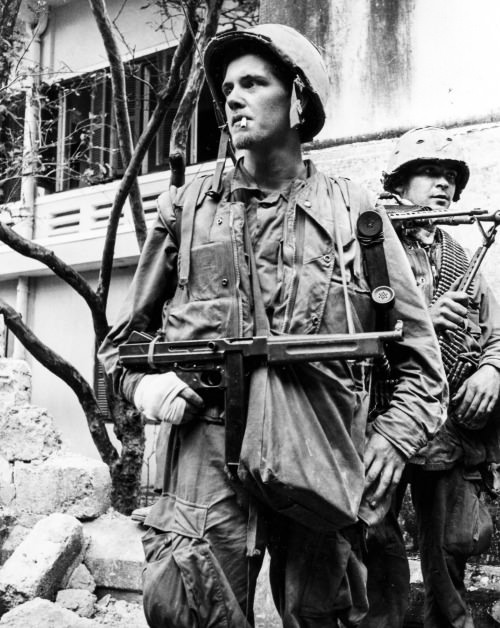
With the 50th Anniversary of the 1968 Tet Offensive being in 2018, I decided to go ahead and start working on one of my projects commemorating this event that my dad and several of my Vietnam Veteran friends were involved in. In this event, I will be depicting an element of 2d Battalion 47th Infantry (Mechanized) 9th Infantry Division in contact with the enemy in Ho Nai Village on the afternoon of 31 January 1968. The Scout Platoon, after fighting all day long at Widow's Village, was ordered to assist Charlie Company which was in heavy contact on the western side of Ho Nai Village. Before they made there way to aid Charlie Company, they ran into an ambush which divided the platoon into three elements. They fought fiercely for the rest of the day until they were able to link back up, evacuate their casualties, and defeat the ambushing force. This vignette shows an instance where Soldiers from the lead element made their way to some Soldiers in the center element, the first on the scene started shooting as he took a knee upon reaching three Soldiers and the Soldier behind him getting wounded in the right chest. Behind a wall, a medic just finished dressing a head wound while a grenadier is reloading near them.
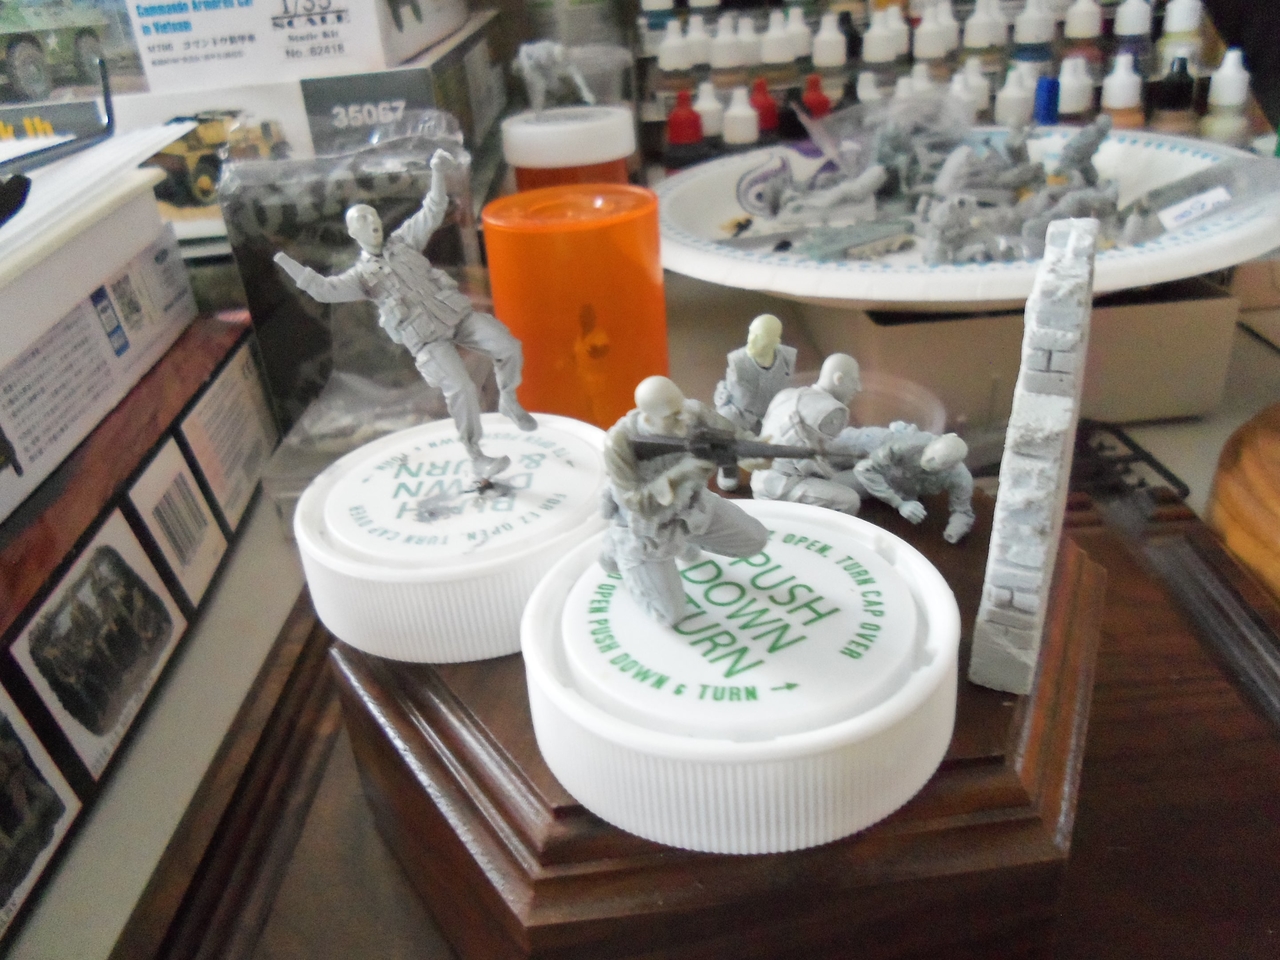
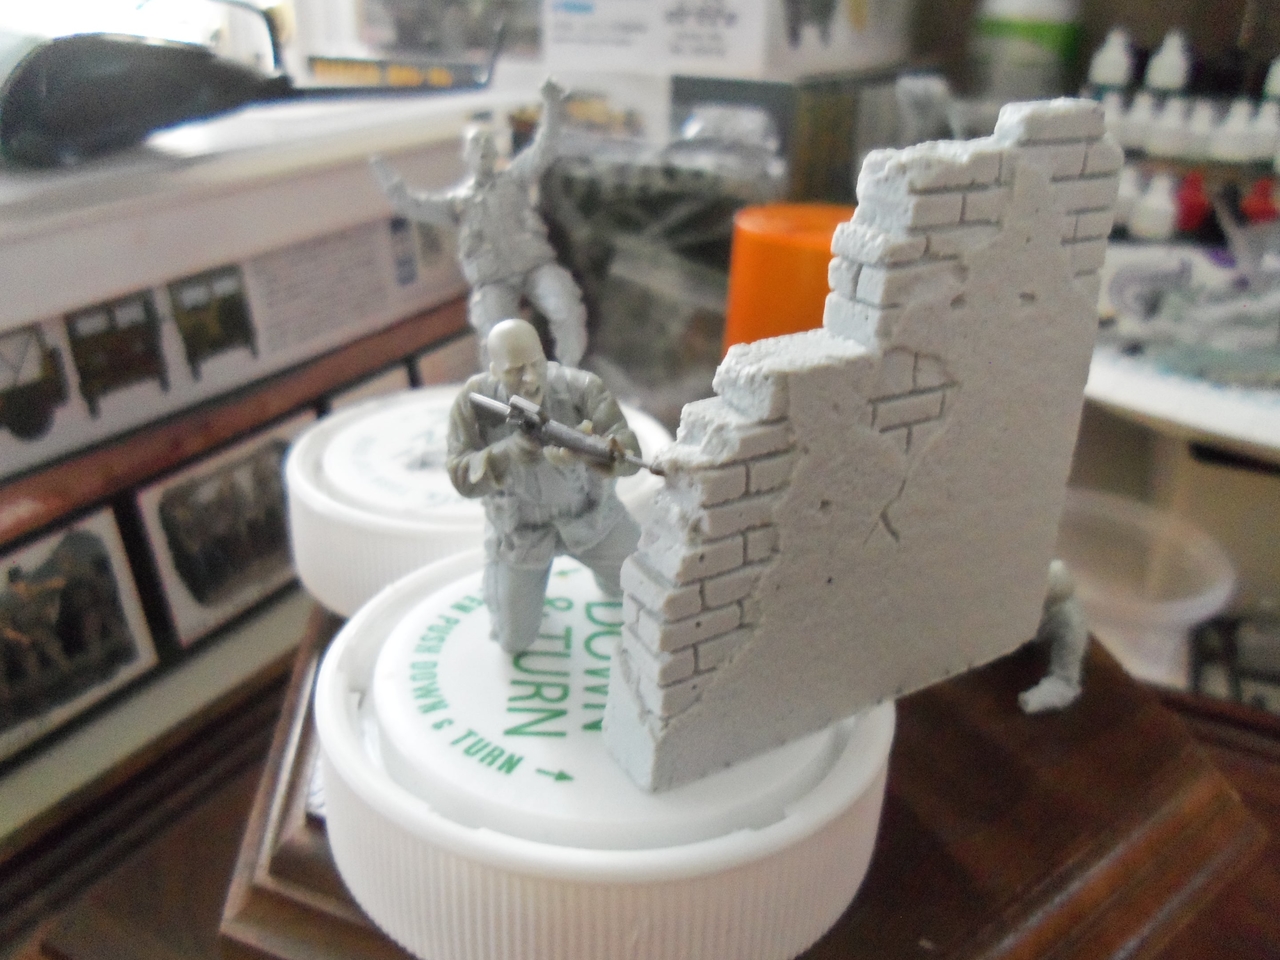
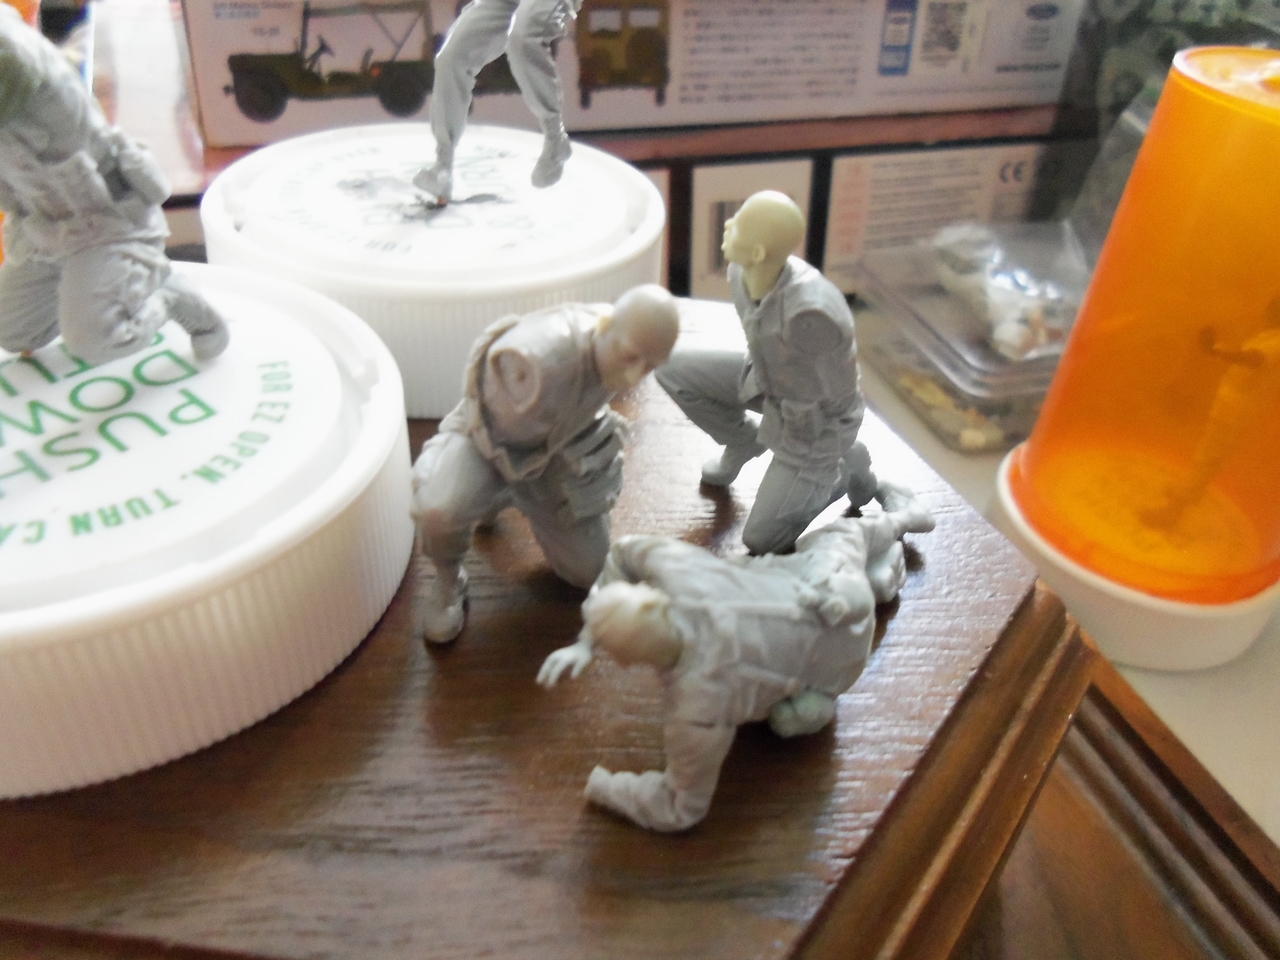
This is the basic concept for the vignette.
The figures are conversions of Bravo 6 figures. Because I think the detail on the M16s produced by Trumpeter is pretty good, I cut the original rifle out of the right hand from the arms that I took from a figure by First Legion. I cut out the ejection port cover and will be making a new cover that is open. I plan on showing a shell casing in the process of being ejected and a few on the ground when I actually am building the vignette. Those of you who are familiar with the various figures from Bravo 6 will notice that the medic figure and the guy who is going to be the M79 grenadier are Marines, but I will be resculpting the flak jackets to the Army type which was worn by Soldiers of this unit. In this picture, the wall is in the location where it will be in the vignette. The figure firing his M16 will be positioned a bit closer to the wall. Because I already mounted the figure on the top of a pill bottle for painting, I could not put him in the exact location I plan on putting him, but you can still get an idea of figure placement. I still have to do putty work on all of the figures to fill gaps, add equipment, etc.
In this picture you can see how I scraped away the ejection port cover so it will replicate the bolt going rearward as it is ejecting a spent shell casing.
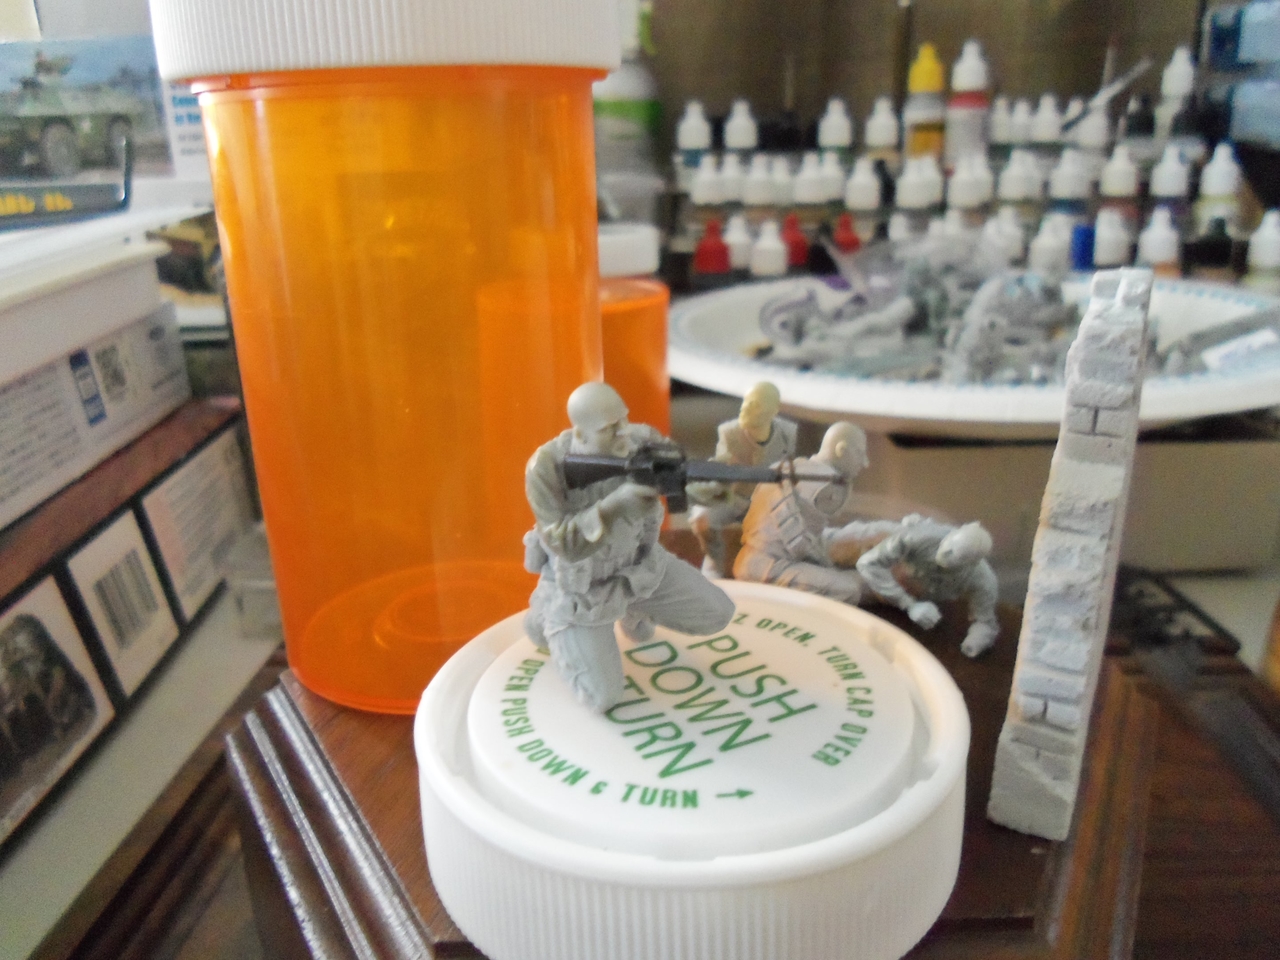
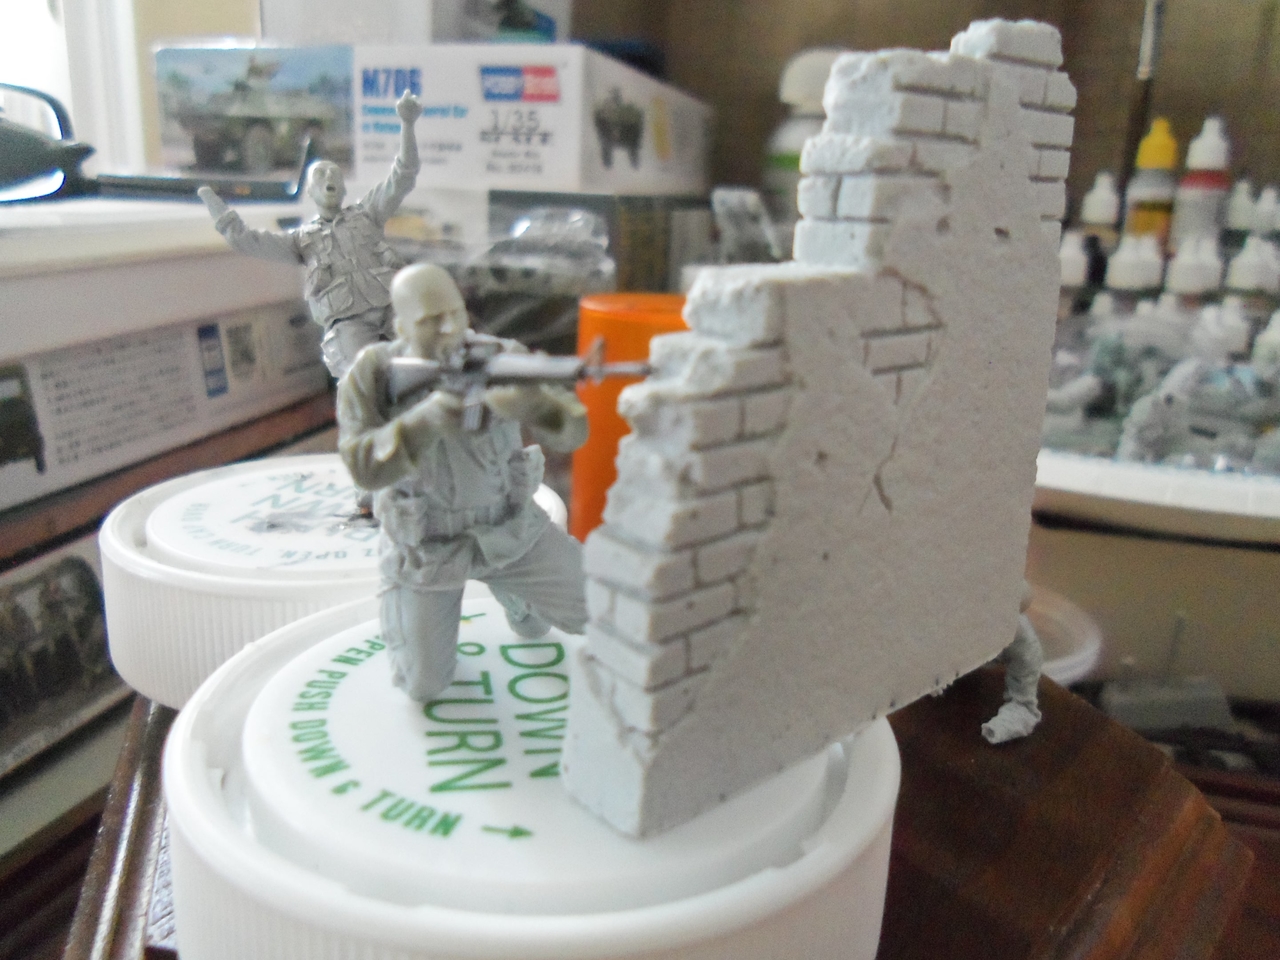
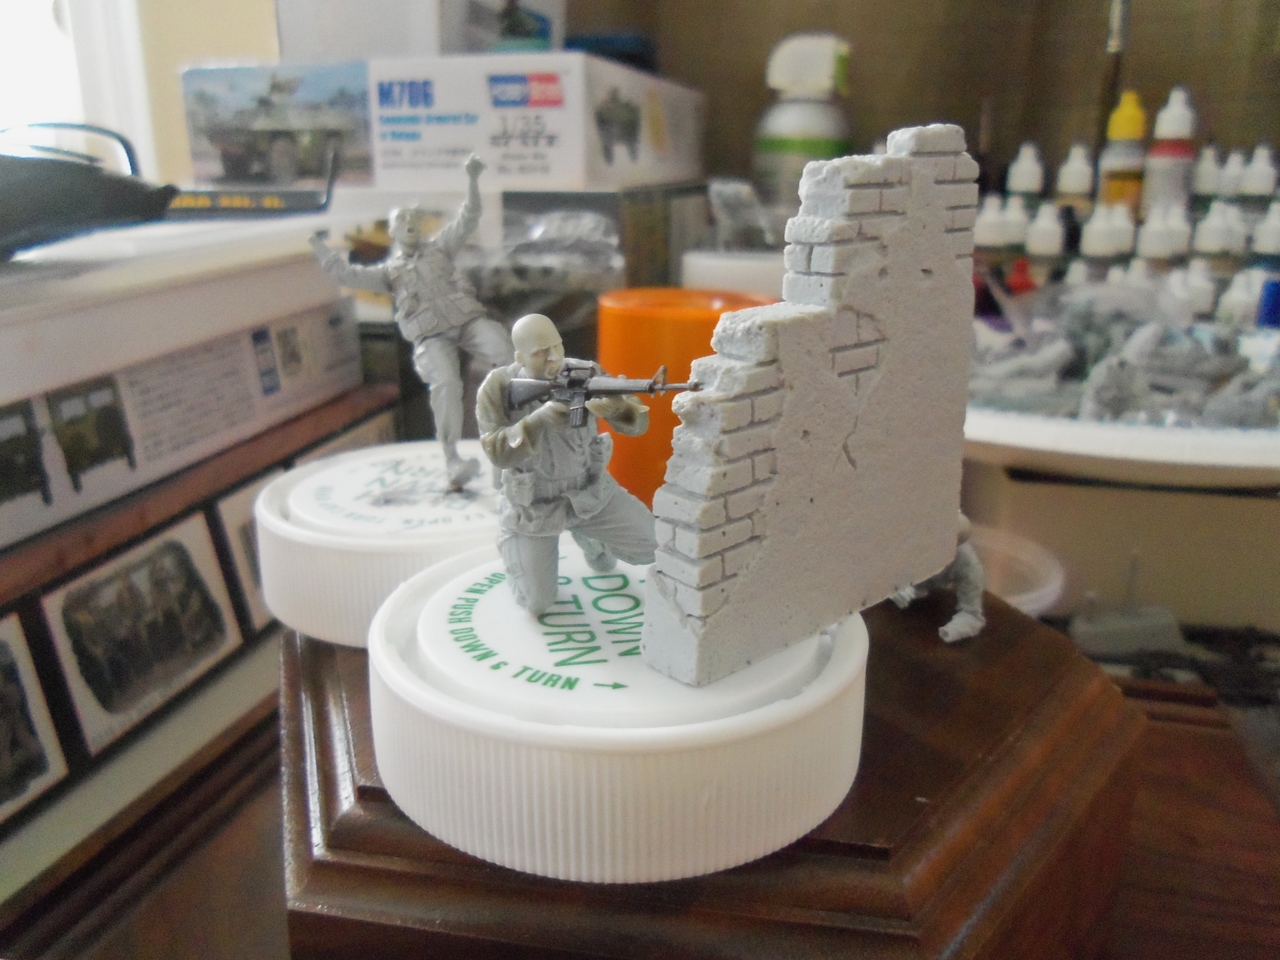
In the next few pictures, you can see the scene from other angles. Since the M16 is not glued on yet (I won't glue it until it and the figure are already painted), it eventually moved a bit while I was moving things around while taking these pictures. For a couple of these, I placed the wall on the cap of the pill bottle so you can see how the figure will be positioned near the wall.
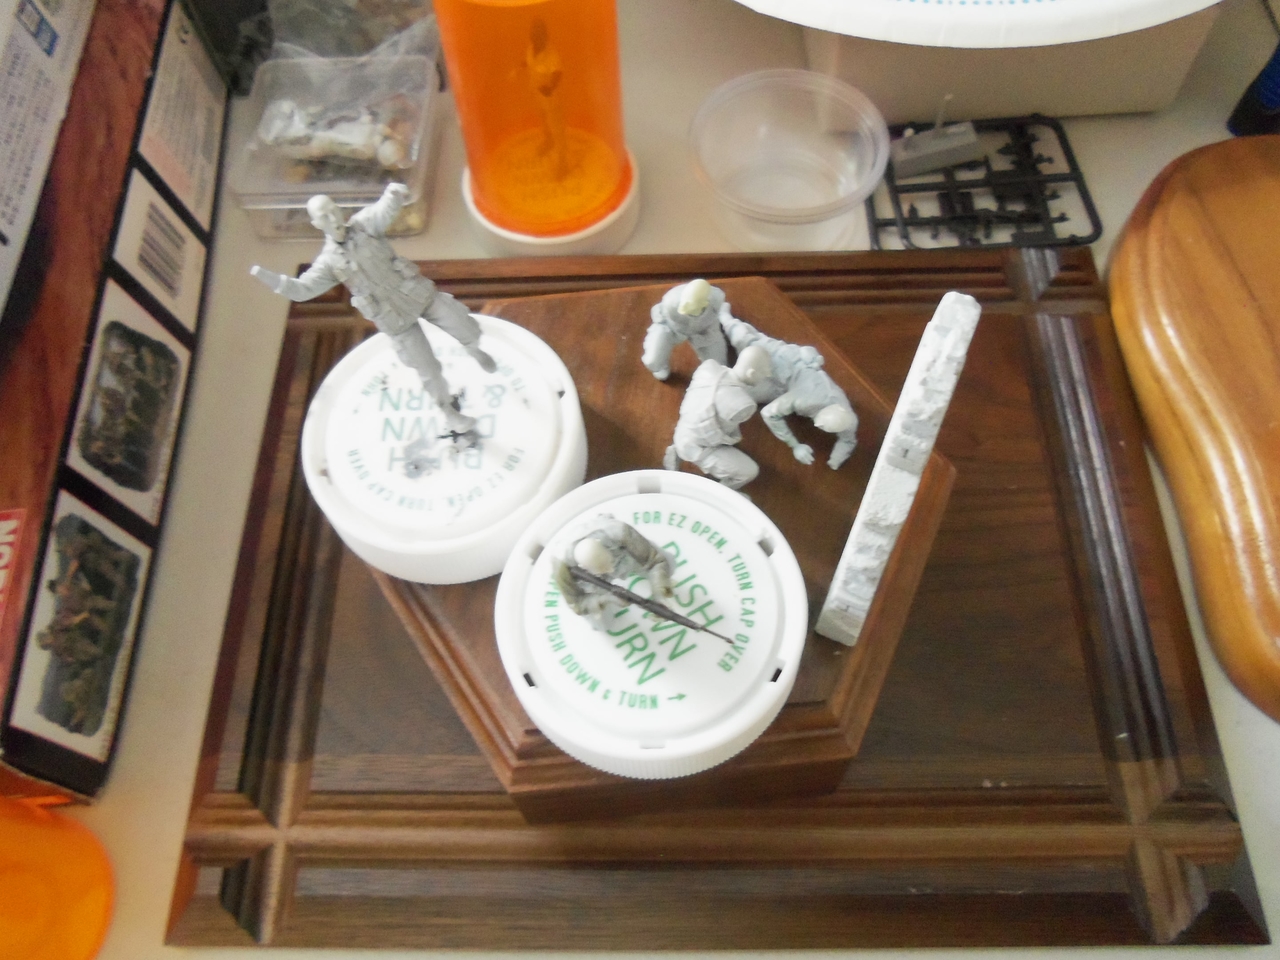
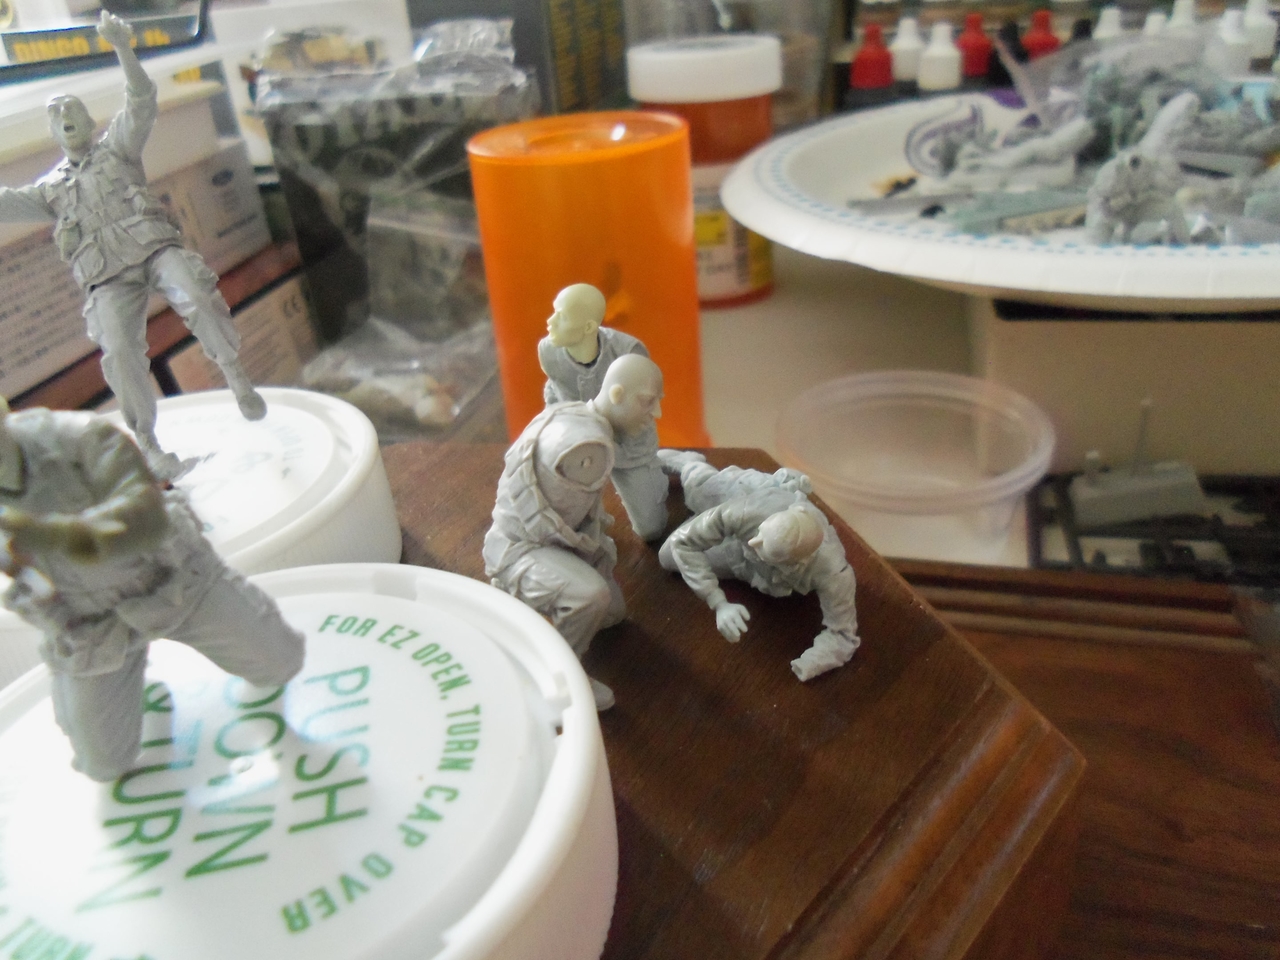
Here's the grouping of the medic, wounded Soldier, and grenadier.
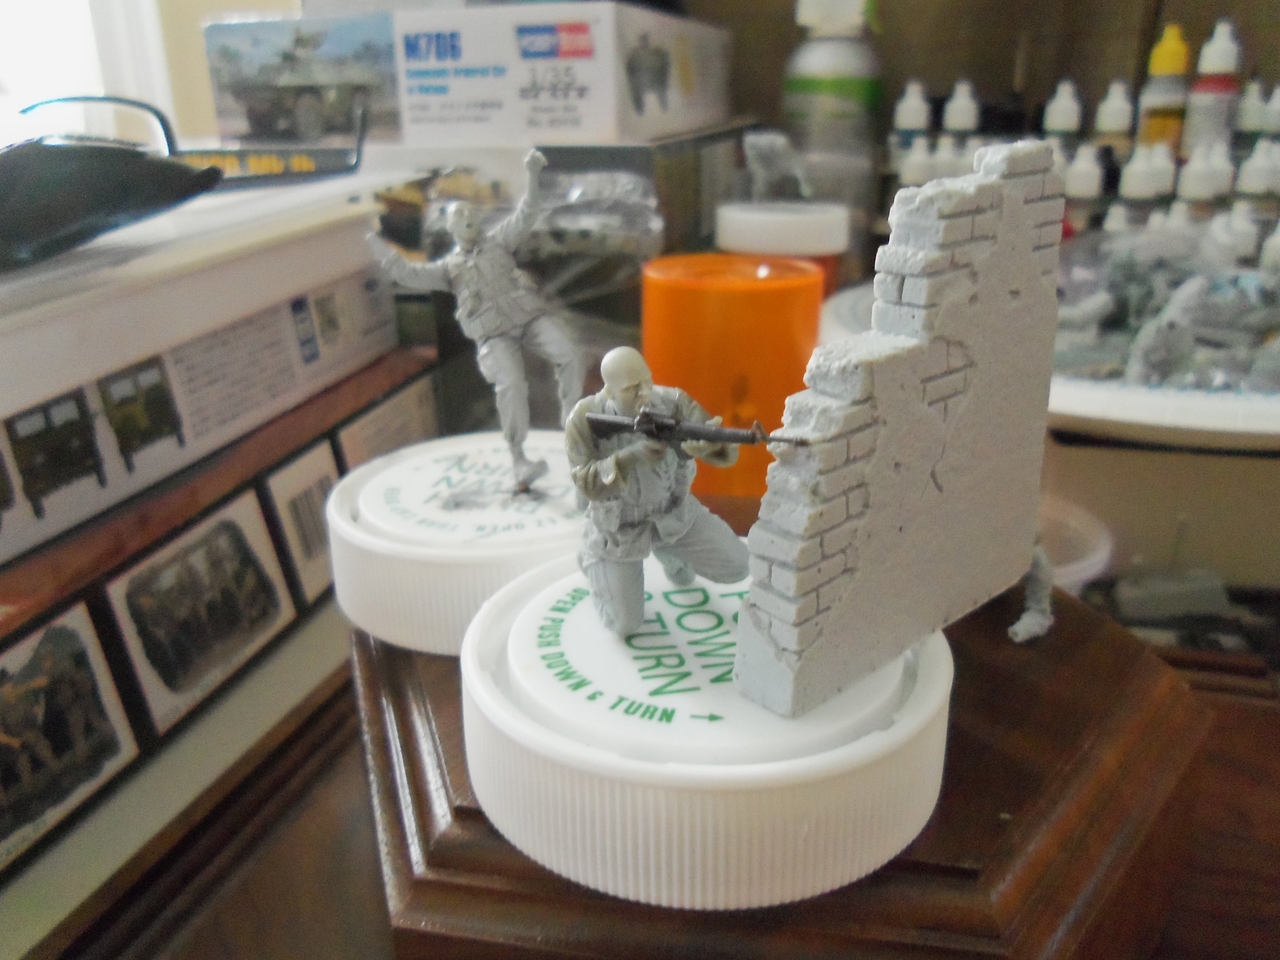
And lastly, a better view of the Soldier getting shot.

I will also be building a larger Tet Diorama simultaneously. I am waiting for the buildings to arrive so I can start the planning process for that one.
Cheers,
James
This is the basic concept for the vignette.
The figures are conversions of Bravo 6 figures. Because I think the detail on the M16s produced by Trumpeter is pretty good, I cut the original rifle out of the right hand from the arms that I took from a figure by First Legion. I cut out the ejection port cover and will be making a new cover that is open. I plan on showing a shell casing in the process of being ejected and a few on the ground when I actually am building the vignette. Those of you who are familiar with the various figures from Bravo 6 will notice that the medic figure and the guy who is going to be the M79 grenadier are Marines, but I will be resculpting the flak jackets to the Army type which was worn by Soldiers of this unit. In this picture, the wall is in the location where it will be in the vignette. The figure firing his M16 will be positioned a bit closer to the wall. Because I already mounted the figure on the top of a pill bottle for painting, I could not put him in the exact location I plan on putting him, but you can still get an idea of figure placement. I still have to do putty work on all of the figures to fill gaps, add equipment, etc.
In this picture you can see how I scraped away the ejection port cover so it will replicate the bolt going rearward as it is ejecting a spent shell casing.
In the next few pictures, you can see the scene from other angles. Since the M16 is not glued on yet (I won't glue it until it and the figure are already painted), it eventually moved a bit while I was moving things around while taking these pictures. For a couple of these, I placed the wall on the cap of the pill bottle so you can see how the figure will be positioned near the wall.
Here's the grouping of the medic, wounded Soldier, and grenadier.
And lastly, a better view of the Soldier getting shot.
I will also be building a larger Tet Diorama simultaneously. I am waiting for the buildings to arrive so I can start the planning process for that one.
Cheers,
James


")