• Modelers Alliance has updated the forum software on our website. We have migrated all post, content and user accounts but we could not migrate the passwords.
    This requires that you manually reset your password.
    Please click here, http://modelersalliance.org/forums/login to go to logon page and use the "Forgot your Password" option.

A tale of two Dingos (Scout Cars)

JamesOLeary

Master at Arms
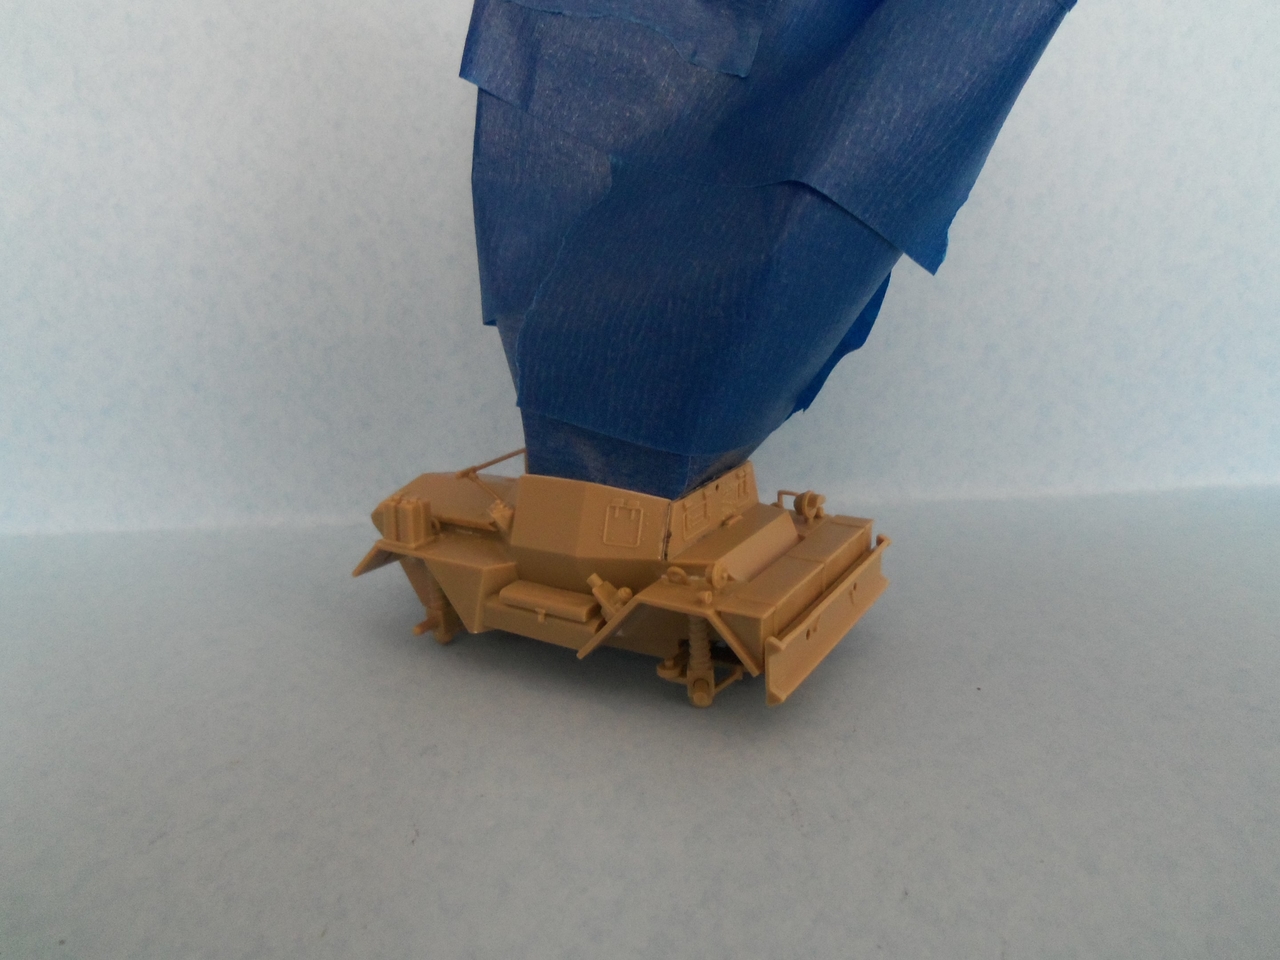
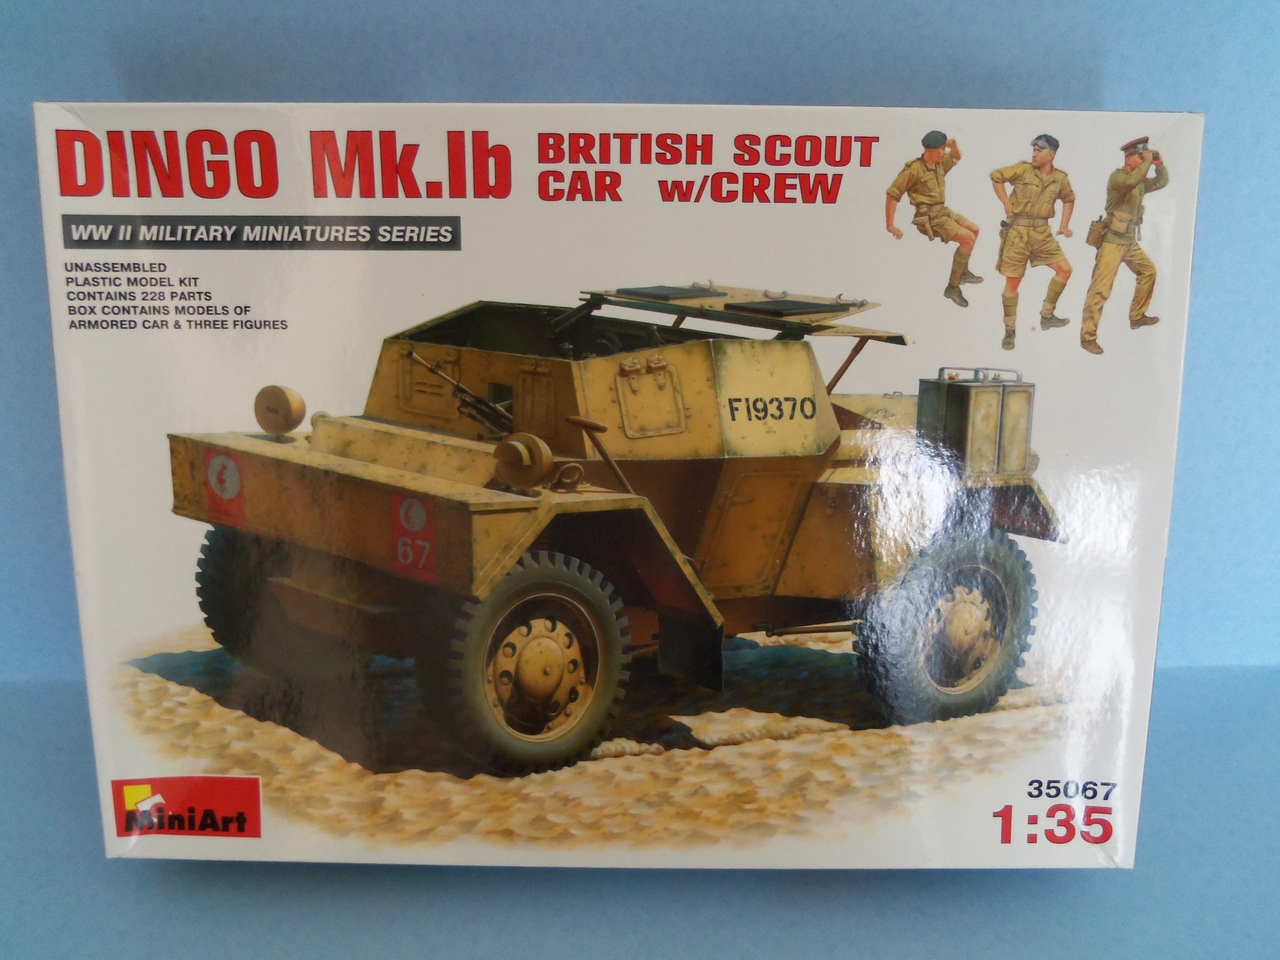
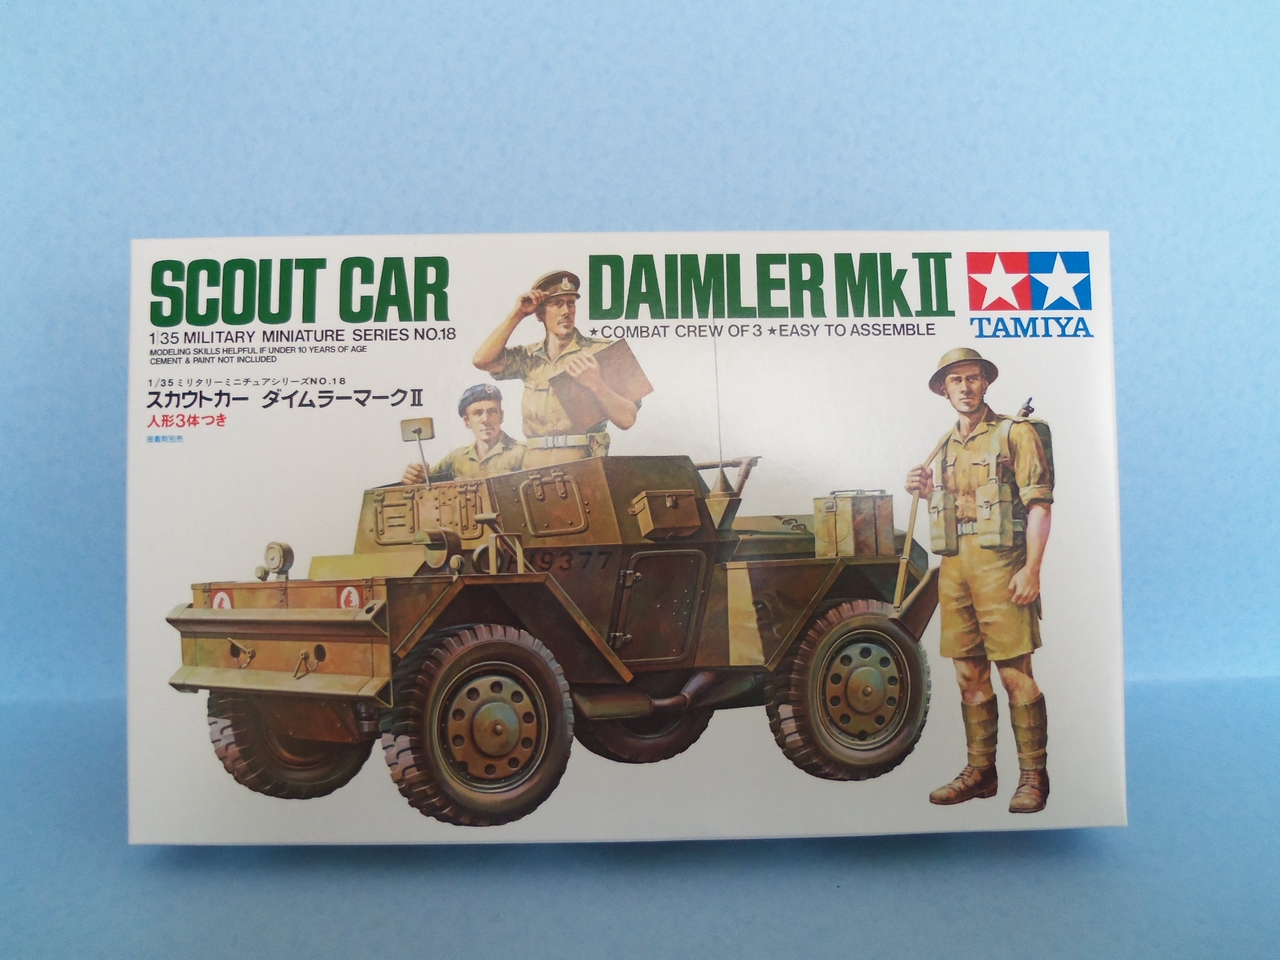
Last weekend when I was at Soonercon 2018, I bought several old Tamiya kits from a vendor who was selling off some of his collection at very reasonable prices and one of the kits I had bought was the Tamiya Daimler MkII Scout Car, or Dingo. I already have the Miniart kit and started it (only a few parts) a while back, so I thought it would be interesting to build both of them and compare them. I will be building the Tamiya kit for the Down in Africa Build Campaign and then give it to my Grandson for his vehicle collection. Over the next couple of months I will also build the Miniart kit.

100_1101.JPG


100_1102.JPG


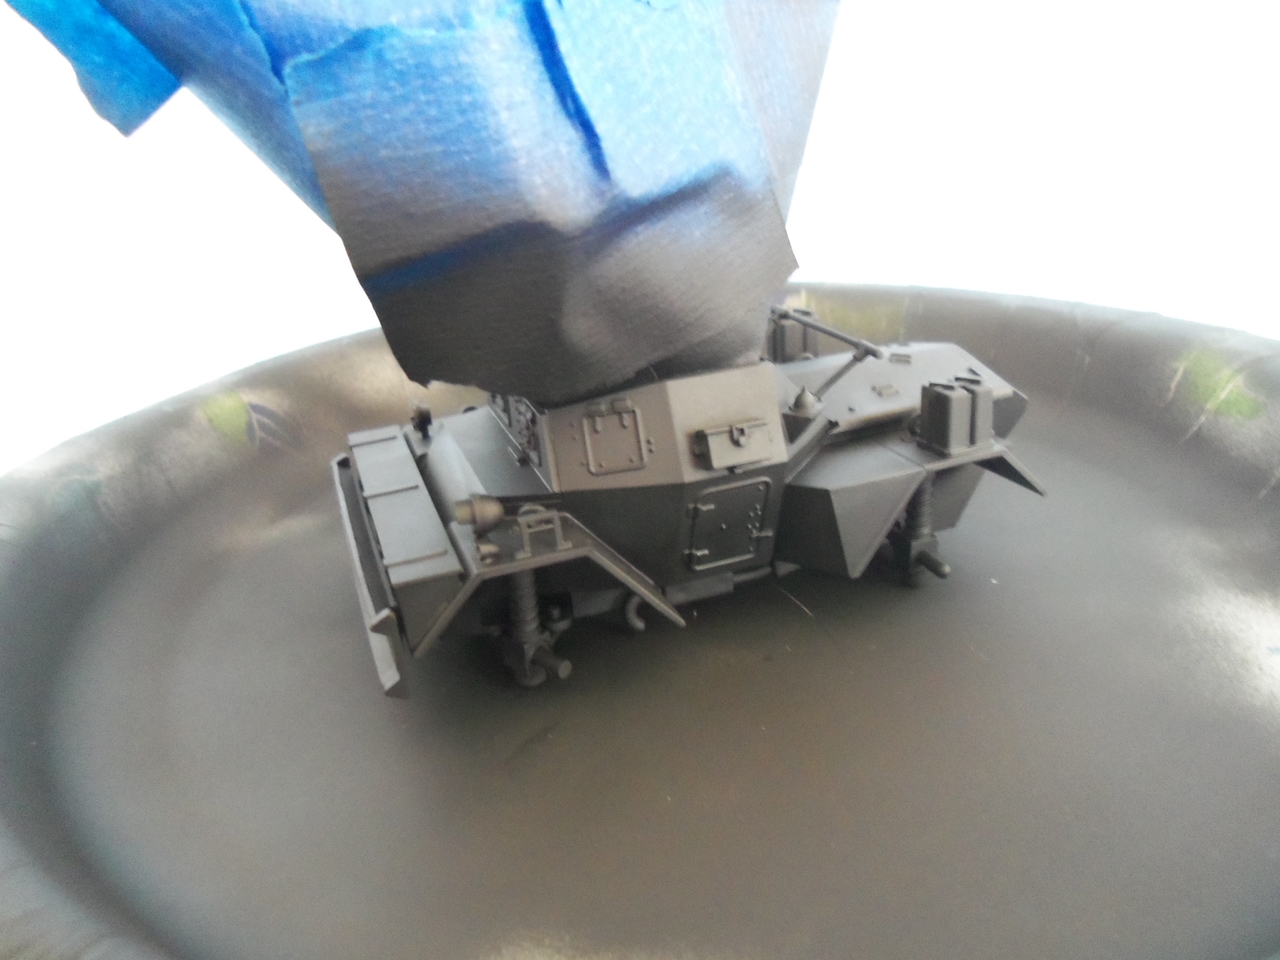
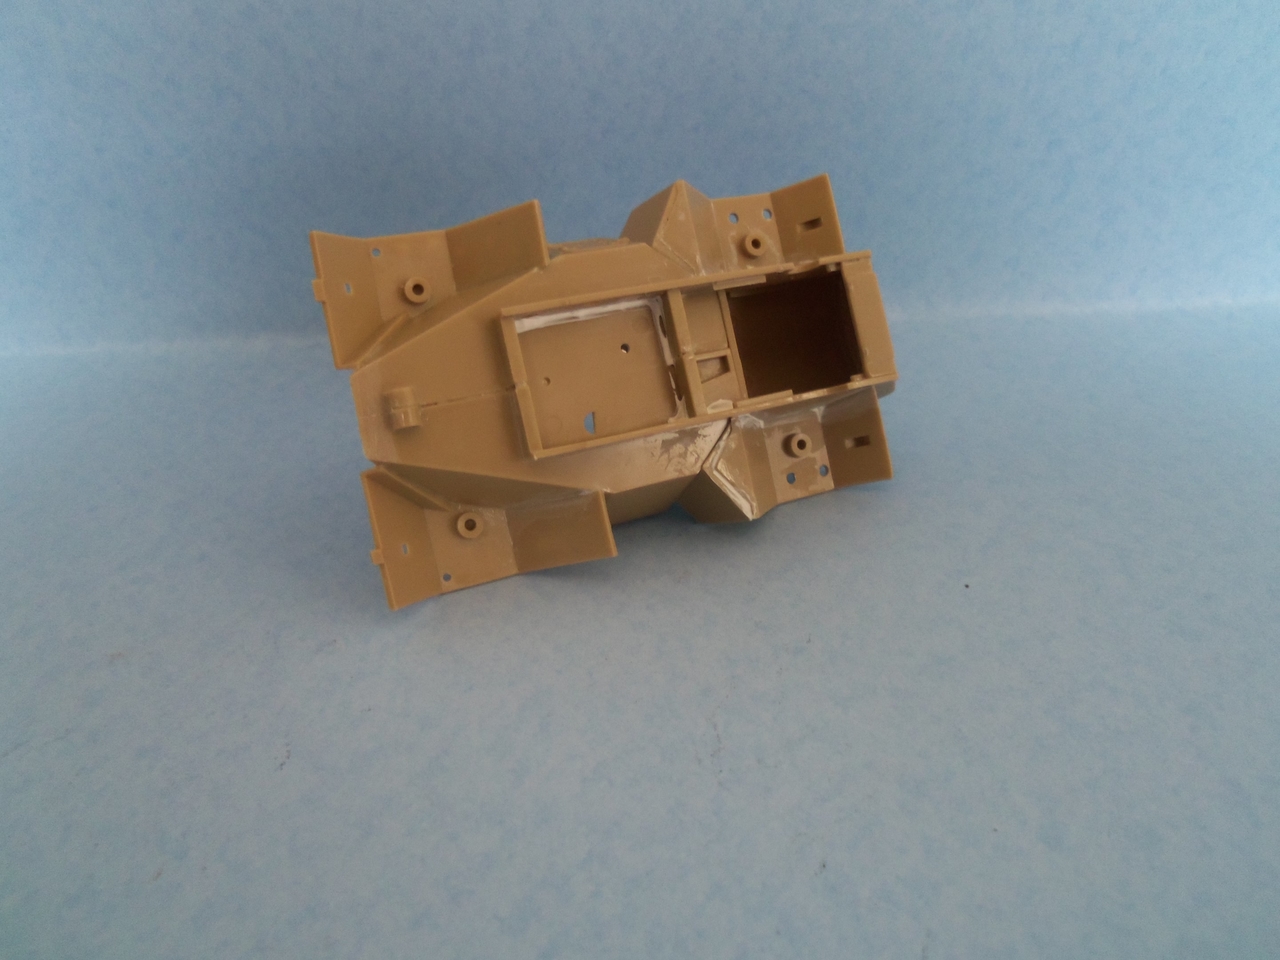
The Tamiya kit is very basic being that it is 1970's injection molding technology that produced the kit. It will be a quick build due to the low parts count, but there are some limitations and fit issues.

100_1103.JPG


100_1104.JPG


100_1105.JPG


100_1106.JPG


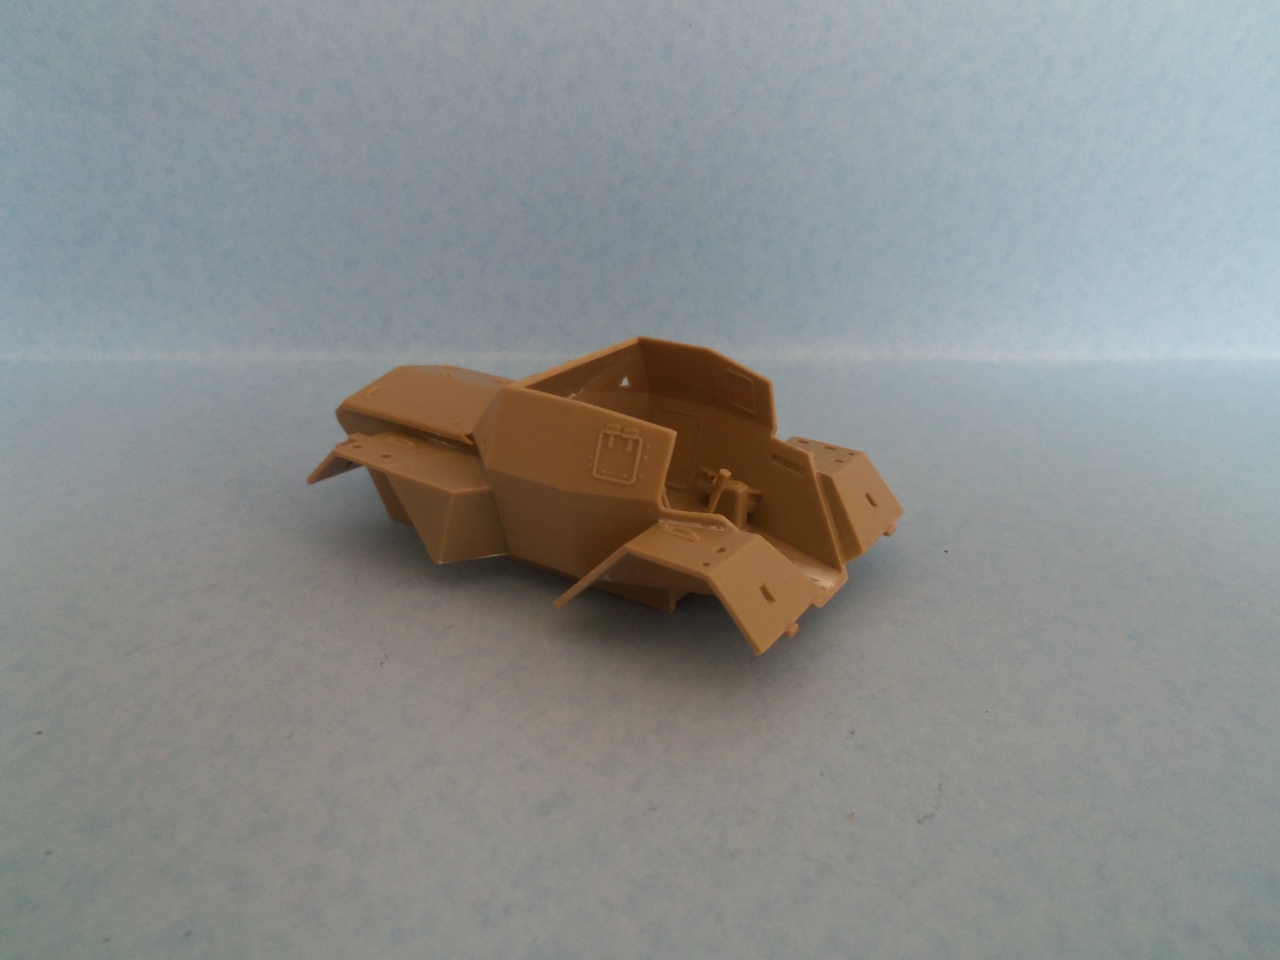
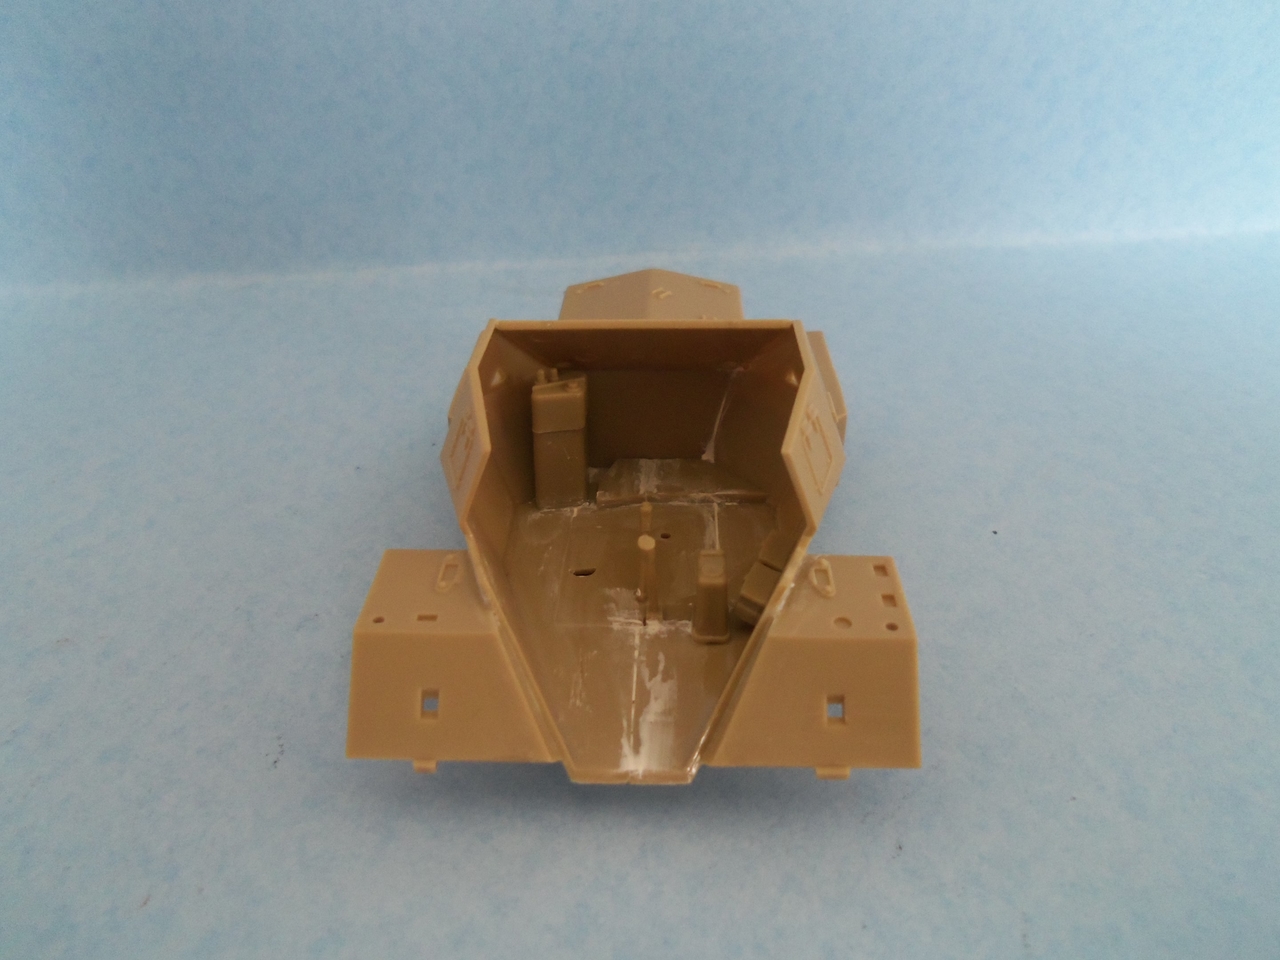
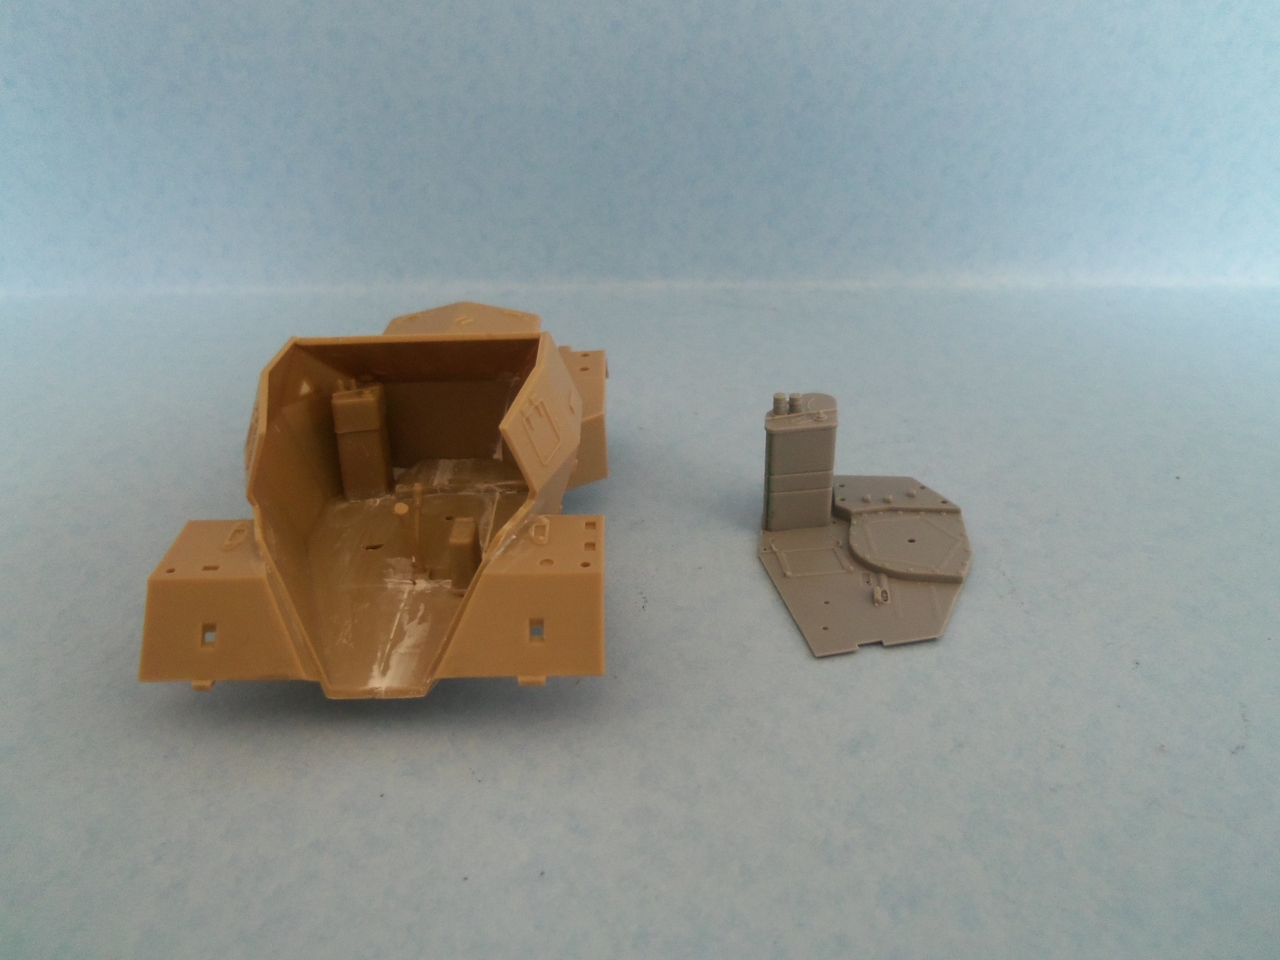
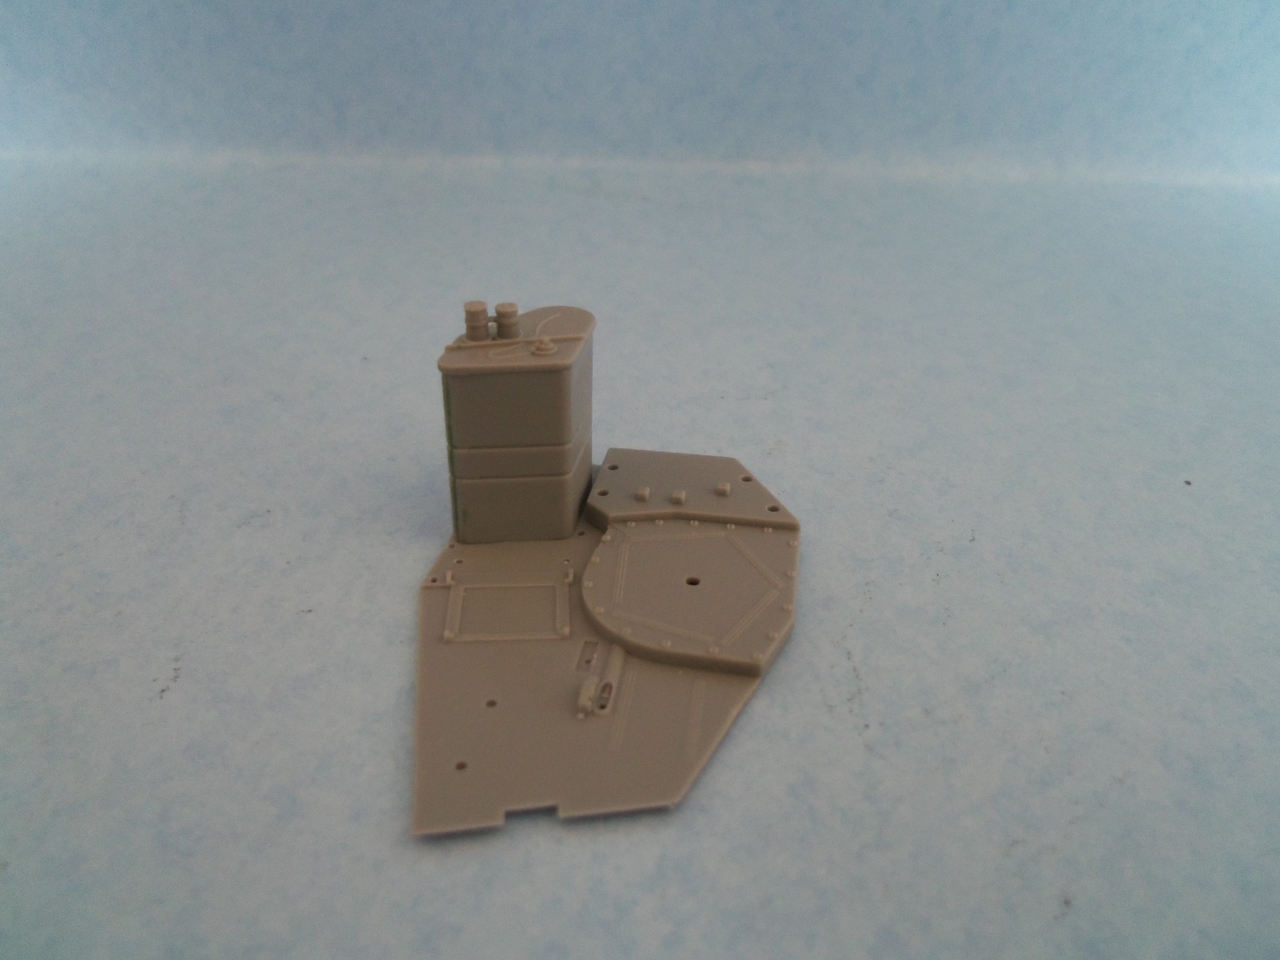
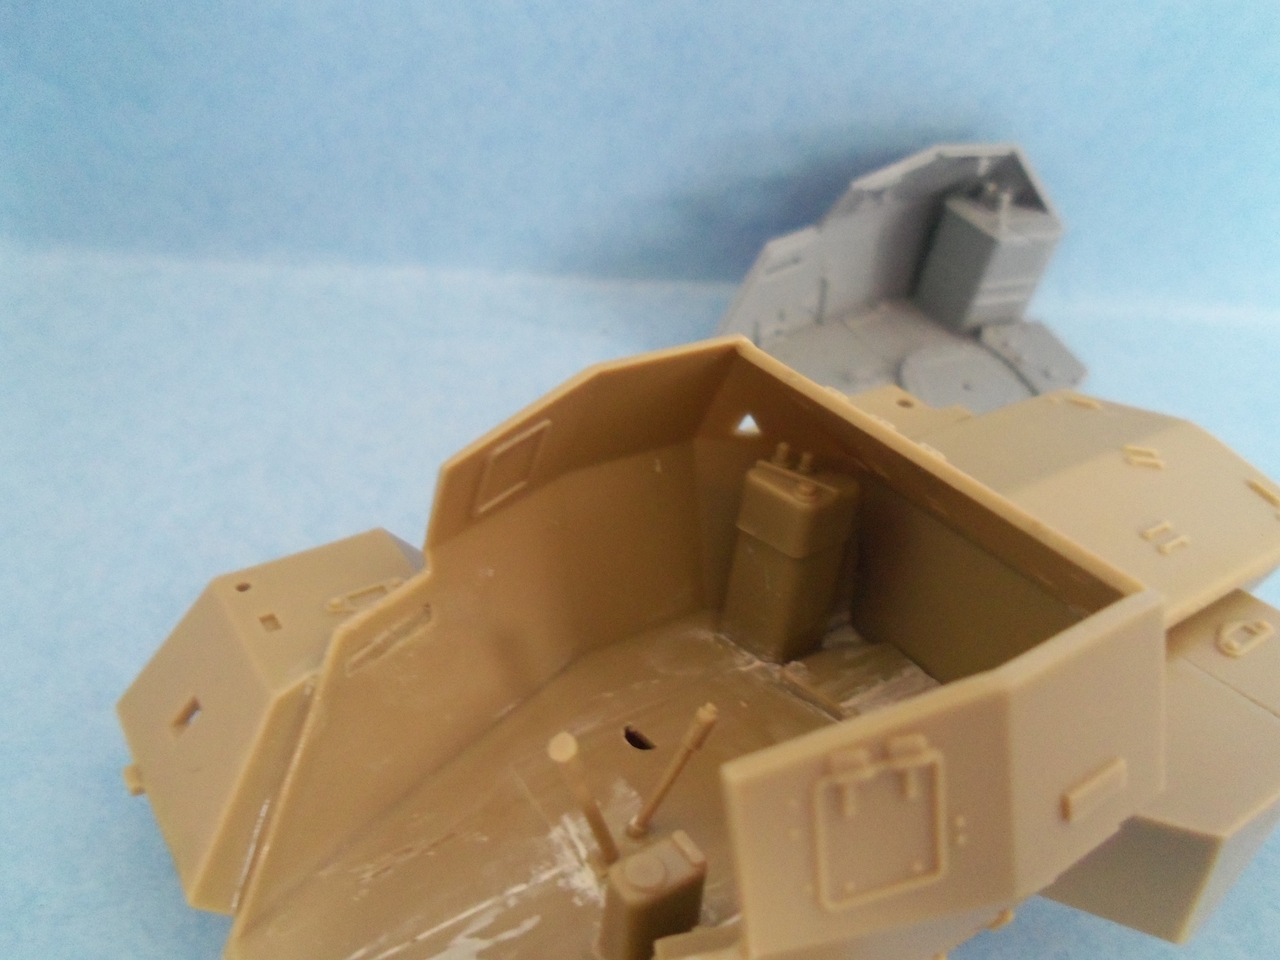
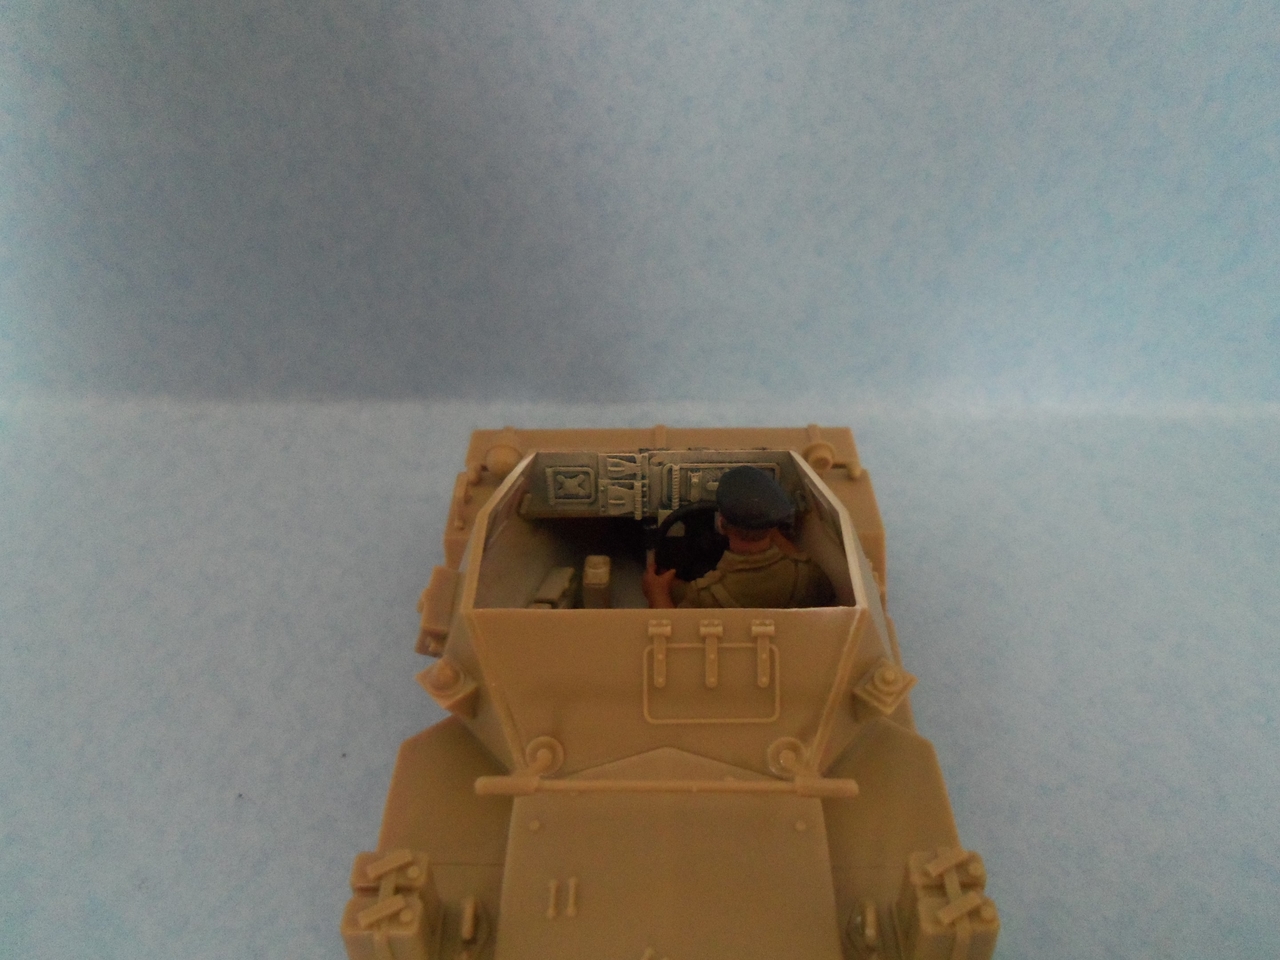
Here's a quick comparison of the interior of the Tamiya kit compared to that of the Miniart kit (and I don't even have all that much glued together with the Miniart kit).

100_1107.JPG


100_1108.JPG


100_1109.JPG


100_1110.JPG


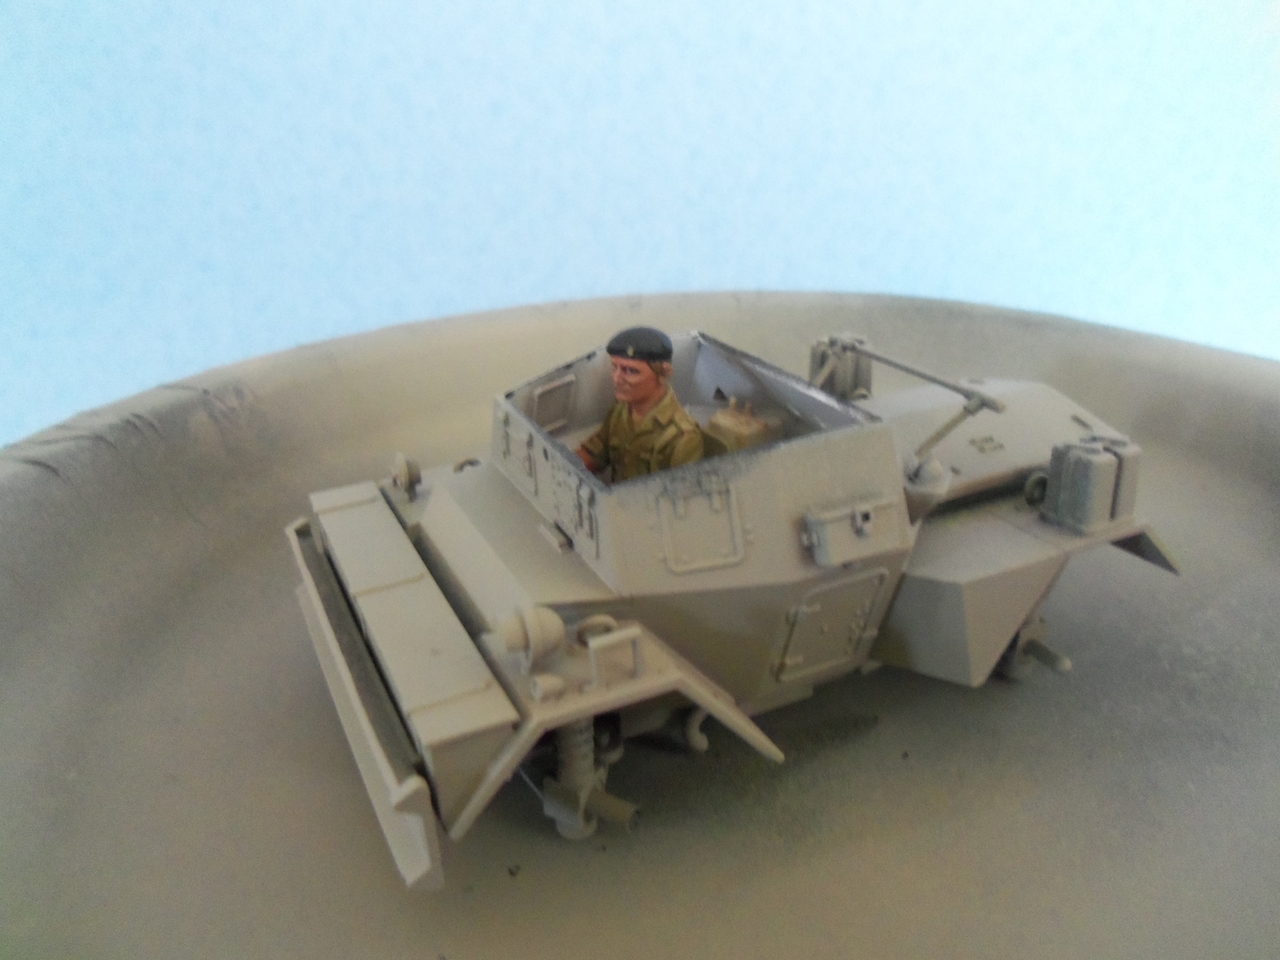
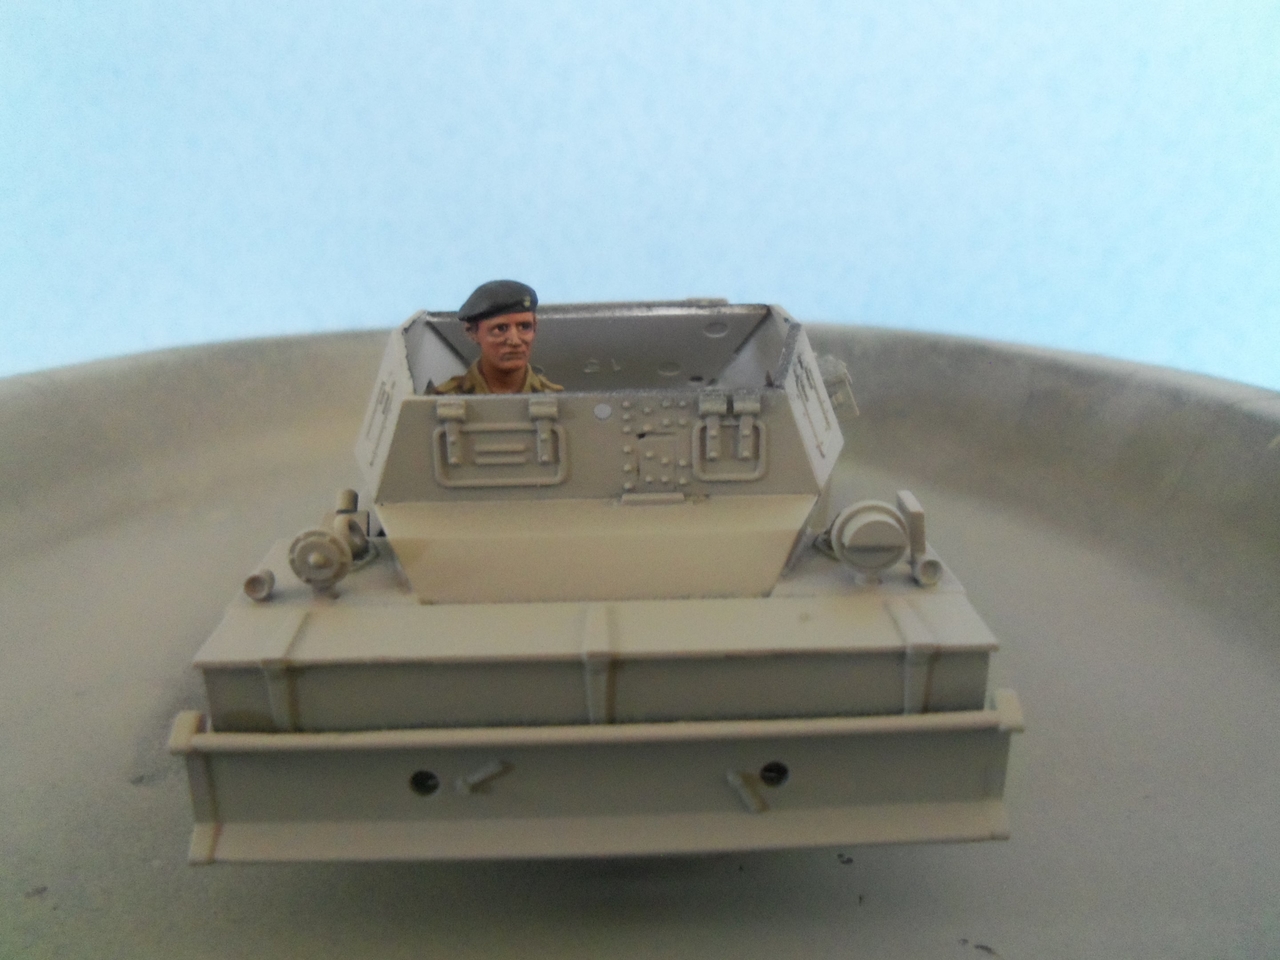
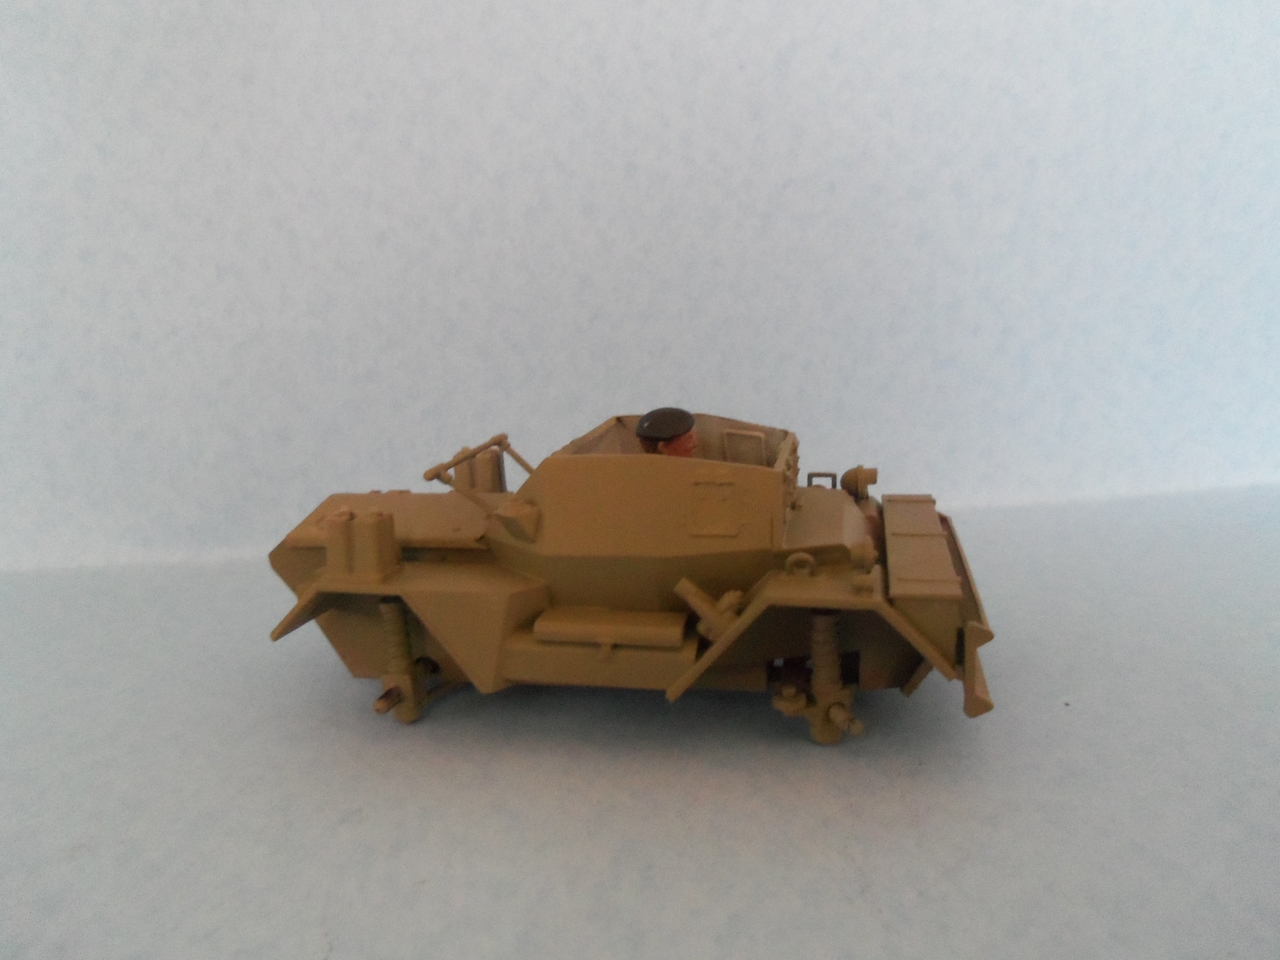
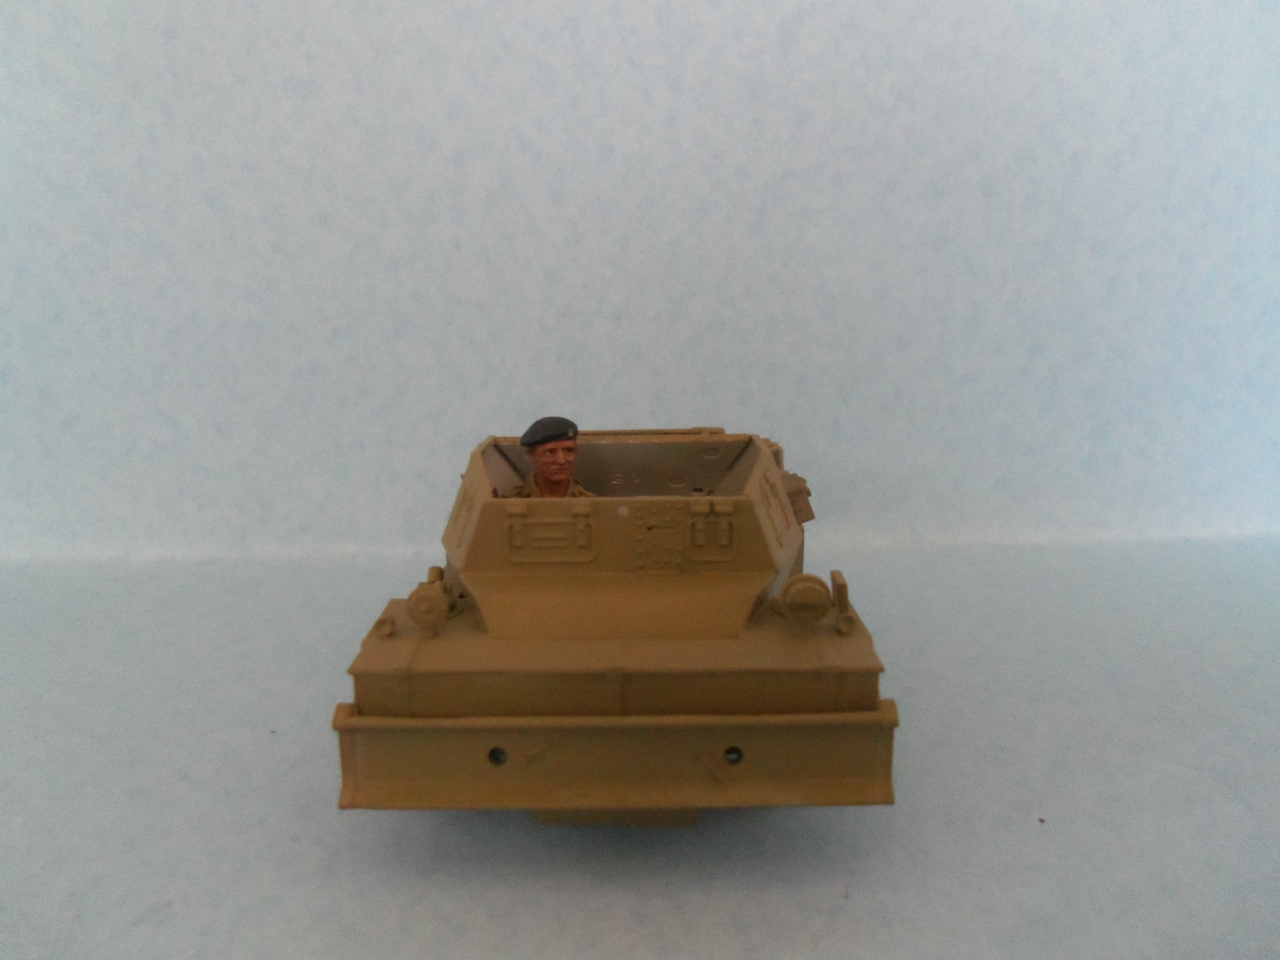
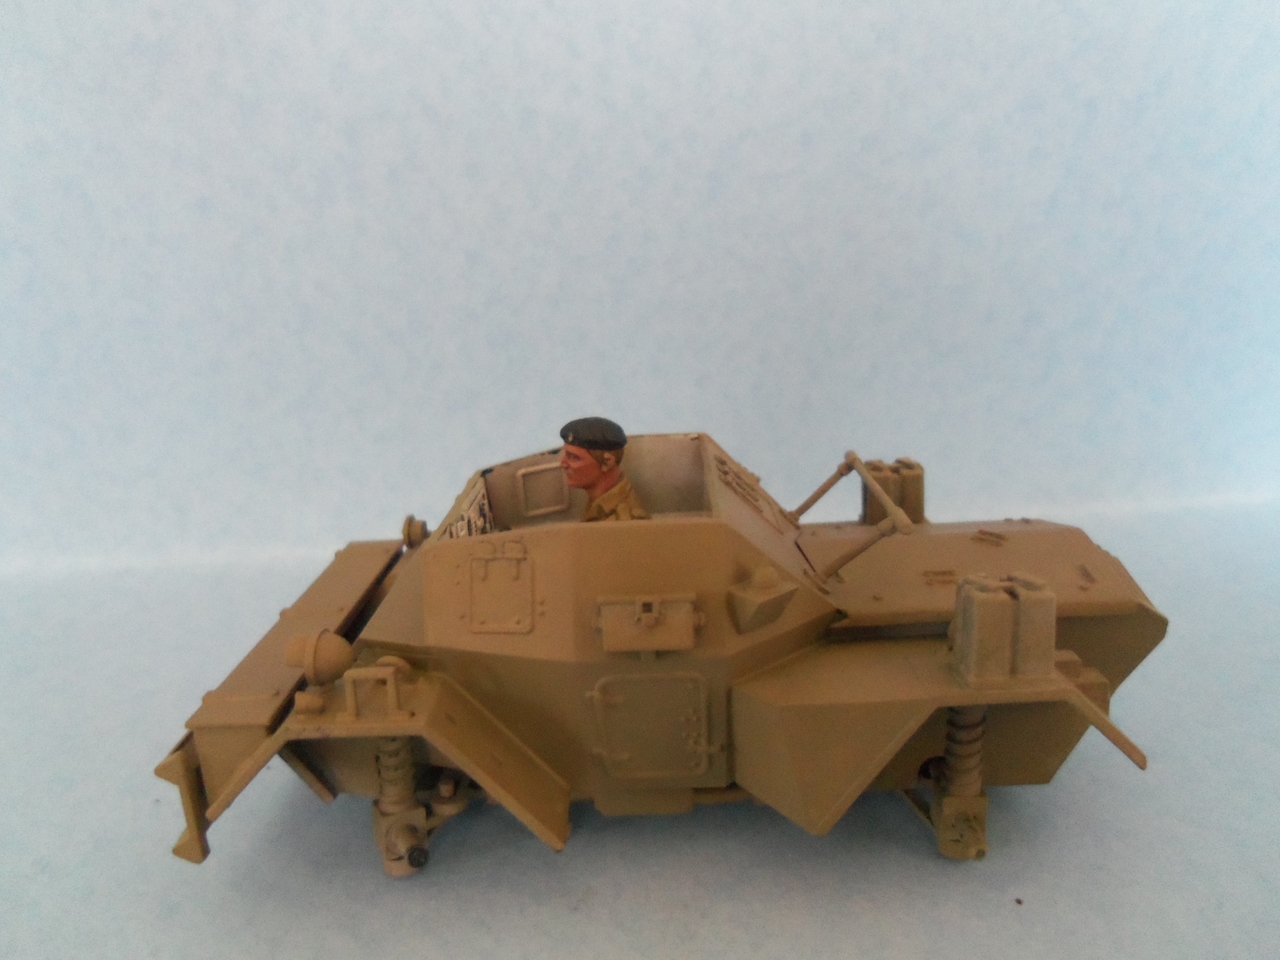
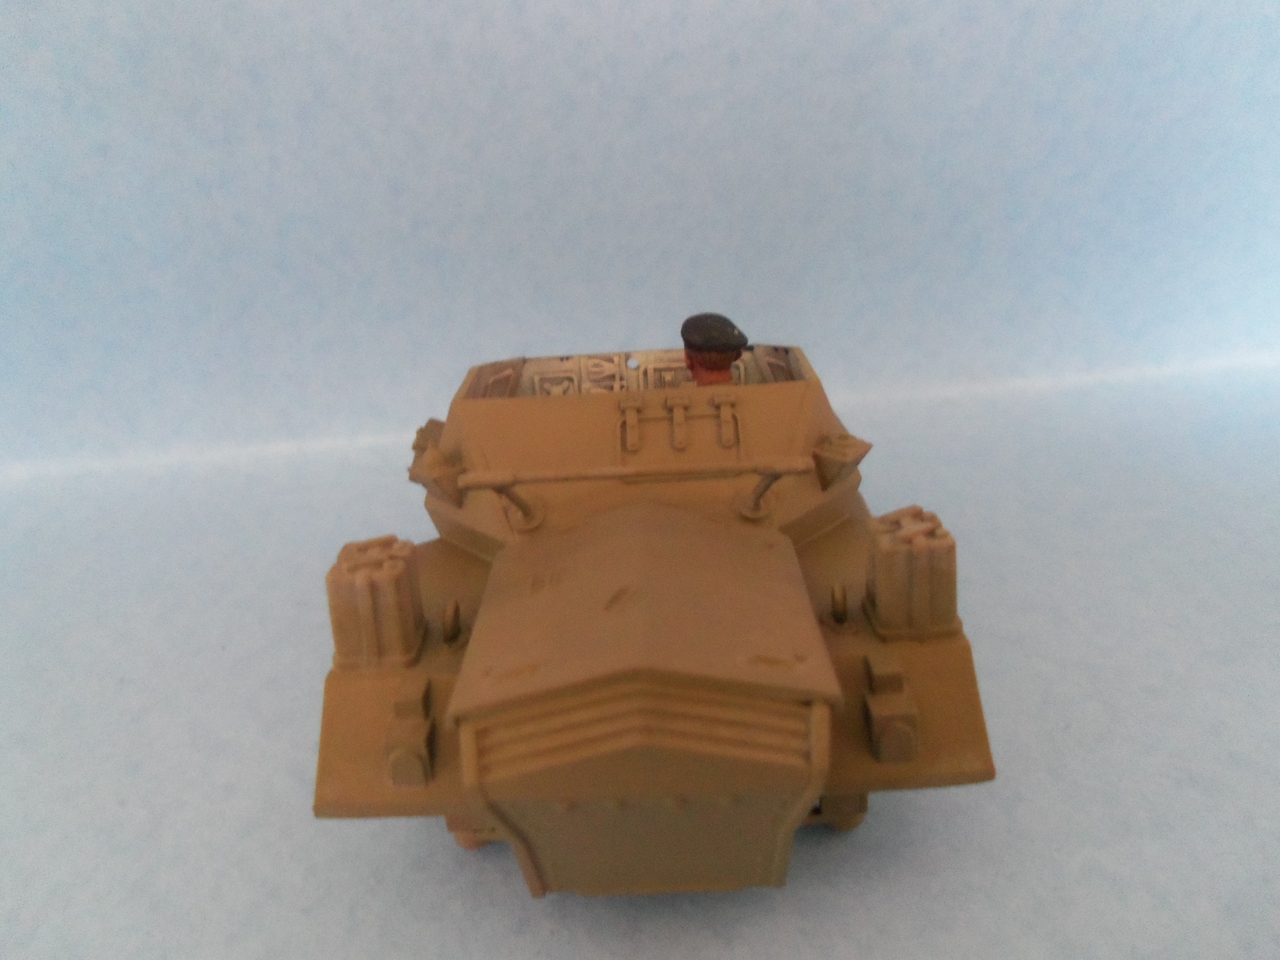
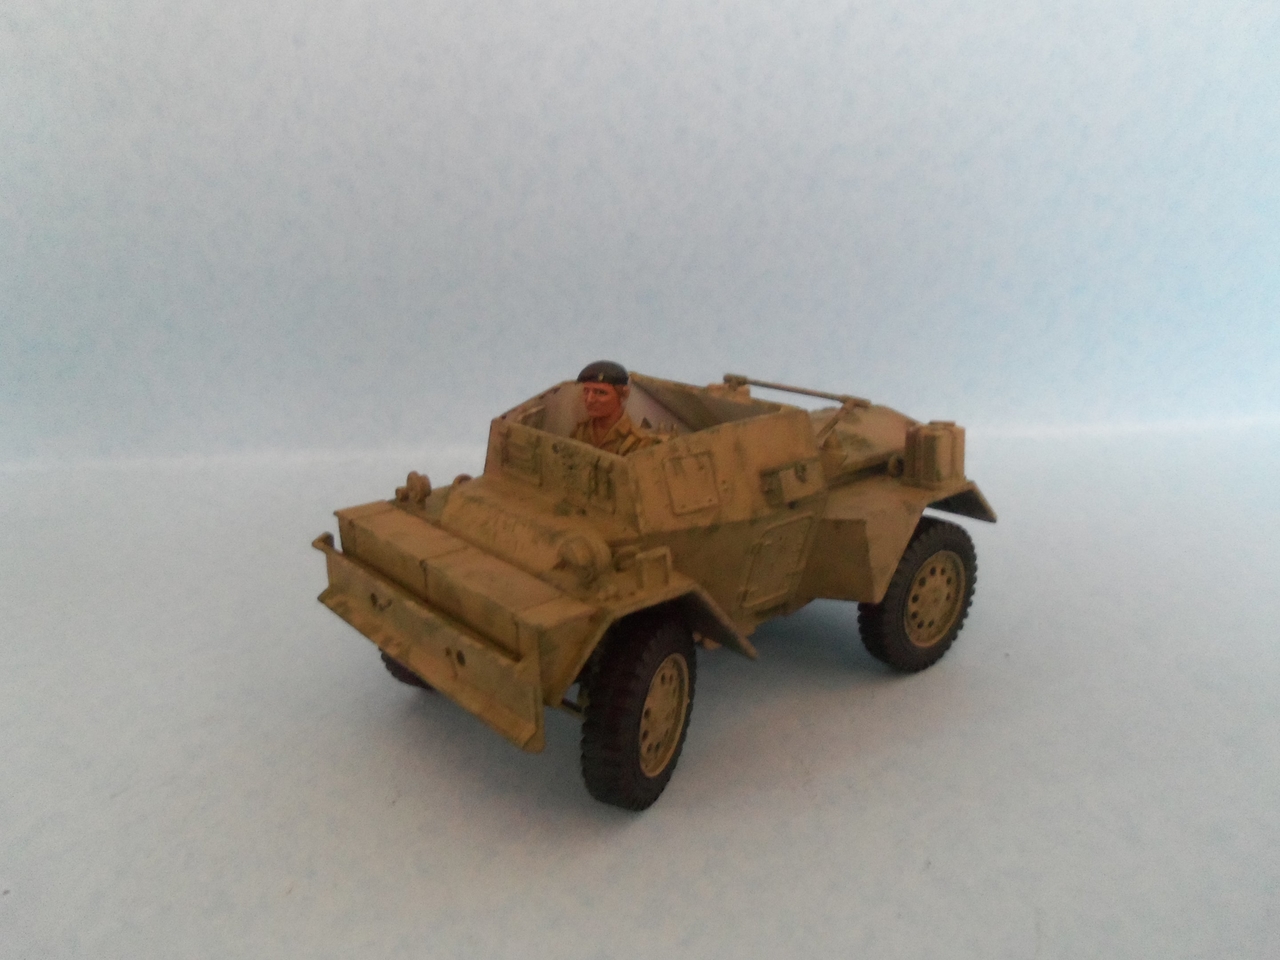
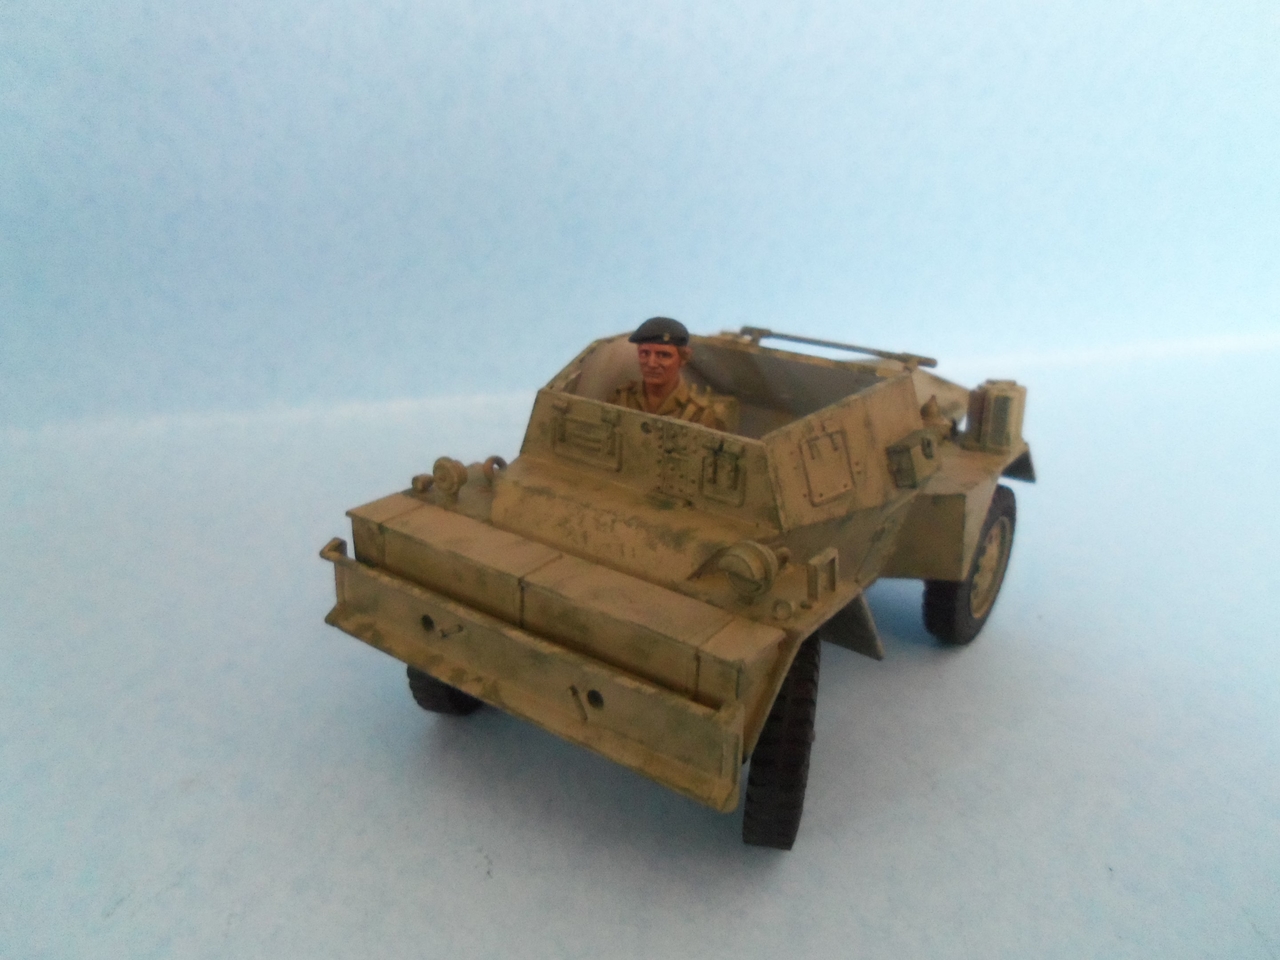
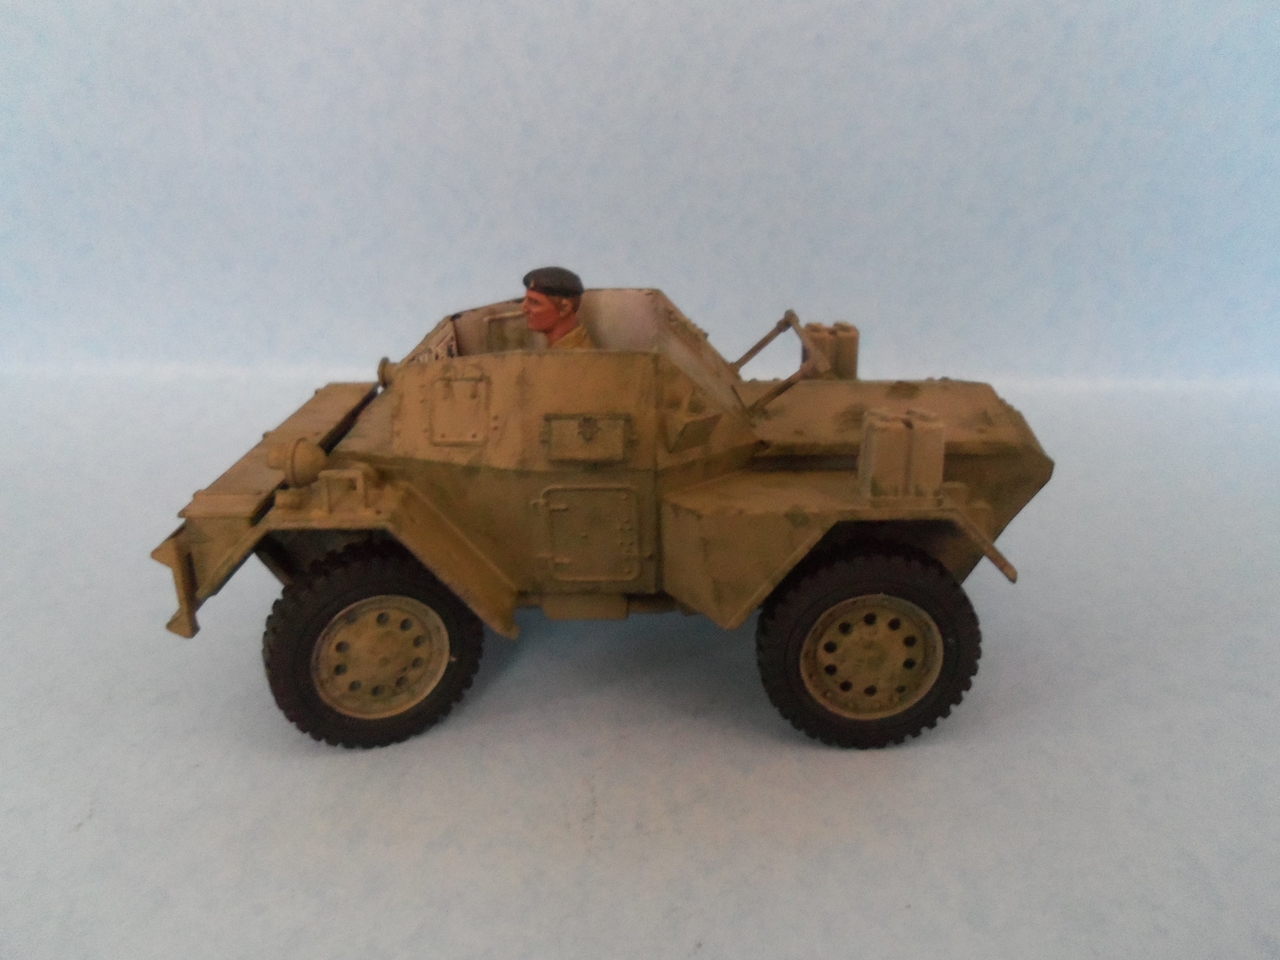
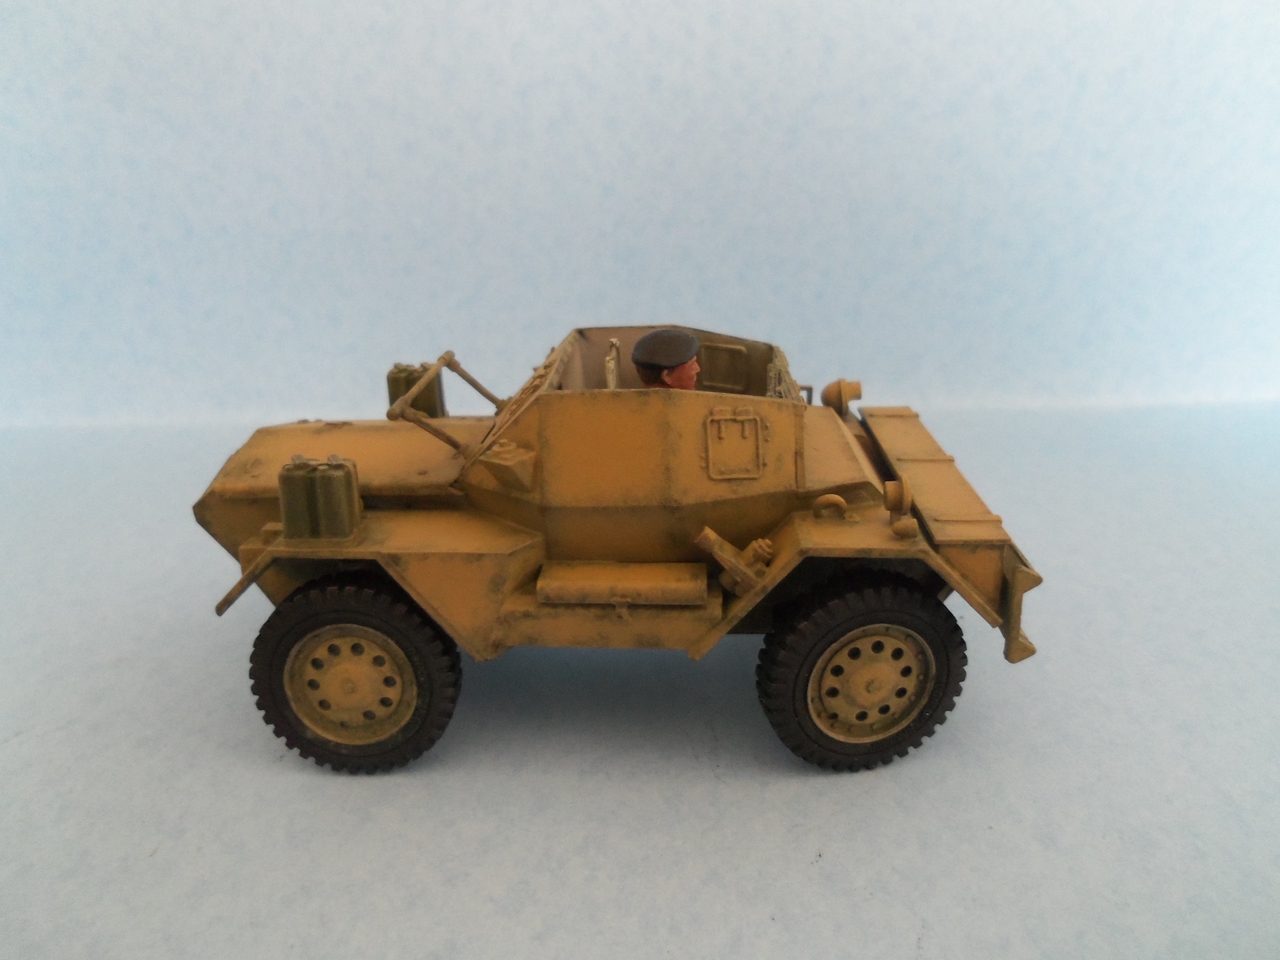
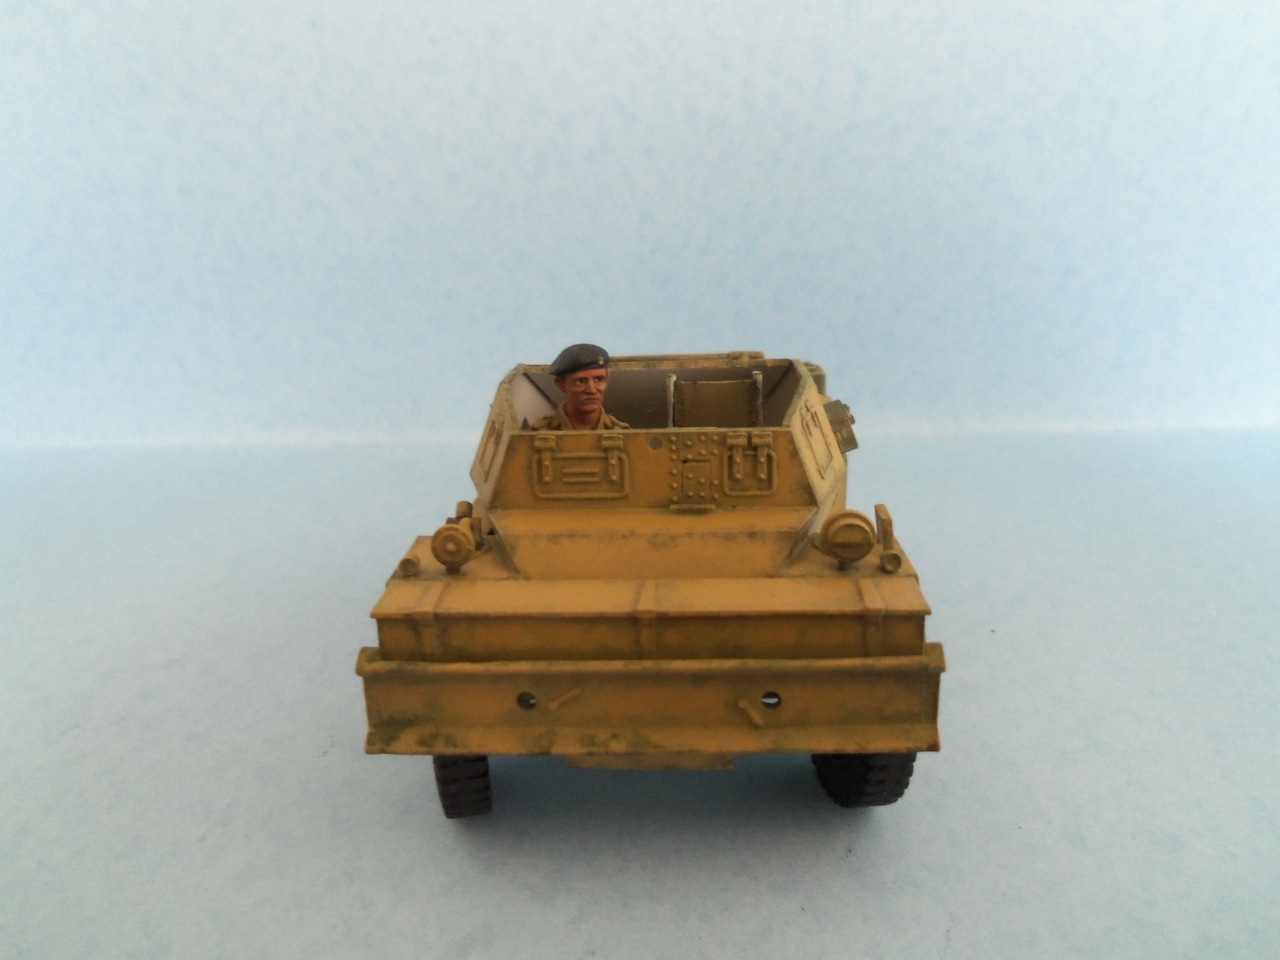
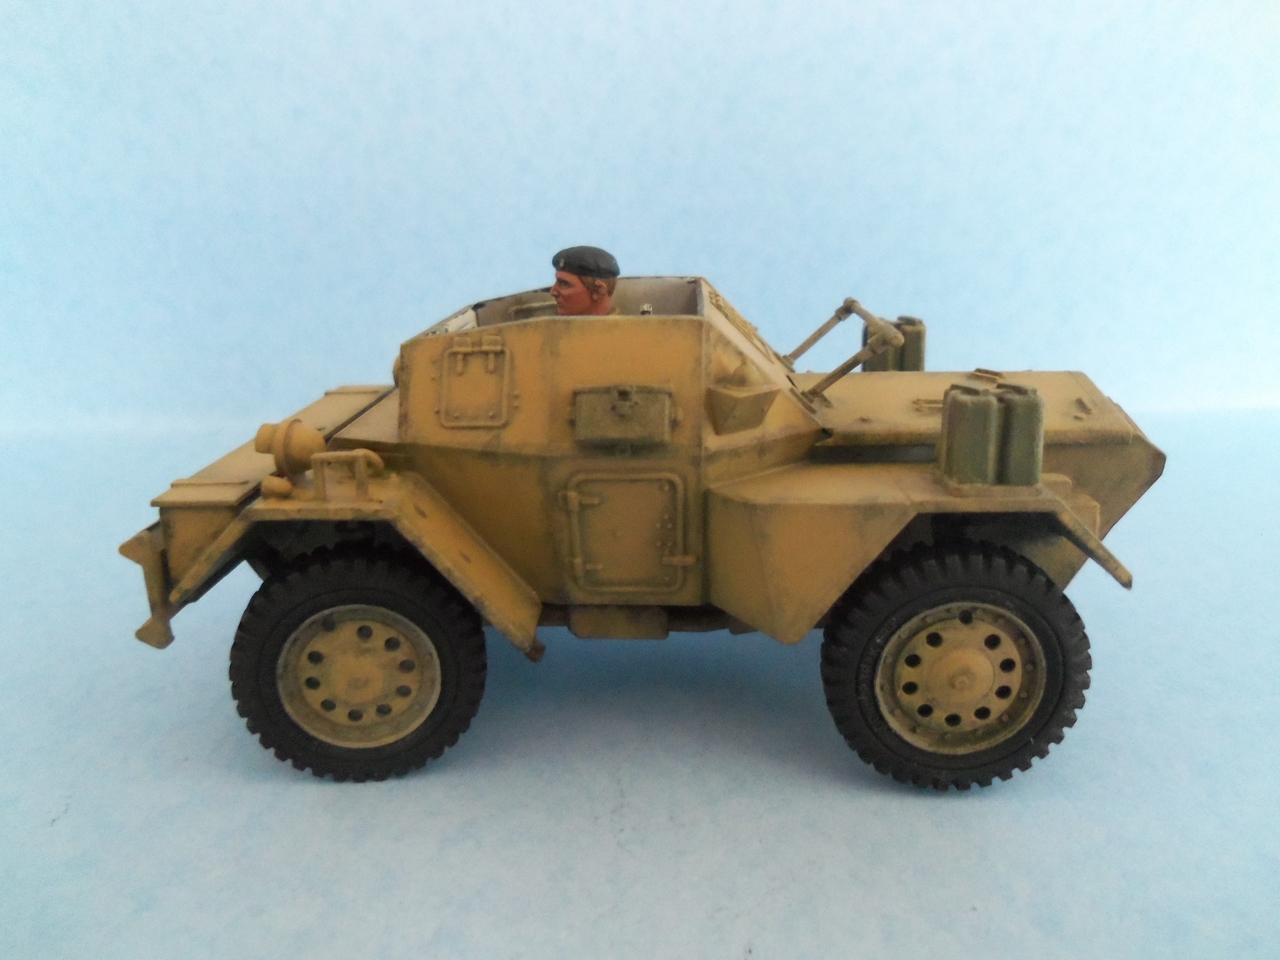
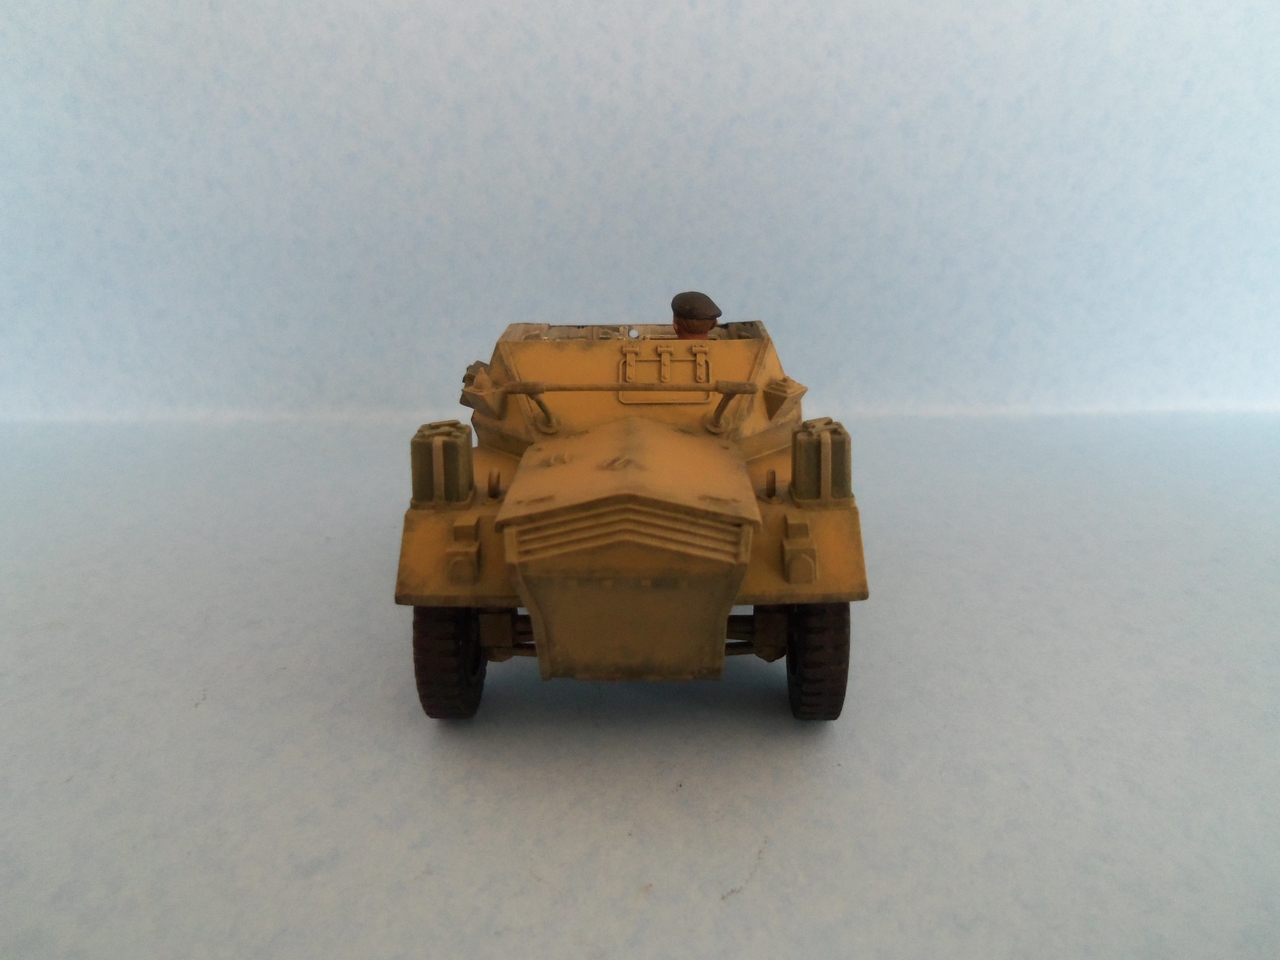
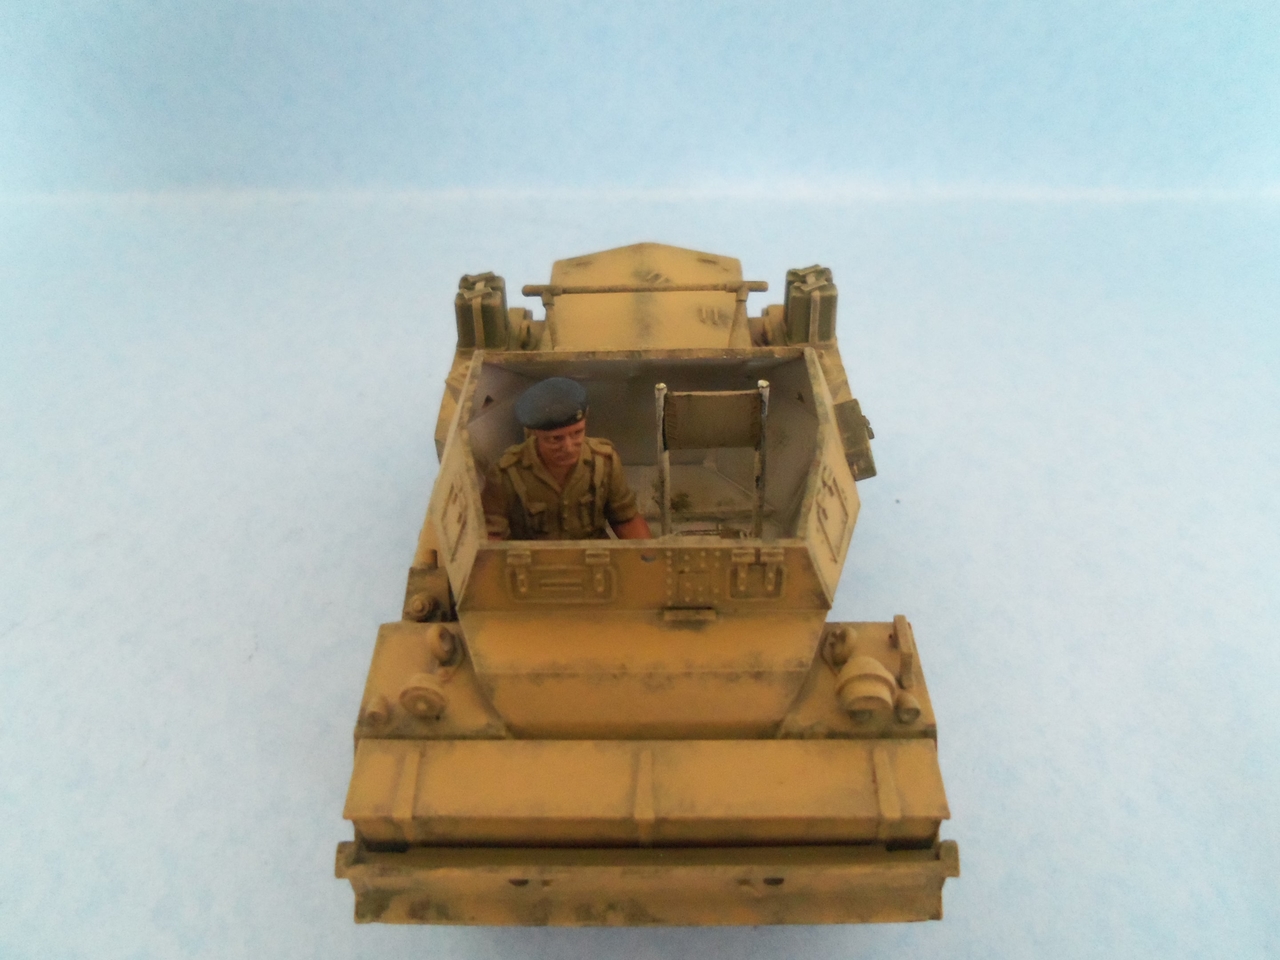
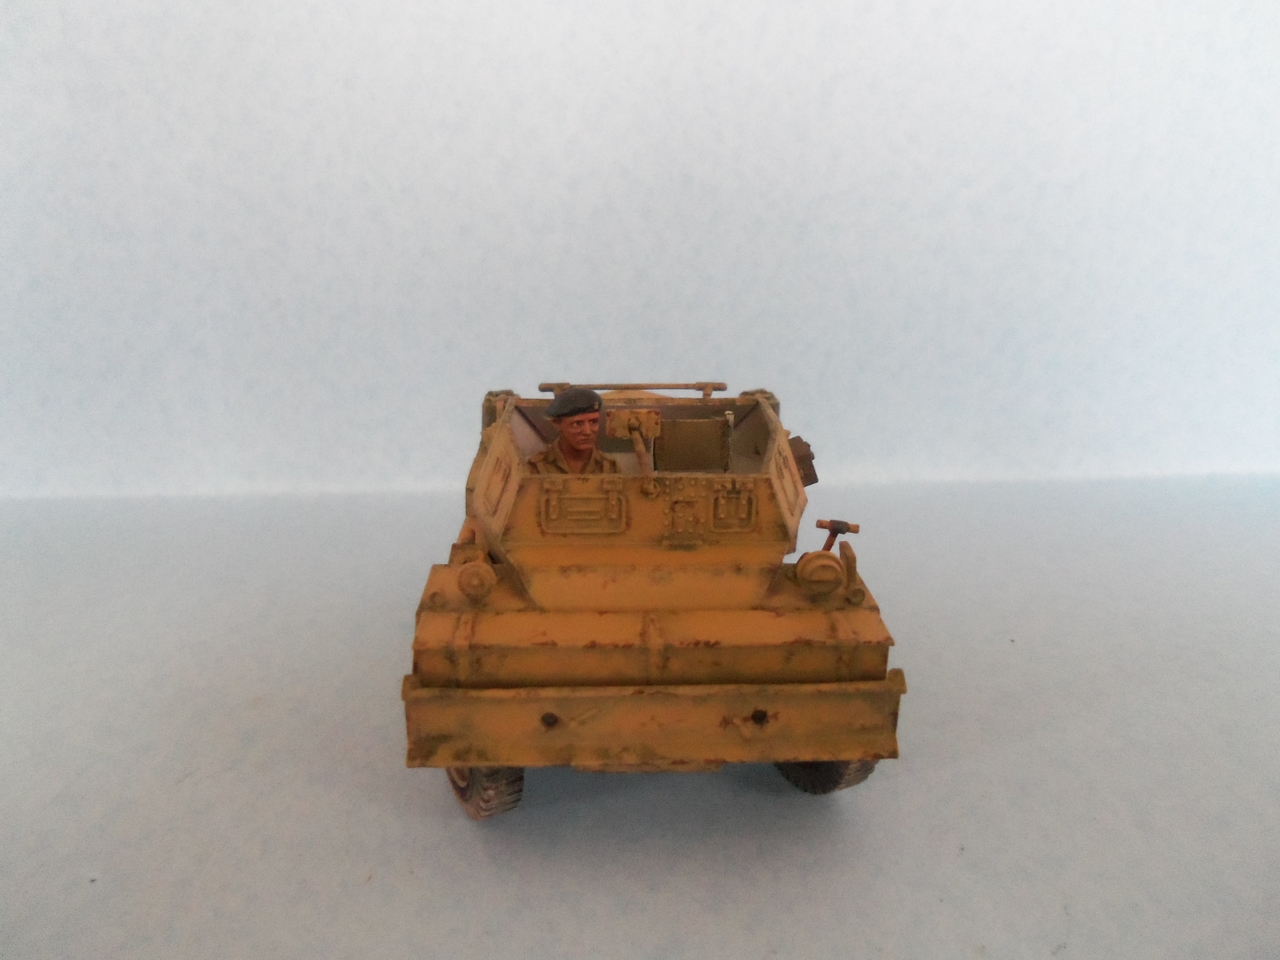
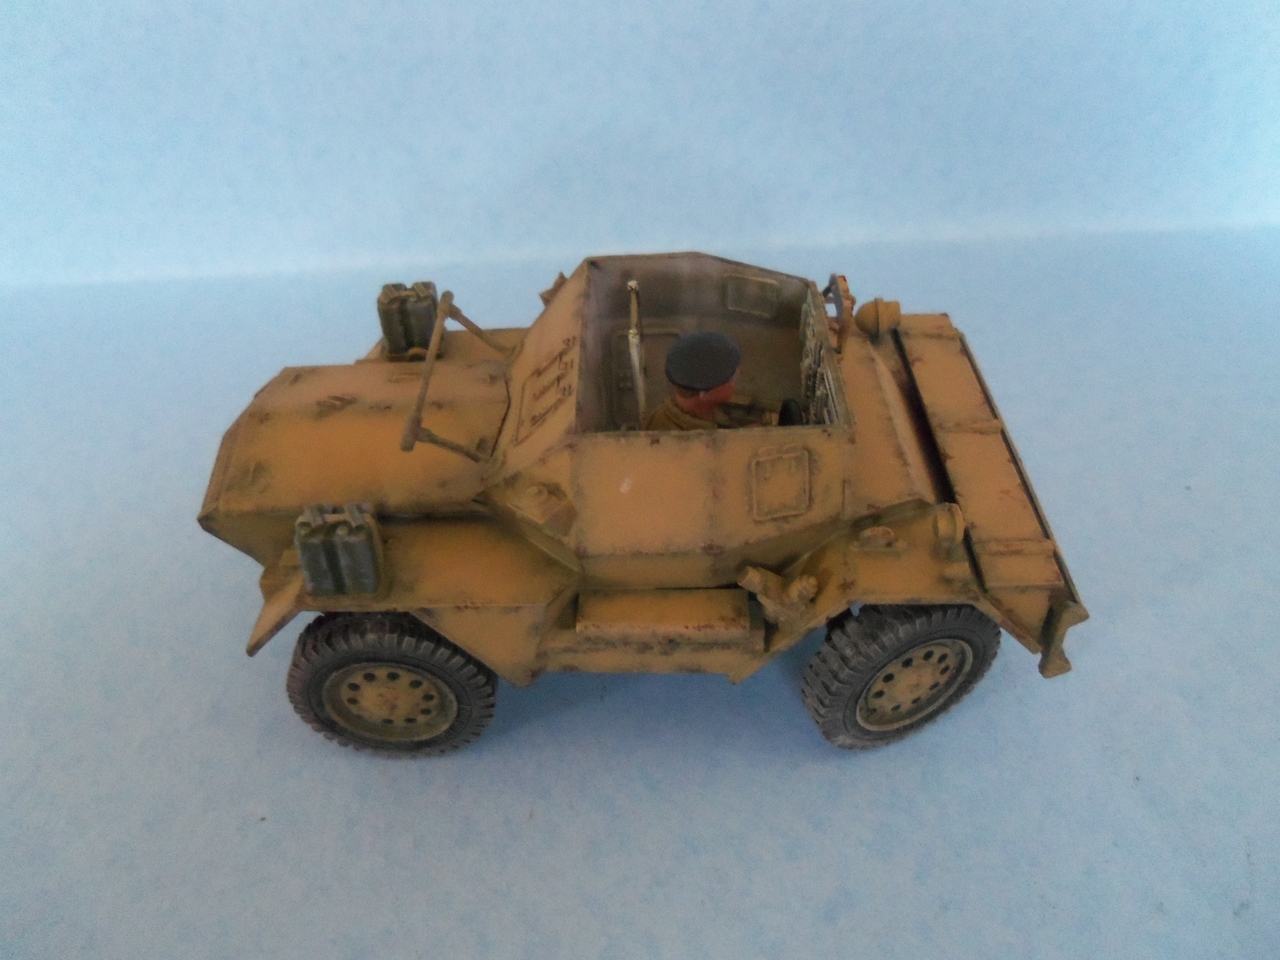
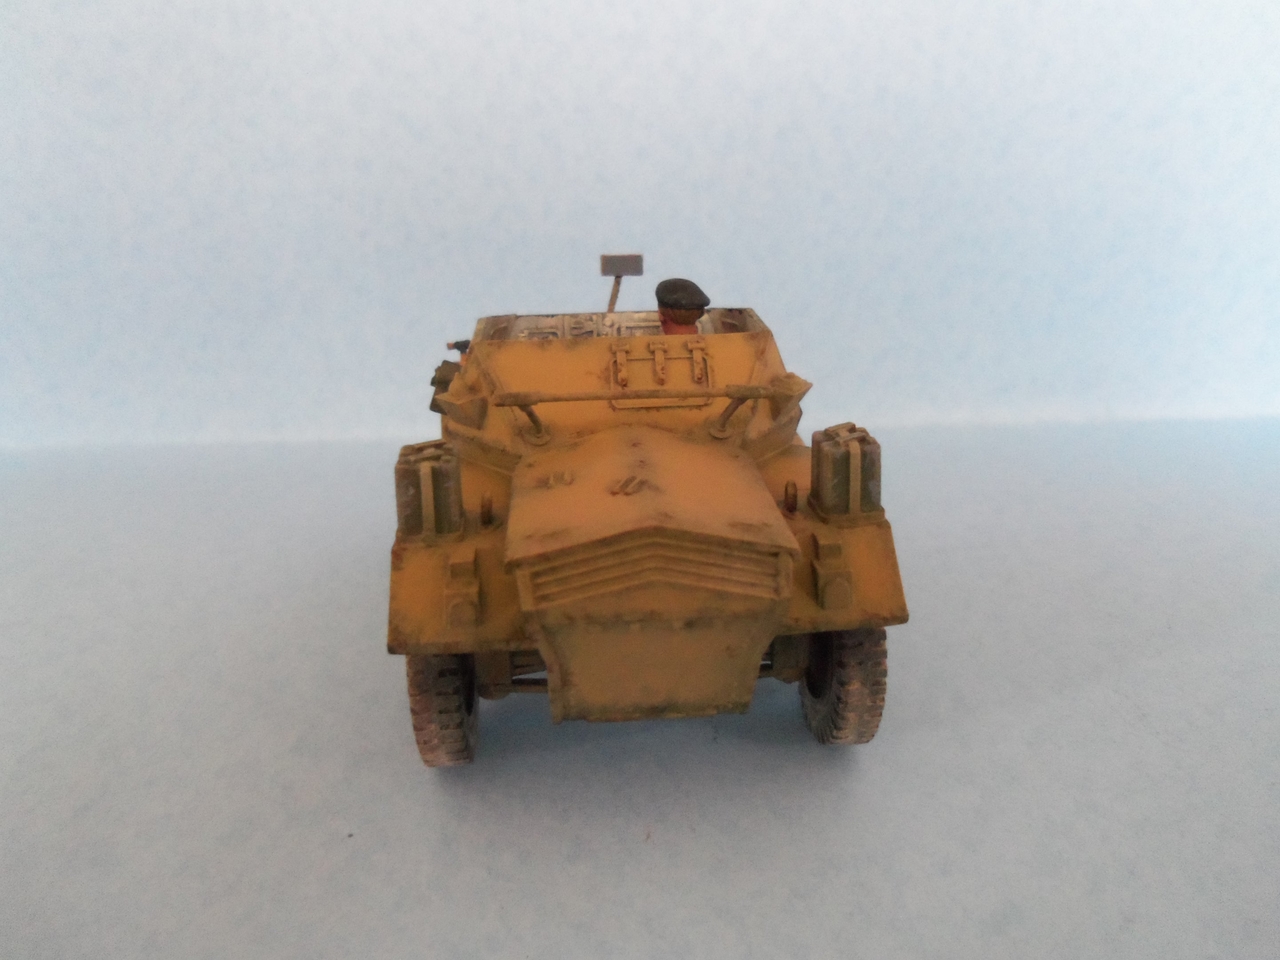
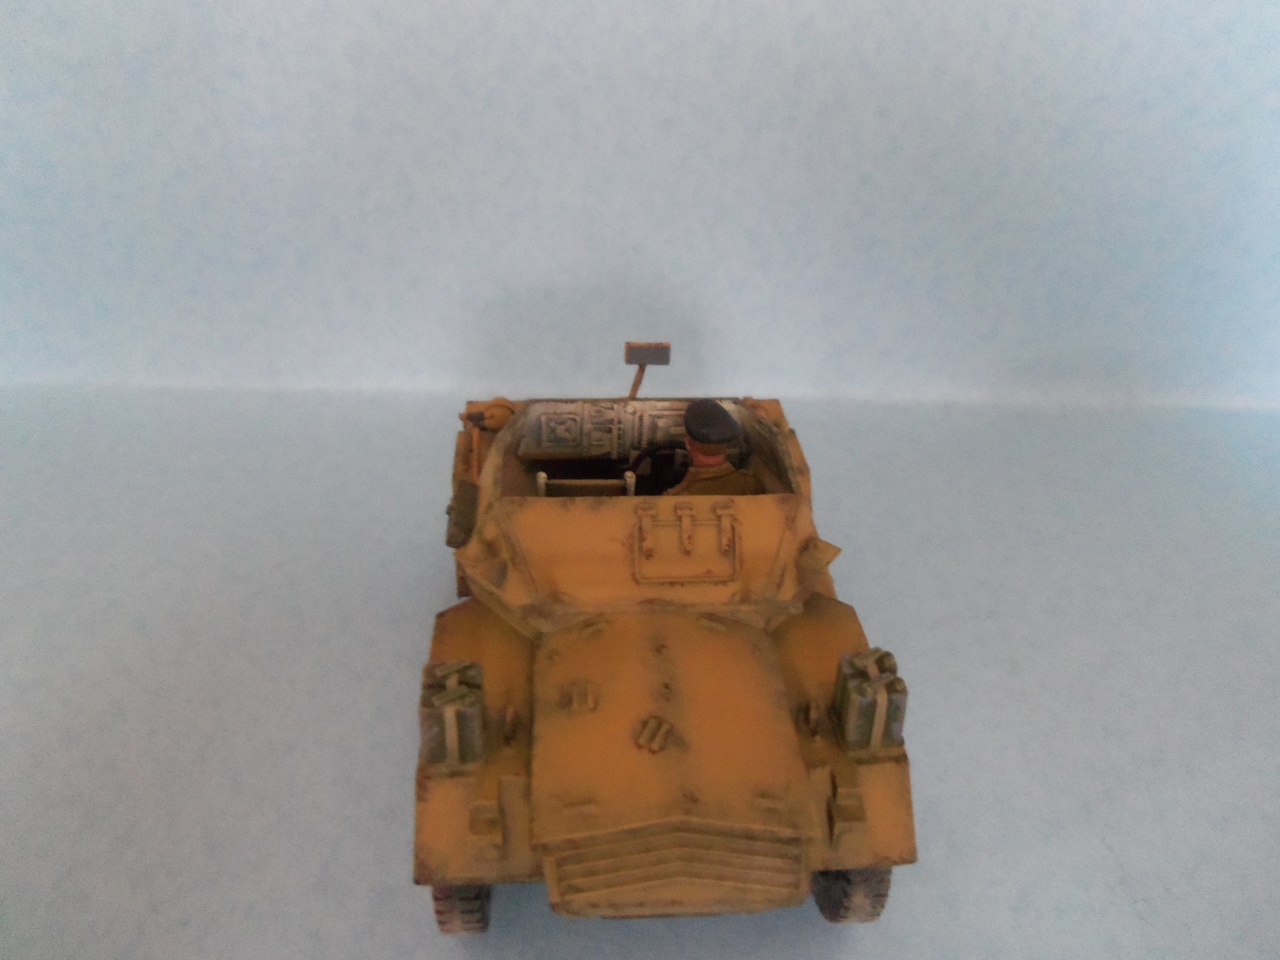
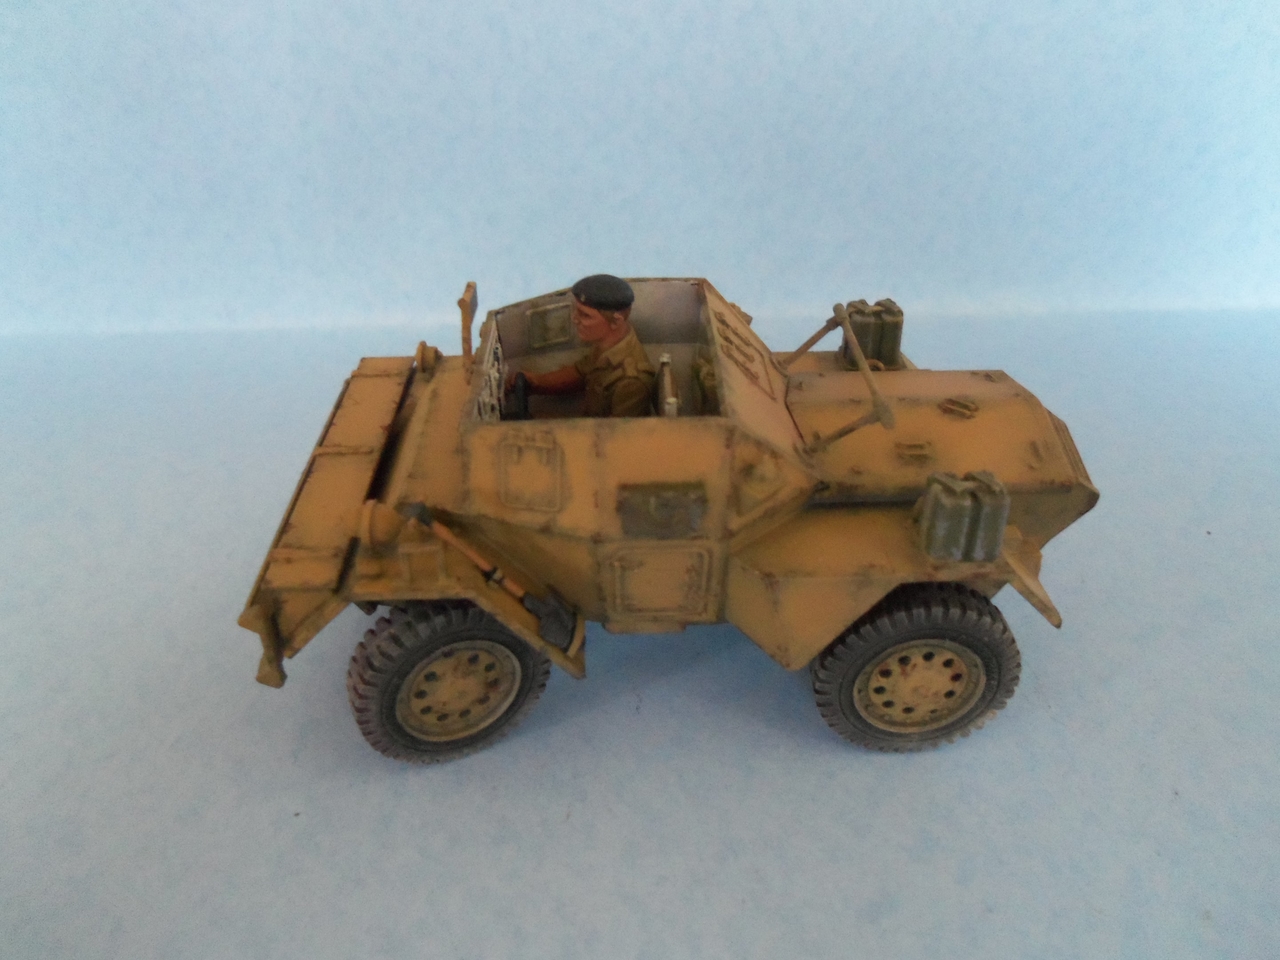
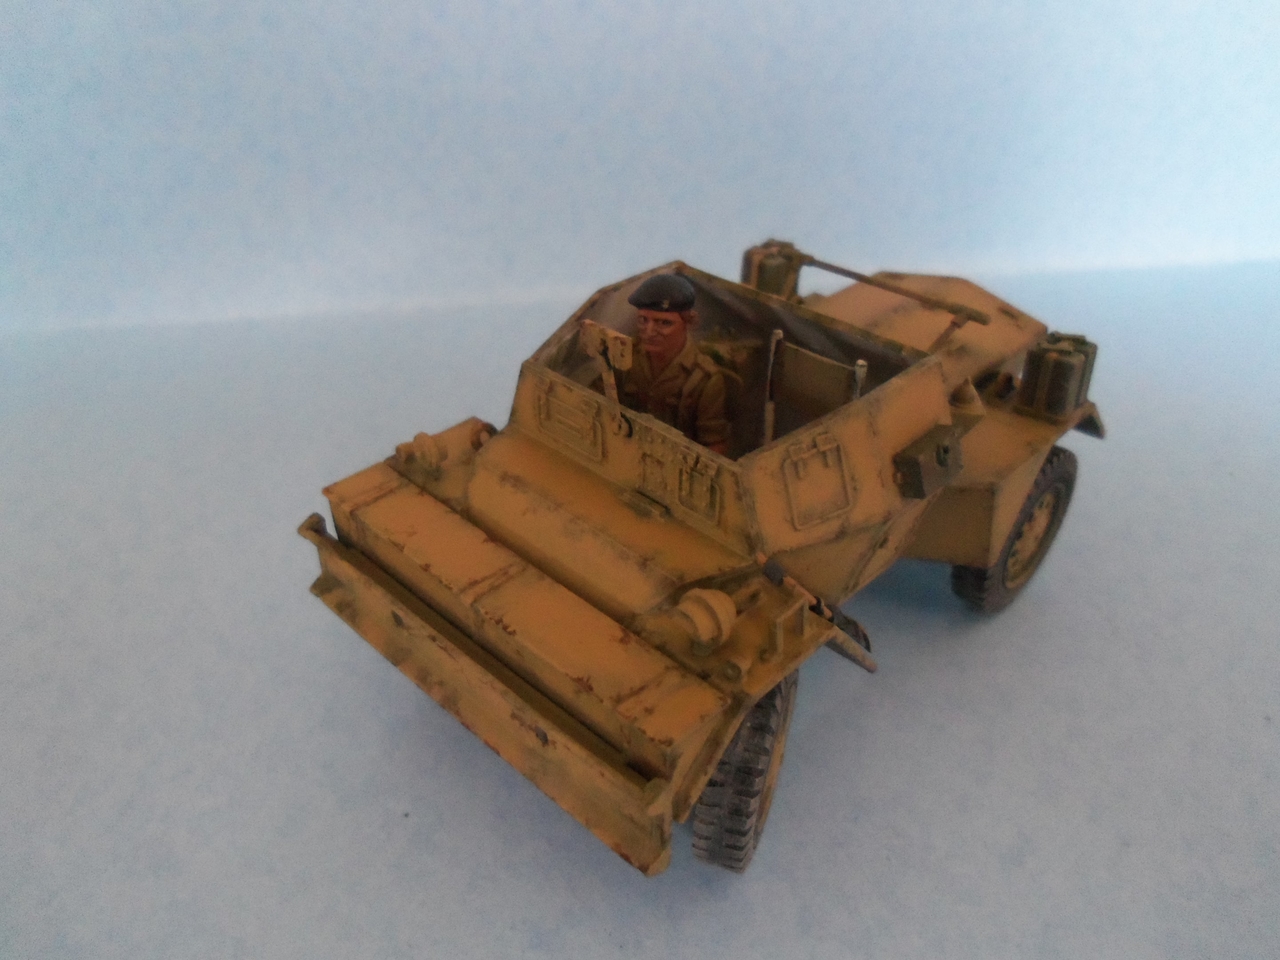
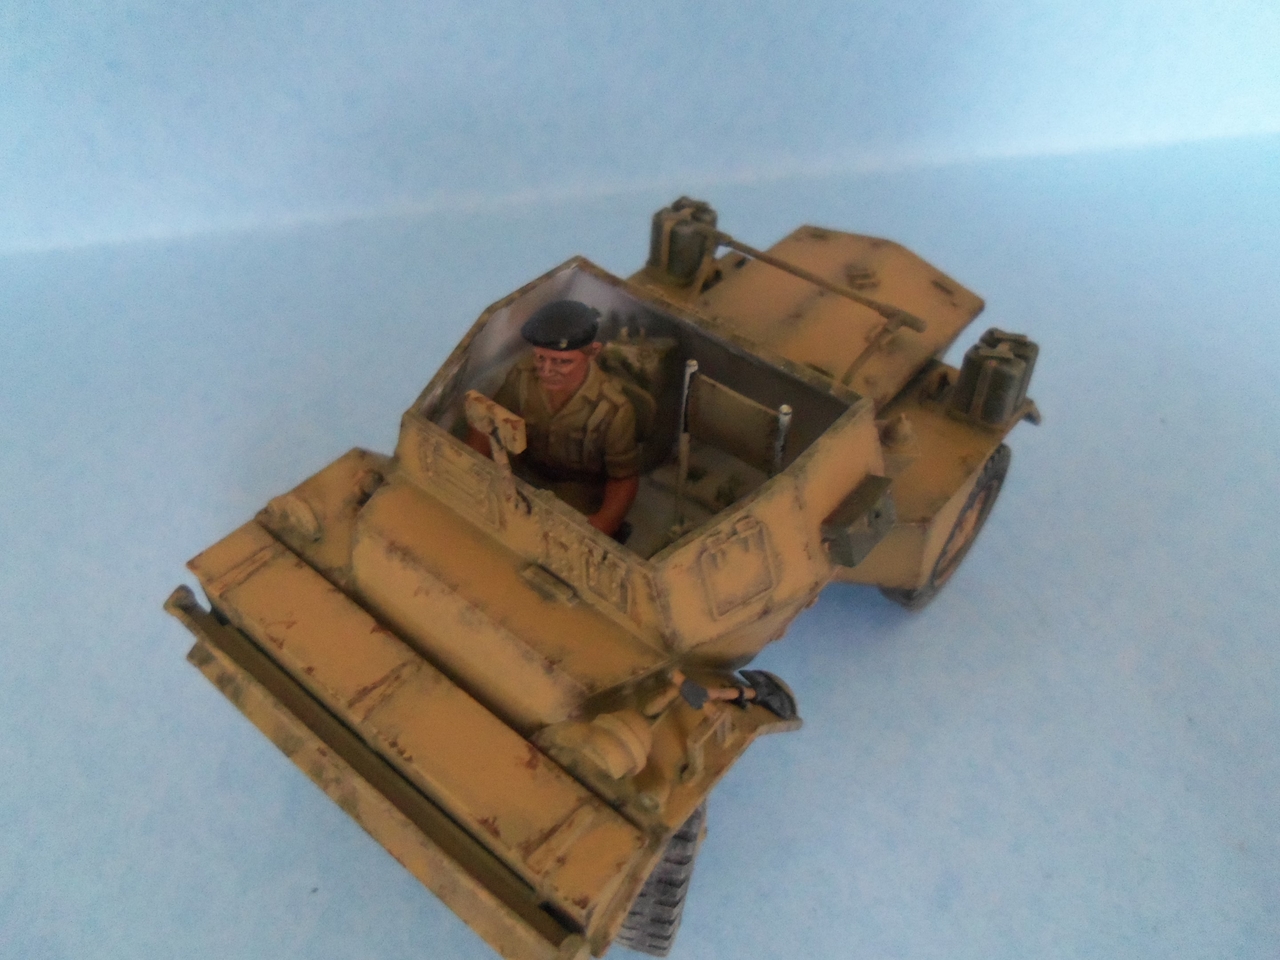
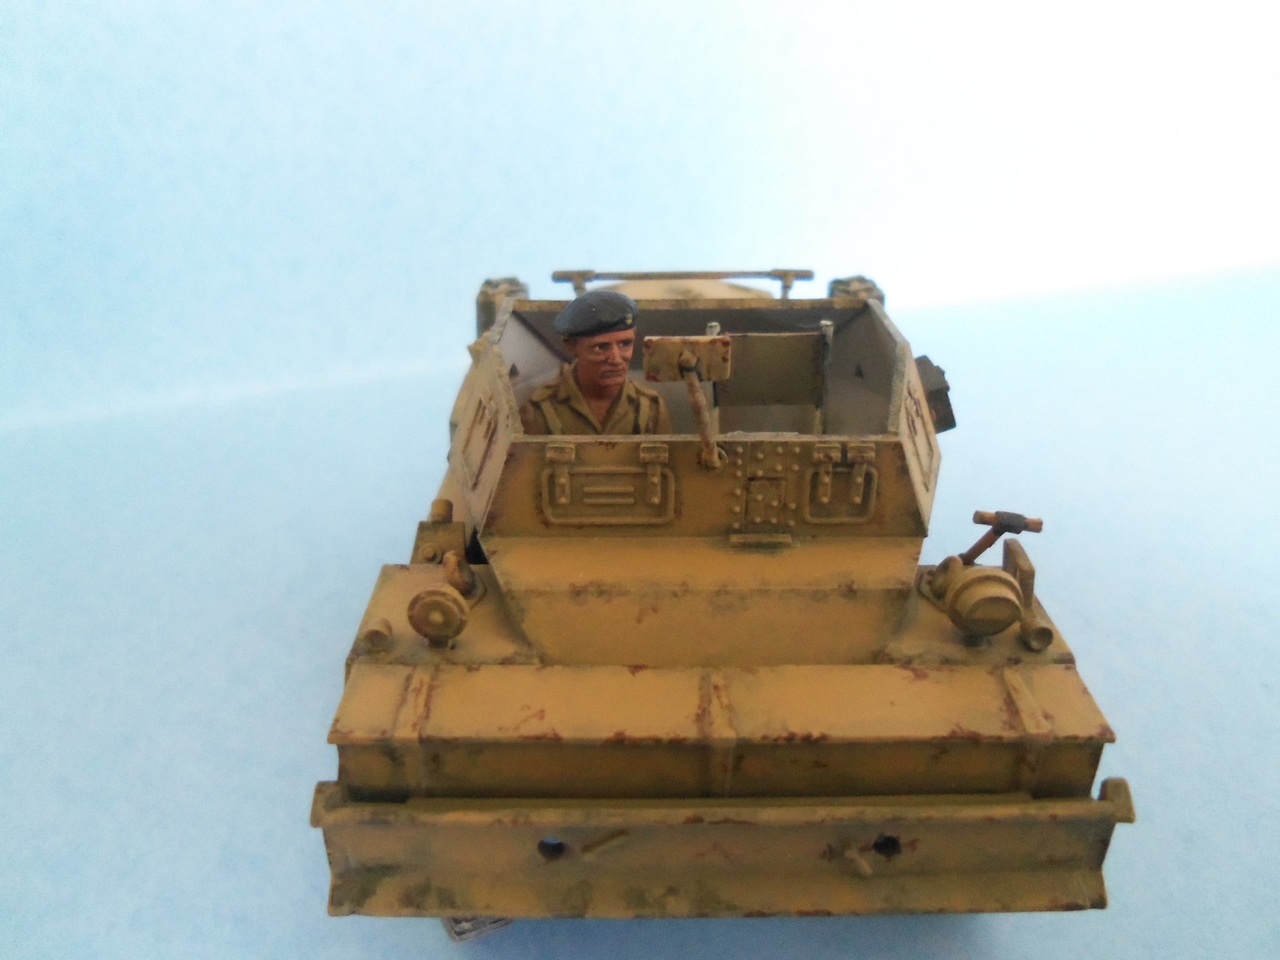
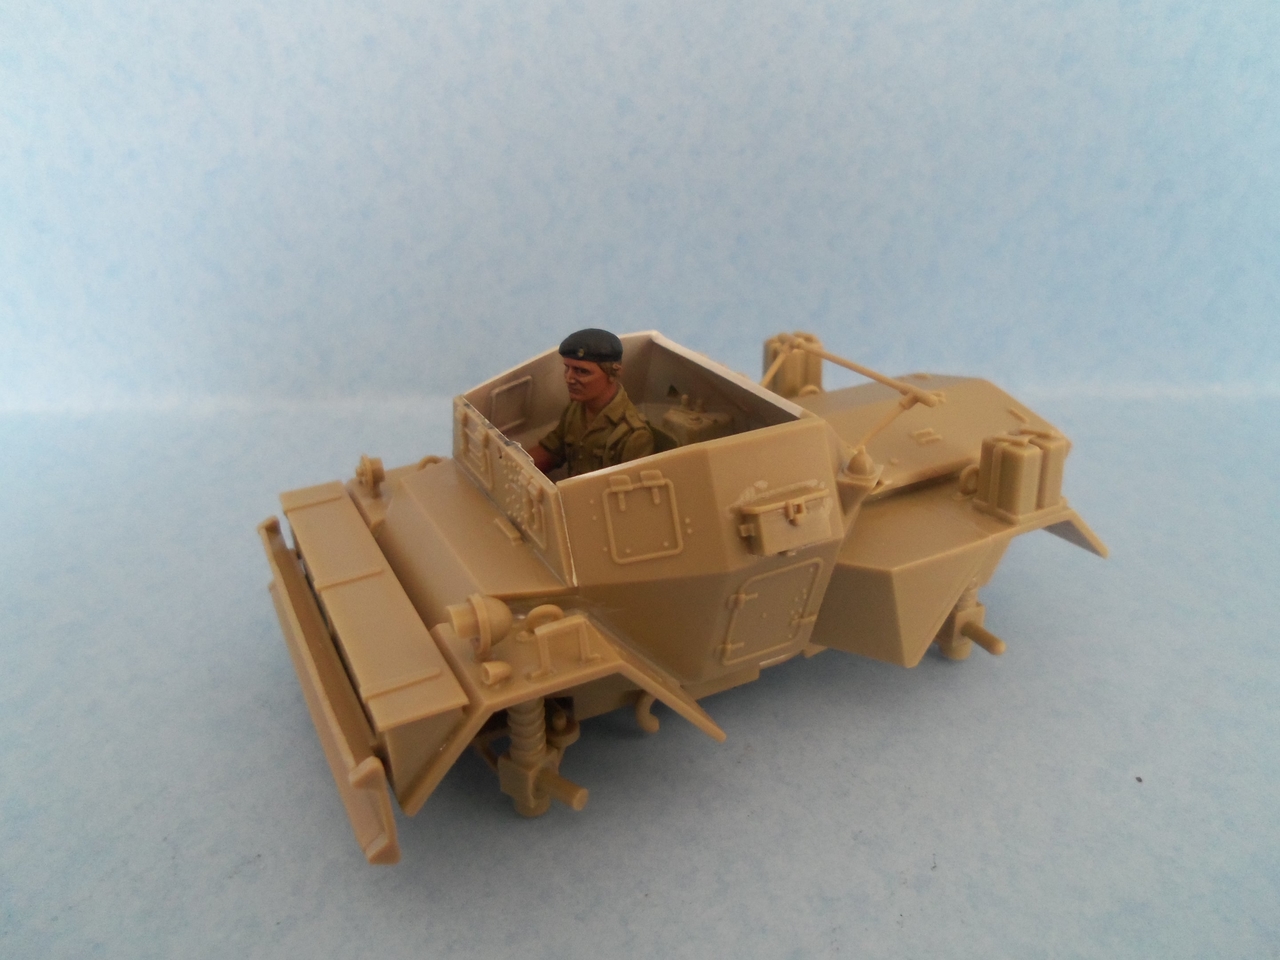
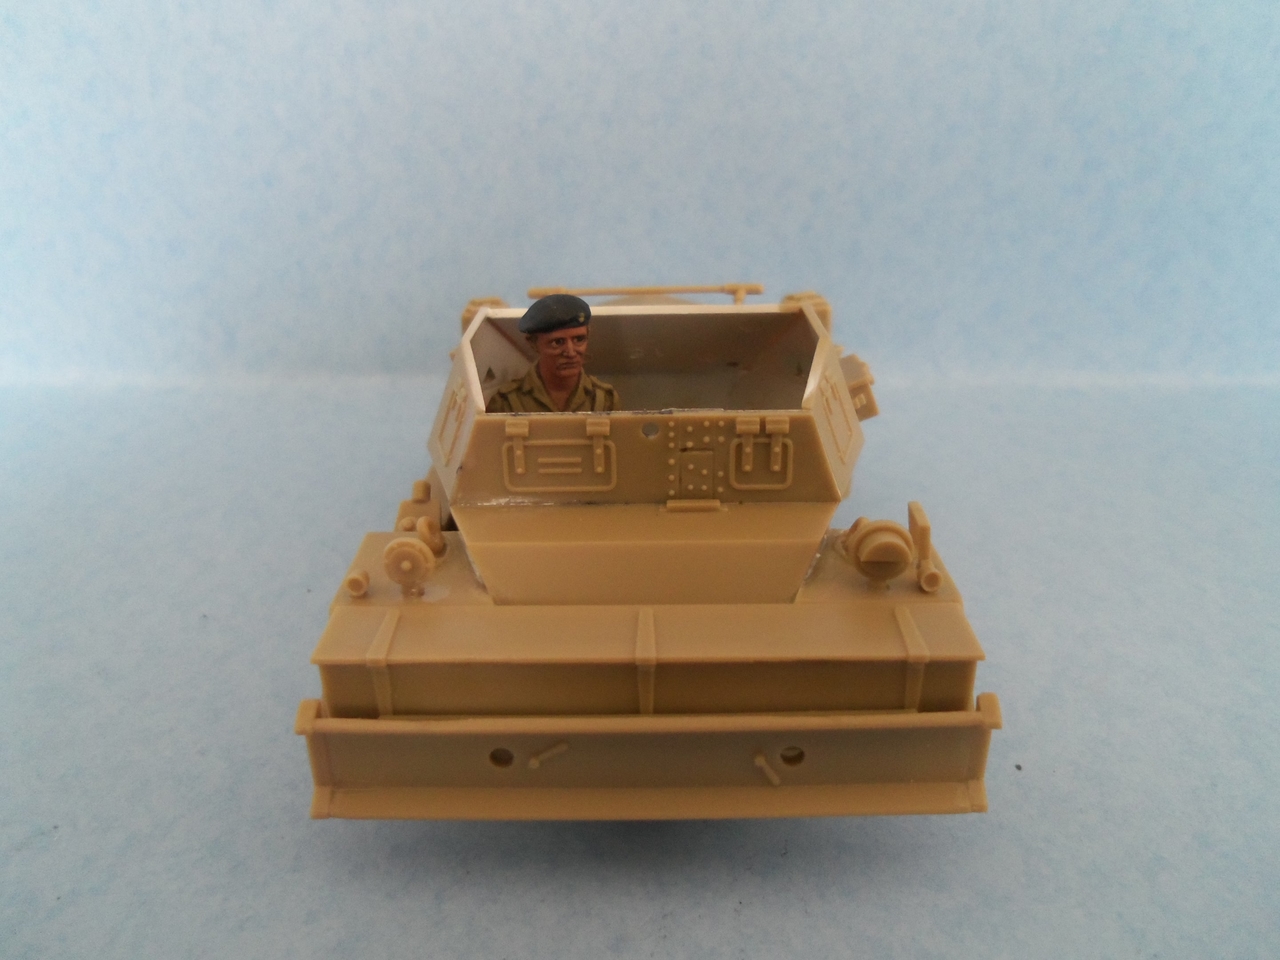
Since I like to have figures with my vehicles, I decided to go ahead and build and paint the driver figure that came with the kit. Here he is in a mostly built Dingo.

100_1111.JPG


100_1112.JPG


100_1113.JPG


100_1114.JPG


100_1115.JPG


100_1116.JPG


100_1117.JPG


100_1118.JPG


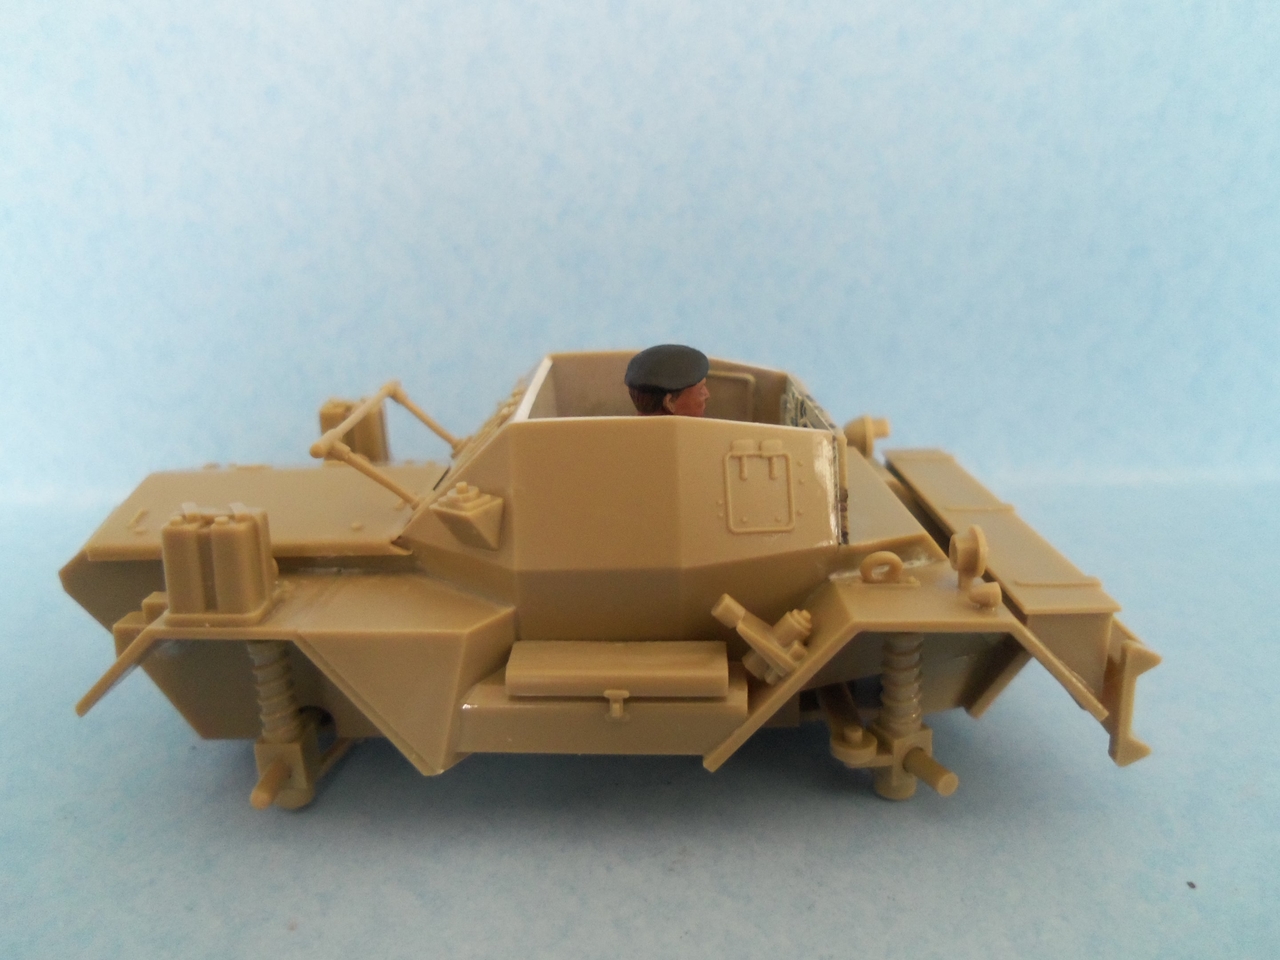
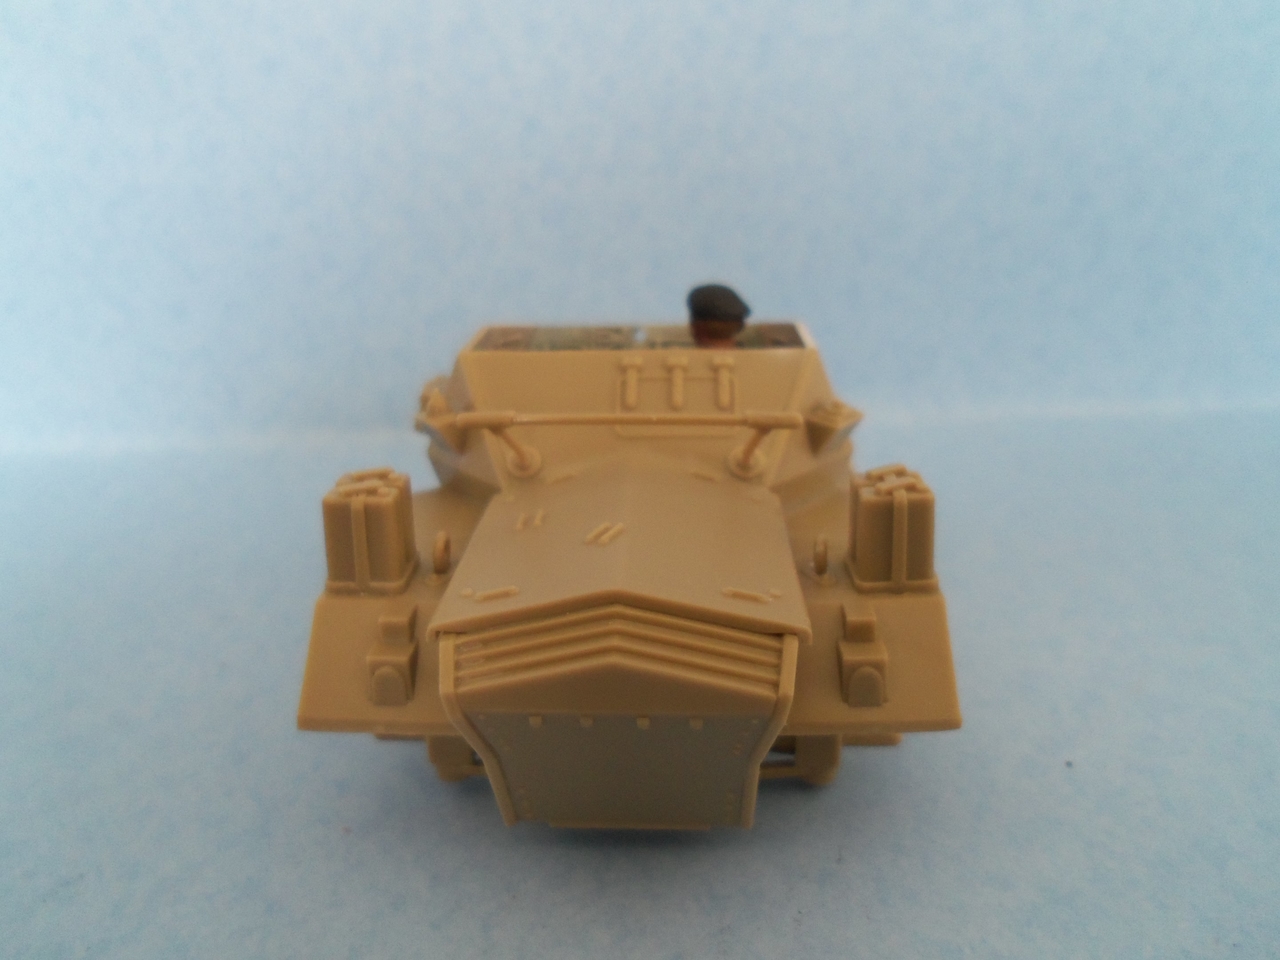
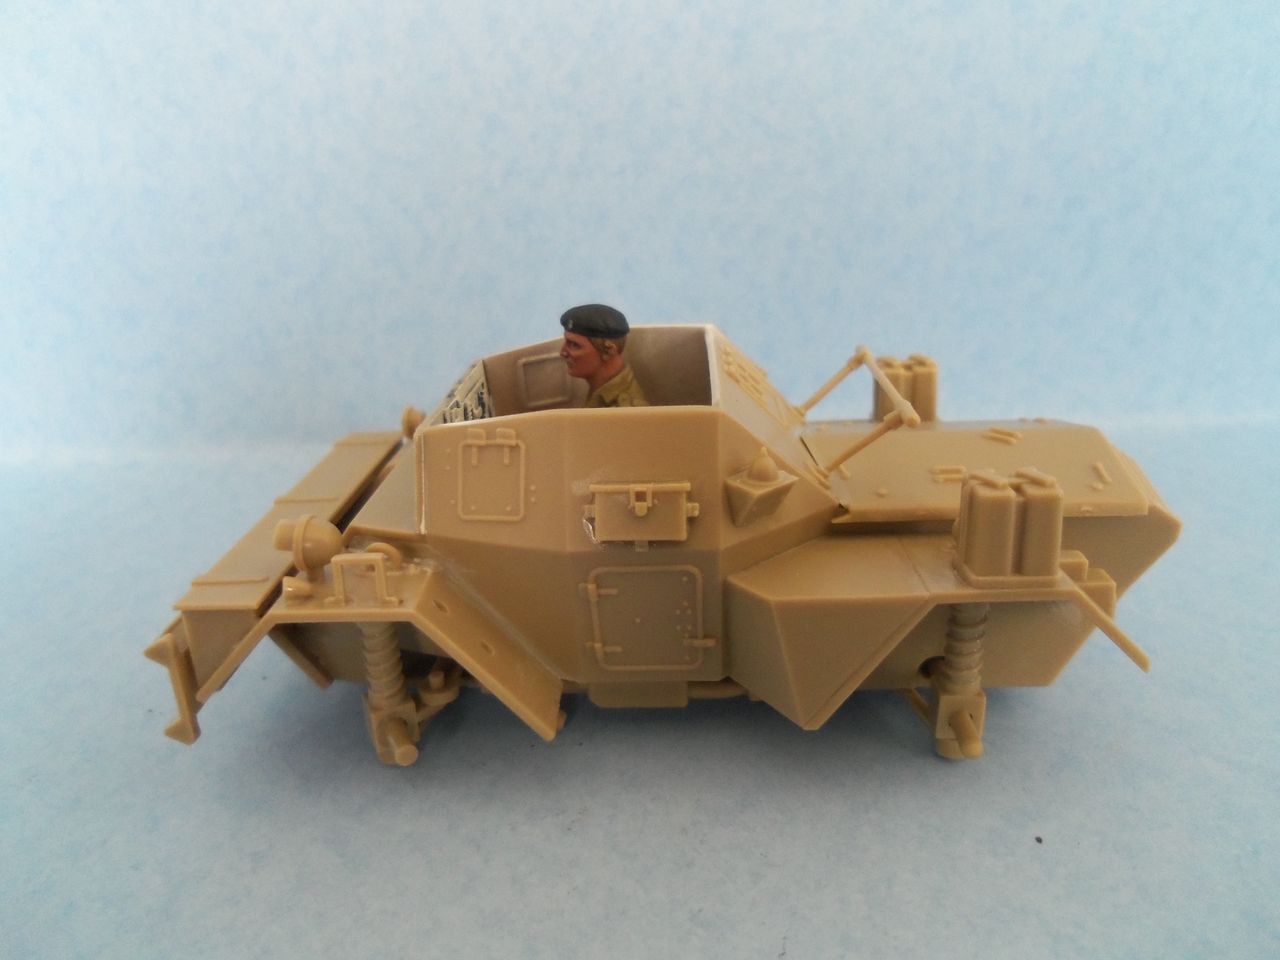
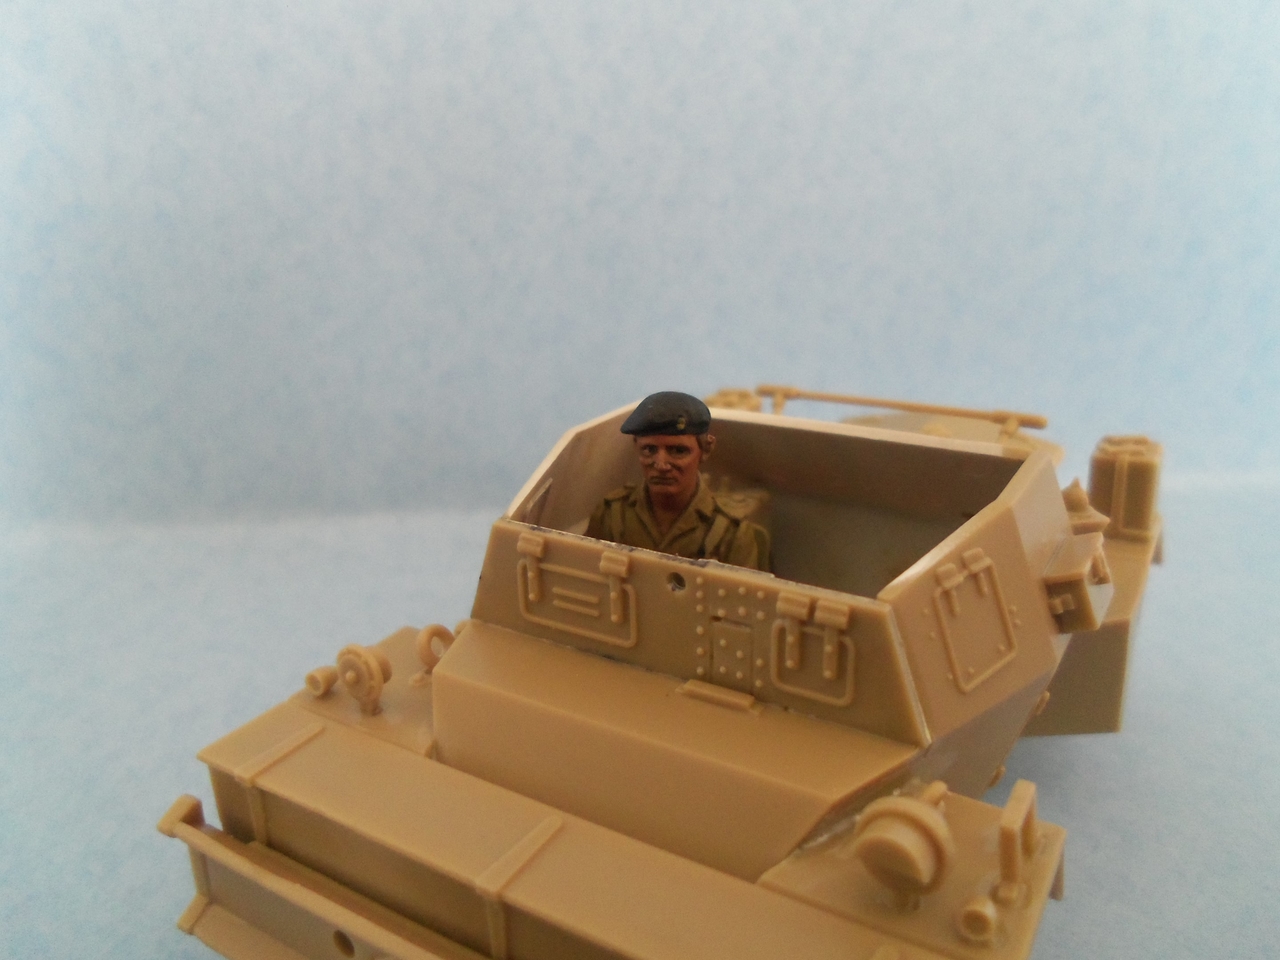
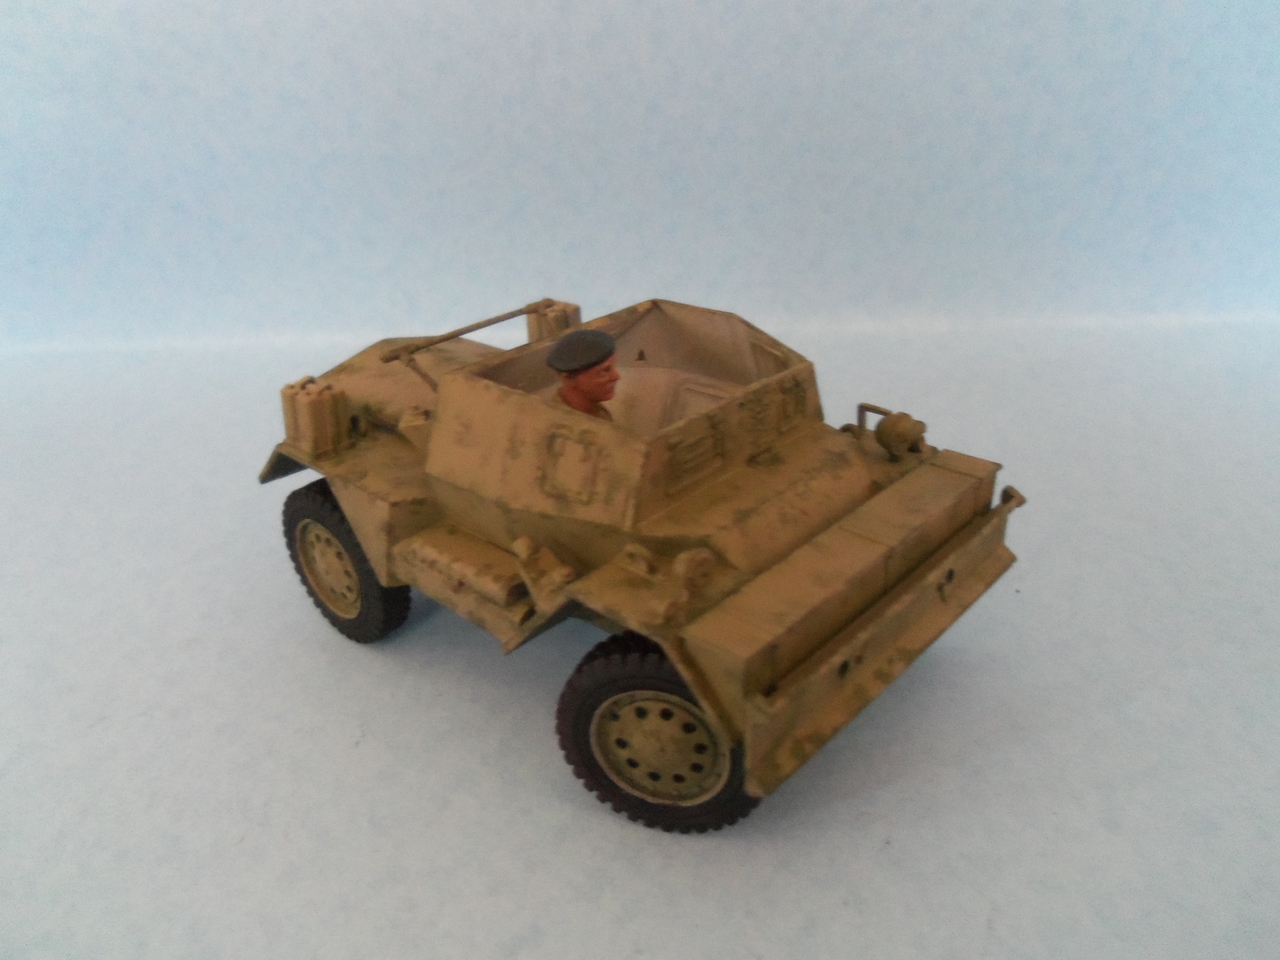
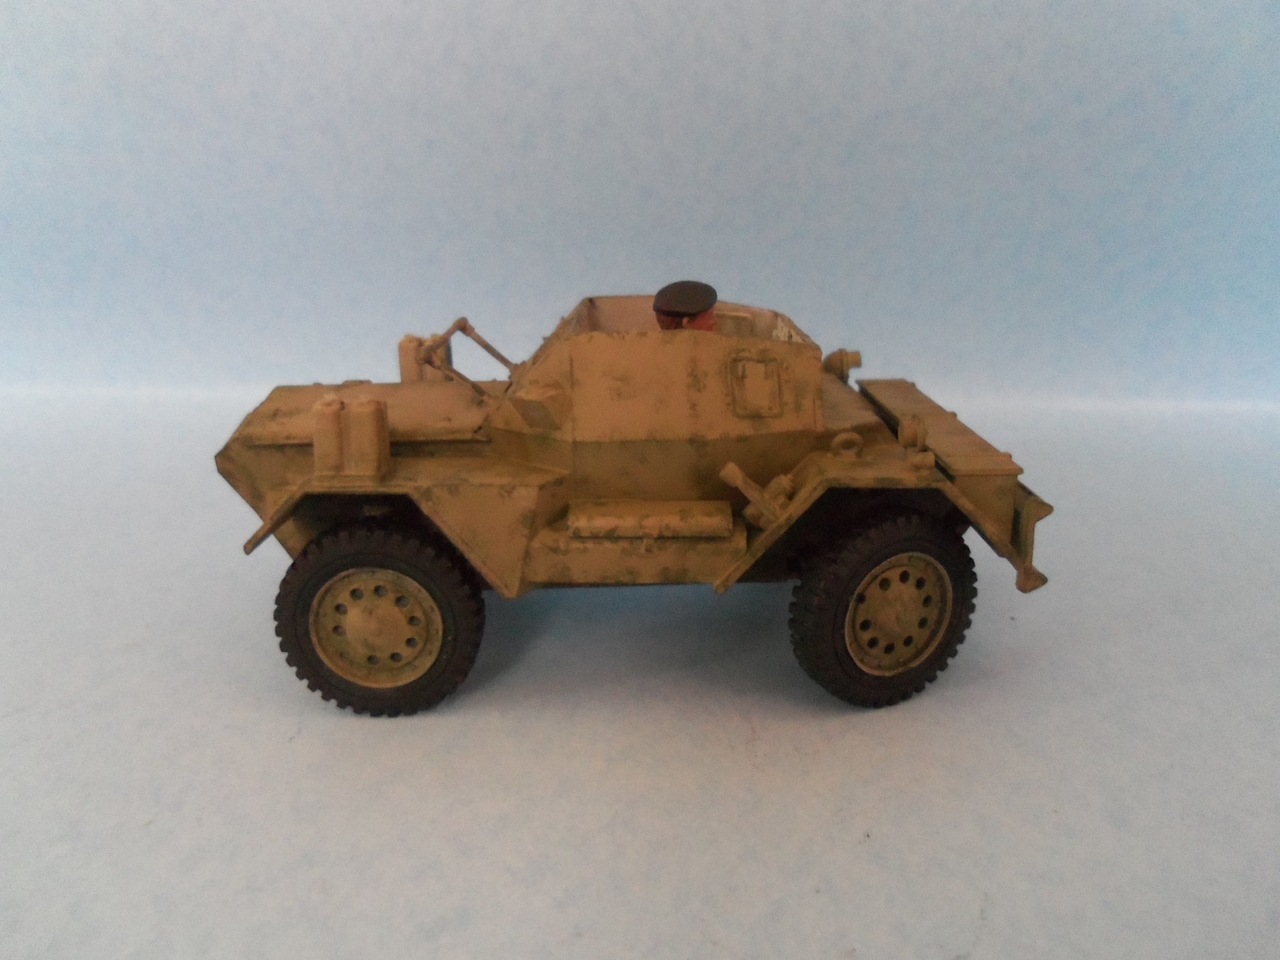
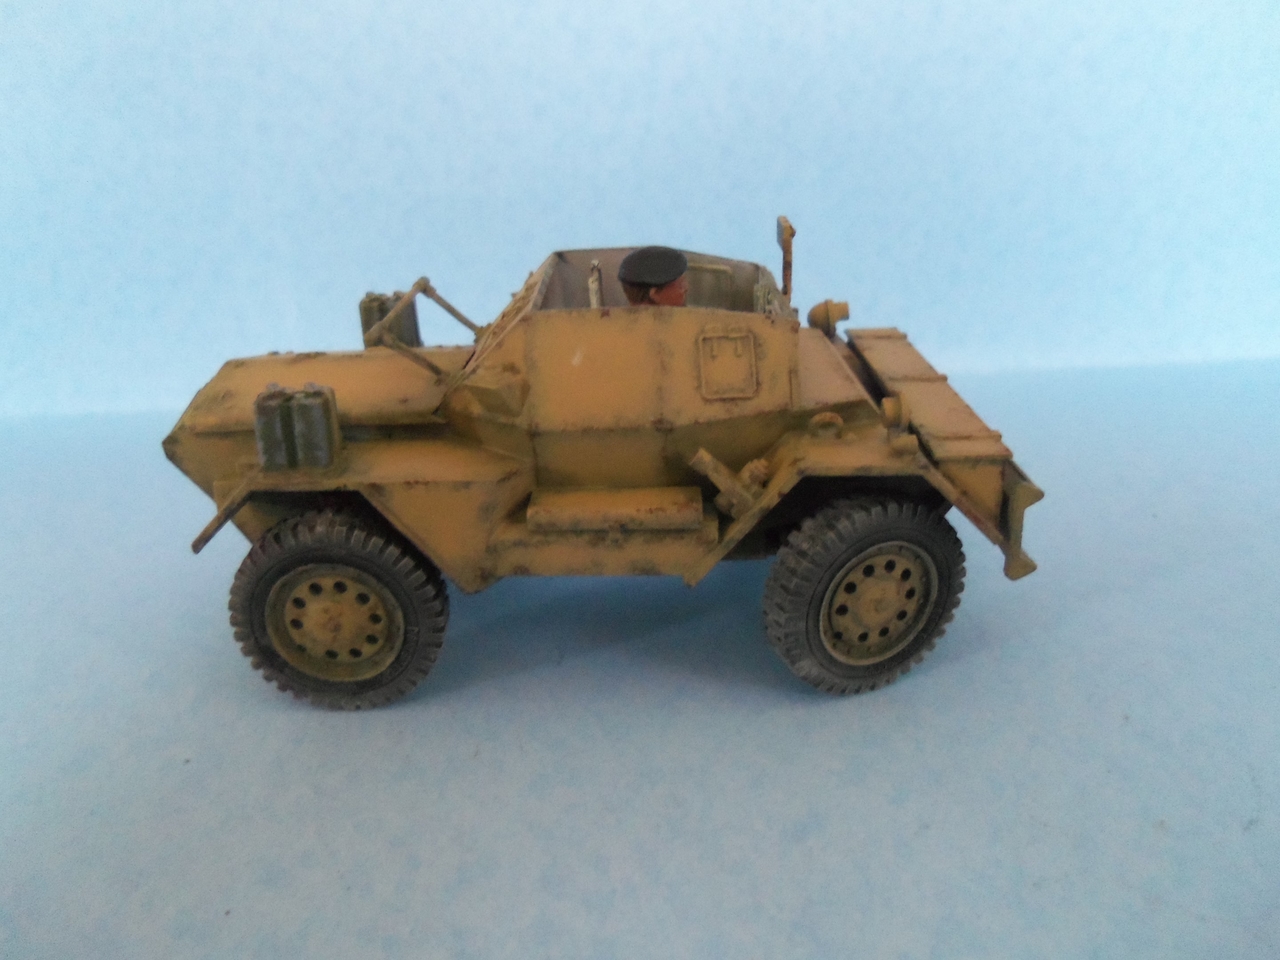
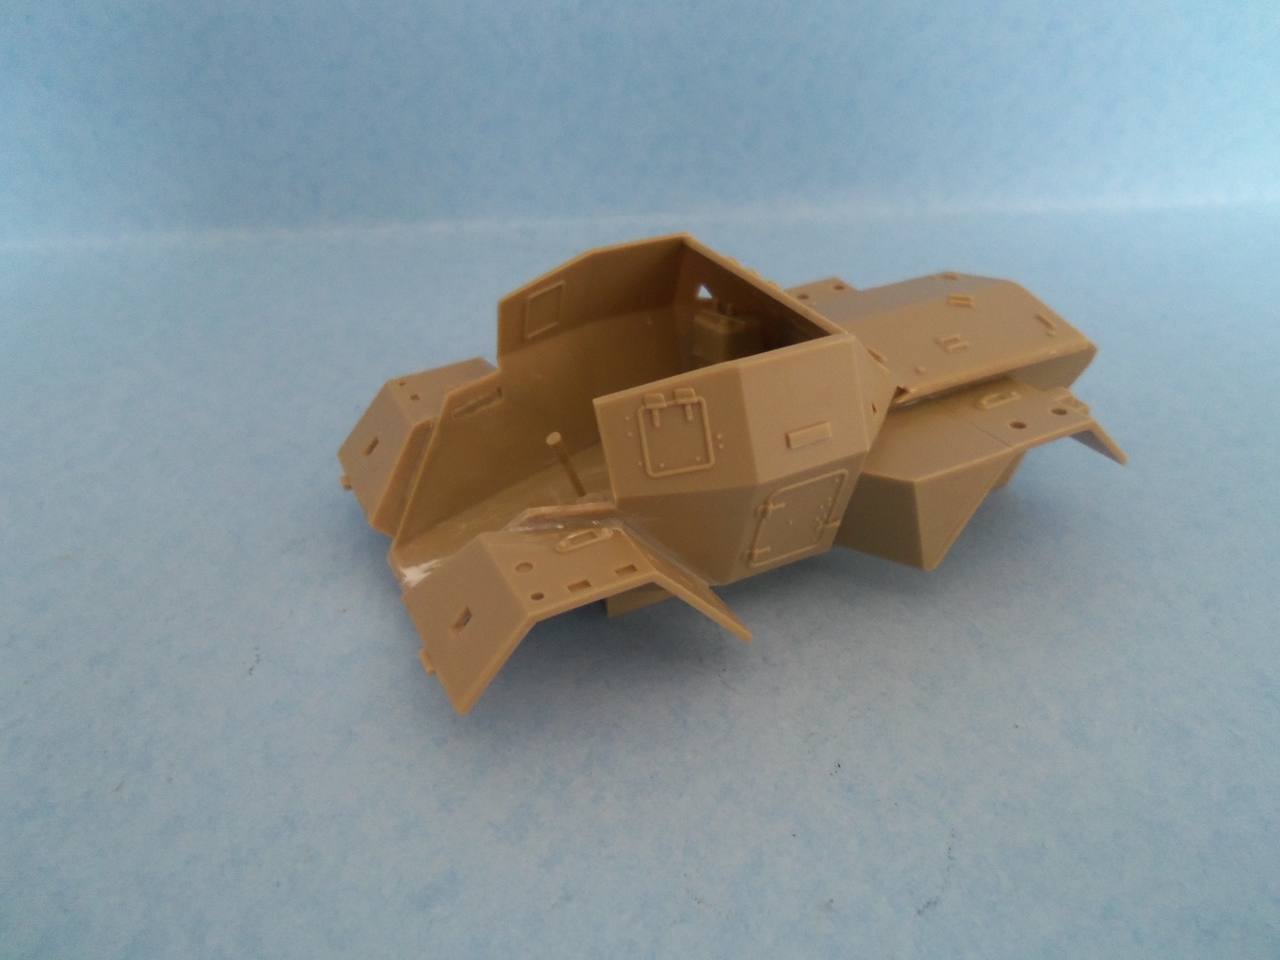
It went together pretty quick, but it does look very basic compared to kits made today.

Cheers,
James
 
https://www.youtube.com/watch?v=sYTIGXvc88Y

IN all seriousness, neat little kits! A few months ago I was re-reading an old fave book about British armor in WW2, CROCODILE, and in it the author describes seeing a scout car and some Bren gun carries off to the side on a morning meeting. Paraphrasing somewhat, he asks, "What's that about?" and the reply is "Each one goes to a different oiint on the map, and reports in. The ones that don't report, that is where the enemy is." or words to that effect
 
This will be interesting to see how the two kits compare as you go...nice figure work James!
 
Thanks, Guys.

Being that the scout car is open-topped and I had to install the figure before I could glue on the front two pieces as there would be no way to install the figure afterwards, I had to be really careful about masking off the interior area before spray painting so I wouldn't mess up the figure.

100_1125.JPG


I sprayed it with Krylon Flat Black as a primer. The intention was to also kind of pre-shade things and just apply light coats of the Khaki color I was going to use.

100_1129.JPG


I had a can of spray paint that was just the right color. unfortunately it was old and sputtered the paint out leaving splotches which kind of sucked. I had some Krylon Khaki which was more tan than the other brand. So much for wanting to apply a light coat as this can seemed to be supercharged or something spraying out a good coating. It went on even, but I had really wanted thinner coats that I could see some of the black with.

100_1134.JPG


100_1135.JPG


From the limited research I had done, it appeared that the color should be a bit more yellowish/greenish, so I ended up applying Vallejo Khaki with a regular round brush to get the color I wanted.

100_1136.JPG


100_1137.JPG


100_1138.JPG


100_1139.JPG


Now it was time to start weathering. I applied the first round of shallow chipping and put the wheels on. It is starting to take shape. In some ways, the chipping seems a bit much, but looking at some pictures from the desert, and from my own experience in some bad dust storms, I really don't think the chipping is too far off when you figure that the desert colors were applied in a hurry so the quality of the paint may not have been the greatest and then add the sandblasting effect from sand and rocks during dust storms and I could see where a vehicle that has been in service for a while could end up like this.

100_1142.JPG


100_1143.JPG


100_1144.JPG


100_1145.JPG


100_1146.JPG


100_1147.JPG


Not bad for starting this a couple days ago. Next will be some outlining and some darker chipping spots. Then the dust...

Thanks for looking.

Cheers,
James
 
That driver was looking a bit annoyed with you for a bit , James. This looks pretty smart to me.
 
Thanks, Luis and Paul.

The driver probably was annoyed with me, Paul. After all, I did wrap him in masking tape, but it was for his own good. :laugh:

After looking at this model this morning it looked too dark for me as well as the chipping being a bit too much. To lighten things up, I applied several light coats of faded khaki from Reaper with a drybrush and a regular brush using a stippling action. I think it looks a bit better now.

100_1148.JPG


100_1149.JPG


100_1150.JPG


100_1152.JPG


100_1153.JPG


Now all I need to do is make the wheels and tires dusty, glue the wheels on, attach the rear view mirror and shovel, and do some paint chipping on the cans on the back and I should be done. I think I can have it done by this evening.

Thanks for looking.

Cheers,
James
 
I am calling the Tamiya Dingo kit done. I think it turned out quite well, especially since it was from an older kit with less detail than those of today's standards.

Here it is...

100_1154.JPG


100_1155.JPG


100_1156.JPG


100_1157.JPG


100_1158.JPG


100_1159.JPG


100_1160.JPG


100_1161.JPG


100_1162.JPG


100_1164.JPG


It probably wouldn't win any contests, but it was a fun build and did turn out reasonably decent. Now to get some work done on the Miniart kit...

Thanks for looking.

Cheers,
James
 
Back
Top