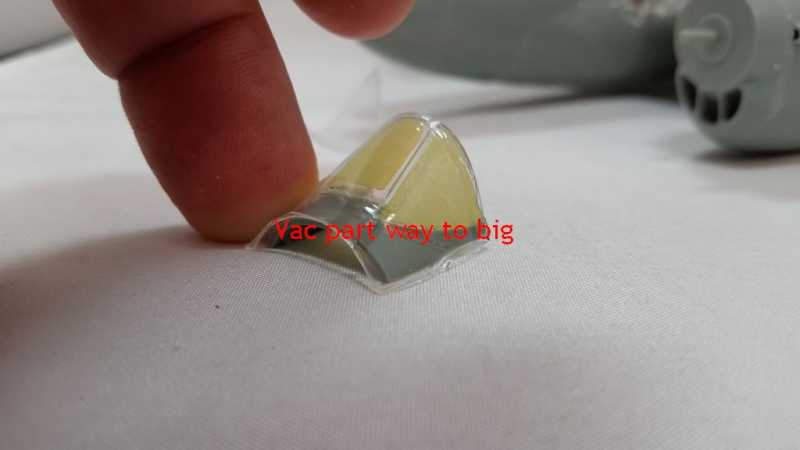
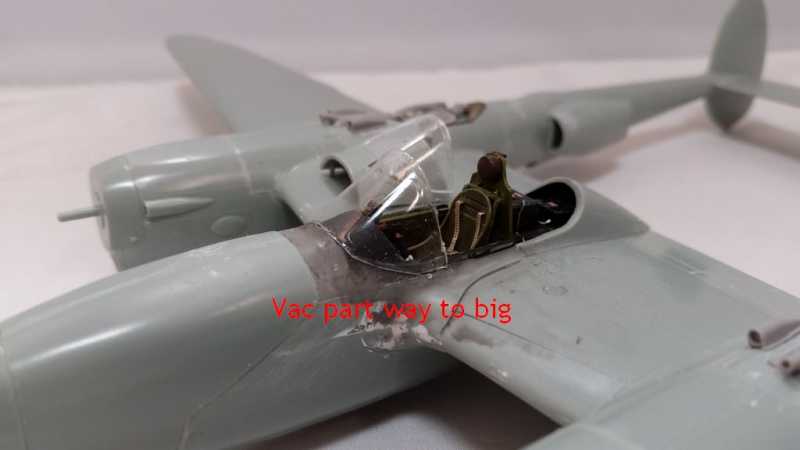
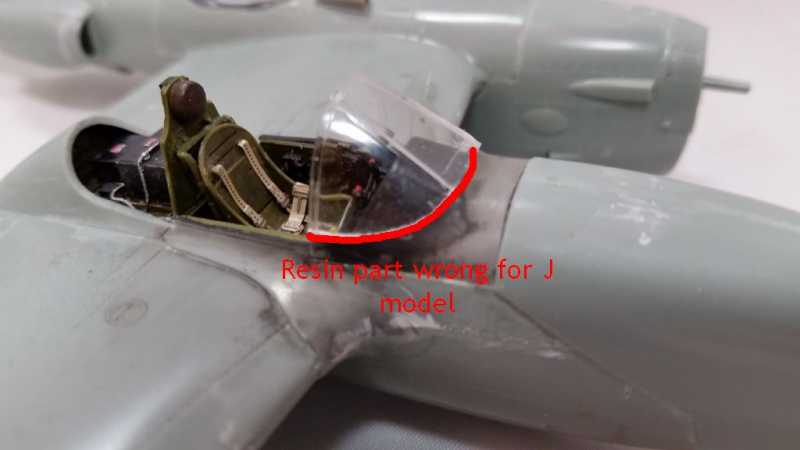
OK, Let's say you have a gapin' freakin' hole in a canopy because the aftermarket folks didn't do the part right. You can cut the kit part down where it fits, sorta, but you still have huge gaping holes. How would you fill it?


Modelers Alliance has updated the forum software on our website. We have migrated all post, content and user accounts but we could not migrate the passwords.
This requires that you manually reset your password.
Please click here, http://modelersalliance.org/forums/login to go to logon page and use the "Forgot your Password" option.
OK, Let's say you have a gapin' freakin' hole in a canopy because the aftermarket folks didn't do the part right. You can cut the kit part down where it fits, sorta, but you still have huge gaping holes. How would you fill it?
Who is the (shoddy) manufacturer? Are they still in biz? Write 'em. Is there framework around the hole? Could you cut a piece of CD clear plastic fit and sand/polish it in? I don't know of any clear-on-clear seam fixes- sorry!
 ut it would have to be mpolished back to size .

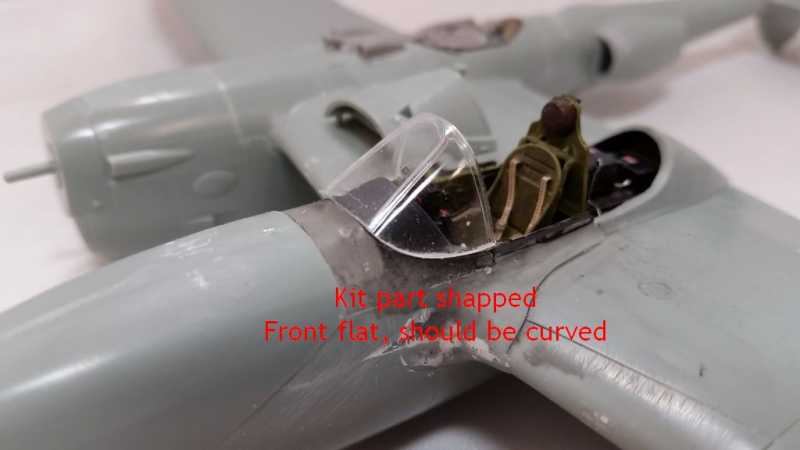

From looking at P-38's on another web site, it appears that the kit one is correct.
Don't know what else to say Bob .
Cheers, Christian B)