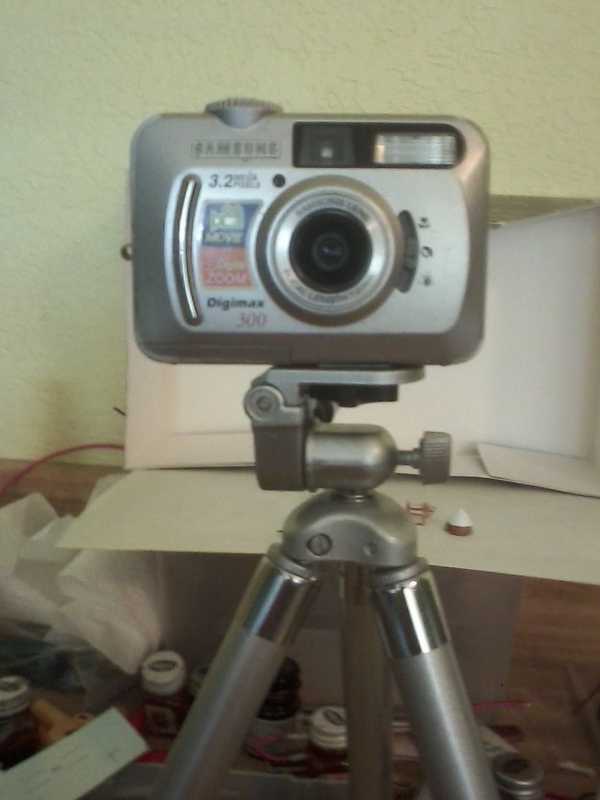
Using the macro setting (the flower) will help.
There was also a good suggestion of moving the camera back a bit and cropping afterwards. This will improve your depth of field, and the trade off with losing a few pixels is worth it.
While we are talking about pixels, make sure your camera is set to largest file size and best quality. This will help with the sharpness, as it will reduce the jpeg artefacts around the edges of objects.
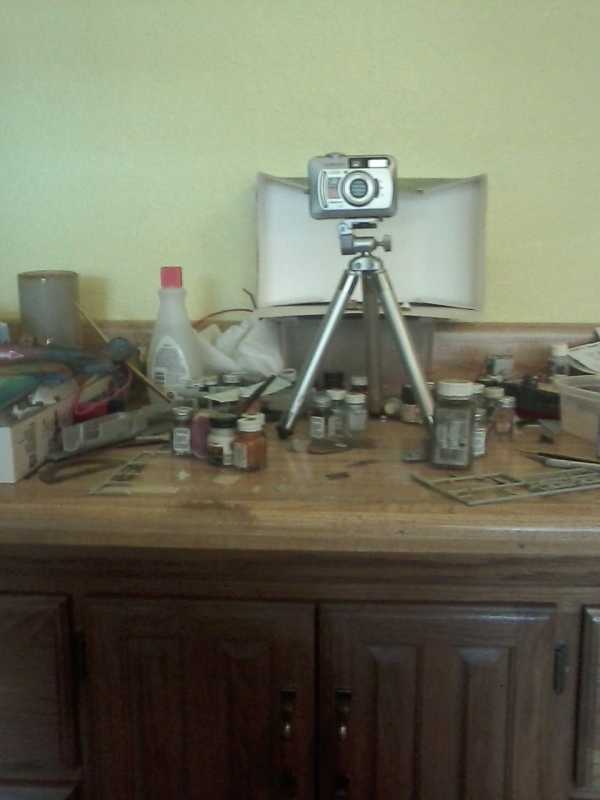
Since you are using a tripod you can afford to use longer exposures, so you should make sure the camera is using the smallest aperture (probably f8). This will be able to be set in manual mode, or possibly aperture priority if you have that setting.
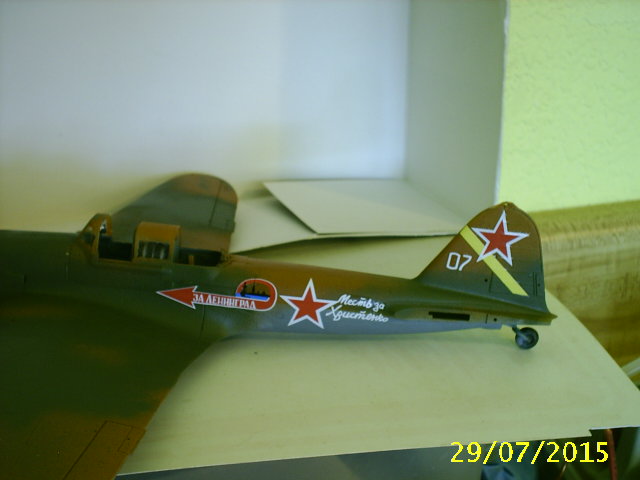
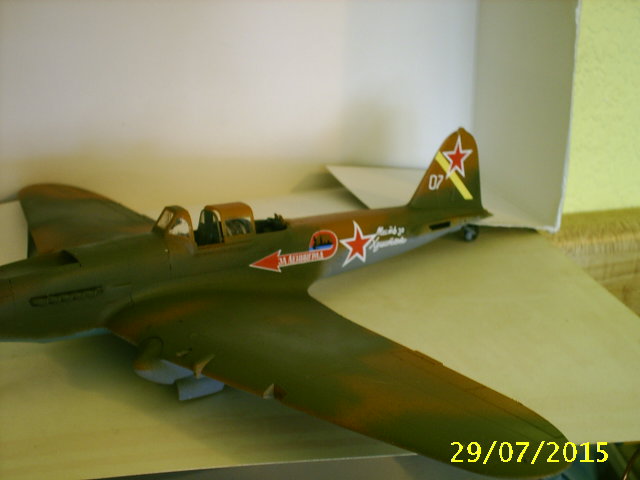
Avoid using flash, built in flash will do you no favours at all. One of the simplest lighting solutions is simply to use the light from a window, orientating the subject so that it falls on the front (ie nearest the camera) not on the back. Some of your photos suffer from lighting that is falling on the side away from the camera, meaning you are looking at the shadow side. Have the main source of light coming from near the same axis as the camera, and from above. Don't fall into the trap of using lots of lamps from different angles, this rarely produces anything very good and you just keep chasing multiple shadows all over the place. Two lights for the subject, and one for the background should be the absolute max. Using available light (ie a window) and a reflector (a piece of white card just out of the frame works well) is usually more than enough, giving a good contrast between the main light source and the fill light, which should be about 1 stop.
I'm pretty confident that model of camera will have a timer, nearly all cameras do, even budget ones, so use this and it will reduce camera shake.
You should explore your menu settings, you should have the ability to display some kind of 'aiming mark', it may just be turned off. It will probably be a rectangle, or brackets that appear in the middle of the screen.
Also, while looking through the menu, look for metering settings, you should select centre weighted if you have that option.
Hope this helps.