
-
Modelers Alliance has updated the forum software on our website. We have migrated all post, content and user accounts but we could not migrate the passwords.
This requires that you manually reset your password.
Please click here, http://modelersalliance.org/forums/login to go to logon page and use the "Forgot your Password" option.
You are using an out of date browser. It may not display this or other websites correctly.
You should upgrade or use an alternative browser.
You should upgrade or use an alternative browser.
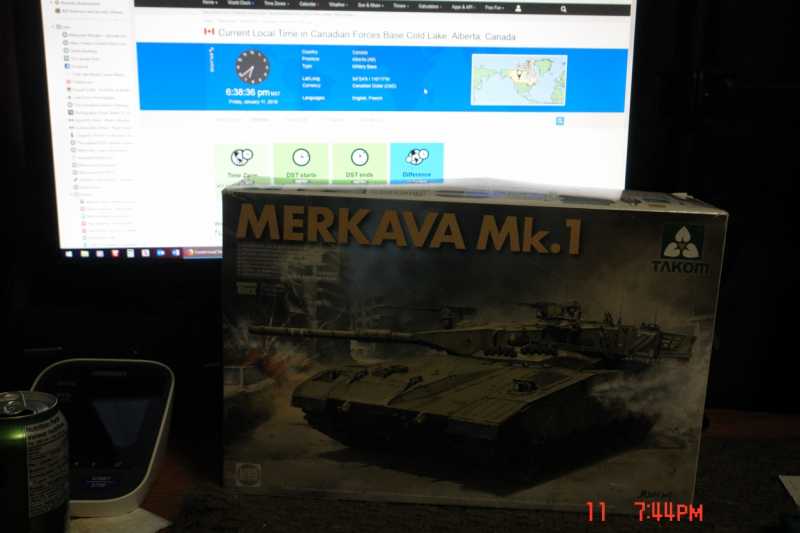
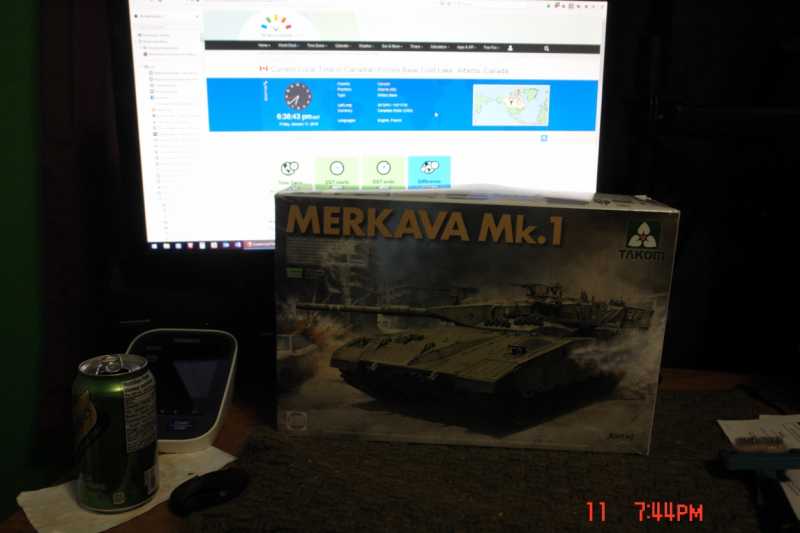
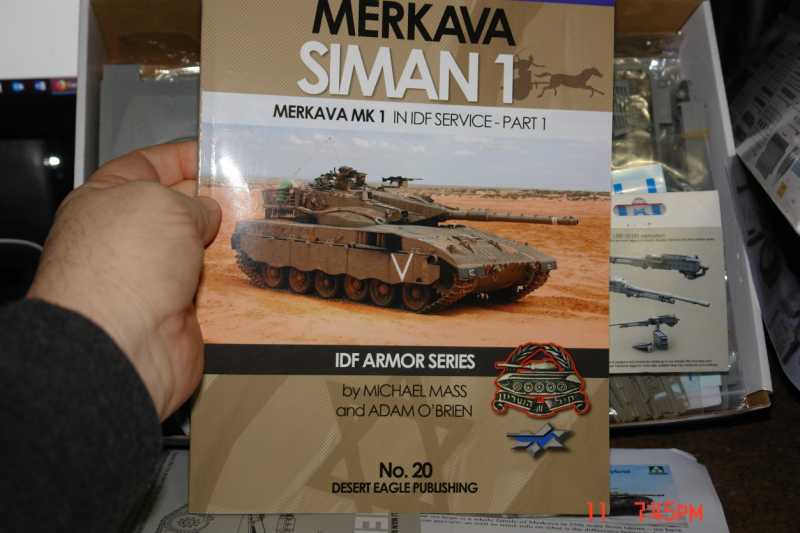
Merkava Mk I
- Thread starter jknaus
- Start date


jknaus
Administrator
Yeah an early one would not have the anti skid. After the fist time in combat the Mk II came out I believe and all Mk Is were brought up to that standard. Also I can remove the ball armour as that was an add on also. From pics I can find they didnt use the external mortar but from what I've read they did. So I will add it even though I dont have pictures.Awesomeness James and some sweet AMs as well
If I understand the merkava family tree you will not have to apply any anti-skid to the Mk. I...but i could be wrong though :v
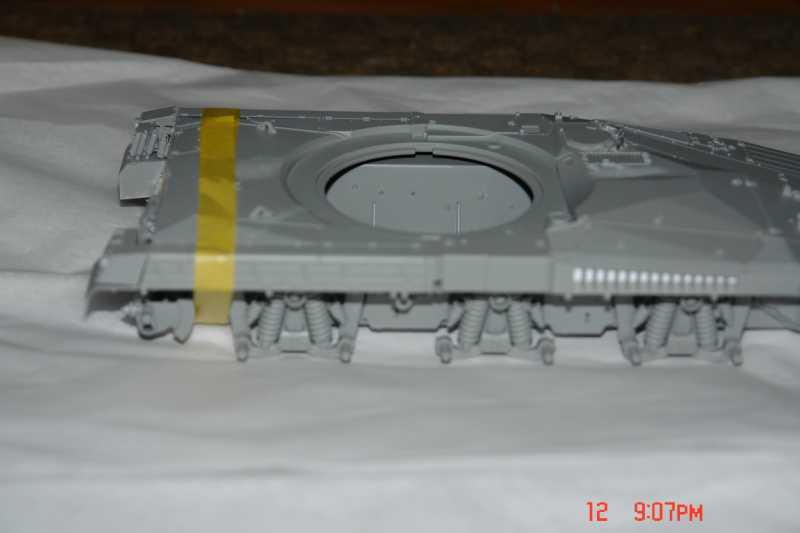
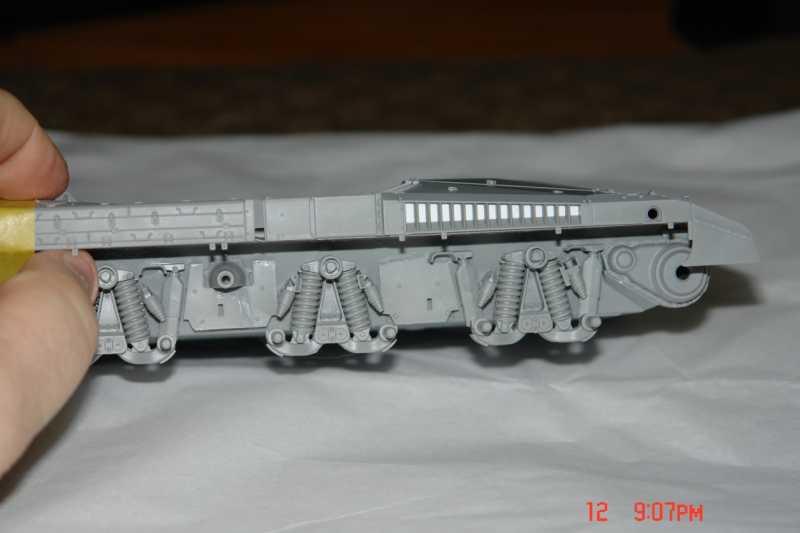
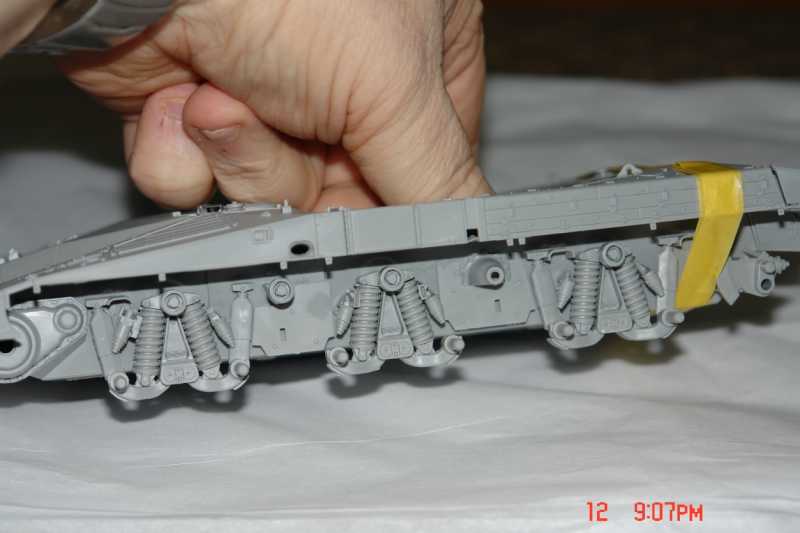
Got the running gear done on one side, do the next and take pictures.
James
Heavens Eagle
Well-known member
Go for it James!

Sherman 18
Master at Arms
SWEET!
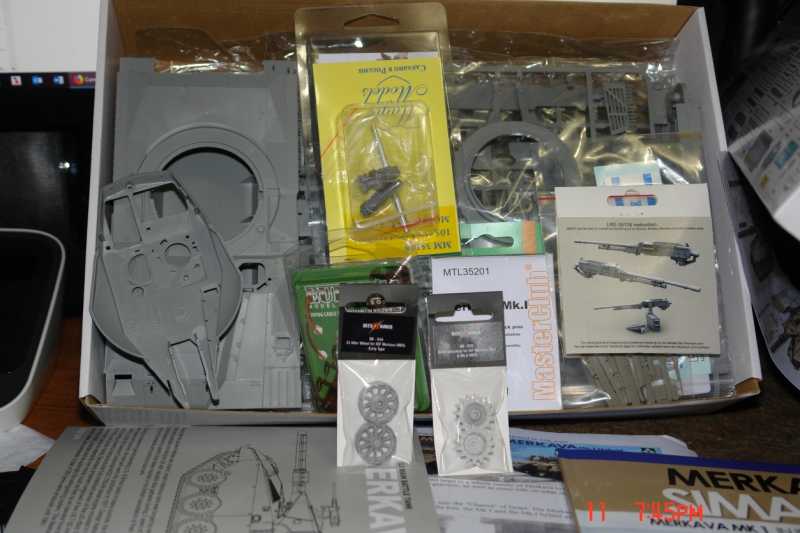
Nice add on parts choices
")
Nice add on parts choices
jknaus
Administrator
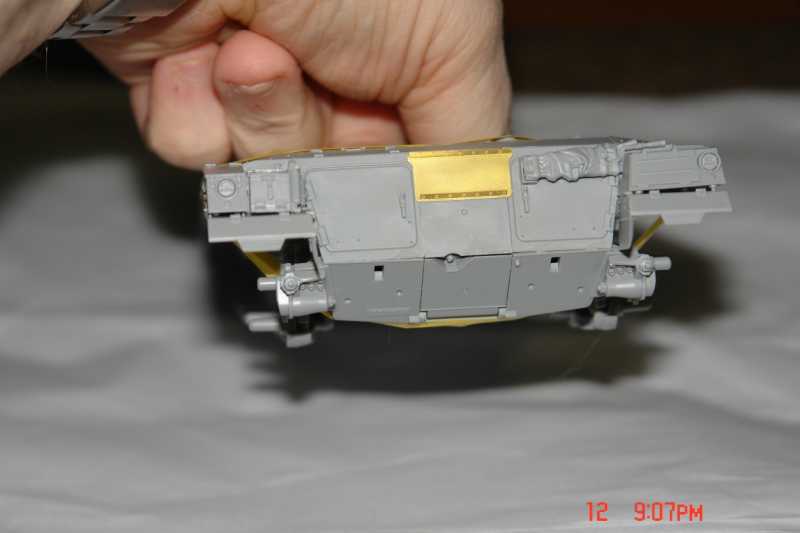
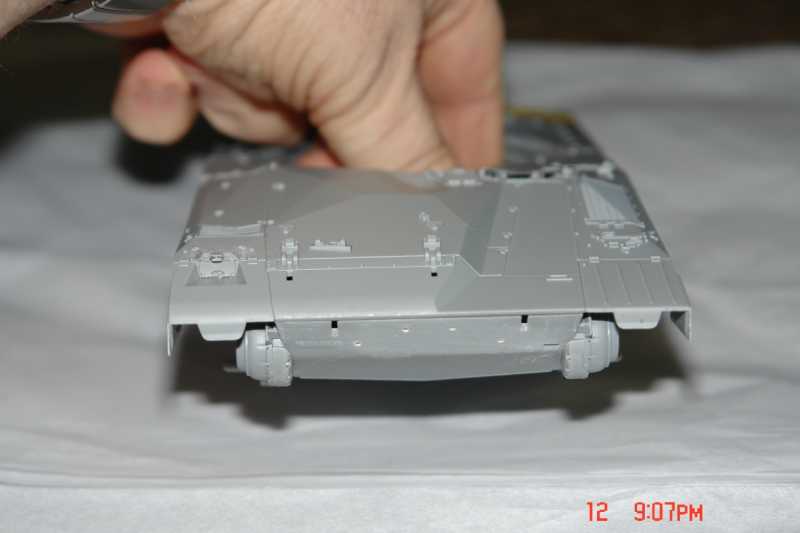
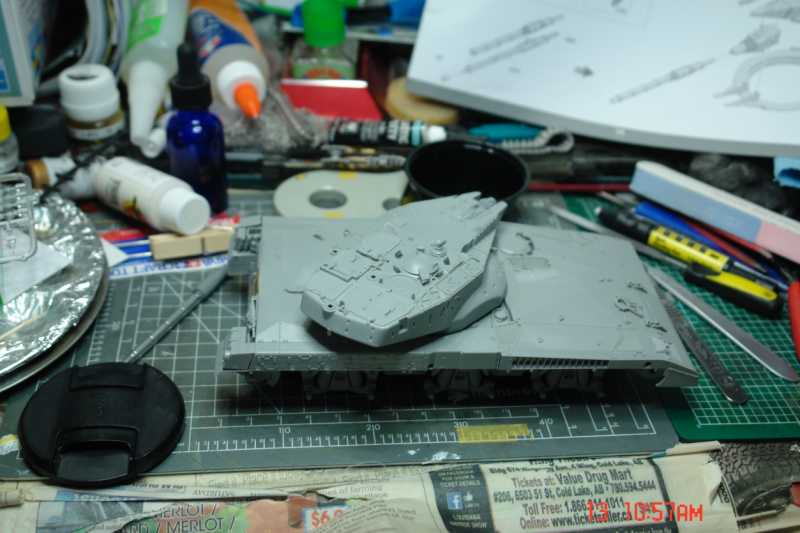
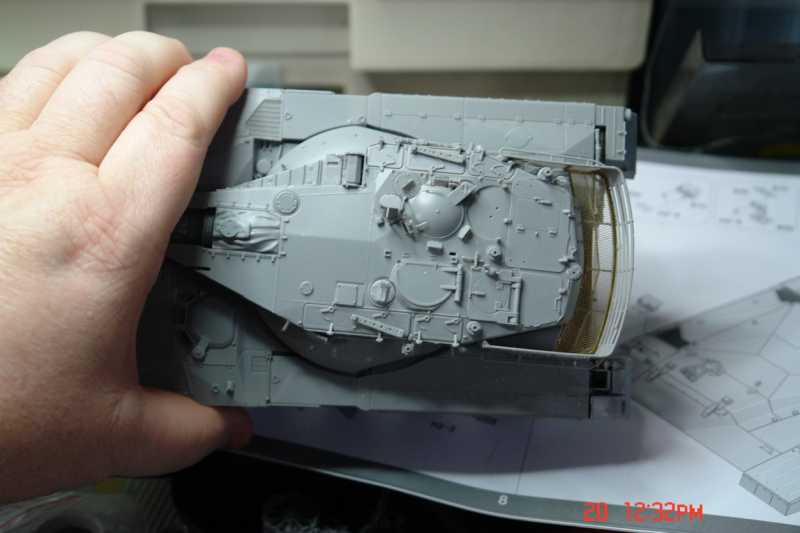
Well I think I got a good days work into this. Did one side of the running gear last night. Took a while to figure out the instructions. Really crappy with too much jammed onto one page. Had to go back and forth in the instructions to figure placement. Started fresh this morning and worked as I could through the day and have the hull buttoned up. I decided to close the head light covers. I also put a thin piece of plastic behind the exhaust to block out the empty interior. A few more pieces tomorrow and can start the turret. Road Wheels will happen sometime throughout the build. I need to start putting track together also.
James
James
jknaus
Administrator
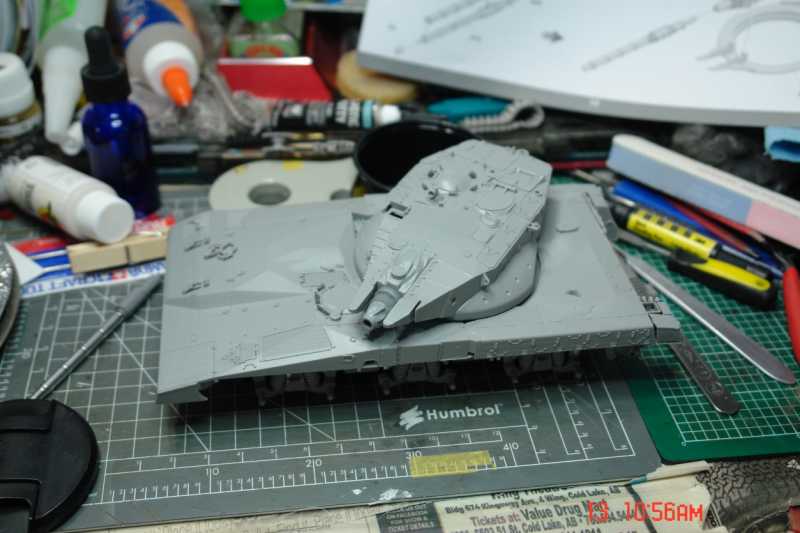
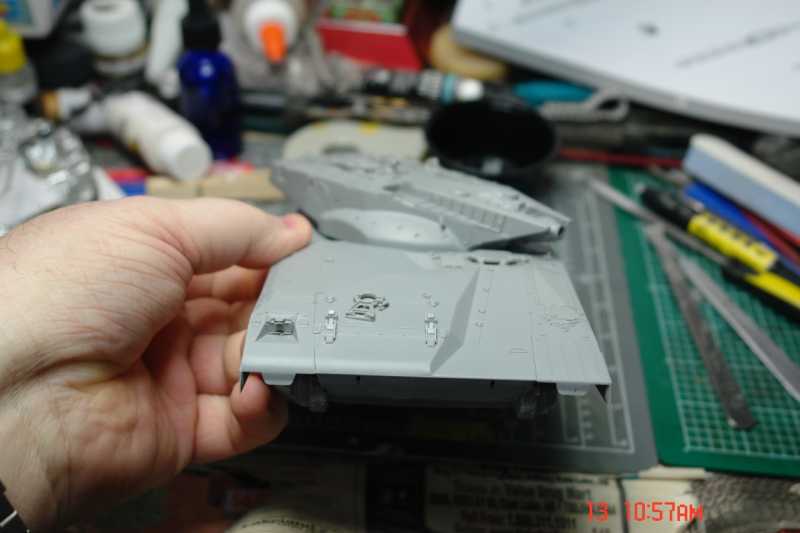
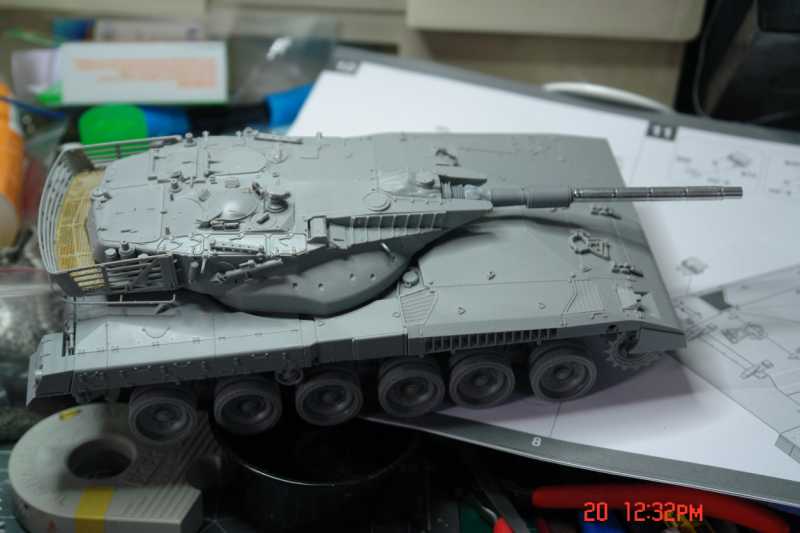
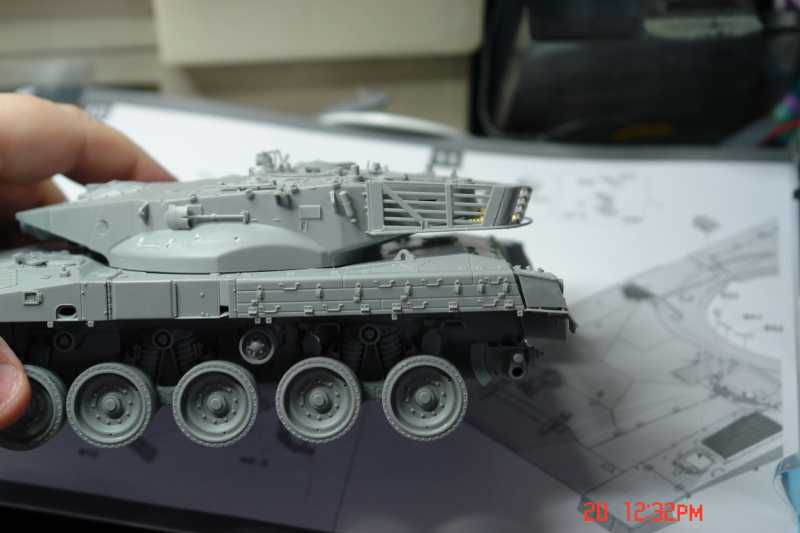
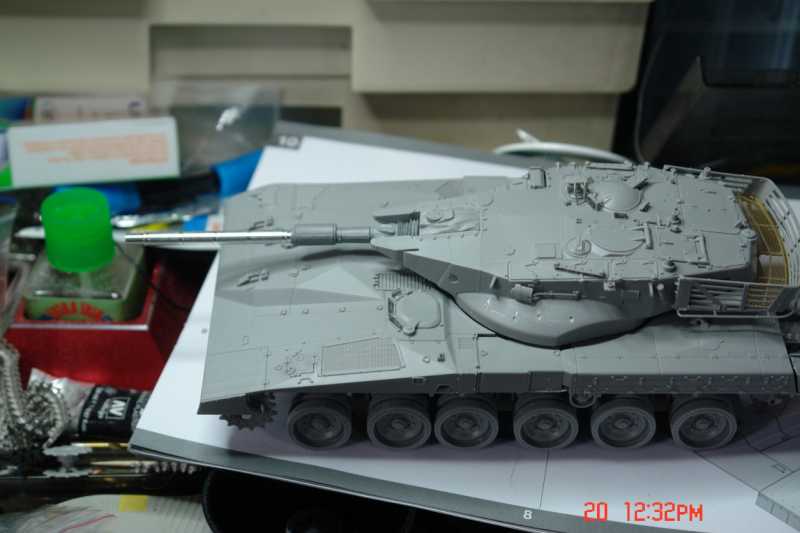
So late last night and early this morning I jumped some steps and got the turret glued together. The instructions have you install all the fidgety bits before joining the upper and lower halves which I feel would just leave to problems. So I added the things I thought were safe and then glued the turret together. Now its adding the small stuff. Have dry fit the AM gun in place. I also realized I didnt need the 50 Cal for this one as the early model did not carry it. It just had the 2 FNs.

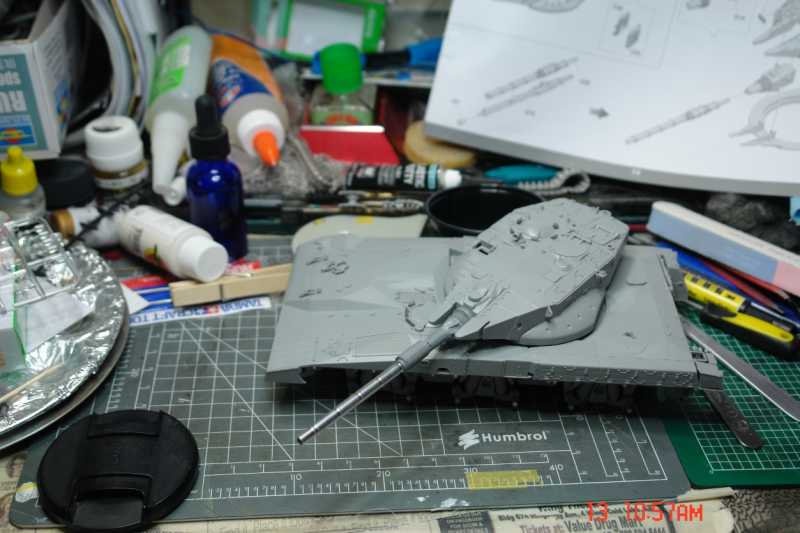
James
James

Skinny_Mike
Well-known member
Nice work James! 
Sherman 18
Master at Arms
jknaus
Administrator
A little bit more work done. First week back at work and physio have conspired to slow me down. Using the resin pins on the track because of the nice detail they have. Sorry the pics a bit blurry of the track pins. Not much more to add and I can start painting. Need to put all the PE on the gun first. Track will be done in short work periods until complete.

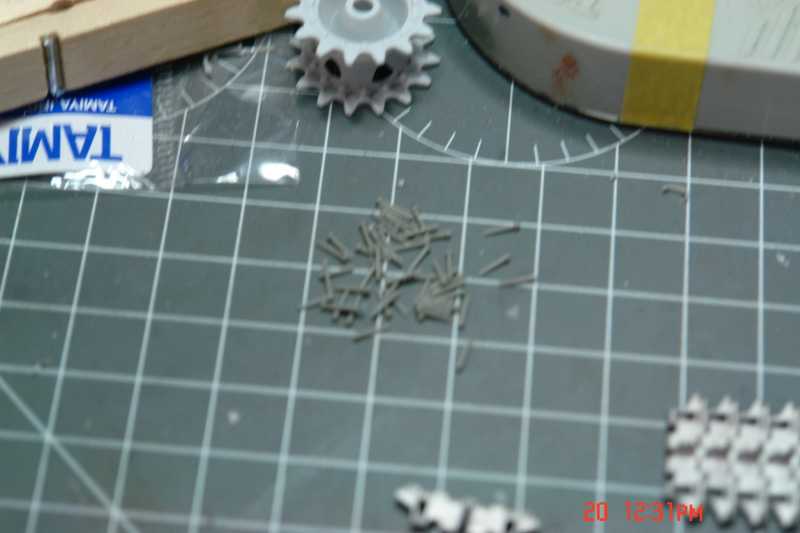
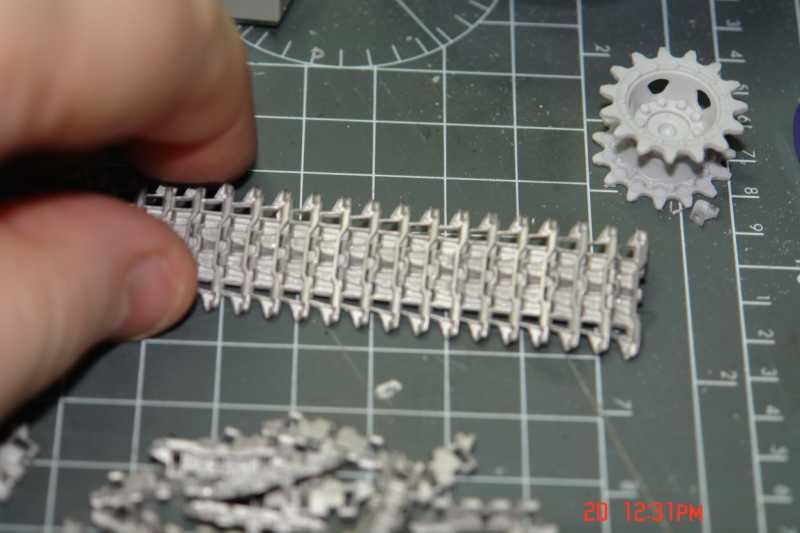


James
James