Arturius
Active member
Hello friends! Here I'm starting my year of buildings :zen and my participation on CTA...
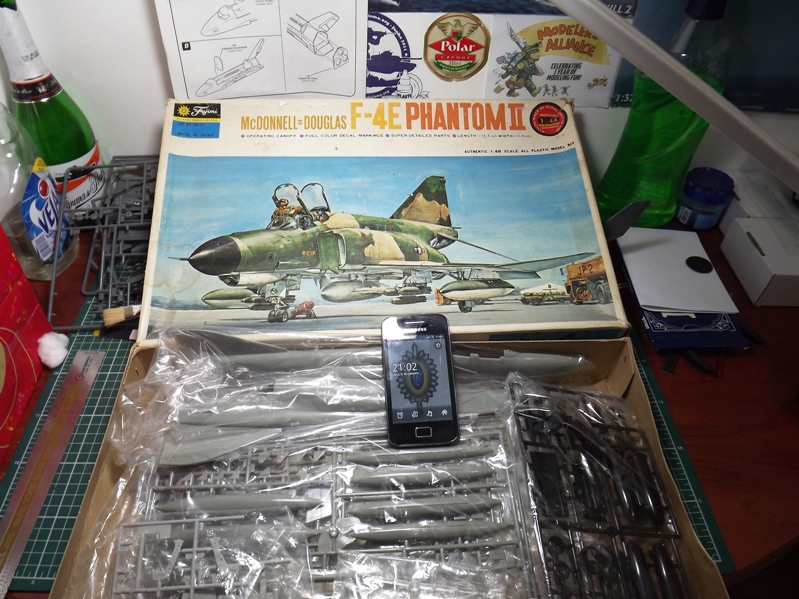
The kit:
The Time:
I'll risk to do a little review... :huh:
p.s.: the review photos are taken some months ago, but the kit wasn't started and return to the box. The pics are taken to make a review, in other forum only...
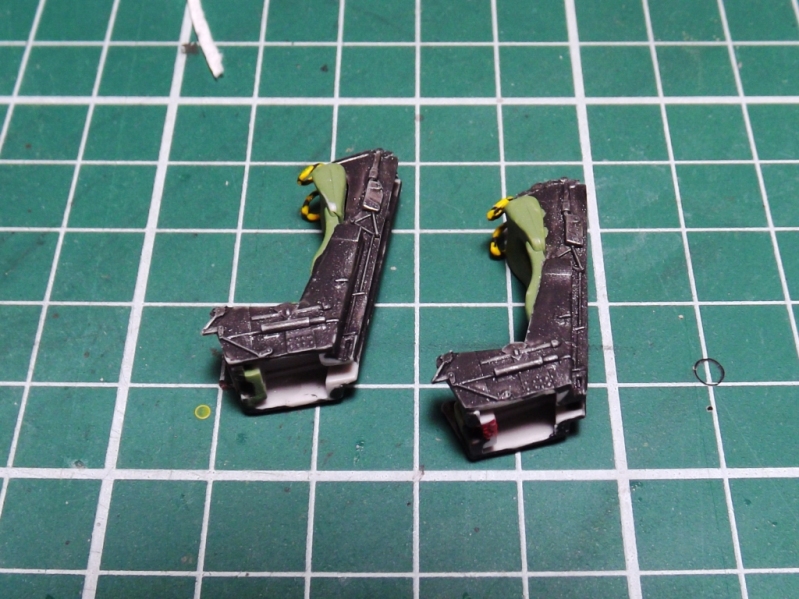
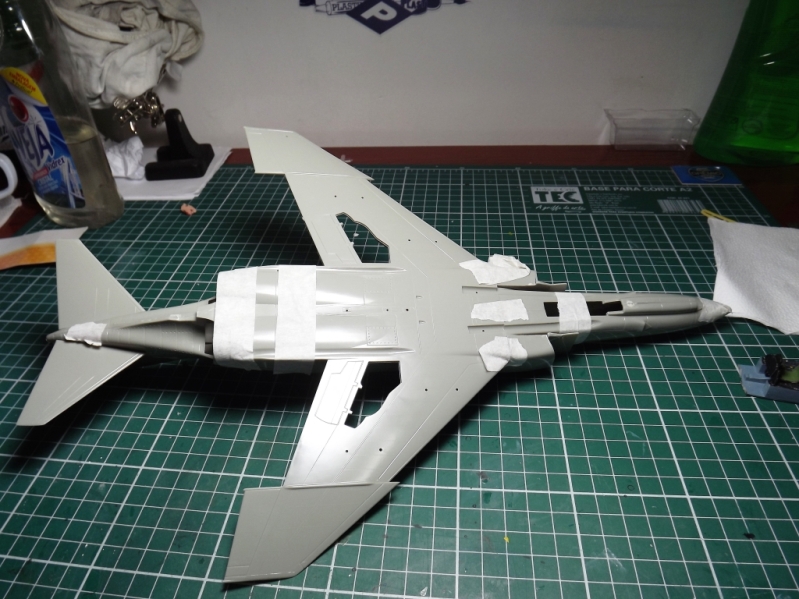
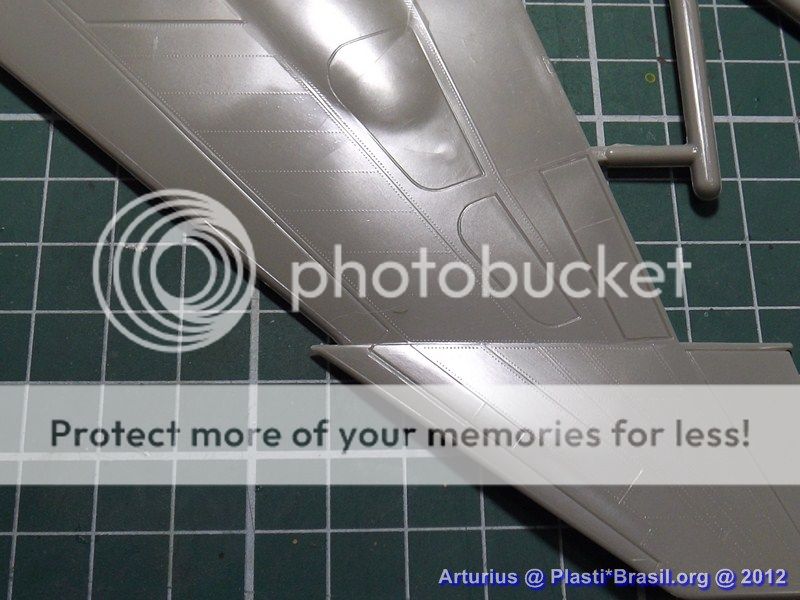
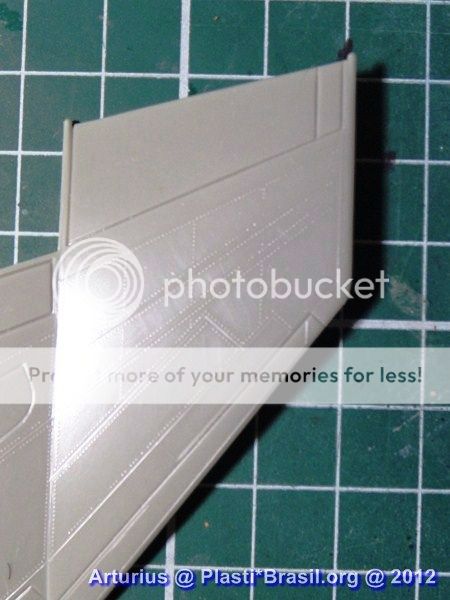
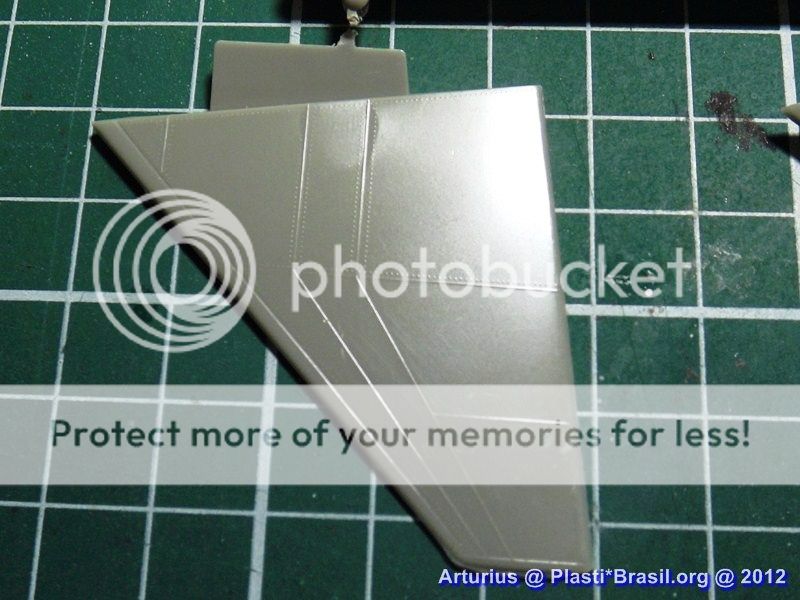
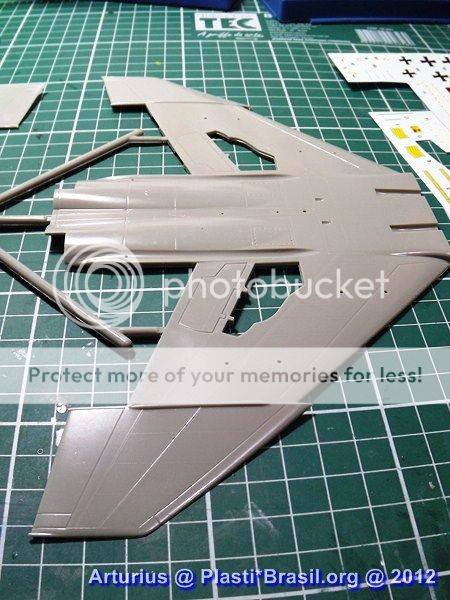
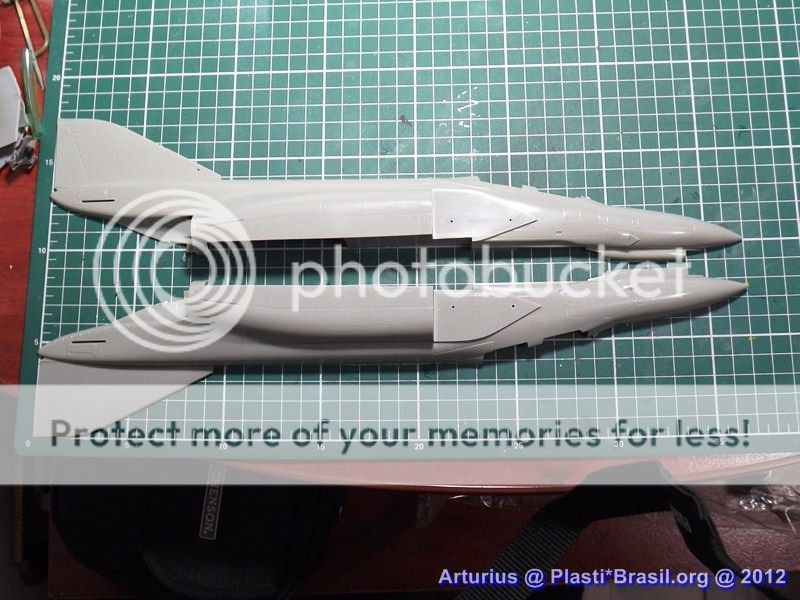
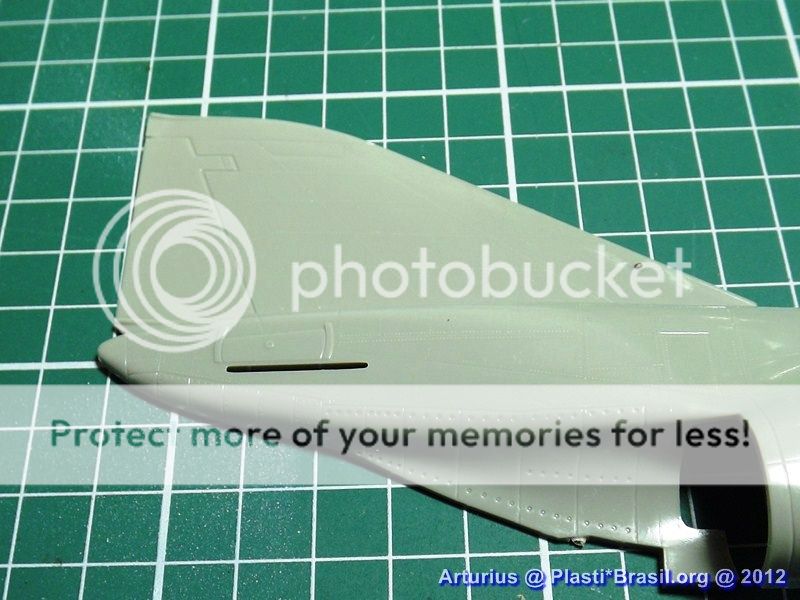
The Wings
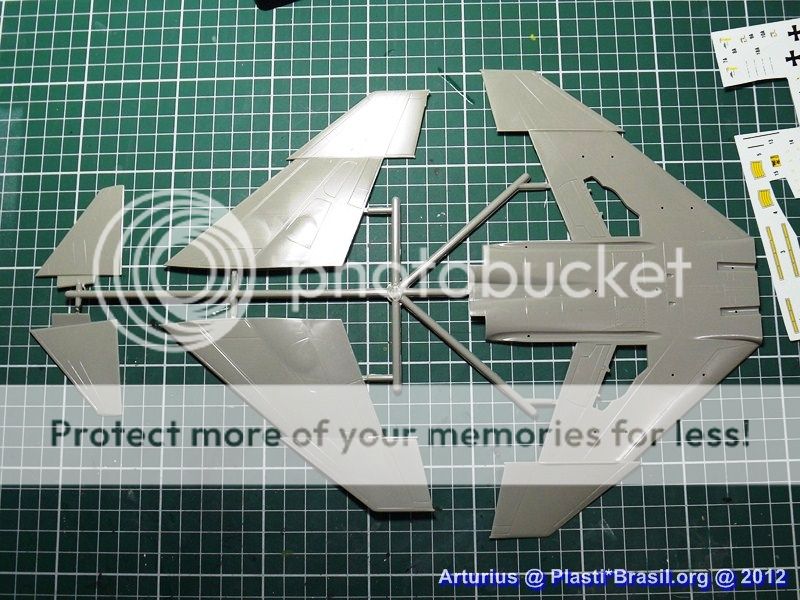
Wings Details, Like in all the kit, we've parts in high and low relief.
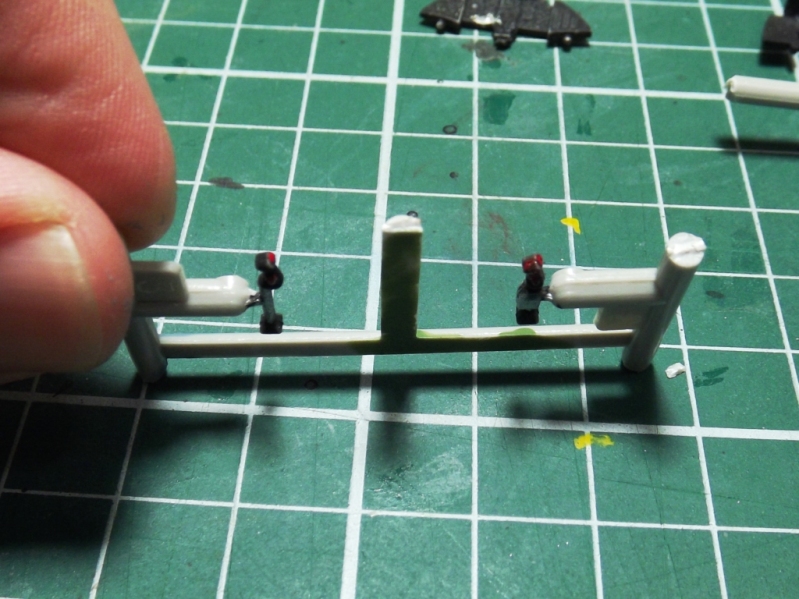
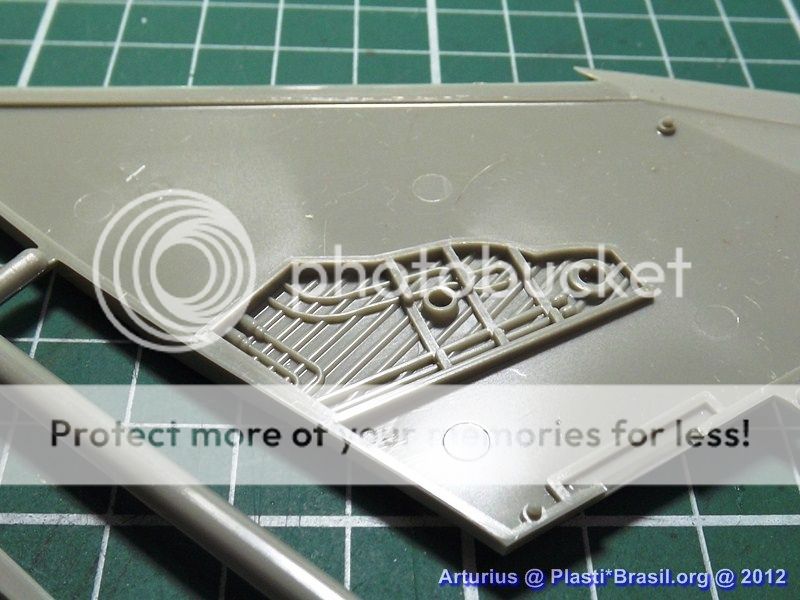
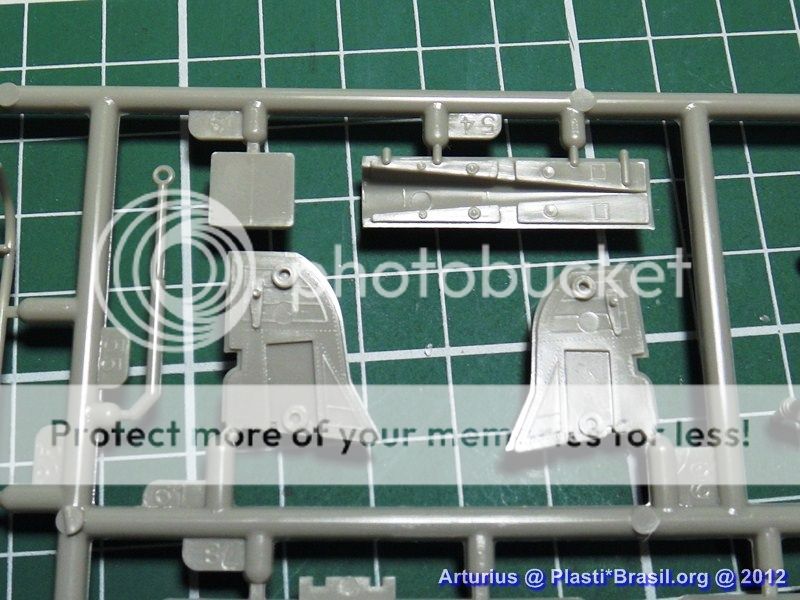
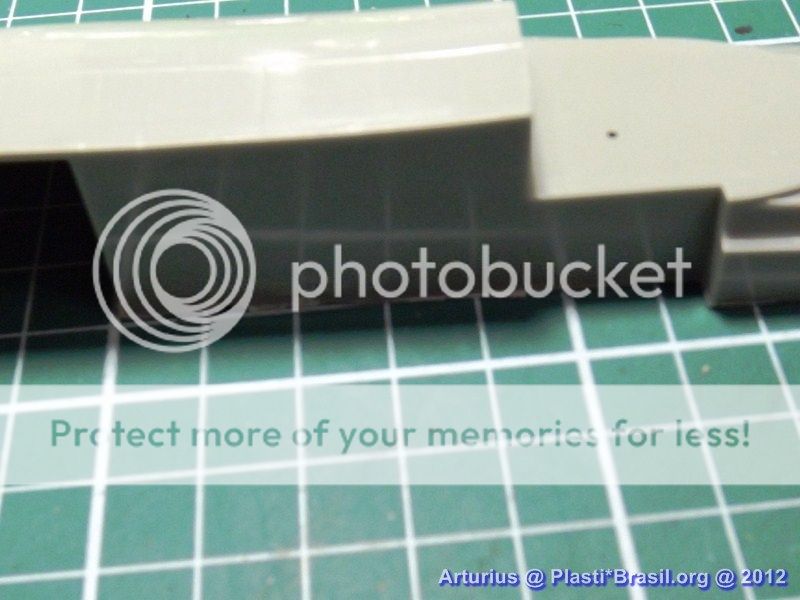
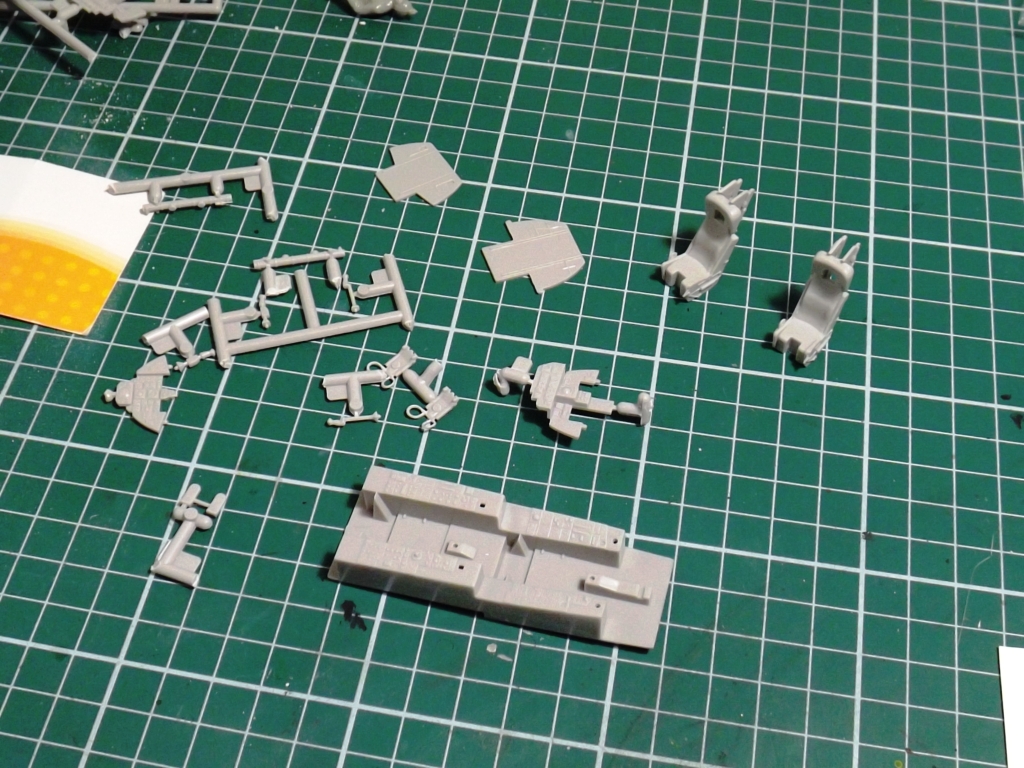
Landing Gear basement.
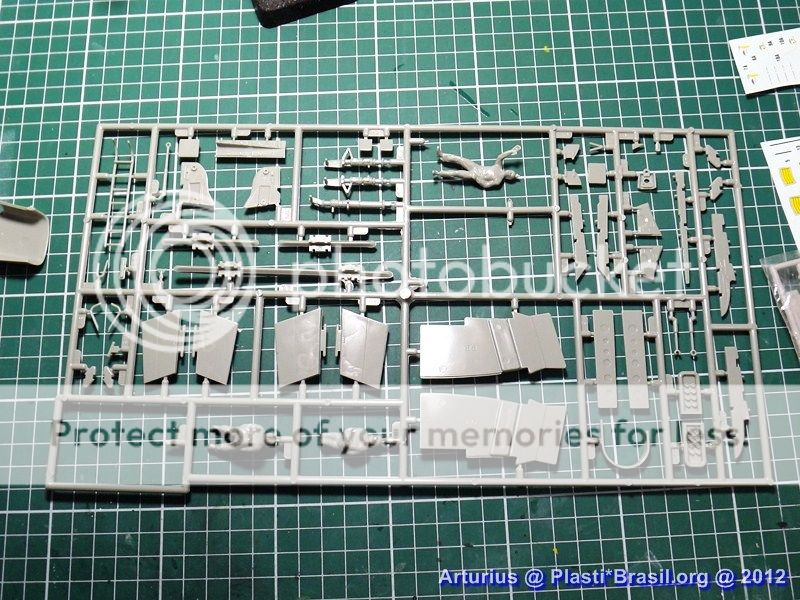
other parts,

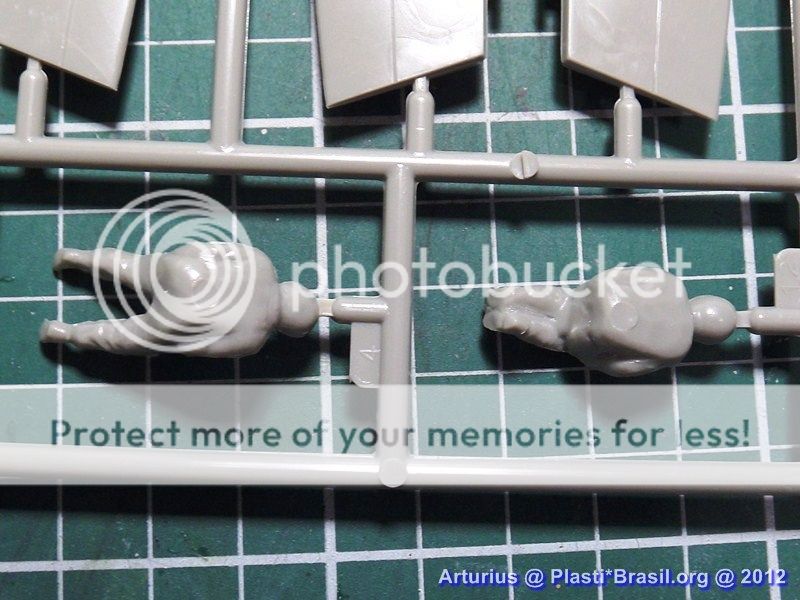
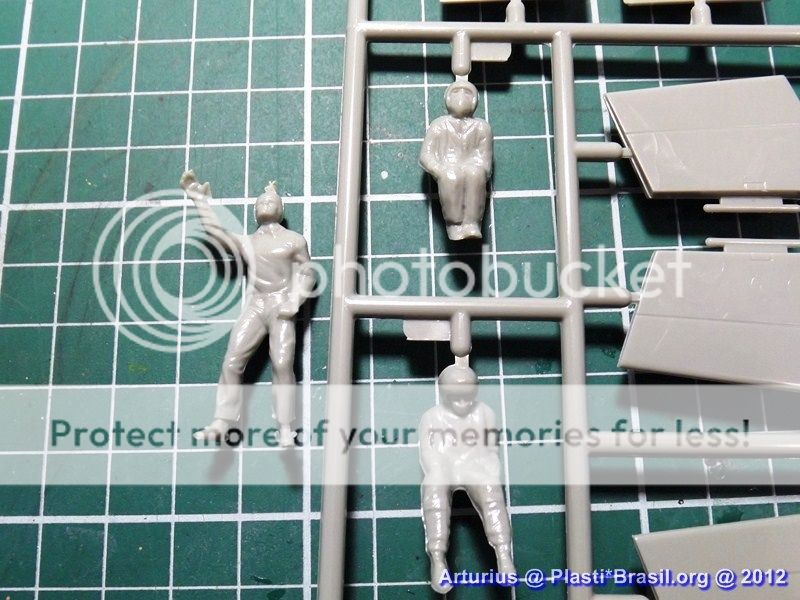
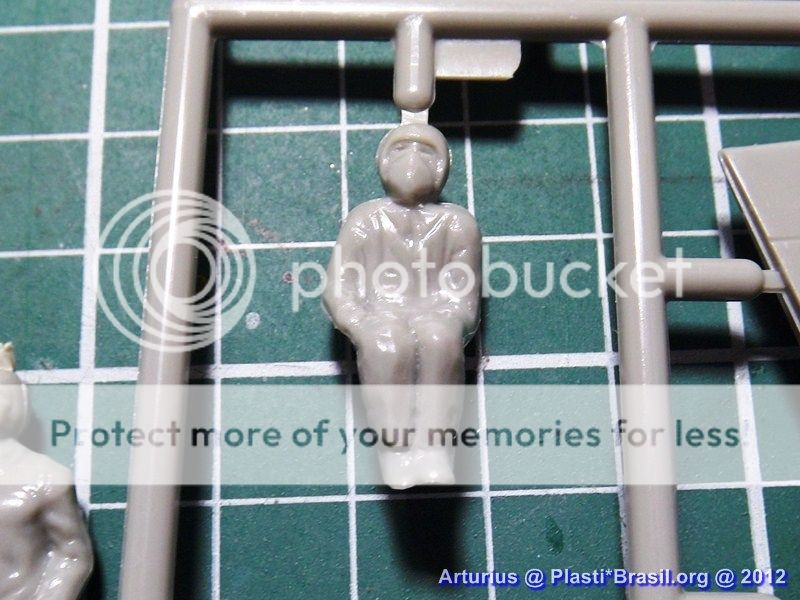
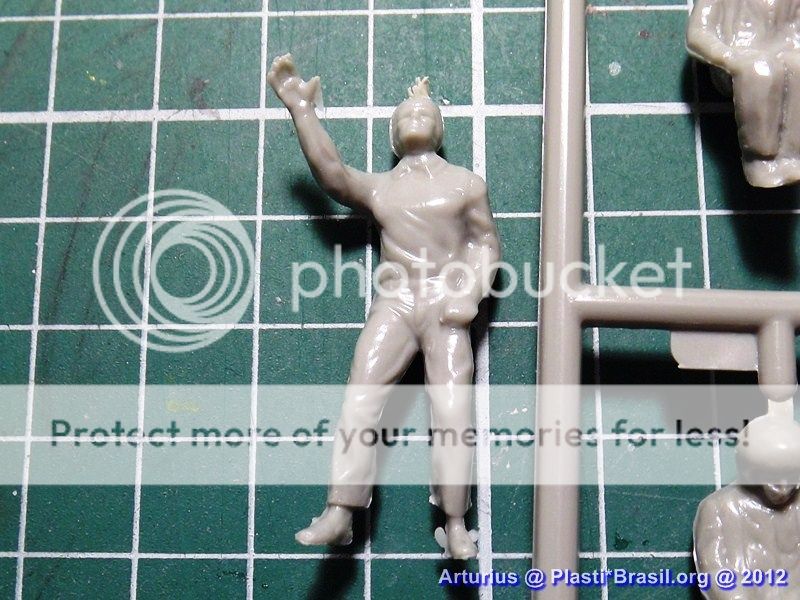
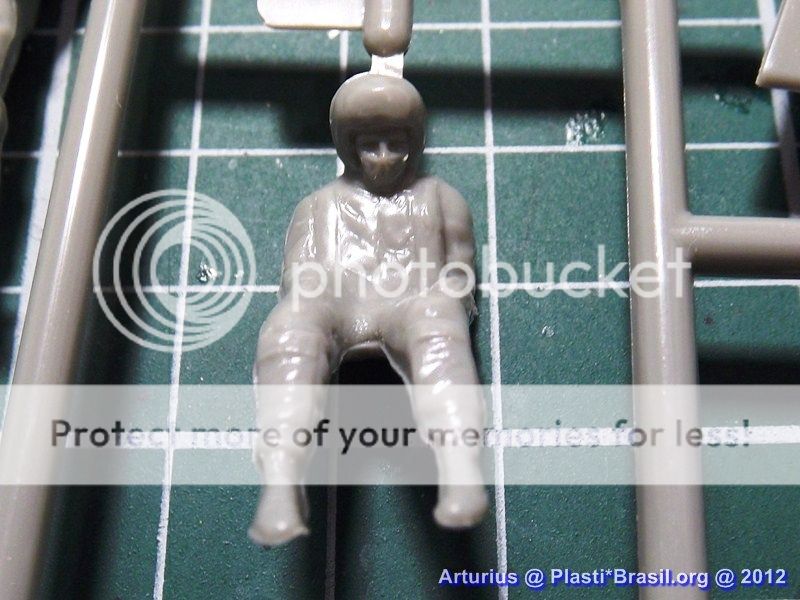
The Pilots! Let's see if I can fix thes folks!
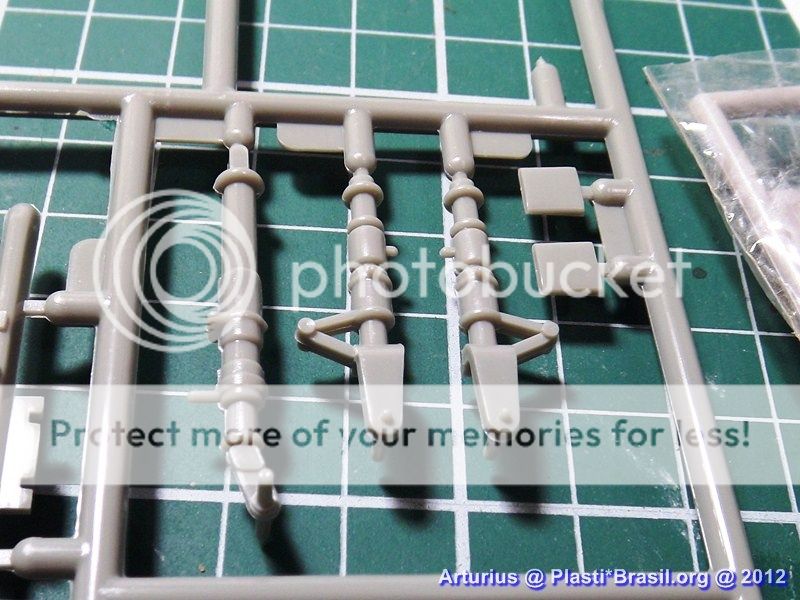
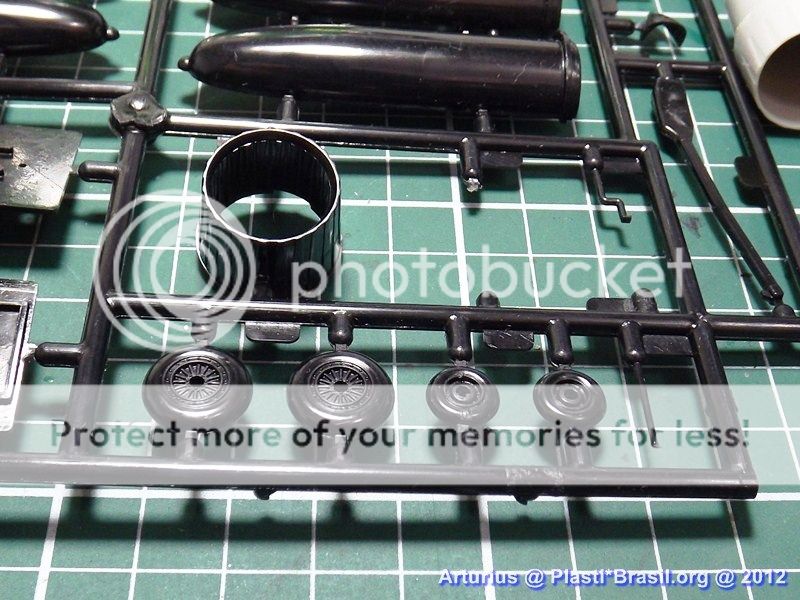
Landing Gear.

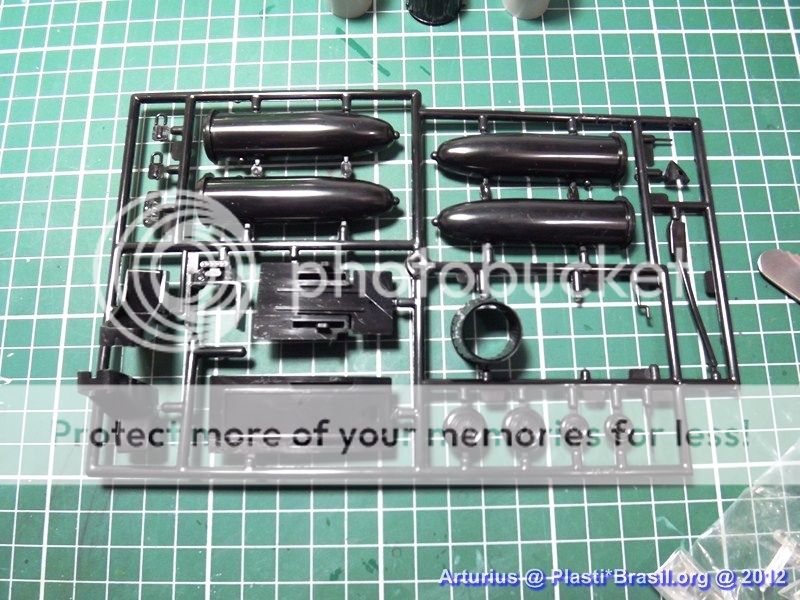
Weapons

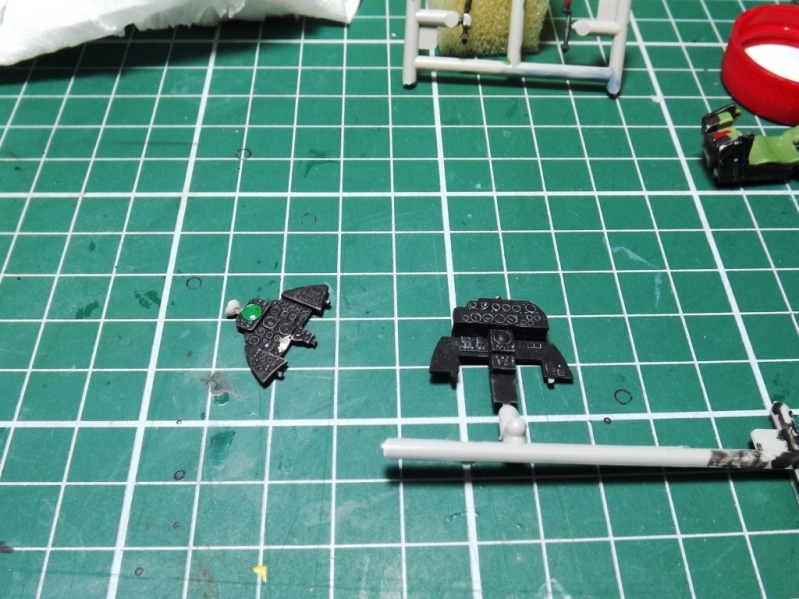
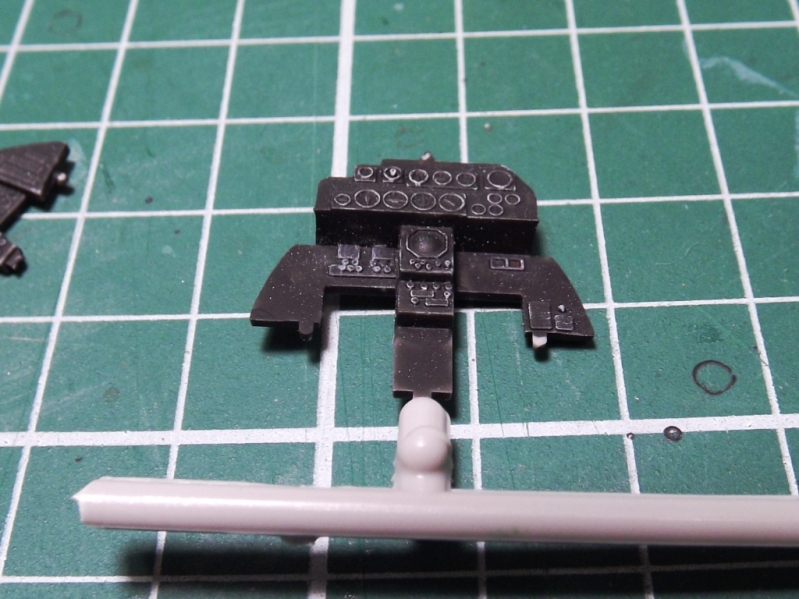
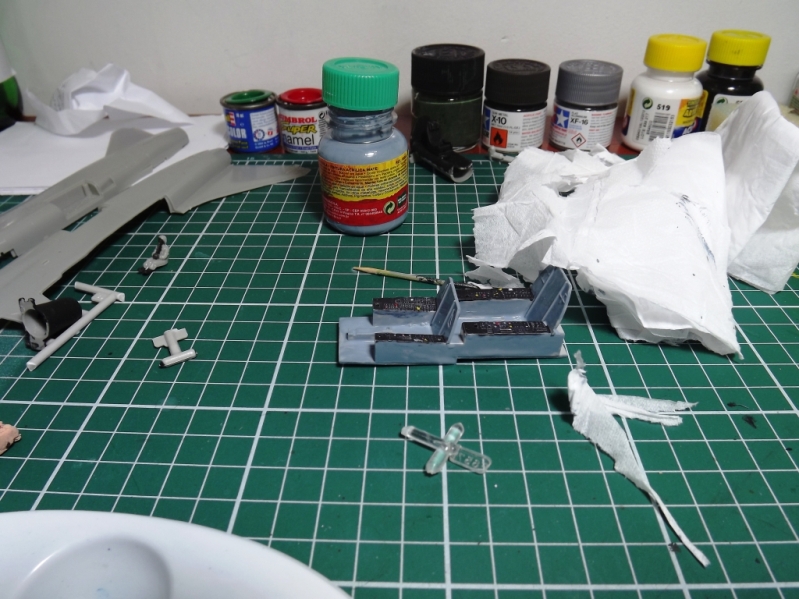
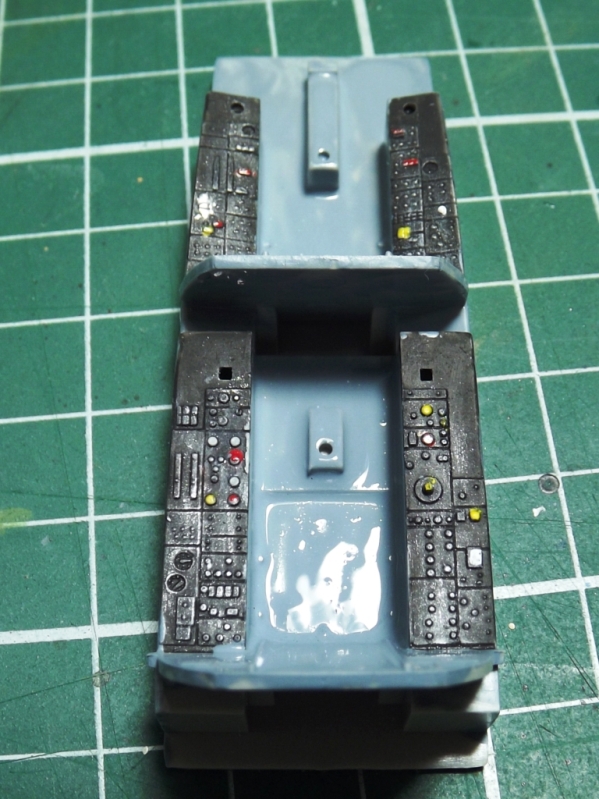
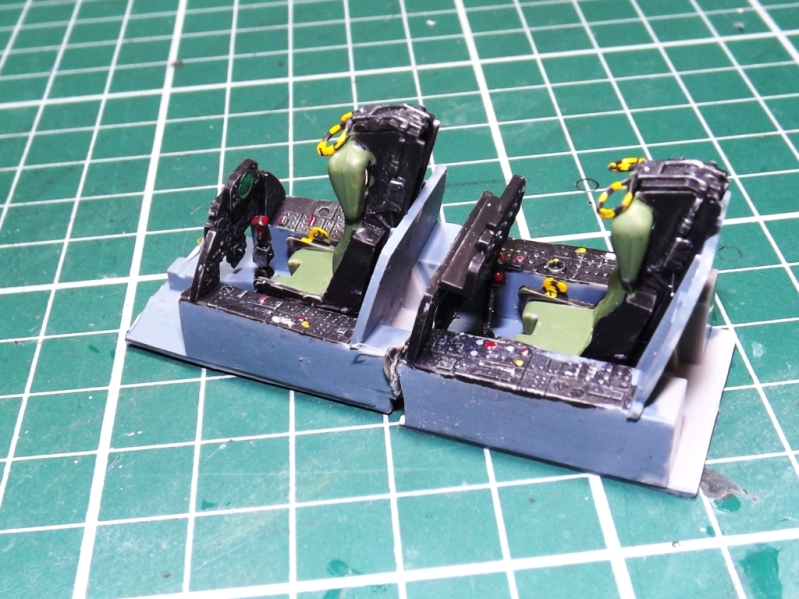
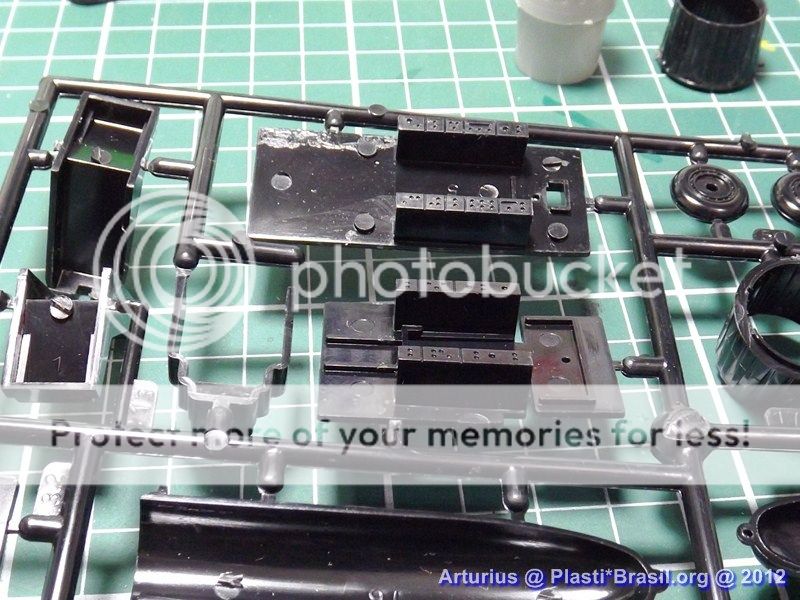
Here a "big" problem, the "poor" really poor cockpit
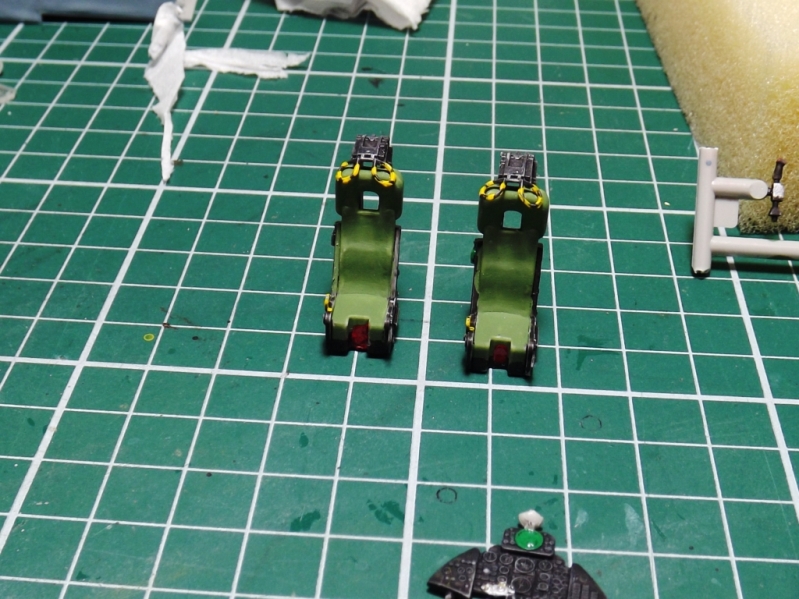
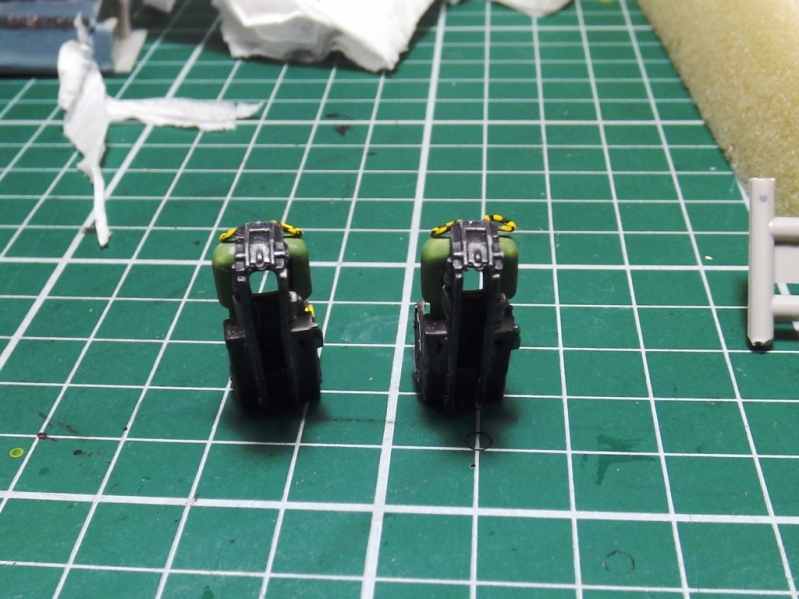
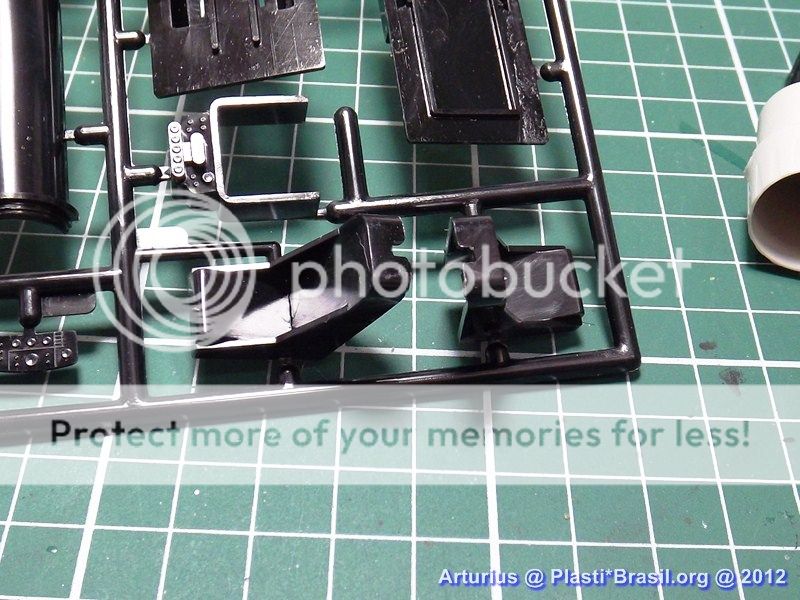
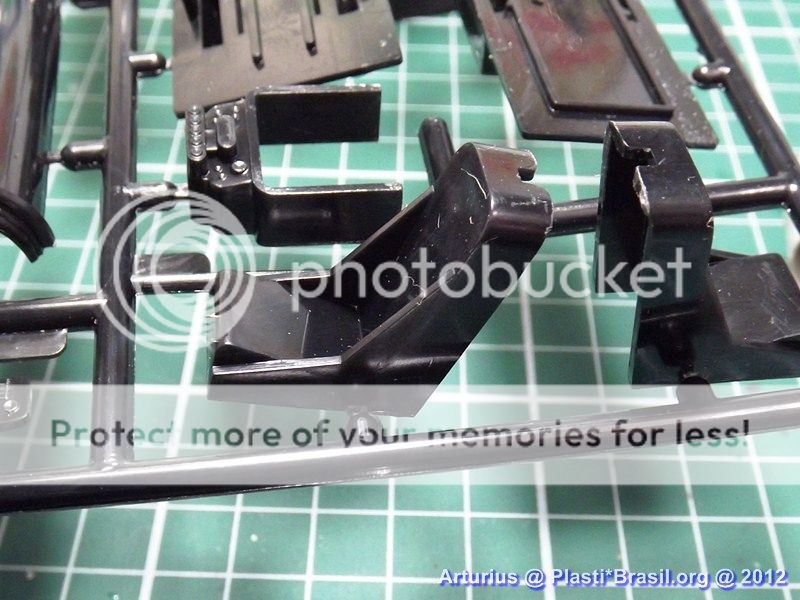
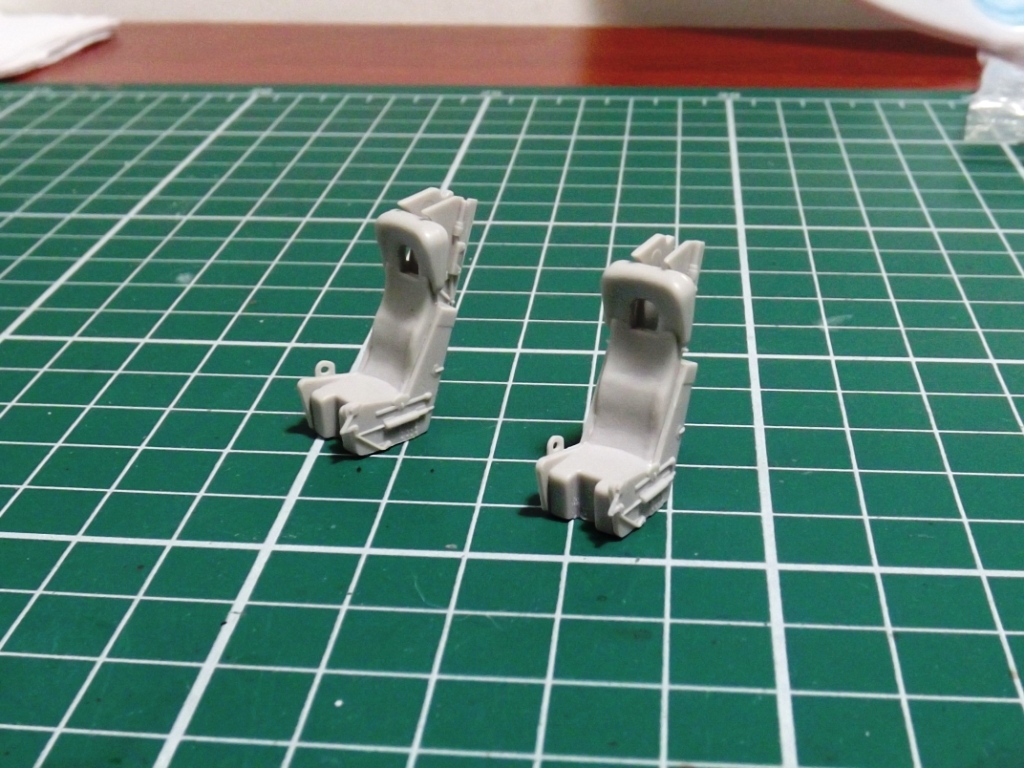
Seats
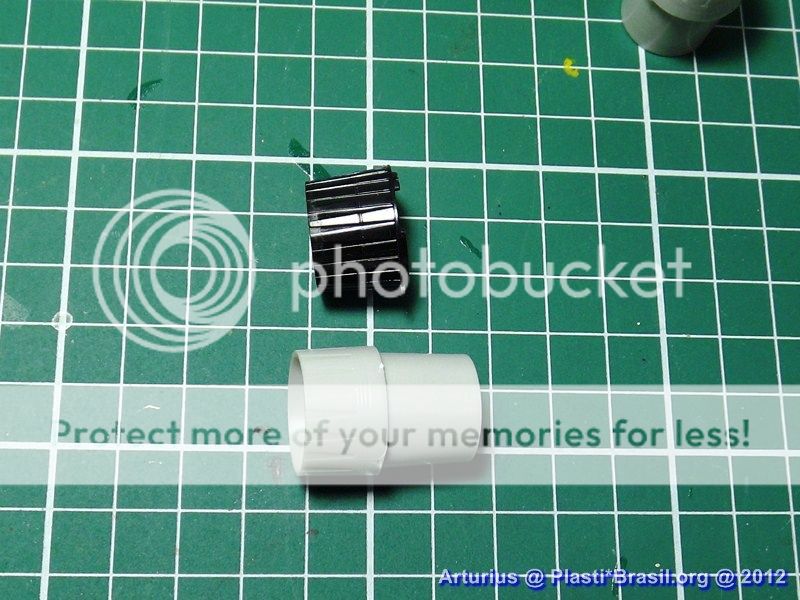
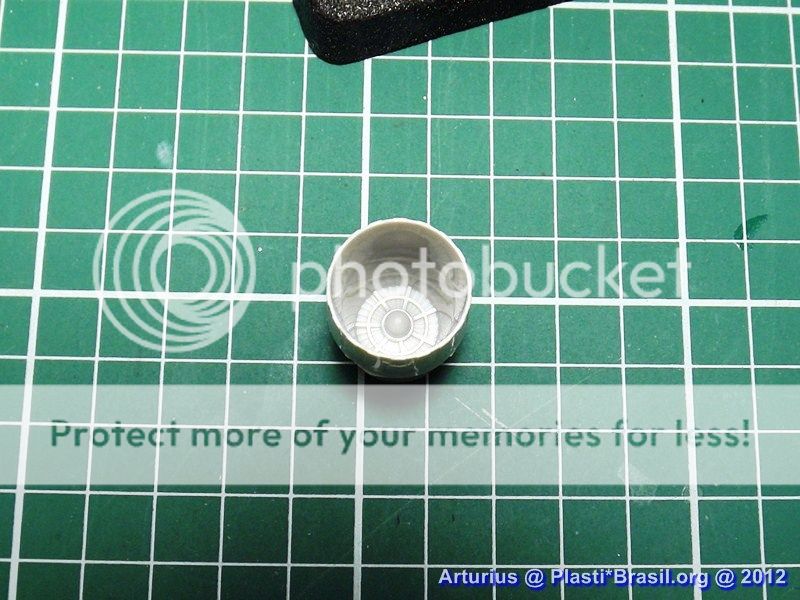
other poor detail, Noozle.
The kit noozle compared with a nozzle of a Hasegawa kit
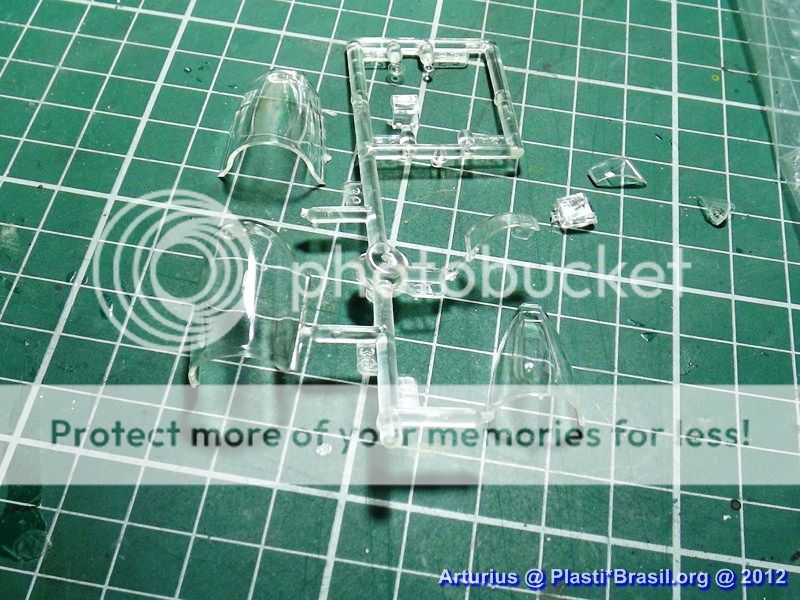
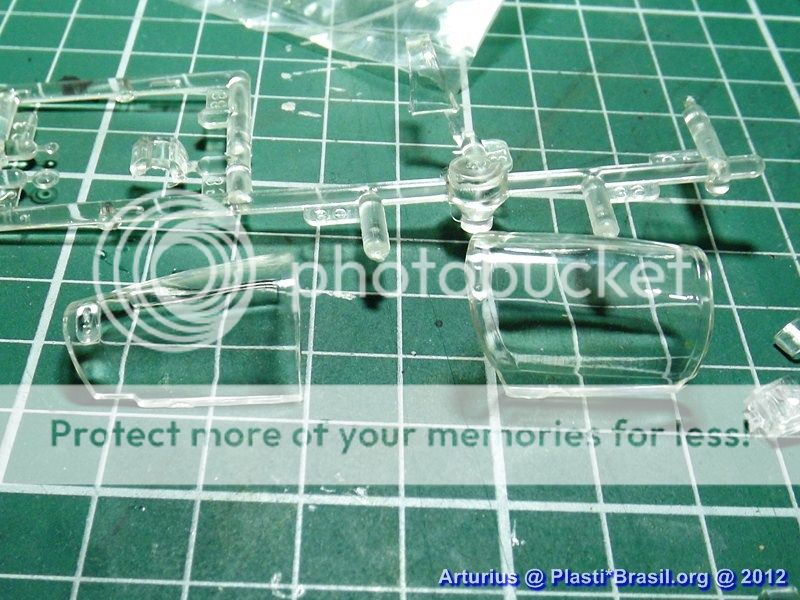
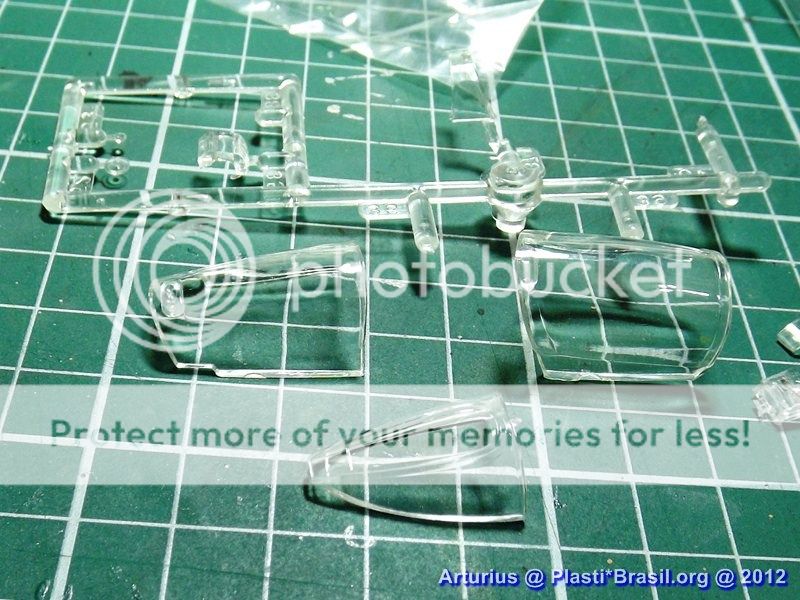
Canopy's
The Size of the Child:
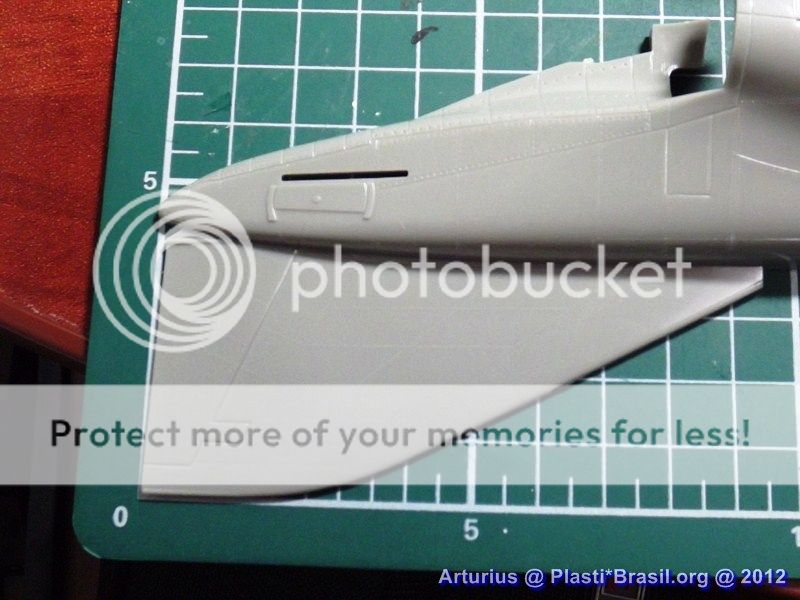
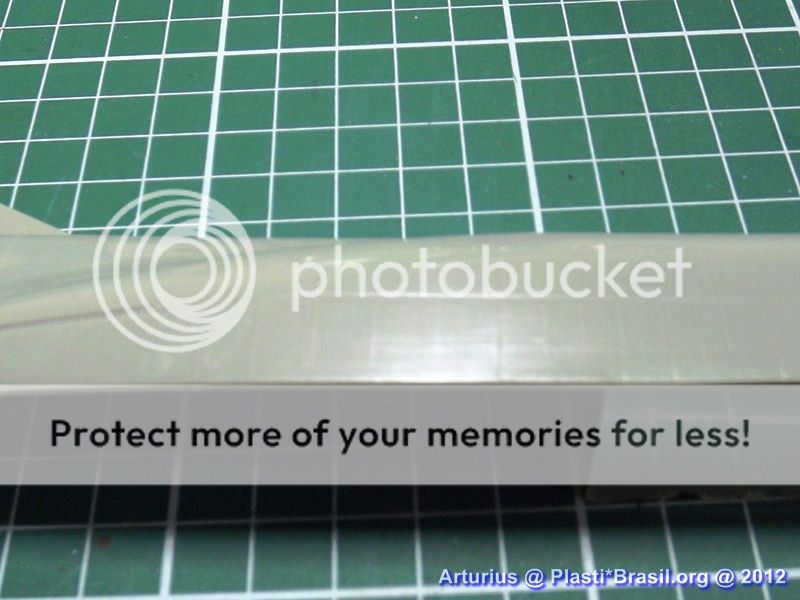
More plain details:
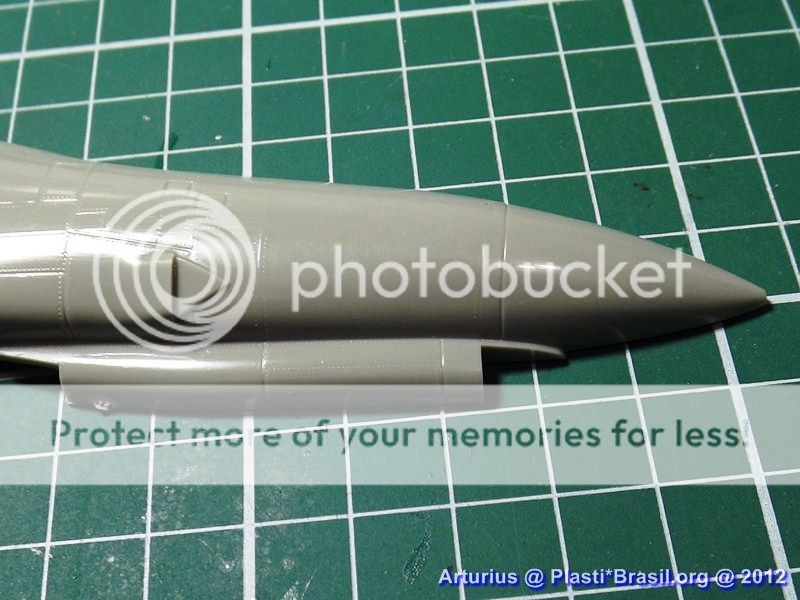
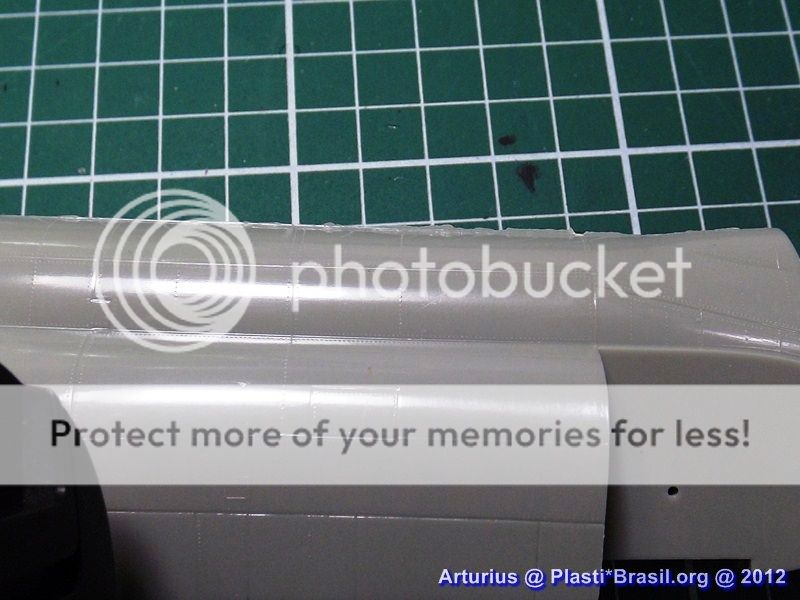
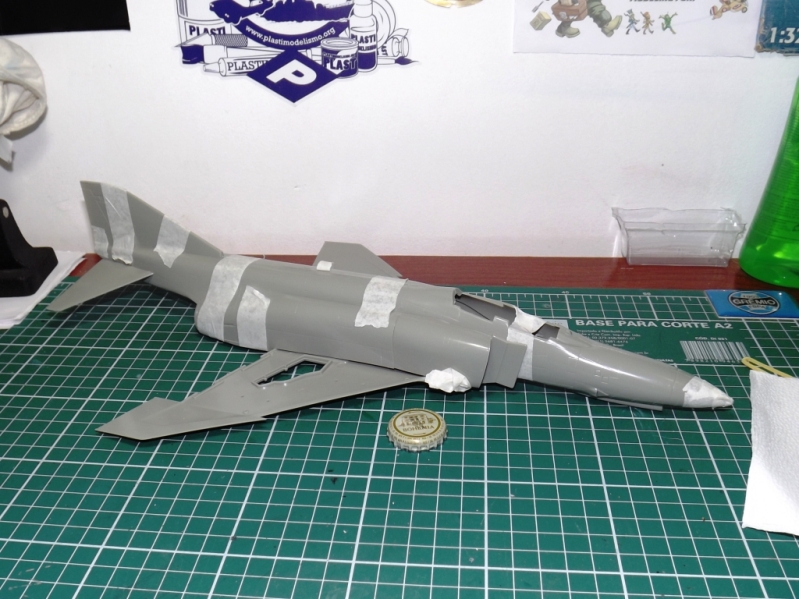
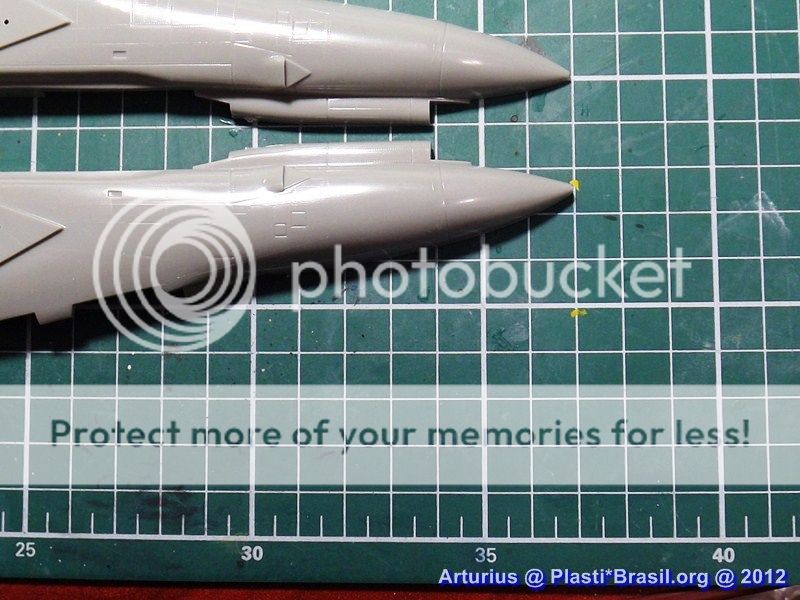
It's possible see a little problem in the fuselage, I make a Dry-fit and it was perceptible a junction problem in the fuselage parts. In superior and inferior sides. :snoopy
It's a simple kit, with little remains of plastic. In other while, a lot of injection marks and will need a lot of putty and sandpaper. The poor details could prejudicate de final result, and the high relif could be a problem to.
Concluding, It's a kit with a low to a reasonable price, but witch will need a lot of corrections. And could be a hell of a challenge to a rookie modeler. For experts may need the use of resin after-markets and PE's, and could use a lot of scratch-building.
In my point of view a good kit, take the relation cost/benefit
Cheers
Art
The kit:
The Time:
I'll risk to do a little review... :huh:
p.s.: the review photos are taken some months ago, but the kit wasn't started and return to the box. The pics are taken to make a review, in other forum only...
The Wings
Wings Details, Like in all the kit, we've parts in high and low relief.
Landing Gear basement.
other parts,
The Pilots! Let's see if I can fix thes folks!
Landing Gear.
Weapons
Here a "big" problem, the "poor" really poor cockpit
Seats
other poor detail, Noozle.
The kit noozle compared with a nozzle of a Hasegawa kit
Canopy's
The Size of the Child:
More plain details:
It's possible see a little problem in the fuselage, I make a Dry-fit and it was perceptible a junction problem in the fuselage parts. In superior and inferior sides. :snoopy
It's a simple kit, with little remains of plastic. In other while, a lot of injection marks and will need a lot of putty and sandpaper. The poor details could prejudicate de final result, and the high relif could be a problem to.
Concluding, It's a kit with a low to a reasonable price, but witch will need a lot of corrections. And could be a hell of a challenge to a rookie modeler. For experts may need the use of resin after-markets and PE's, and could use a lot of scratch-building.
In my point of view a good kit, take the relation cost/benefit
Cheers
Art


 )
)