Ruben Lopez
Active member
Hi every one! Glad to be here in this great effort. For this thread I'll going to build the E-100 from DML. This is going to be an out of the box build but I still have not decided how I'm going to finish it; with or without camo.
So lets start the build!
First the required photo with the date.
Here is a close up.
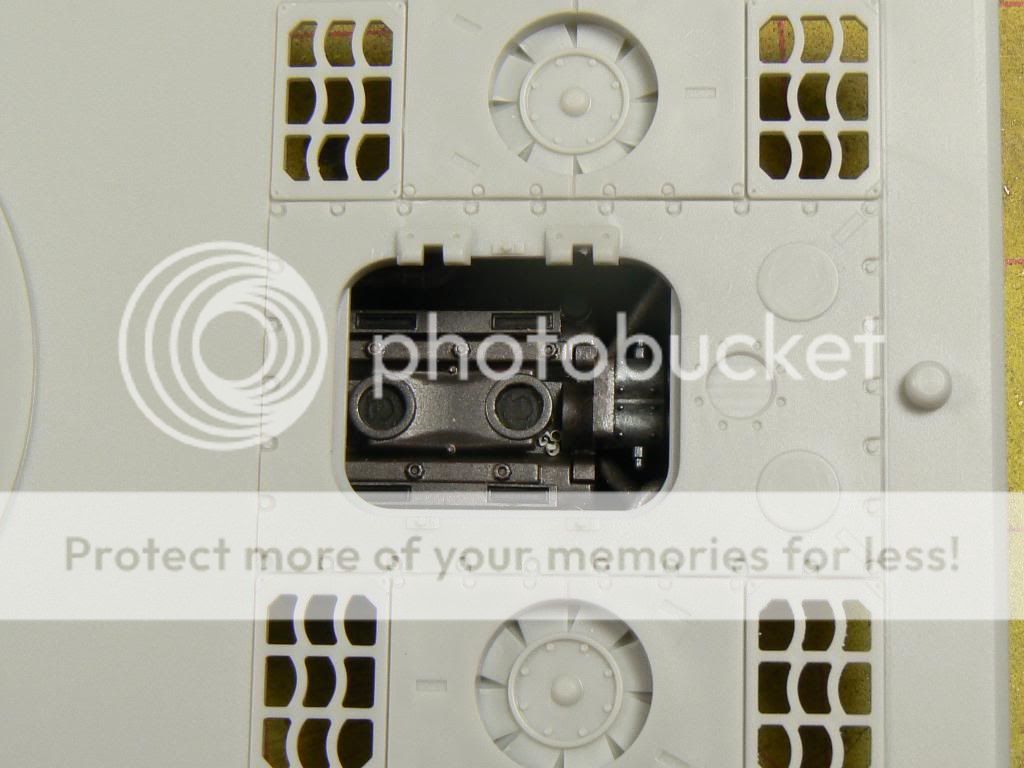
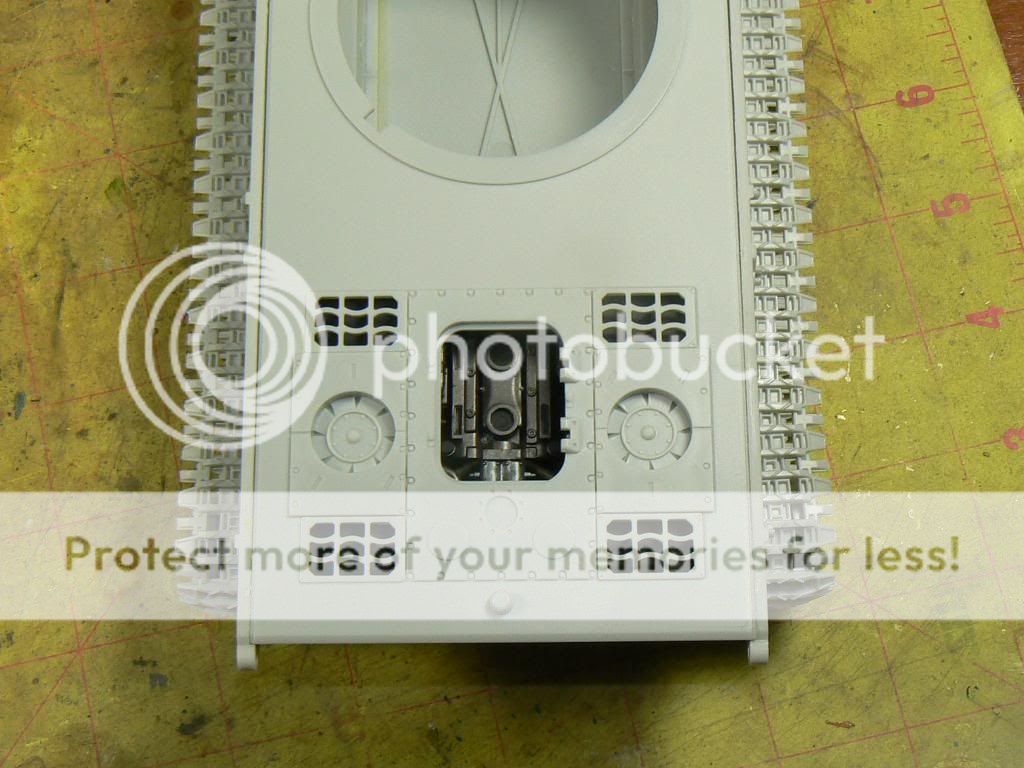
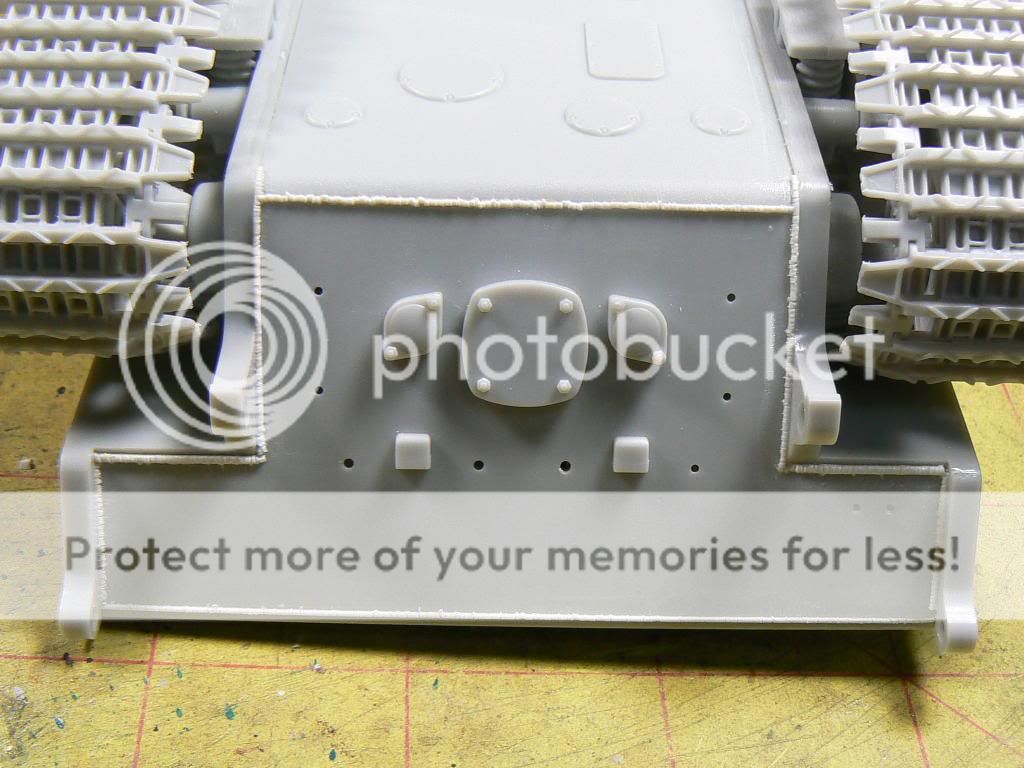
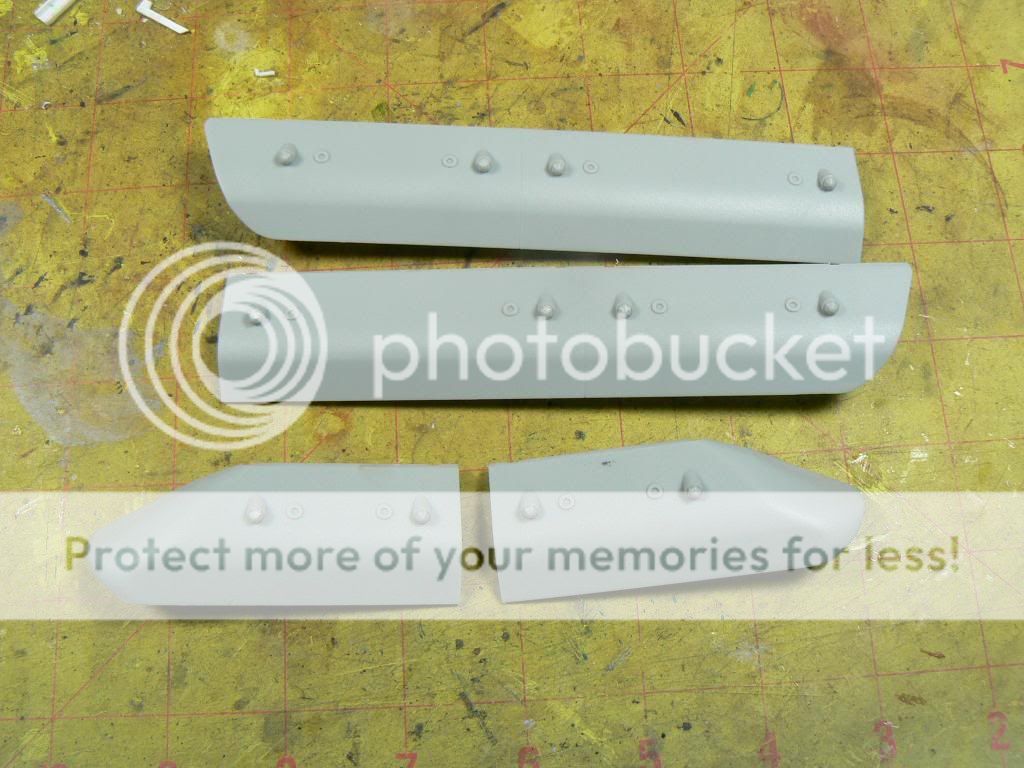
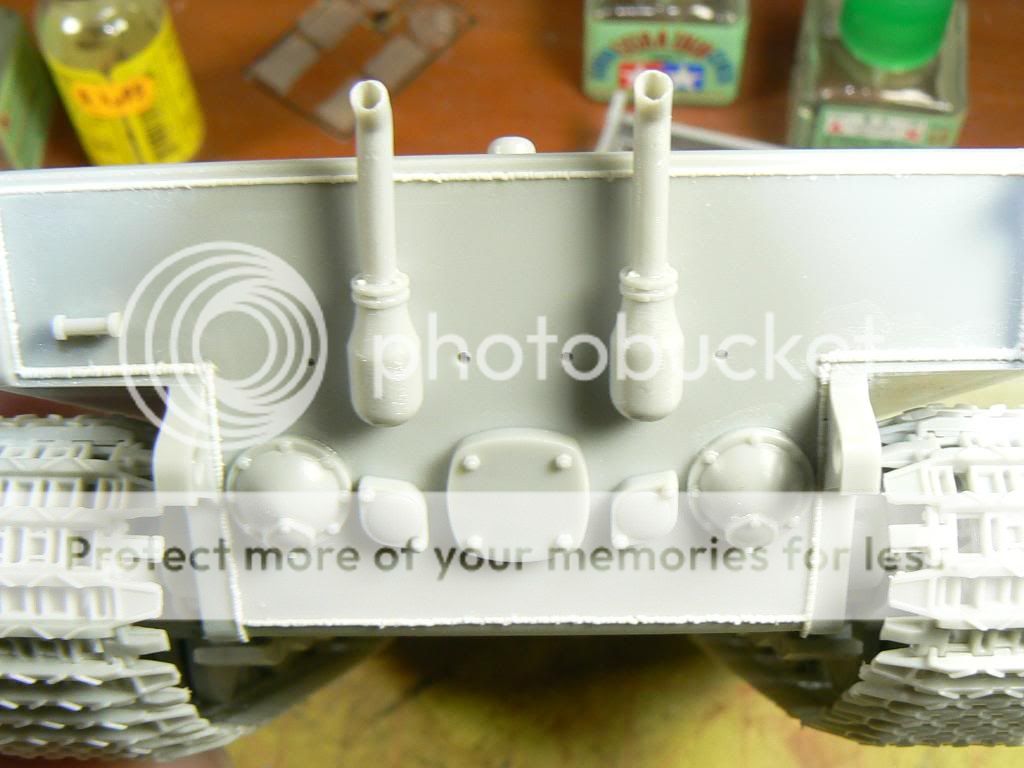
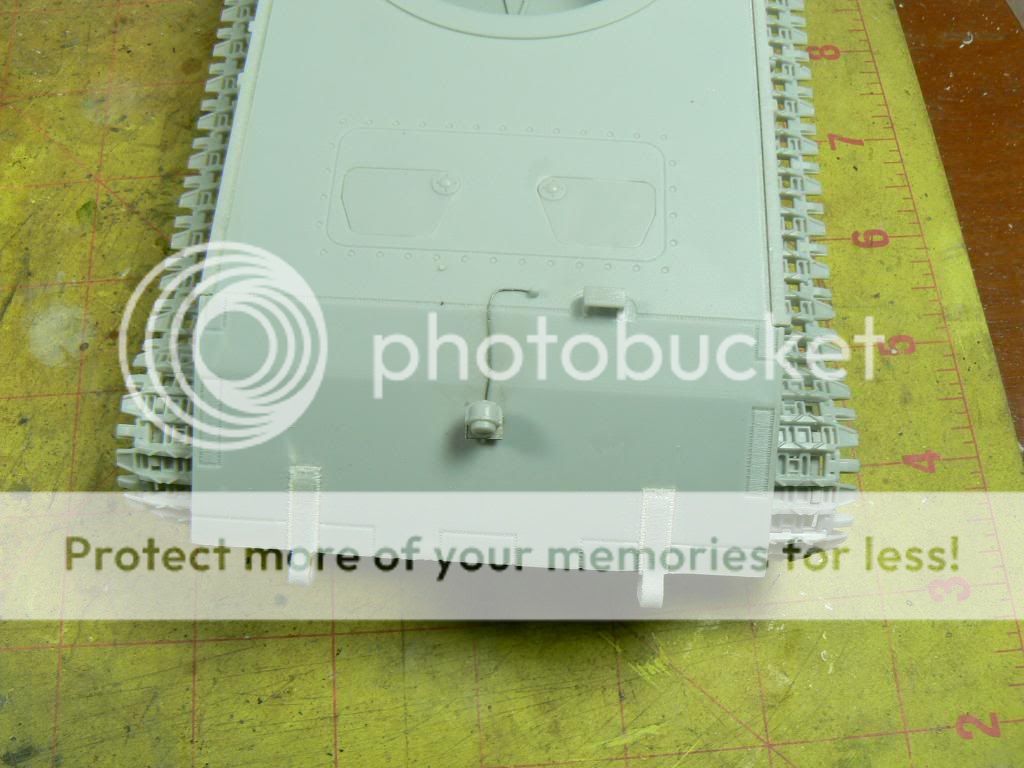
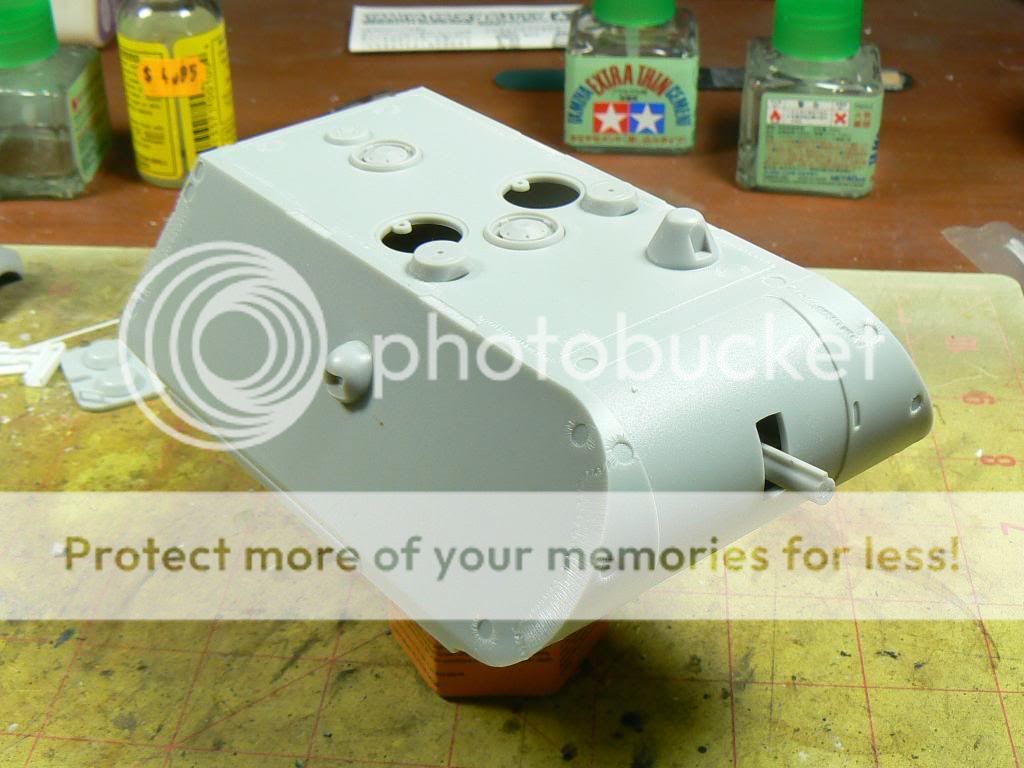
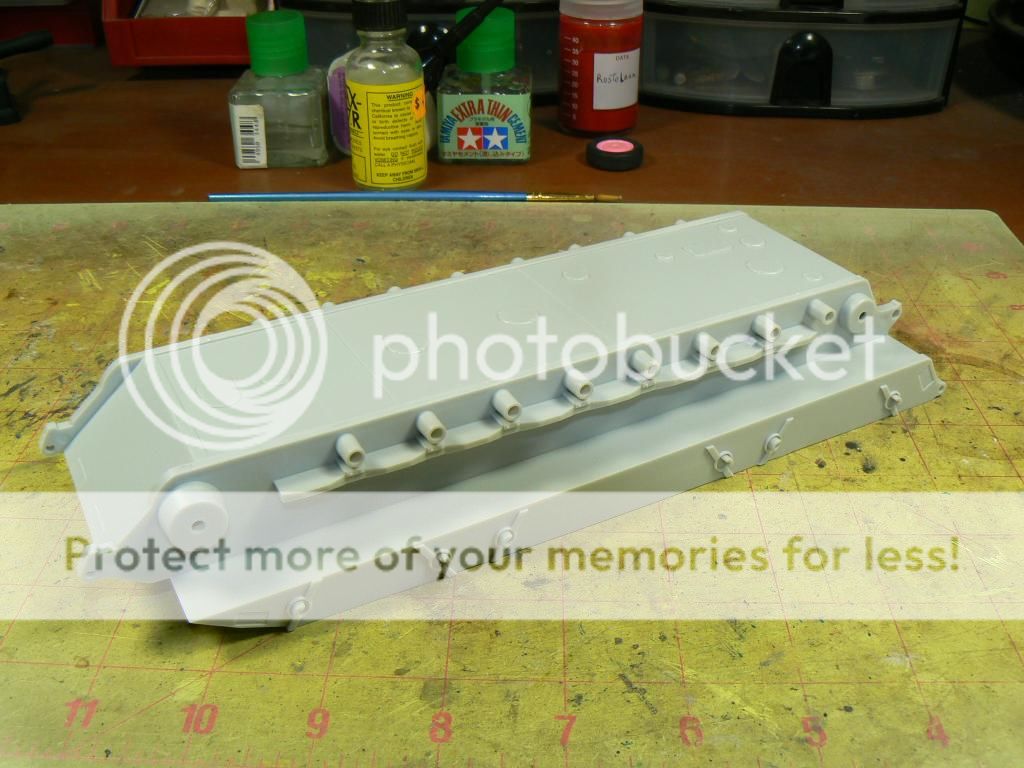
As it is always the case I didn't follow the order of the instructions and started building the hull instead of the wheels. The hull is composed of four parts; sides, bottom and rear plate. Here it is.
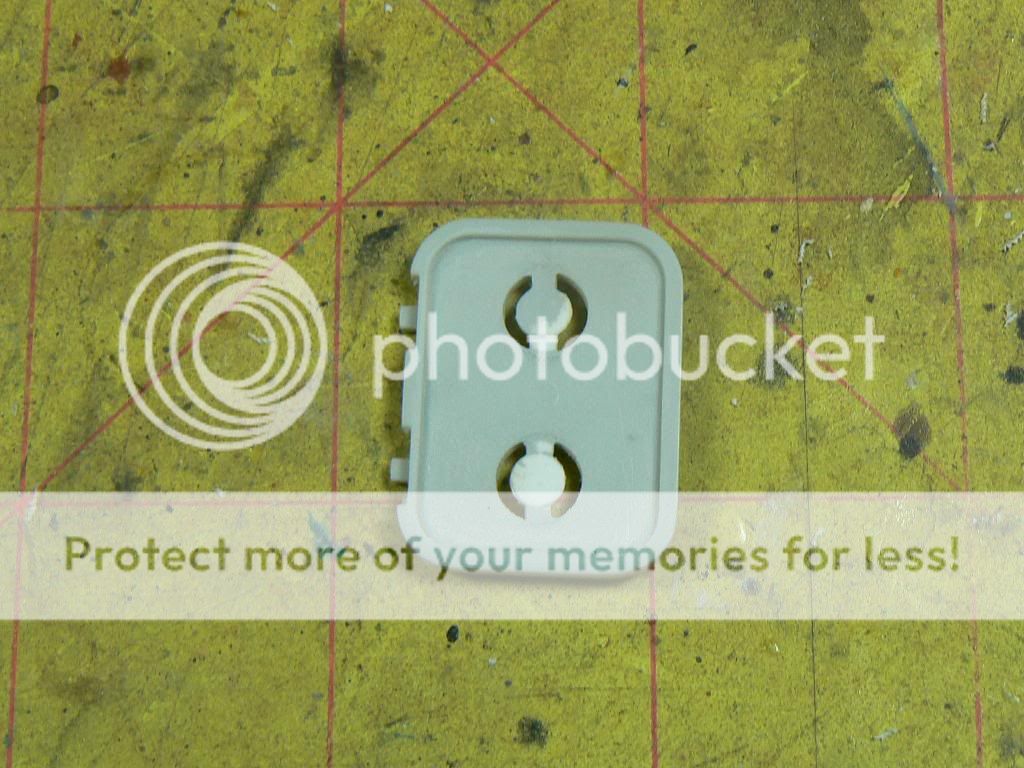
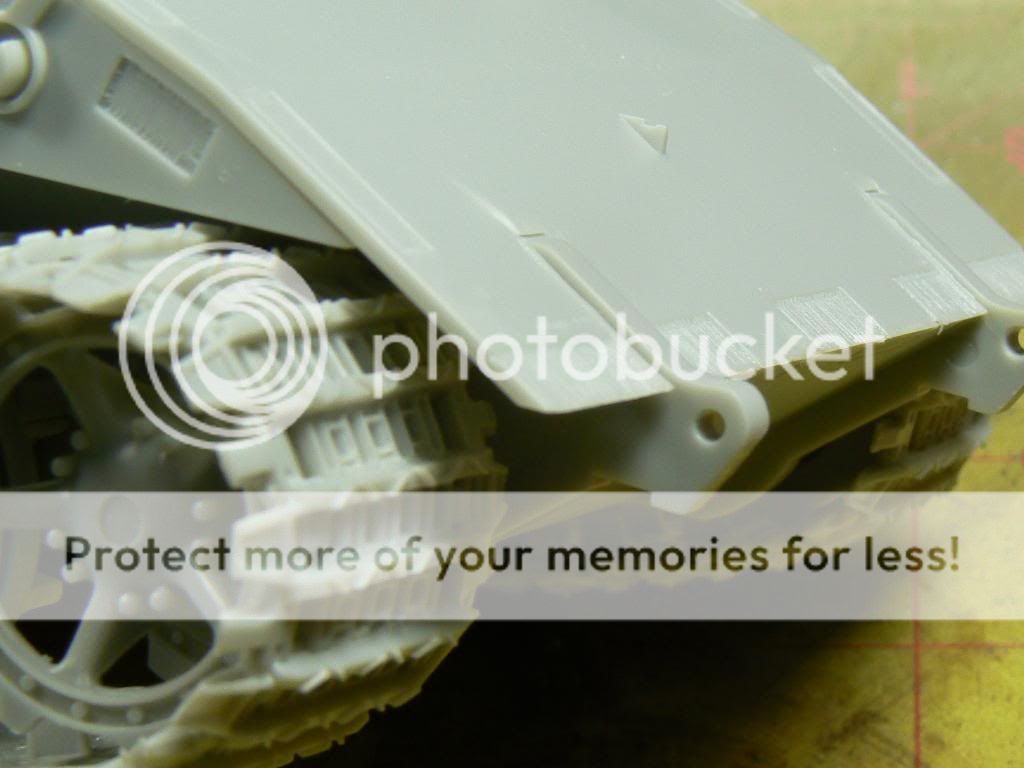
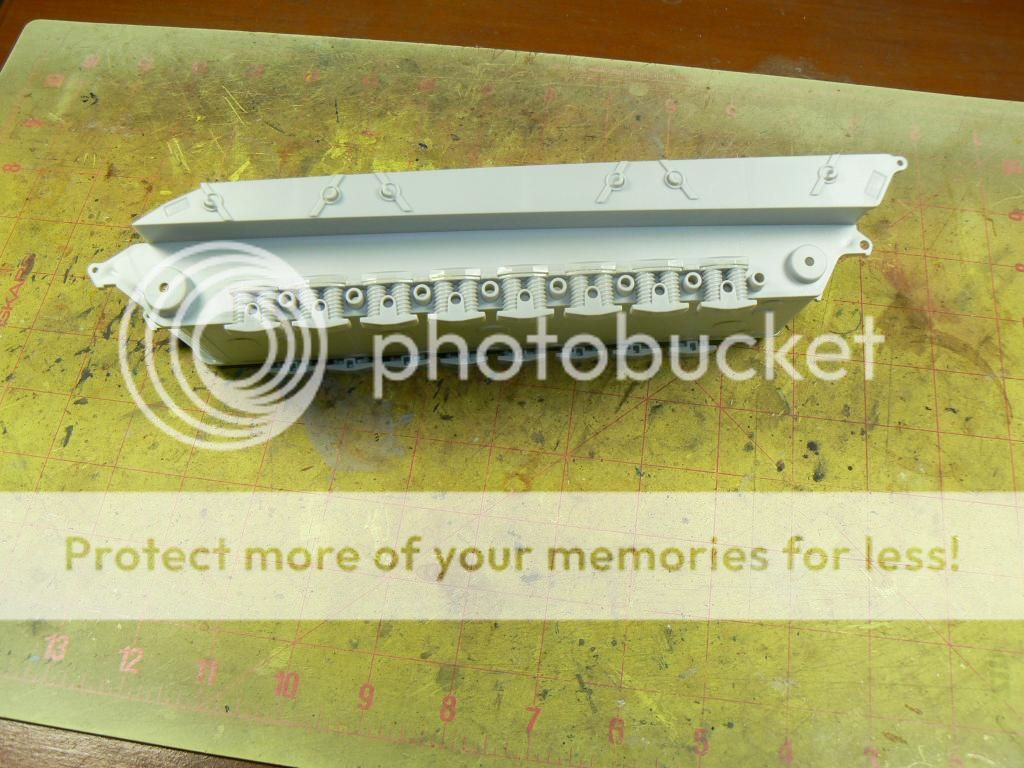
Next the springs for the suspension are glued in place.
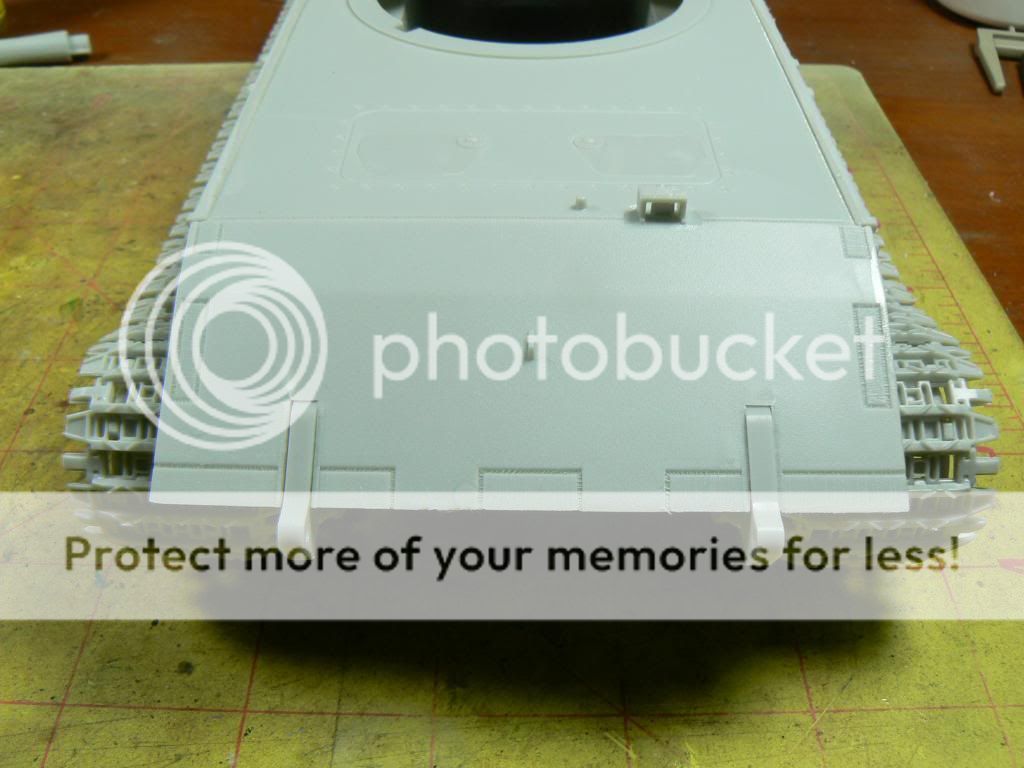
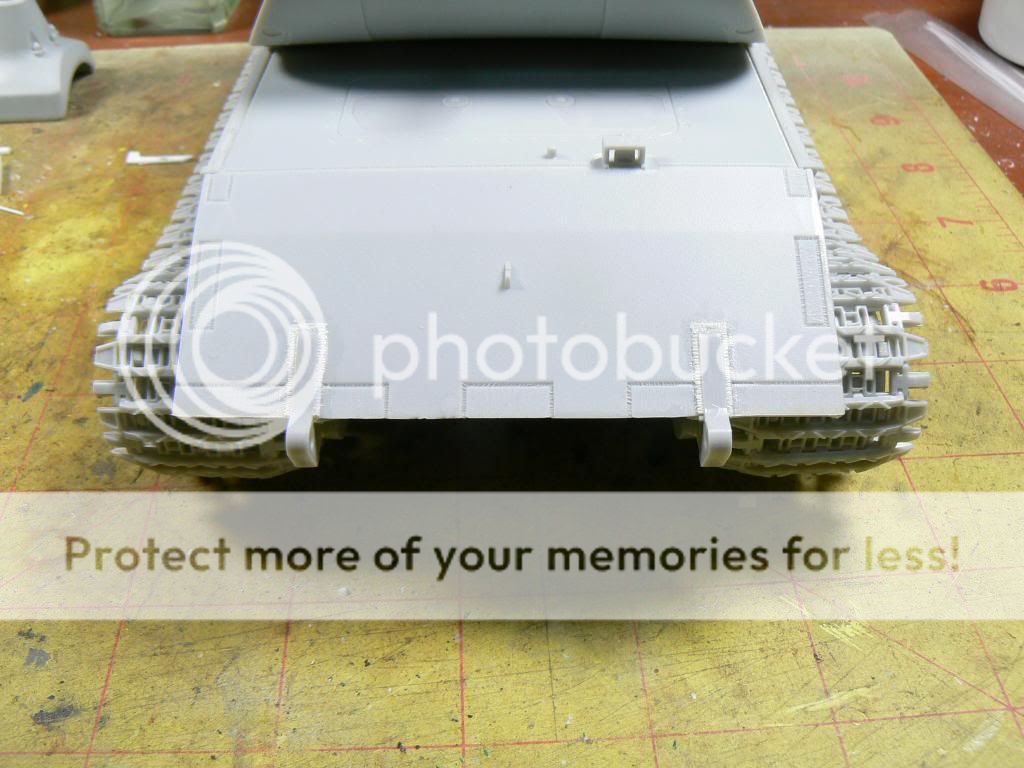
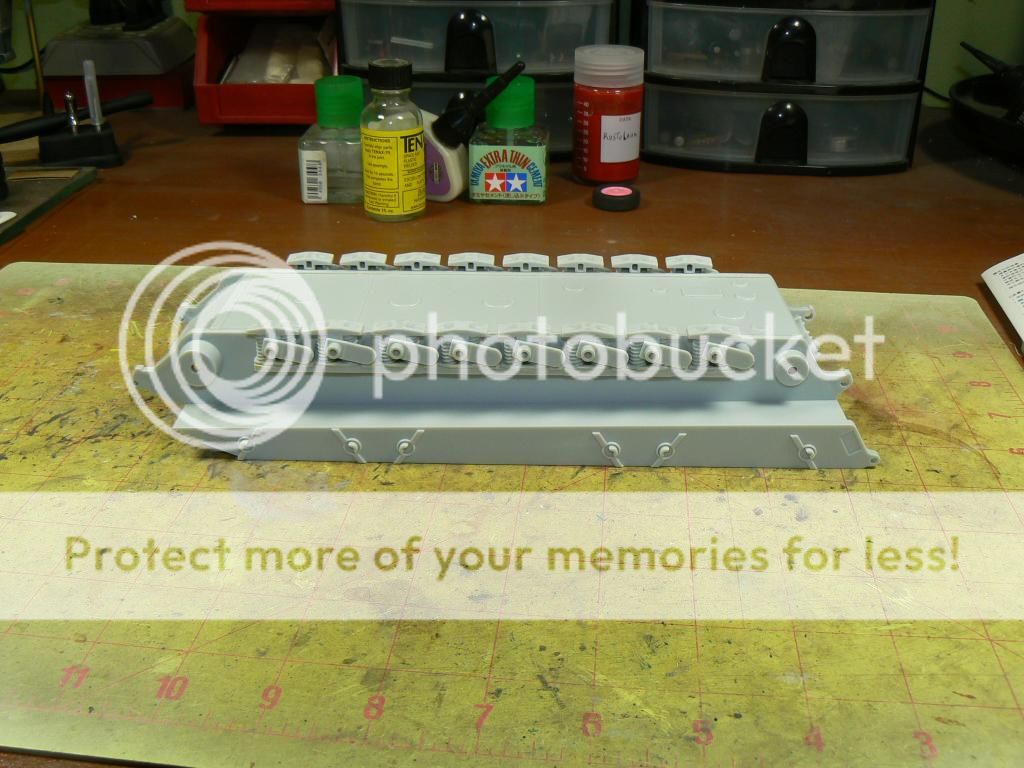
Then the arms for the wheels are put in place. The fit is so tight that they don't need glue to stay put!
Thats all for now folks!
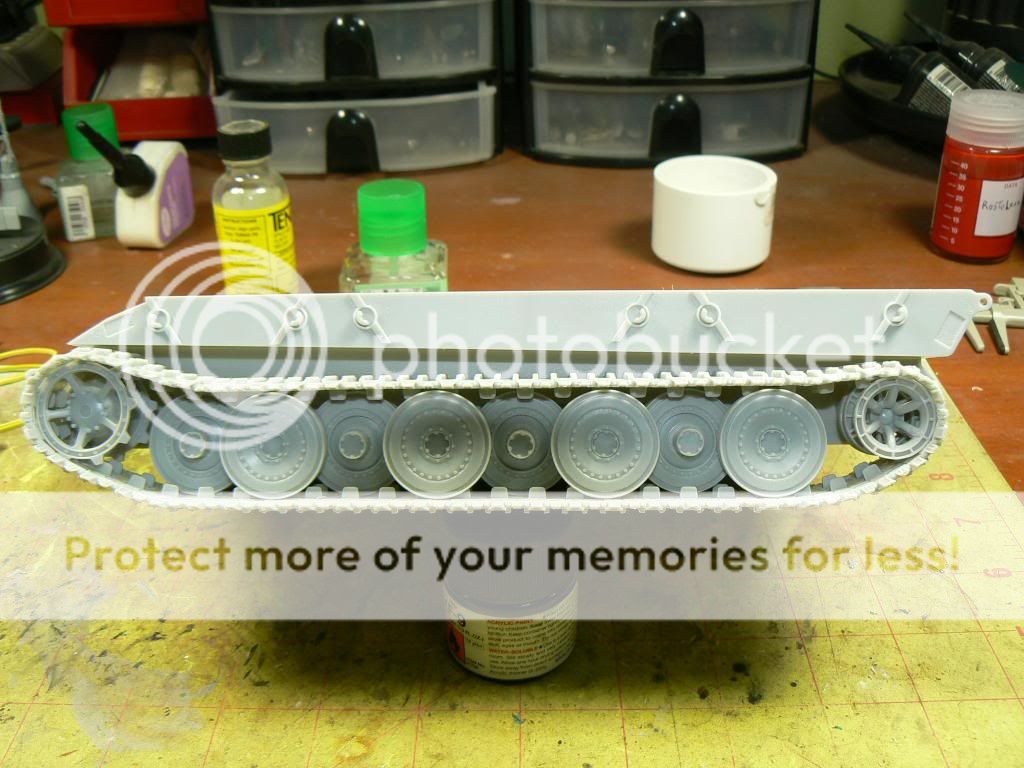
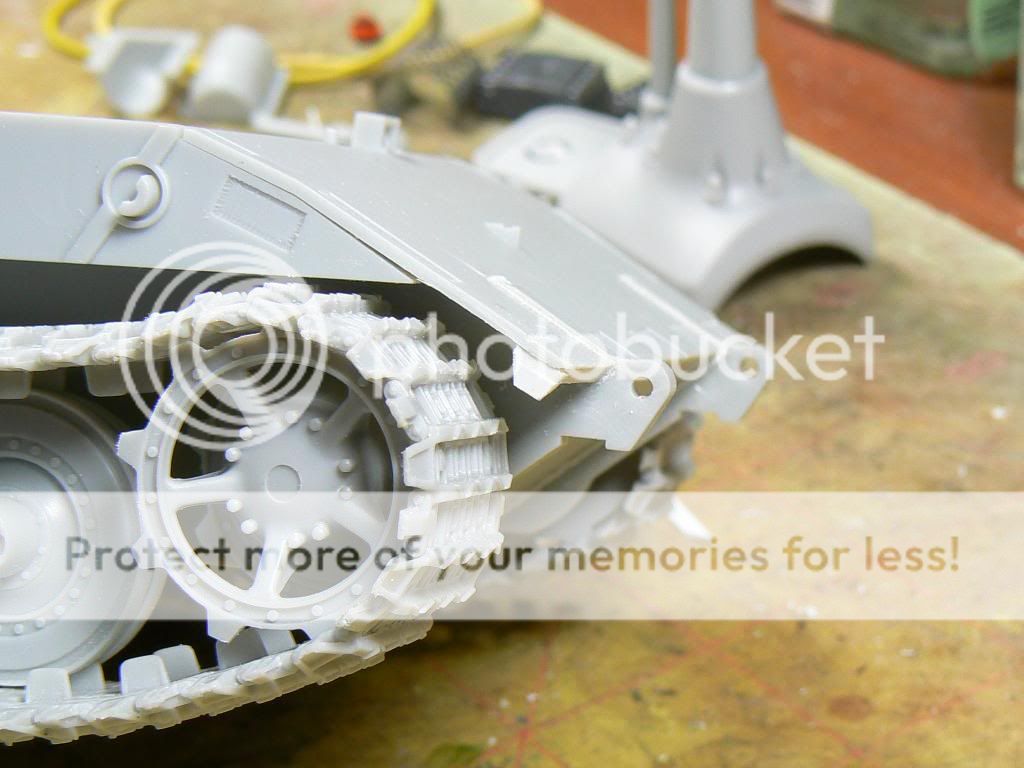
Next the wheels and tracks. :yipee
See you soon!
So lets start the build!
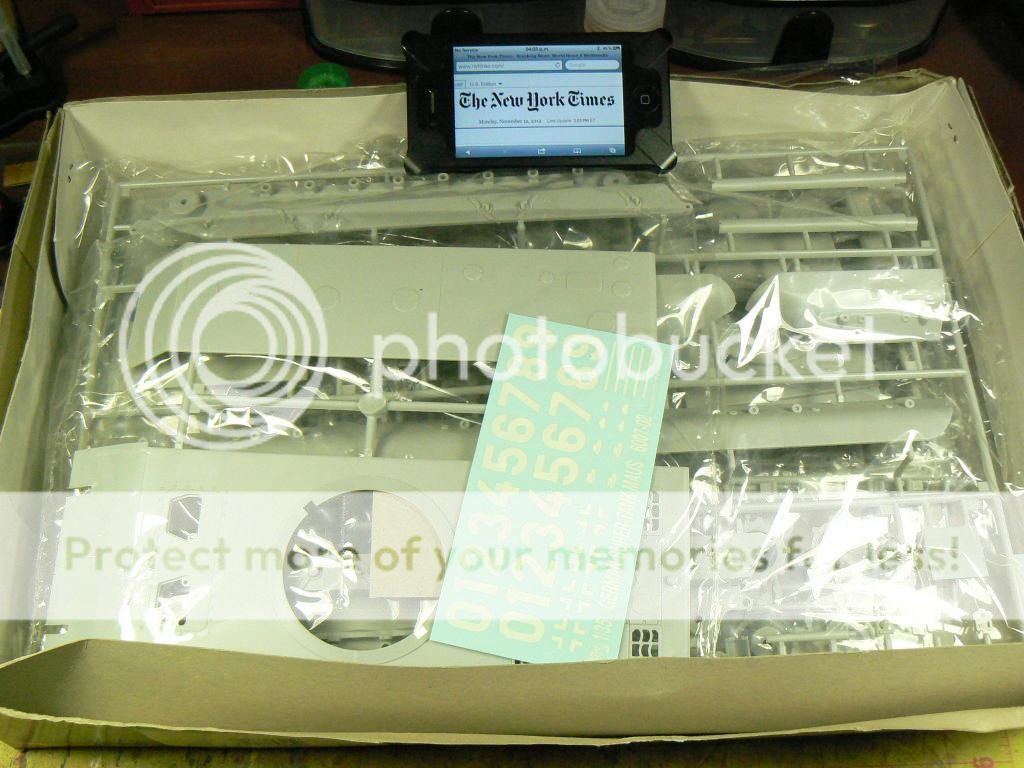
First the required photo with the date.
Here is a close up.
As it is always the case I didn't follow the order of the instructions and started building the hull instead of the wheels. The hull is composed of four parts; sides, bottom and rear plate. Here it is.
Next the springs for the suspension are glued in place.
Then the arms for the wheels are put in place. The fit is so tight that they don't need glue to stay put!
Thats all for now folks!
Next the wheels and tracks. :yipee
See you soon!

")