
-
Modelers Alliance has updated the forum software on our website. We have migrated all post, content and user accounts but we could not migrate the passwords.
This requires that you manually reset your password.
Please click here, http://modelersalliance.org/forums/login to go to logon page and use the "Forgot your Password" option.
You are using an out of date browser. It may not display this or other websites correctly.
You should upgrade or use an alternative browser.
You should upgrade or use an alternative browser.
CTA Entry-gregmc-1/48 Eduard Fokker D-VII
- Thread starter gregmc
- Start date
Plastik Smurff
Active member
Mmm yummy,I have this kit as well,keen to see your take on it. 
Don't sweat about the pic's,it took me a week of pestering moon puppy before I got the hang of it.
Don't sweat about the pic's,it took me a week of pestering moon puppy before I got the hang of it.
No problem Greg and Welcome aboard again!
Looking forward to your little Fokker...
Looking forward to your little Fokker...
OOPS, looks like I put in the same image twice. This is the first time I've ever posted an image so hopefully I'll get the hang of it.
The other image was just a photo of the box lid, no loss.
Greg
I fixed it Greg. This is going to be a great build and welcome.
Terry B)
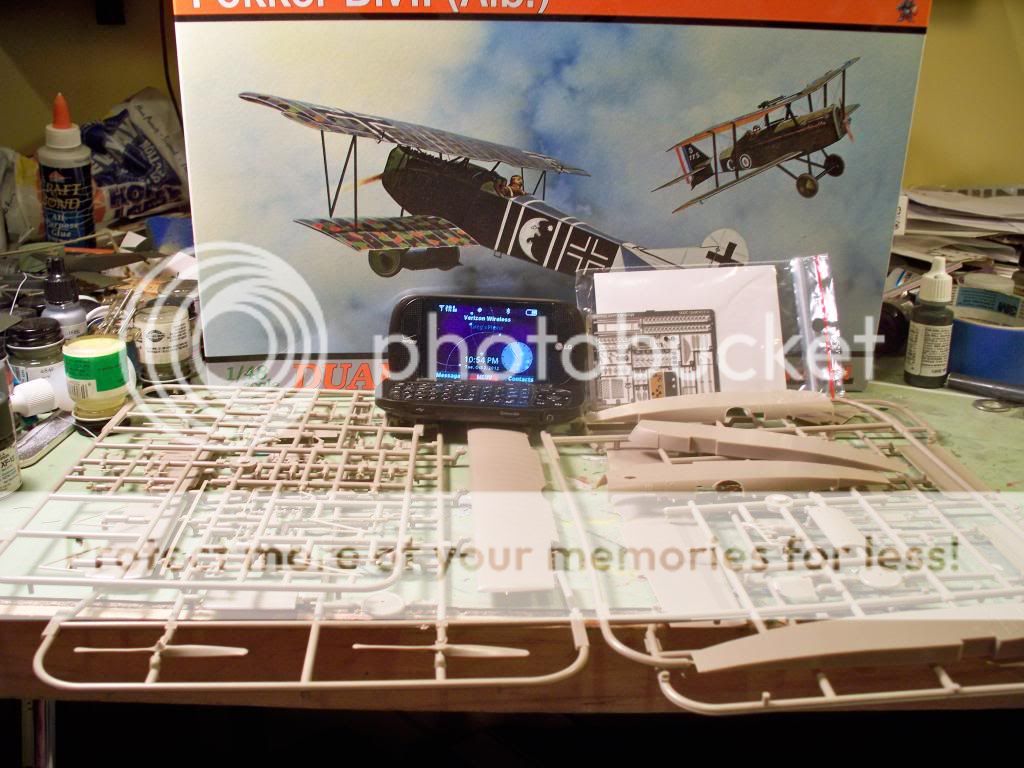
Trying to hide the clutter on my desk.
That's not clutter - that's modelling!!
Cool kit, does this have two D-VII's or is the other a SE5A?
Sherman 18
Master at Arms

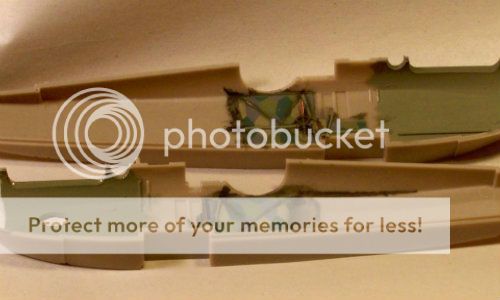
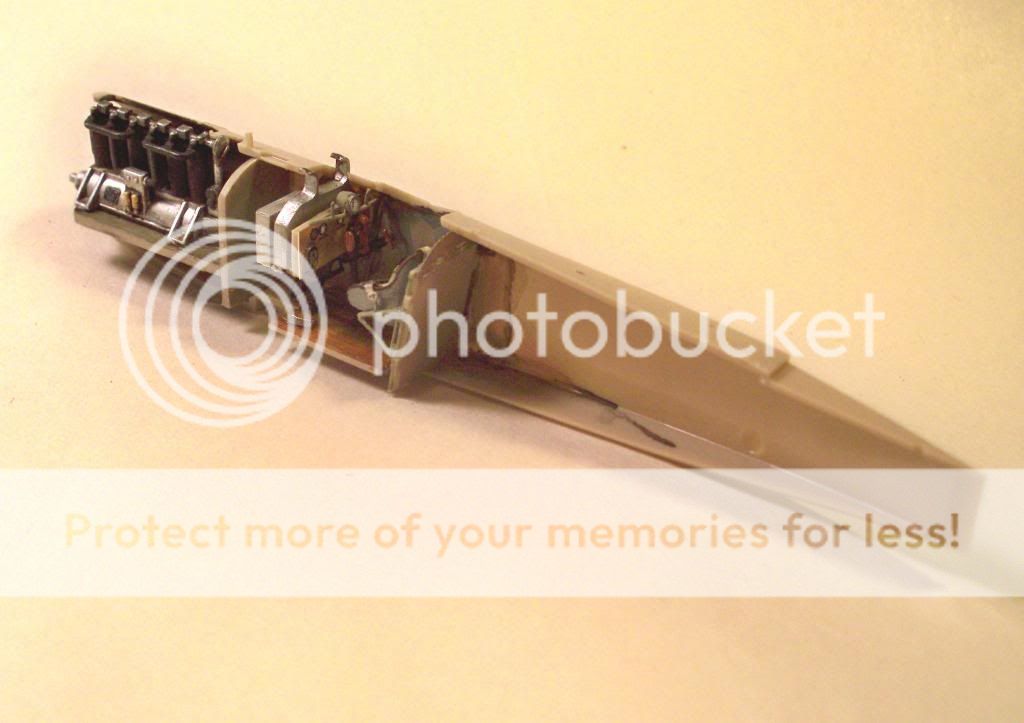
I've been working slowly on the bits which will go into the fusalage. Here are a few photos.
These are the fusalage halves with the lozenge decal applied.
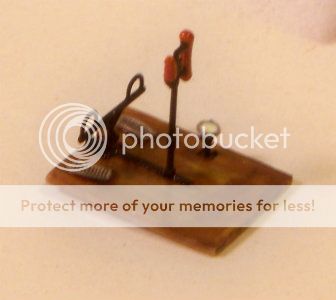
Next is the cockpit floor. A blurry image, I hope my photography will improve with practice.
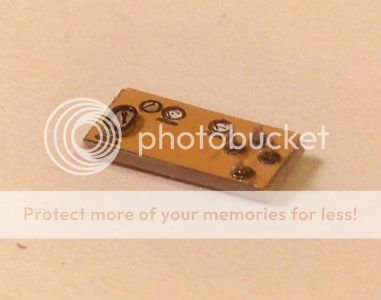
This is the instrument panel. The prepainted photoetch looks pretty good but the plastic is very nice too. I chose the photoetch on this project as I have zero experiance with it.
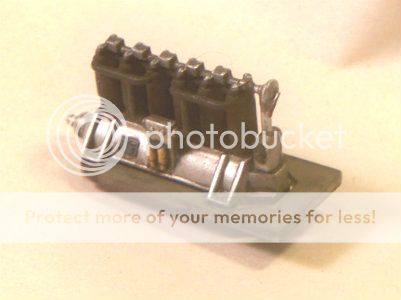
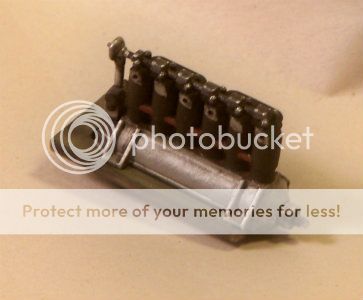
Next are a couple of shots of the engine. It is not as well done as the Roden engine but very little will be seen when the fusalage is closed, I am not removing any of the panels. The pe placard is a nice touch.
It has taken a while to get to this point but it should go fairly quickly until it is time to put the lozenge decals on the wings. Next update will have the fusalage closed up.
Greg
These are the fusalage halves with the lozenge decal applied.
Next is the cockpit floor. A blurry image, I hope my photography will improve with practice.
This is the instrument panel. The prepainted photoetch looks pretty good but the plastic is very nice too. I chose the photoetch on this project as I have zero experiance with it.
Next are a couple of shots of the engine. It is not as well done as the Roden engine but very little will be seen when the fusalage is closed, I am not removing any of the panels. The pe placard is a nice touch.
It has taken a while to get to this point but it should go fairly quickly until it is time to put the lozenge decals on the wings. Next update will have the fusalage closed up.
Greg

Firesmacker
Member
I haven't had to much time to work on the DVII but I did get the cockpit together, close up the fuselage and get the bottom wing on. So far the fit has been pretty good but I did need to use a clamp around the cockpit, I think I should have sanded down the ammo box a bit more.
 [/img]
 [/img]
 [/img]