• Modelers Alliance has updated the forum software on our website. We have migrated all post, content and user accounts but we could not migrate the passwords.
    This requires that you manually reset your password.
    Please click here, http://modelersalliance.org/forums/login to go to logon page and use the "Forgot your Password" option.

Japanese Type 98 Prime Mover

ErnieS

Member
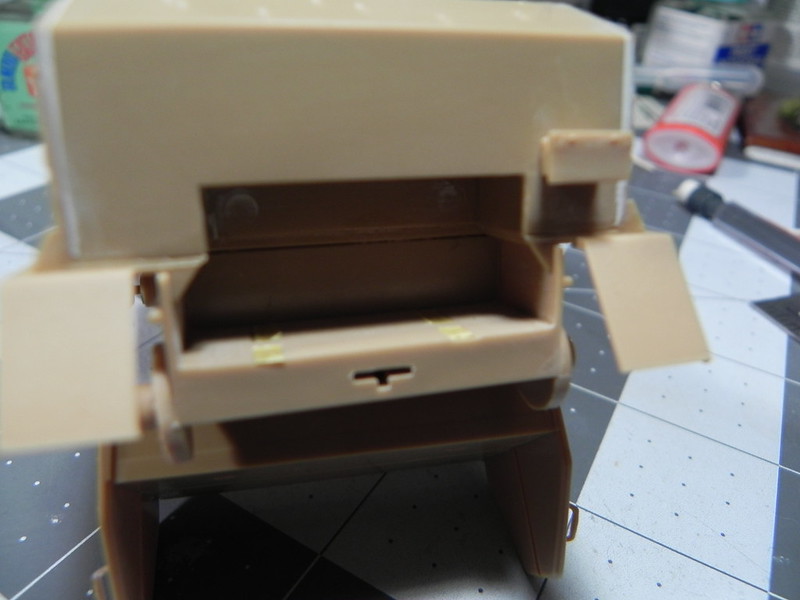
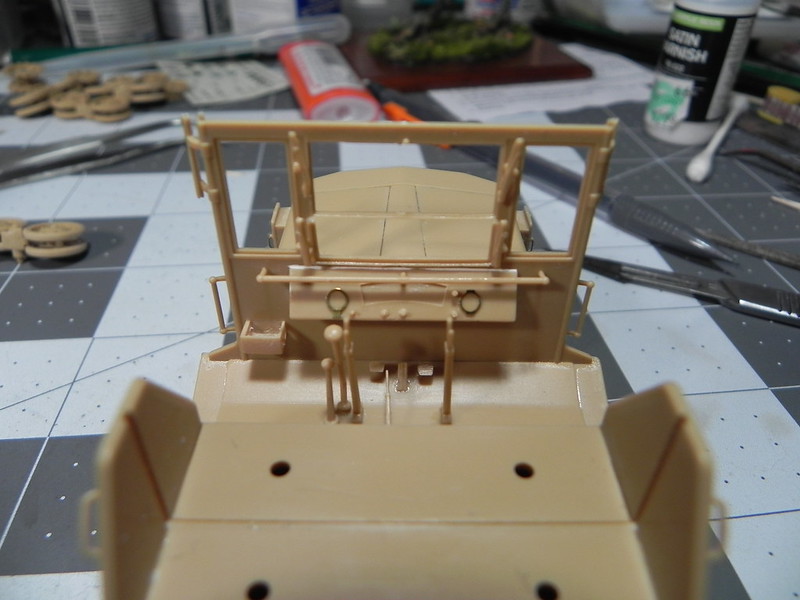
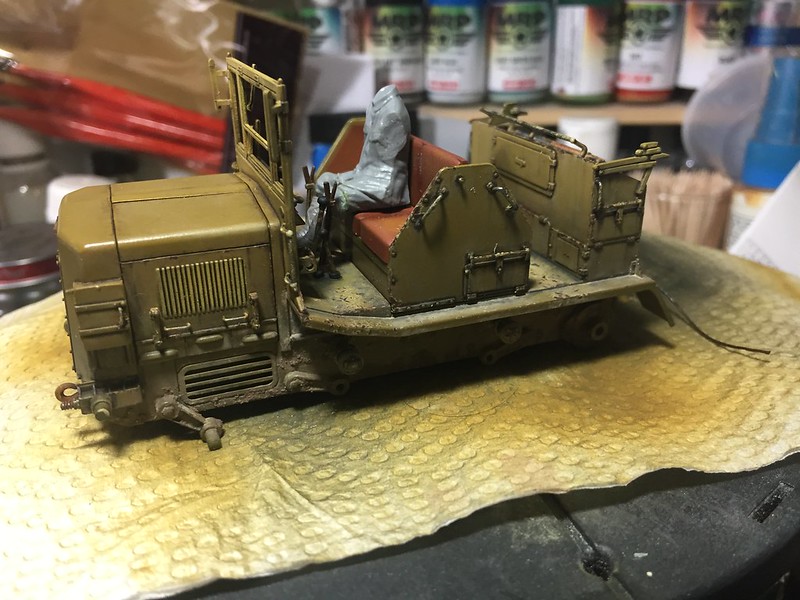
Next on the bench is this little guy...…

43240888112_ab167c7e4a_c.jpg


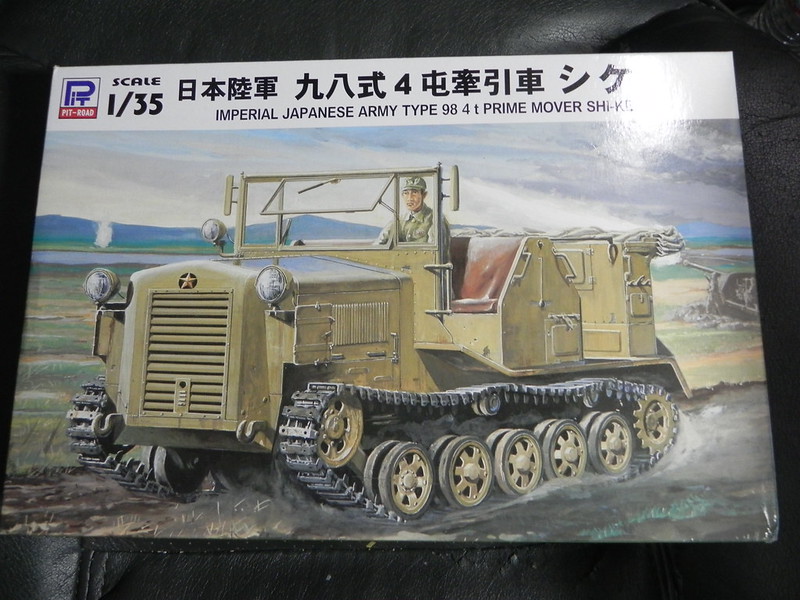
I like these types of auxiliary vehicles and am looking forward to getting into this one.

28421121287_a30e3b2654_c.jpg


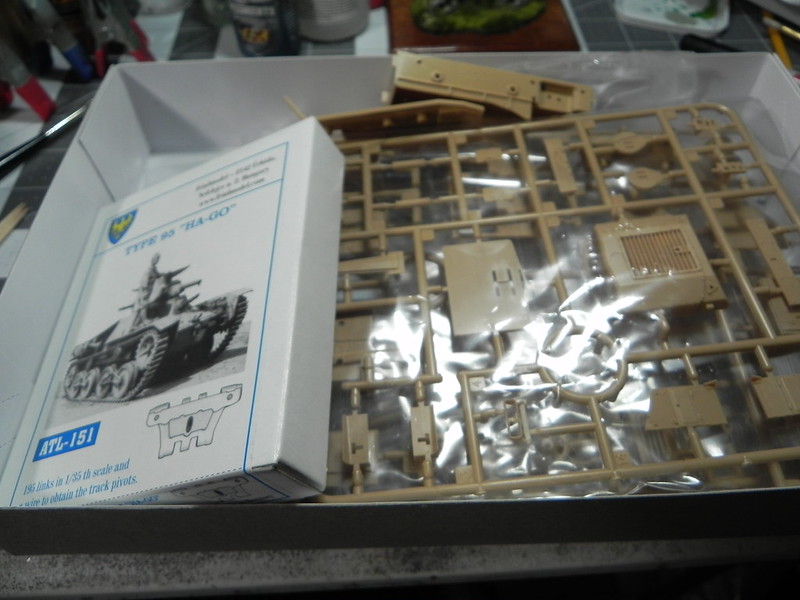
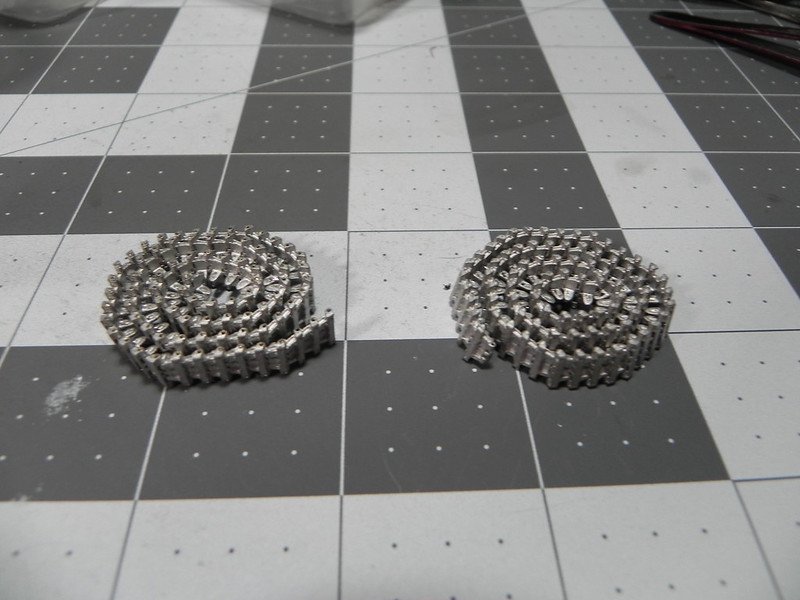
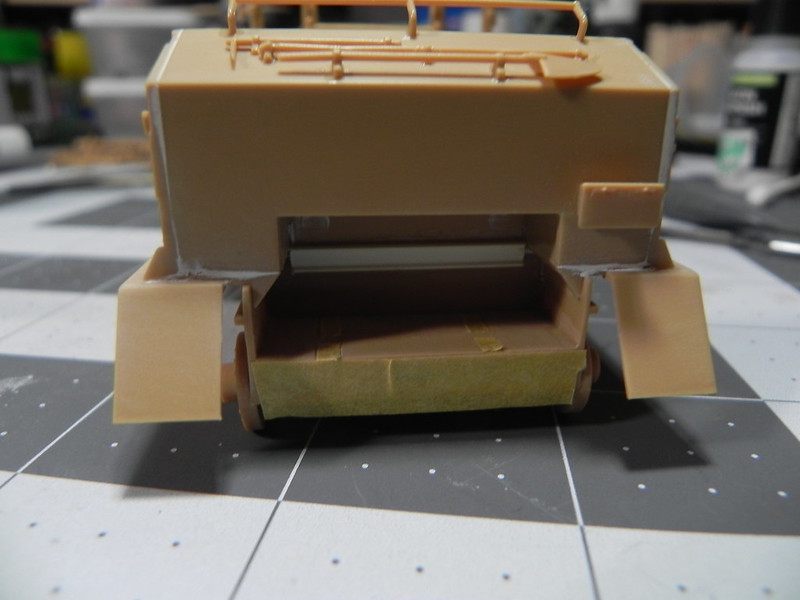
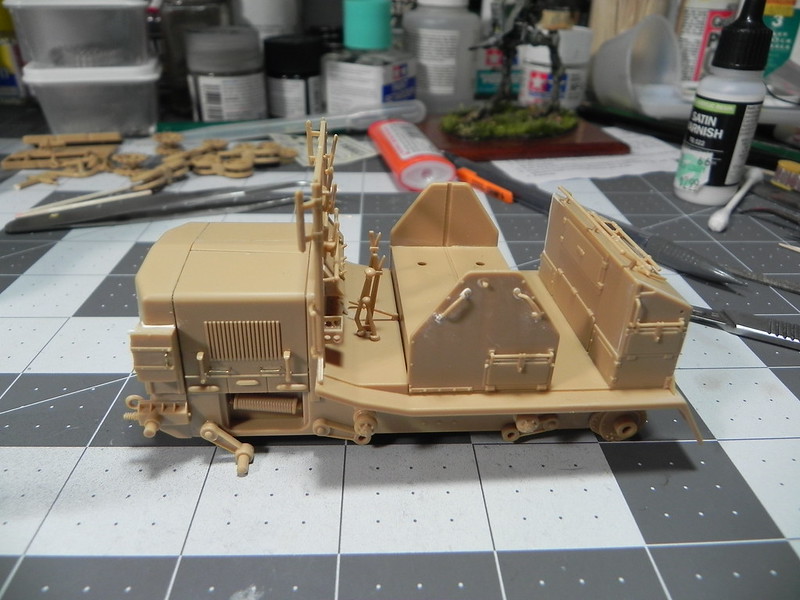
I also got a set of aftermarket tracks for it as the kits rubber band tracks are pretty bad. Pit Road also at one time issued a P/E set for this kit, though it is out of production and I have not been able to find one as it would make a nice addition to the kit.

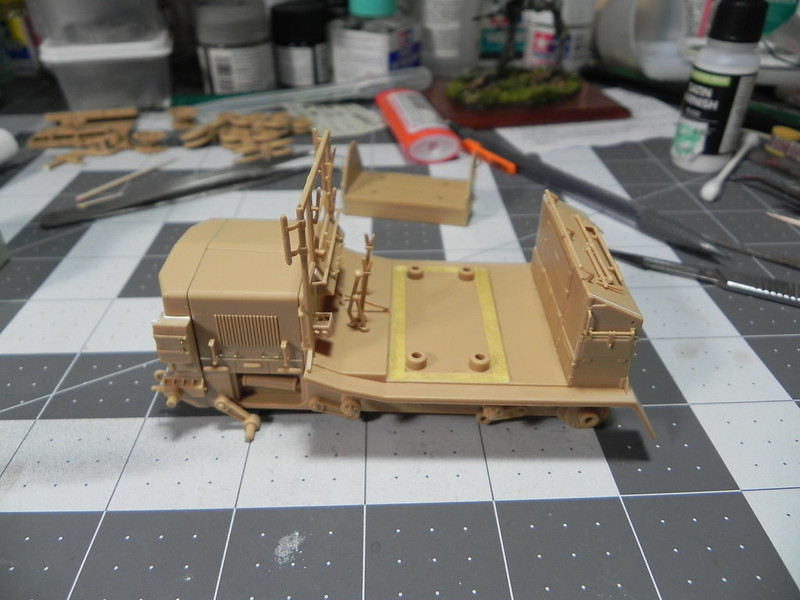
This build will be in real time as it is, I am starting it tonight and have done nothing but open the box and look at the instructions. :soldier
 
Thank you for the interest guys, I will have some pics in a day or two. Just putting the tracks together and will need to adjust the sprockets as the metal tracks are a bit narrower than the kit ones. Also figuring out subassemblies that can be built and painted separately etc. Nothing exciting, but all stuff that should help everything go together quickly it the end.
 
Ok, update time.


42723908354_24daa43cf1_c.jpg


Tracks together

42723907554_bed4e00290_c.jpg


I built up the suspension subassemblies so I could check the length of the tracks before I painted and weather them. Much easier to get it right now. :good:


42723907054_26f6c300b6_c.jpg


When the rear stowage cabinet was fitted to the deck there was a gap that might be visible at the back of the winch well. It looked like it would be a pain too try to fill and sand out soooooo

42723903584_48523b1b67_c.jpg


A piece of strategically place Evergreen "I" beam added a structural element to the area and nicely covered the gap. :good:


42723906454_59fe26457a_c.jpg


The cable detail on the winch was very plain, and the tow hook is suppose to be glued to the rear bumper, not actually attached to the cable so again I tried to improve things.....

42723905764_8f0a2d78a3_c.jpg


I used some thick waxed thread for the cable, and left enough excess so that I can attach the hook to it.

42723904204_be318e7823_c.jpg


The dash panel has decals for the instruments, but the round gauges are represented by raised circles on the panel. I added a couple p/e bezels to better make the look like actual gauges.


42723904714_79c1d58c04_c.jpg


I removed the molded on solid handles on the hood panels and headlight boxes and bent up new ones.

42723905294_364dd14584_c.jpg


Ready for paint, just a shot showing how it should all look.

43439917301_c7955c15fb_c.jpg


I am leaving of the center seat unit until after painting to make it easier to get at the dash and control levers up front, so I masked off the out line where the seat fits so I will have a good clean area for gluing it on later.

And that it were we are, priming and painting next (y)
 
I have been working away on this little guy, got to the painting and weathering stage, and played around with some weathering stuff. Looking at pictures of the different Japanese tractors they seemed to be pretty dirty and grimy but not all beat up. Also, I spent some time looking at pictures of the Pacific islands and the vehicles operating there to get an idea of the earth colors to use for the weathering.

30770412338_5d790a6a93_c.jpg


44590423632_f4d53dc352_c.jpg


30770412318_85b6553afd_c.jpg


44590423682_744e6d8e23_c.jpg


This has taken a while just because I wanted to get things "right", or the at least the way I wanted them. So the engine cowl was painted I think three times to get the shading and highlighting I wanted / was happy with. The weathering effects on the right side were completely removed and started over this morning as I did not like how they were turning out. I have also used just about every type / technique available to get what I wanted. SO yeah, this has been sort of a science project, with the goal to be get more proficient as I go along, and also not scrap the model in the process :silly: :blink :woohoo: :laugh:
The seats were painted with Vallejo paint, and the shading, fading, and blending done with oils. They will still get some dust added before calling them finished. The driver figure is a mash up of a sitting figure from Tamyia's Japanese Officers set and a Masterbox Japanese infantryman. The sitting figure needed to be sectioned so he sat with his legs closer together to fit between the control levers, his legs needed to be altered so they were aimed at the pedals, and the lower legs came from the Masterbox figure and were fitted so they actually touch the pedals. The reason I used the lower legs form the Masterbox set was they have the footcloths and short boots usually worn by the enlisted ranks, vis the boots on the Tamyia officer figure.

And one last annoying detail that was taken care of was adding the panel line to the sides of the engine cowl above the louvers. I never noticed that until I was looking at pictures to get an idea of the weathering on these vehicles. I found a photo that showed the side cowl unlatched and handing out of place, it was then that I noticed the panel line above the louvers. :frantic :bang head 
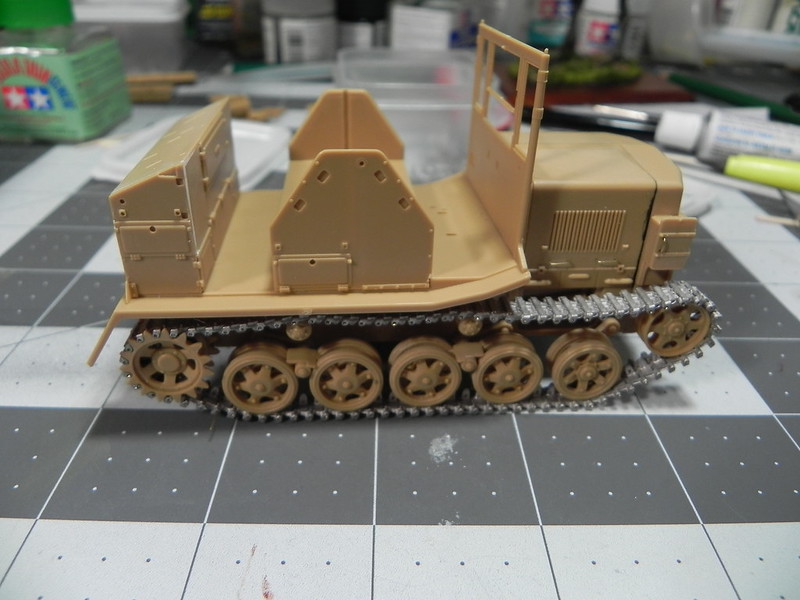
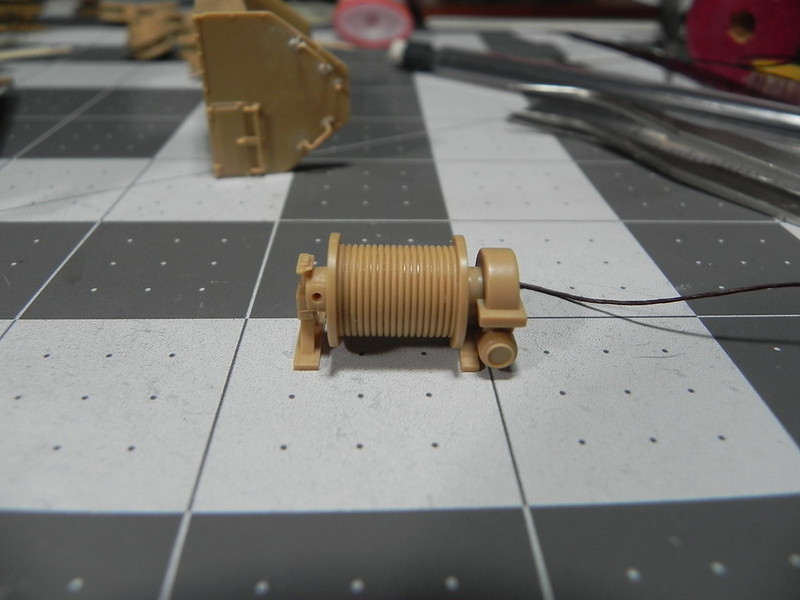
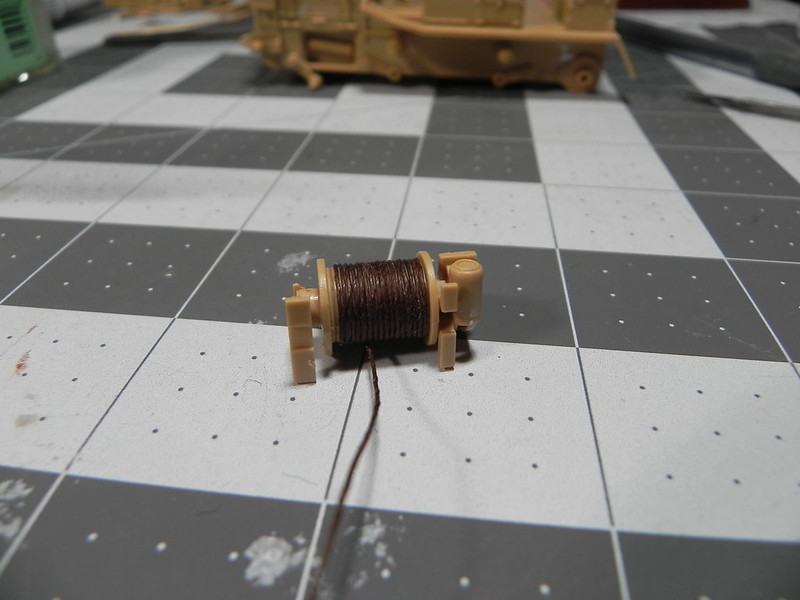
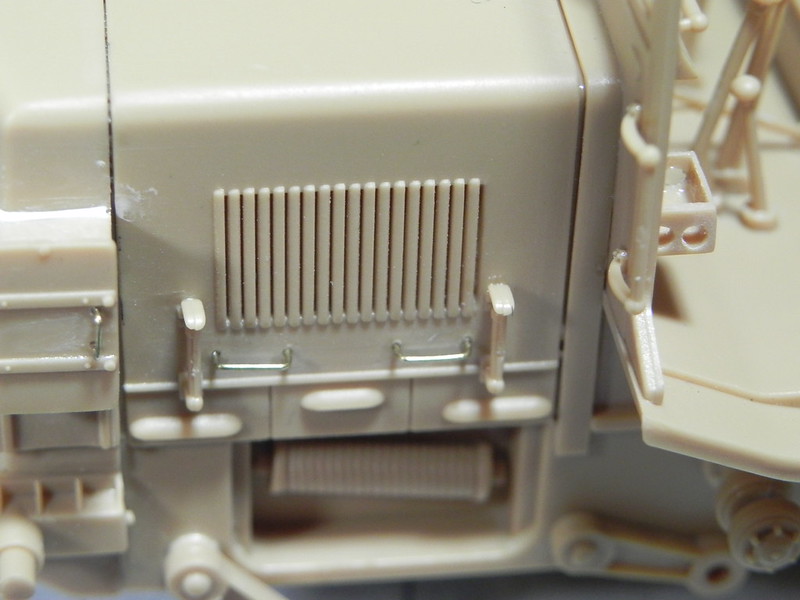
I managed to scribe in the line without messing up the paint or screwing up the line, but it sure would have been easier if I had noticed it before the model was built and painted :smack Always pay attention to your references.
 
Back
Top